15. Hunter’s Grenade
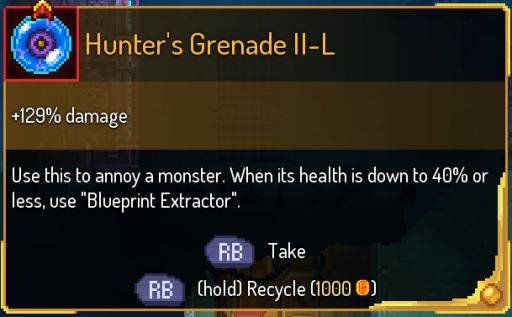
What we love about the Hunter’s Grenade
- Allows you to unlock new weapons and mutations way faster than you normally would
- Lets you skip the tedious grind of waiting for blueprints to drop
- Even if it doesn’t provide you with any damage or support, it offers something that no other item in the game can give you
How to get the Hunter’s Grenade
- Found at The Specialist’s Showroom in the Prisoner’s Quarters
14. Giant Whistle
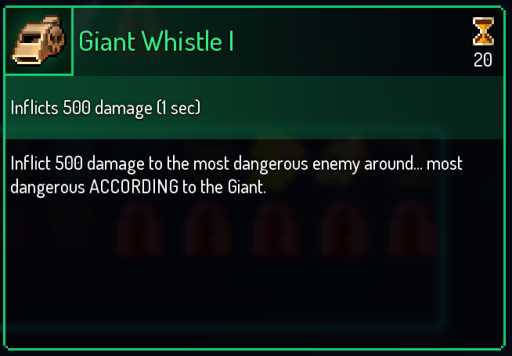
What we love about the Giant’s Whistle
- Deals massive amounts of damage to a single target
- It might feel like you have no control over what The Giant hits, but if you stand close to the target he’s more likely to hit that one
- Even with the randomness, it’s always hilarious watching The Giant smash an unlucky rat
How to get the Giant’s Whistle
- Drops after beating The Giant for the 3rd time
13. Cleaver
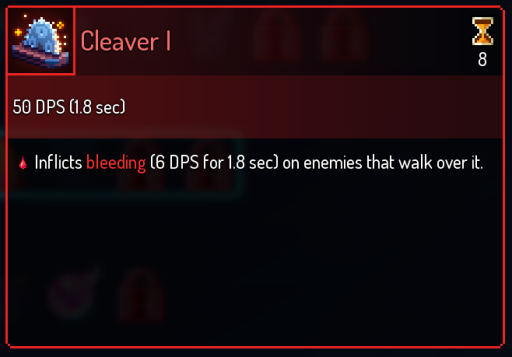
What we love about Cleaver
- Great for crowd control, since it’s applied to an entire section of the ground and damages everything that walks over it
- Has a cooldown of only 8 seconds, it’ll recharge before you’re even done using the first one!
- When playing Brutality, your skills are often limited to single-use items. Cleaver is the exception, being one of the few Brutality-scaling deployables
How to get the Cleaver
- Drops from Runners in the Promenade of the Condemned
12. Phaser
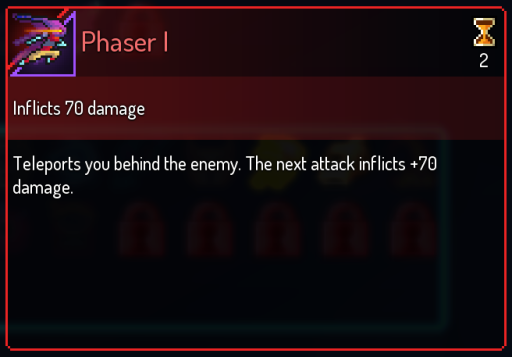
What we love about Phaser
- Has a very low skill cooldown, setting up a synergy with Scheme or Ranger’s Gear
- Can be used with weapons that have a crit condition when attacking an enemy from behind, namely Assassin’s Dagger and Blowgun
- Great for boss fights, since being right behind them is the safest place to be, especially when fighting The Hand of the King
How to get Phaser
- Drops from Runners in the Promenade of the Condemned
11. Wolf Trap
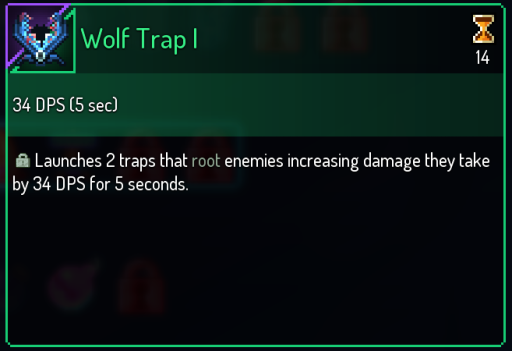
What we love about Wolf Trap
- Wolf Trap is essential for getting past those early game boss fights. It makes the Concierge and Conjunctivius much fairer fights for new players
- There are several enemies that charge at you, and this skill is a great way to deal with those dangerous foes
- While an enemy is stuck in the trap you have the freedom to deal with them any way you like. You can take them out now while they’re vulnerable, or save them for later while taking care of everyone else in the encounter
How to get Wolf Trap
- Unlocked from the start
10. Face Flask
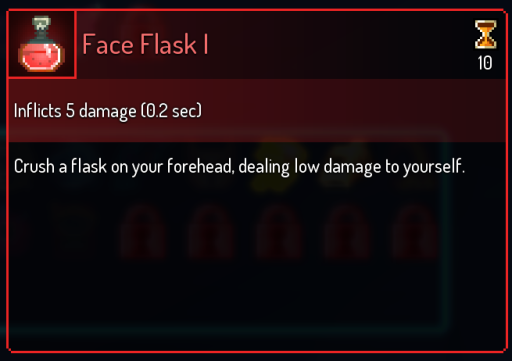
What we love about Face Flask
- It’s very likely that you come across a Face Flask with affixes that create a toxic cloud, cover the ground with oil, or another Damage over Time effect
- Can safely trigger the effects of Vengeance and Spite Sword without ending your killstreak or causing death by curse
- Is a reference to the game Blasphemous, another excellent souls-like metroidvania
How to get Face Flask
- Found in a lore room in the Prisoner’s Quarters
9. Heavy Turret
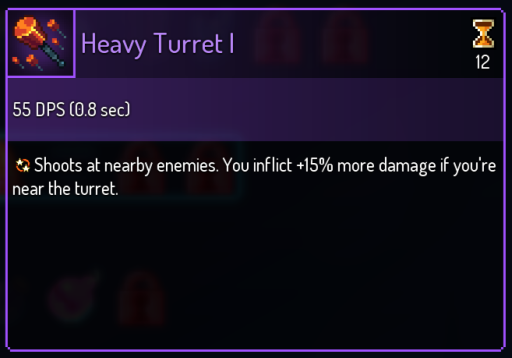
What we love about the Heavy Turret
- Even with the slower fire rate, it deals similar damage to most other turrets, on top of the support that this gives you
- The damage boost stacks with the Support mutation, making you even stronger when you’re near it
- Stuns enemies on hit, making them vulnerable
How to get the Heavy Turret
- Drops from Slashers in the Ossuary
8. Corrupted Power
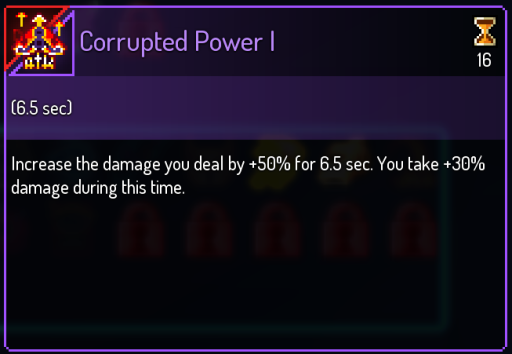
What we love about Corrupted Power
- It’s just a straightforward damage buff, but that’s powerful by itself. You can do some real damage while this is active!
- While you do take more damage while it’s active, if you can stay aggressive you can kill every enemy before they even get a chance to hit you
- It can’t be understated how strong you become with Corrupted Power, I’ve seen bosses die with a single hit thanks to this skill!
How to get Corrupted Power
- Drops from Protectors in the Promenade of the Condemned
7. Great Owl of War
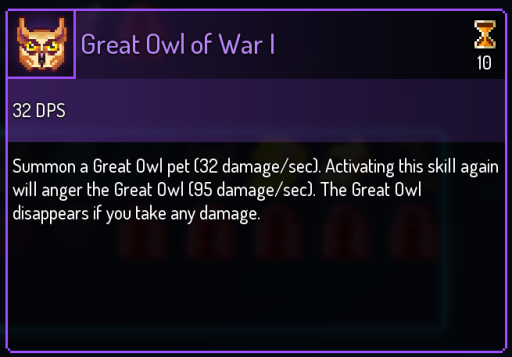
What we love about the Great Owl of War
- The Owl works similar to a turret, firing shots at enemies, with the advantage of following you around
- It does a great job of taking out smaller enemies that would otherwise slip through the cracks and land a devastating blow, like Kamikaze Bats
- If you have the Menagerie aspect, the Owl also doubles your damage output
How to get the Great Owl of War
- Drops from Knife Throwers in the Prisoner’s Quarters (Only at 1BC and up)
6. Wave of Denial
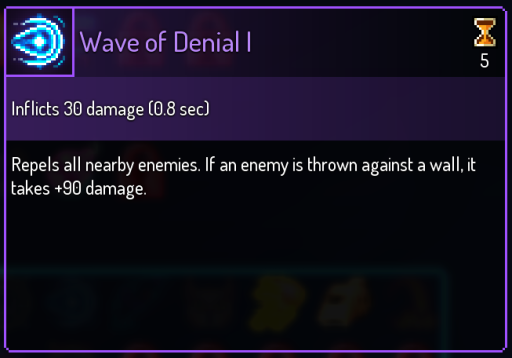
What we love about Wave of Denial
- Tactics gives you the least amount of HP out of any of the stat colors, so having a strong defensive ability can make the difference between life or death
- Has a very low cooldown with only 5 seconds, setting up a synergy with the Ranger’s Gear mutation
- Instantly creates space between you and your enemies. That’s already helpful, but can also be used with the Marksman’s Bow or Tranquility mutation to take advantage of their conditions
How to get Wave of Denial
- Drops from Bombardiers in the Clock Tower
5. Ice Armor
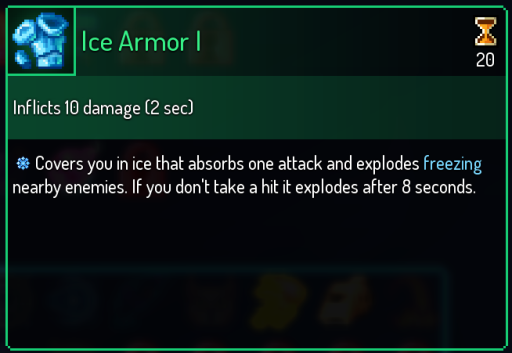
What we love about Ice Armor
- At higher difficulty levels where even a single hit has the potential to end your run, Ice Armor can be a literal life saver
- Freezes nearby enemies when the armor shatters, giving you the opportunity to start a counterattack
- Even though it’s a Survival-scaling skill, it’s just as useful when playing the other two stat colors
How to get Ice Armor
- Drops from Ground Shakers in the Cavern
4. Tesla Coil
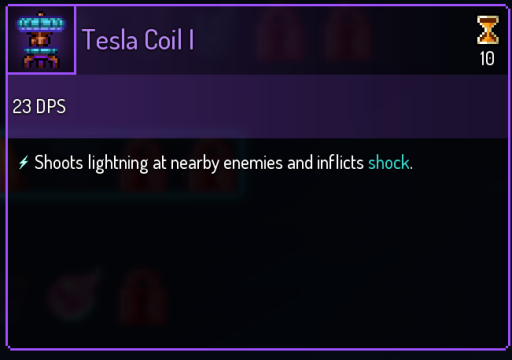
What we love about Tesla Coil
- Has a very wide range and can attack through walls and floors
- Deals damage in an AoE, making it great for taking out crowds of enemies
- Against single targets and bosses, the damage over time is very powerful on it’s own
How to get the Tesla Coil
- Drops from Living Barrels in the Derelict Distillery
3. Cocoon
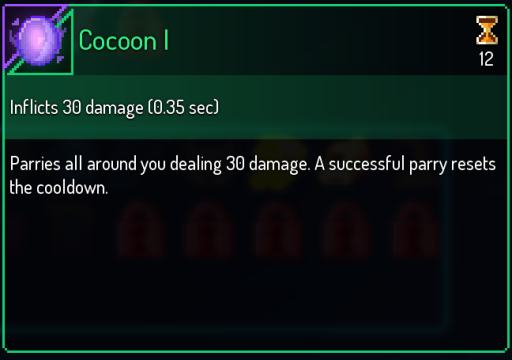
What we love about Cocoon
- Sometimes the opportunity cost of a shield is too much for another option to be viable. With Cocoon, you can try out all those weapon combinations you would’ve otherwise passed up on
- Unlike shields, which only parry in one direction, Cocoon parries all around you! You can defend yourself on all sides with this item
- Even though it’s in a skill slot instead of a weapon, you don’t necessarily have to relearn that muscle memory to use Cocoon. Instead, you can go into settings and bind it to your secondary weapon button
Where to find the Cocoon
- Found inside the Rune Doors in the Undying Shores. To get in there, find the right combination of runes, which can be found on small tapestries throughout the biome
2. Scarecrow’s Sickles
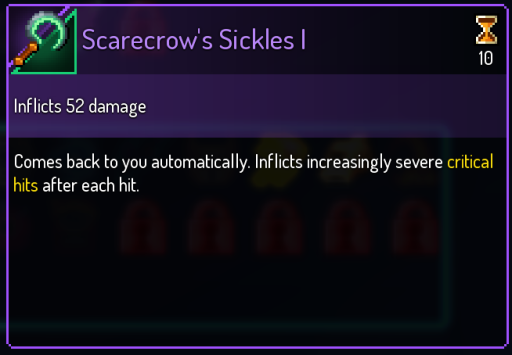
What we love about Scarecrow’s Sickles
- The damage you deal increases with each hit, and you start dealing critical damage after 5 hits. This means it has insane damage potential
- You can keep the Sickles active for a theoretically infinite amount of time, as long as you keep dodging them
- Overall, the only limit to the Sickles usefulness is your own skill. They’re your most powerful ability if you can manage to keep dodging them for as long as possible
Where to find Scarecrow’s Sickles
- Unlocked after beating The Scarecrow for the 1st time
1. Diverse Deck
What we love about Diverse Deck
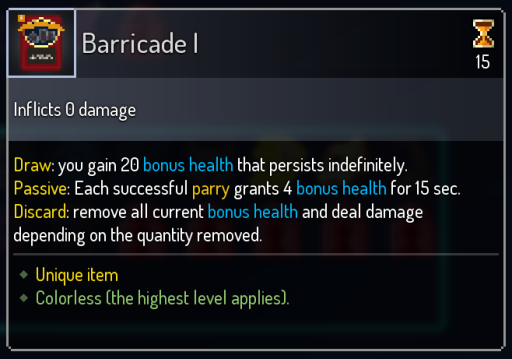
- Barricade, the first card of the deck, gives you bonus health every time you parry. This makes your strongest defensive move do even more to protect you
- Catalyst, the second card in the deck, adds poison damage to your melee attacks. It adds a lot of power to your weapons, especially with the right modifiers
- Electrodynamics, the third card in the deck, summons electrical orbs to circle you and inflict shock damage to enemies. This is great for taking out weaker enemies and inflicts DoT to everything you come across
- Foresight, the fourth and final card in the deck, lets you take a hit without taking any damage. This can help you tank otherwise devastating hits, and can even protect you against curses
Where to find the Diverse Deck
- Found in a lore room in the Prisoner’s Quarters
You may also be interested in
- Dead Cells Rune Guide: Everything You Need to Know
- Top 15 Dead Cells Best Mutations and Why They're Good
- Top 10 Dead Cells Best Melee Weapons

