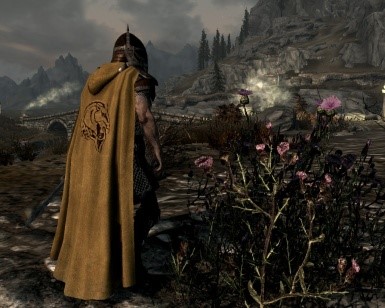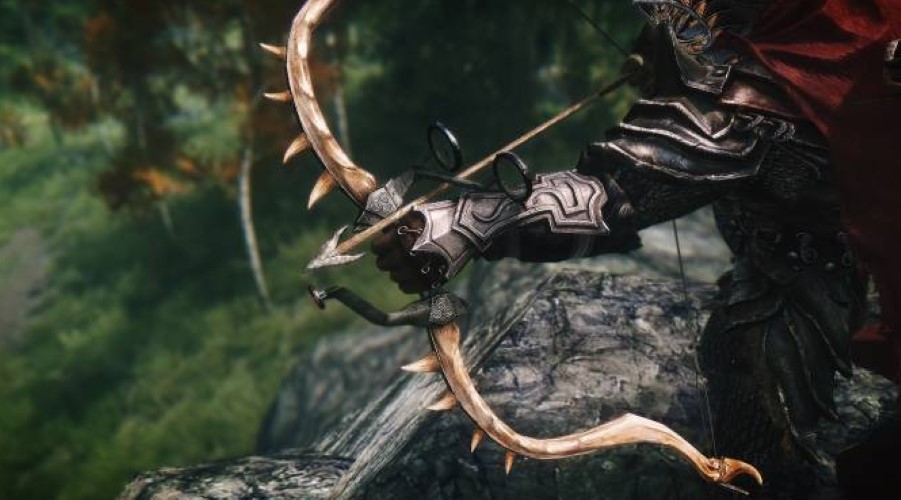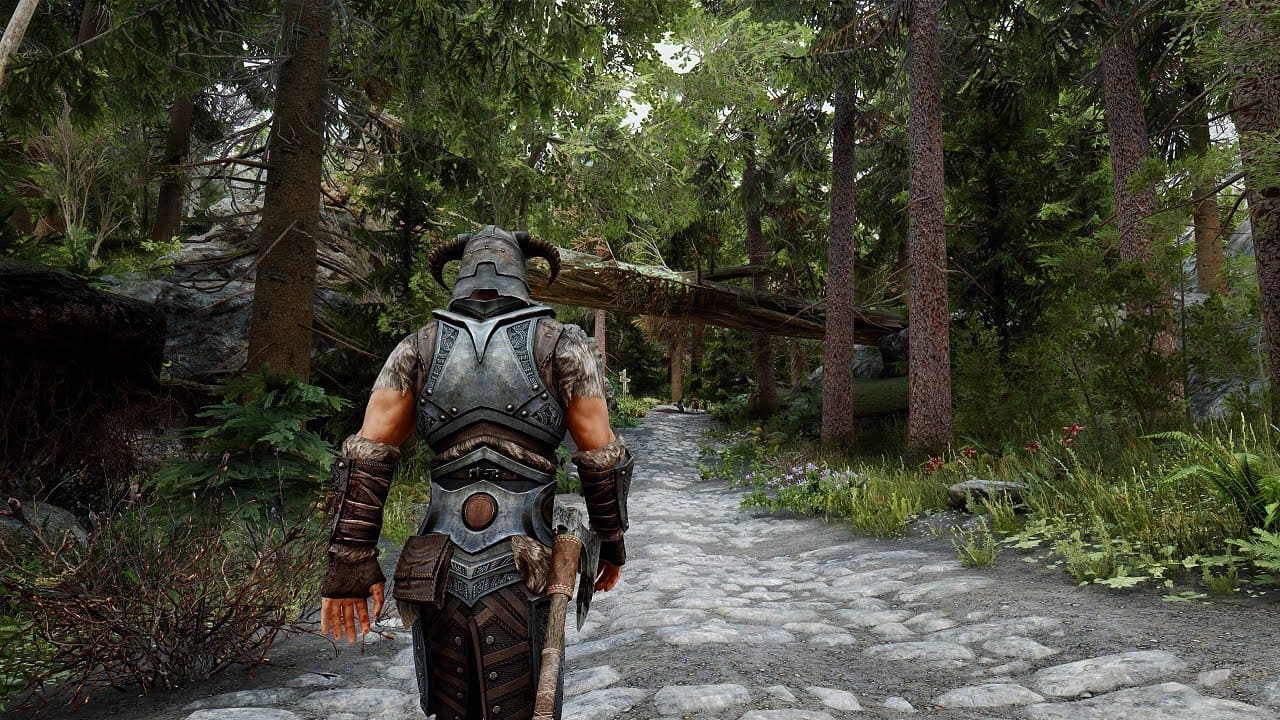
No matter what type of character you are in Skyrim, you always want to have a wide variety of weapons on you, as you will undoubtedly face people and creatures of all types.
Below is a list of the top 15 best weapons to keep in your arsenal to be prepared for any battle.
15. Mehrunes’ Razor
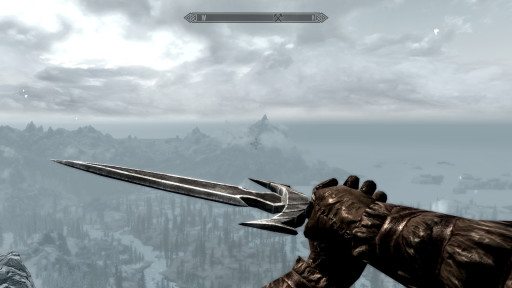
Mehrunes’ Razor is a unique one-handed dagger. It is also considered to be a daedric artifact. This weapon is obtained by completing the quest “Pieces of the Past” and killing Silus Vesuius (quest giver) upon completion. It should be noted that the weapon is only awarded if Silus is killed. Otherwise, Silus will keep the fragments of the razor in the museum at his home.
Timeline
- Originally crafted by Mehrunes Dagon (daedric prince) and given to the Hero of Daggerfall as a reward for eliminating the frost daedra.
- Several groups form after the Oblivion Crisis with the intent of fighting daedra, including who would become the “Keepers of the Razor”.
- The Keepers of the Razor find the weapon and split it into three pieces.
- The Dragonborn finds and returns the pieces to Mehrunes Dagon, who then restores them into Mehrunes’ Razor.
Stats
- Base damage - 11
- Weight - 3
- Base value - 860
- Smithing upgrade - ebony
- Enchantment- chance to instant kill
What Makes Mehrunes’ Razor Awesome
- 2% chance to instantly kill enemy regardless of health or armor
- Does not require soul gem recharging
Pieces of the Past
- Speak to Silus inside of his home in Dawnstar.
- Find the fragments; pommel (Dead Crone Rock), blade shards (Cracked Tusk Keep), hilt (Jorgen’s house in Morthal)
- Return the fragments to Silus.
- Meet Silus at the Shrine of Mehrunes Dagon.
- Place the fragments on the table and speak to Mehrunes Dagon.
- Kill Silus and receive Mehrunes’ Razor.
* The order in which the fragments are found does not affect the completion of the quest. *
Below is a walkthrough of Pieces of the Past (26 minutes).
https://www.youtube.com/watch?v=wKenWDpftVo
14. Wabbajack
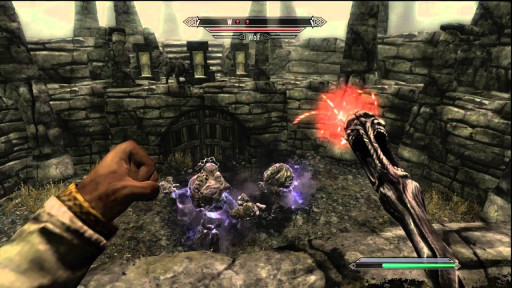
The Wabbajack is a daedric artifact (staff) crafted by Sheogorath, the daedric prince of madness. When used, it casts a random effect on the target, which can be either beneficial or malignant. This weapon is earned by completion the quest “The Mind of Madness”.
Stats
- Base damage - n/a
- Weight - 10
- Base value - 1565
- Smithing upgrade - n/a
- Enchantment - causes a random effect on the target
What Makes the Wabbajack Awesome
- Has a variety of effects
- Chance of instant kill, which is especially helpful against powerful enemies
- Can be used on followers to level them up
The Mind of Madness
- Speak to Dervenin in Solitude.
- Speak to Falk or, if your relationship with him is not high enough, one of the castle maids to obtain the key to the Pelagius wing.
- Enter the wing. You will be automatically transported into the mind of Pelagius.
- Speak to Sheogorath.
- Paranoia - Shoot the bodyguards with the Wabbajack until Sheogorath turns them into wolves.
- Night Terrors - Alternate between shooting Pelagius, who is asleep, and the spawned creatures. Shoot the dragon priest to complete this section.
- Anger - Shoot “Confidence” and “Anger”.
- Return to the tea party and speak to Sheogorath to receive the Wabbajack.
* The order of completing the Paranoia, Night Terrors, and Anger sections do not affect the completion of the quest. *
Below is a walkthrough of The Mind of Madness (22 minutes).
https://www.youtube.com/watch?v=24epC6QSwRI
13. Ebony Blade
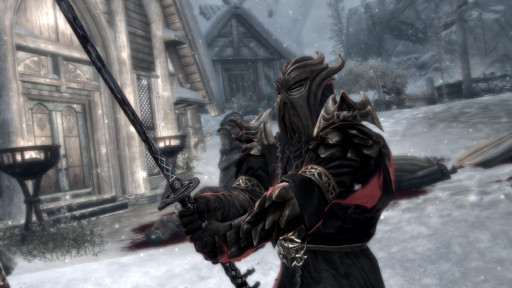
The Ebony Blade is a two-handed blade that is also a daedric artifact. It belongs to the daedric prince, Mephala. It is acquired by completing the quest “The Whispering Door”.
Timeline
- The Ebony Blade changes owners several times prior to being discovered by Jarl Balgruuf the Greater.
- Balgruuf hides the blade in Dragonsreach.
- The Dragonborn finds and takes the blade.
Stats
- Base damage - 11
- Weight - 10
- Base value - 2000
- Smithing upgrade - n/a
- Enchantment - absorb 10 health plus 4 for every 2 ally characters killed with it (up to 10 allies)
What Makes the Ebony Blade Awesome
- Ability to strengthen with ally kills
- Swings faster than all other two-handed weapons and almost as fast as one-handed weapons
- Does not require soul gem recharging
The Whispering Door
- Ask for rumors at The Bannered Mare in Whiterun until you are told about Balgruuf’s children acting strangely.
- Ask Balgruuf about his children.
- Speak to Nelkir.
- Listen to Mephala speak through the door.
- Pickpocket the key from Farengar Secret-Fire (court wizard).
- Unlock the door and receive the Ebony Blade from Mephala.
Below is a walkthrough of The Whispering Door (17 minutes).
https://www.youtube.com/watch?v=jO11NhXnLkA
12. Chillrend
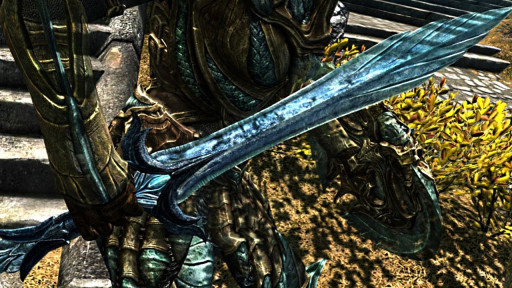
Chillrend is a unique one-handed sword initially owned by Mercer Frey (Thieves Guild). It can be found in Riftweald Manor during the quest “The Pursuit”.
Stats
- Base damage - 15
- Weight - 16
- Base value - 1442
- Smithing upgrade - refined malachite
- Enchantment - 30 points of frost damage, chance to paralyze for 2 seconds
What Makes Chillrend Awesome
- Potentially one of the most powerful one-handed weapons in the game (depends on character level upon discovery)
- Chance to paralyze enemy, who can still be attacked while paralyzed
The Pursuit
- Speak with Karliah in the Ragged Flagon.
- Follow Karliah into the Cistern.
- Speak to Brynjolf, Vex, and Delvin.
- Enter Riftweald Manor.
- Navigate through the manor and secret tunnels (accessed through a suspicious cabinet).
- Find Chillrend in Mercer’s bedroom.
- Return to the Cistern and speak to Brynjolf.
Below is a walkthrough of where to find Chillrend in The Pursuit (9 minutes).
https://www.youtube.com/watch?v=c1hbAH_Quh4
11. Auriel’s Bow
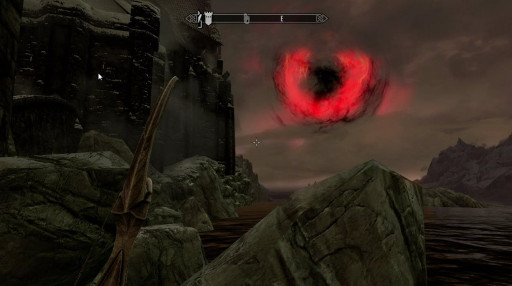
Auriel’s Bow is an ancient artifact believed to have been wielded by Auri-El (Elven variant of Akatosh) against Lorkhan’s (god of mortals, responsible for the existence of Nirn) forces during the Ehlnofey wars (Dawn Era). The bow gets its power from Aetherius and channels it through the sun. You can obtain this unique bow by completing the quest “Touching the Sky”.
Stats
- Base damage - 13
- Weight - 11
- Base value - 1000
- Smithing upgrade - refined moonstone
- Enchantment - causes 20 points of Sun Damage (tripled if the target is undead)
What Makes Auriel’s Bow Awesome
- Can be combined with Sunhallowed Elven Arrows (elven arrowed blessed by Knight-Paladin Gelebor) shot at the sun to create the sunburst effect
- Can be combined with Bloodcursed Elven Arrows (tipped with vampire blood) shot at the sun to create a black out effect for a full game day; vampires will then not be affected by sunlight.
- Faster draw speed than typical bow
Touching the Sky
- Speak to Dexion Evicus at Fort Dawnguard.
- Enter Darkfall Cave and follow the path until you find the deceased Breton woman and “Darkfall Cave Note”.
- Make your way to Auriel’s Shrine using either a shortcut (accessed by using the pull chain nearby) or following the path.
- Speak to Knight-Paladin Gelebor.
- Enter the wayshrine after being given the initiate's ewer.
- Follow Darkfall Passage to the Wayshrine of Illumination.
- Speak to Prelate Sidanyis.
- Draw water from the basin and enter the Forgotten Vale.
- Navigate the Forgotten Vale to draw from the next three basins (Wayshrine of Sight, Wayshrine of Learning, Wayshrine of Resolution)- order does not matter.
- Navigate to the Glacial Crevice.
- Draw from the basin at the Wayshrine of Radiance.
- Enter the Inner Sanctum.
- Enter Auriel’s Chapel.
- Speak to Arch-Curate Vyrthur.
- Defeat the frozen falmer and frost atronach.
- Pursue Vyrthur to the grand balcony and defeat him.
- Speak to Gelebor and receive Auriel’s Bow.
Below is a walkthrough of Touching the Sky (1 hour 50 minutes).
https://www.youtube.com/watch?v=PlZQauEEnIU
10. Volendrung
 The Dragonborn wields Volendrung.
Volendrung is a unique two-handed warhammer that is also a daedric artifact. It is acquired by completing the quest “The Cursed Tribe”.
Timeline
- Volendrung is owned by the Rourken, a Dwemer clan.
- According to legend, the chieftain threw the hammer across Tamriel, deciding that the clan would settle wherever it landed (Hammerfell).
- The chieftain raises the city of Volenfell, the western dwemer capital.
- The hammer eventually ended up in the possession of Malacath, although exactly how he acquired it is unknown.
Stats
- Base damage - 25
- Weight - 26
- Base value - 1843
- Smithing upgrade - ebony
- Enchantment - absorb 50 points of stamina
What Makes Volendrung Awesome
- Offsets the drain stamina effect of power attacks, which is very heavy with two-handed weapons
- Swings faster than most other warhammers
The Cursed Tribe
- Approach Largashbur and speak to Atub.
- Retrieve troll fat and a daedra heart for Atub.
- Watch the ritual.
- Speak to Yamarz and follow him to Fallowstone Cave.
- Make your way through the cave into Giant’s Grove.
- Either take Yamarz’s bribe to defeat the giant or refuse.
- Yamarz will be killed by the giant if you refuse and you will still need to kill the giant. If you take the bribe and kill the giant for him, Yamarz will attack you and he must be killed.
- Take the warhammer (Shagrol’s Hammer) and return it to Largashbur.
- Speak to Atub.
- Listen to Malacath address the tribe.
- Place Shagrol’s Hammer onto the shrine, where it will be transformed into Volendrung. It can then be taken from the shrine.
Below is a walkthrough of The Cursed Tribe (18 minutes).
https://www.youtube.com/watch?v=kj5Y5oInL8E
9. Miraak’s Staff
 The Dragonborn uses Miraak's Staff to spray poison tentacles at an opponent.
Miraak’s Staff is a unique staff that belongs to Miraak, a dragon priest and the first of all known dragonborns. It can be looted from Miraak’s remains after defeating him at the end of “At The Summit of Apocrypha”. This is the final quest in a series related to the Dragonborn questline.
Timeline
- Miraak, dragon priest of Solstheim, comes into possession of a Black Book and enters into servitude of Hermaeus Mora (daedric prince of knowledge and fate).
- Hermaeus Mora teaches Miraak the Bend Will shout, which allows the user to bend the will of dragons.
- Miraak turns on his dragon masters and devours their souls using the shout in order to increase his own power.
- Miraak refuses to assist the ancient nord heroes in defeating Alduin and, instead, launches his own rebellion against dragons.
- Miraak is defeated by another dragon priest, Vahlok, who restrained him to Soltheim.
- Miraak stays in Apocrypha (realm of Hermaeus Mora) until he has enough power to return to Solstheim.
- Miraak is defeated by the Dragonborn.
Stats
- Base damage - n/a
- Weight - 8
- Base value - 1649-1849
- Smithing upgrade - n/a
- Enchantment - sprays tentacles on the ground that poison and stagger enemies
What Makes Miraak’s Staff Awesome
- Tentacles last for a while, making this useful for confining enemies to specific areas, or using it as a defense
- Long range of spray
At The Summit of Apocrypha
- Unlock the Bend Will shout.
- Read “Waking Dream”.
- Navigate through the chapters (6 total) until you are met by a dragon, Sahrotaar.
- Mount Sahrotaar and he will take you to Miraak’s Temple.
- Defeat Miraak. You will need to do this four times as, after the first three times, he will use Become Ethereal to escape and kill a dragon in order to devour its soul and completely restore his health.
- Upon the fourth defeat, Hermaeus Mora appears and kills Miraak.
- You will gain ten dragon souls from Miraak upon his death. His remains can be looted for his armor, sword, and staff.
- Read the Black Book to return to Soltheim.
Below is a walkthrough of At The Summit of Apocrypha (57 minutes).
https://www.youtube.com/watch?v=nEs842w2JpE
8. Bloodscythe and Soulrender
 The Dragonborn dual-wields Bloodscythe and Soulrender.
Bloodscythe and Soulrender are unique scimitars that, when dual wielded, can have effects on enemy health, armor, magicka, and magical defenses. They were originally owned by legendary pirate king, Haknir Death-Brand. You will find these at the end of the quest “Deathbrand”.
Timeline
- Haknir Death-Brand refuses to name a successor and, instead, placed a curse upon his crew, armor, and swords, making it so that no one could claim his treasure until he was bested in combat, even in death.
- Garuk Windrime (ship’s quartermaster) is ordered to bury the four pieces of the Deathbrand armor (armor, boots, gauntlets, helm) across the four corners of Solstheim.
- Haknir and Thalin Ebonhand (helmsman) sail to Gyldenhaul Barrow, where Haknir wished to be buried with his treasure.
Stats (Bloodscythe)
- Base damage - 13
- Weight - 10
- Base value - 1859
- Smithing upgrade - ebony
- Enchantment - absorb 15 health, chance to lower target’s armor
Stats (Soulrender)
- Base damage - 13
- Weight - 10
- Base value - 1000
- Smithing upgrade - ebony
- Enchantment - absorb 15 magicka, chance to lower target’s magical defenses
What Makes Bloodscythe and Soulrender Awesome
- Four separate available enchantments when dual wielded
- Increased power when wielded while wearing full set of Deathbrand armor (up to 40%)
Deathbrand
- Find and read a copy of “Deathbrand” at level 36 or higher (quest will not trigger if under level 36). This can be found in Tel Mithryn or Raven Rock Temple.
- Alternatively, you may stumble on one of the chests and fight off the pirates guarding it to trigger the quest. The pirate captain will have a map of the locations of the armor.
- Find the Deathbrand Helm (Haknir’s Shoal, north of the Wind Stone), Deathbrand Armor (north of the Earth Stone, southwest of Bloodskal Barrow), Deathbrand Boots (west of Tel Mithryn), and Deathbrand Gauntlets (south of Bristleback Cave) and the key to Gyldenhaul Barrow (found in the last chest).
- Enter Gyldenhaul Barrow and mine through the Stalhrim blocking the sarcophagus on the right. You need the Ancient Nordic Pickaxe to get through Stalhrim.
- Enter Haknir’s chamber through the iron door at the end of the hallway.
- Take Bloodscythe from behind the remains of Haknir. Doing so will trigger his ghost to appear and attack.
- Defeat Haknir and his crew members in order to collect Soulrender from his remains.
* The order in which the Helm, Armor, Boots, and Gauntlets are found does not affect the completion of the quest. *
Below is a walkthrough of Deathbrand (14 minutes).
https://www.youtube.com/watch?v=rxnOJLyFfWQ
7. Harkon’s Sword
 The Dragonborn does a one-handed attack with Harkon's Sword.
Harkon’s Sword is a unique one-handed sword obtained from Lord Harkon after defeating him in “Kindred Judgement”. You can also obtain this by pickpocketing with the misdirection perk, although this will be very difficult.
Timeline
- Lord Harkon uncovers the “Tyranny of the Sun” prophecy, which says that the sun will be blocked out permanently and that vampires will be free to roam during the day.
- Lord Harkon plans to use his daughter’s (Serana) blood (she is a Daughter of Coldharbour) to tip an elven arrow and shoot it at the sun with Auriel’s Bow.
- Valerica (Harkon’s wife and Serana’s mother) locks Serana, along with an Elder Scroll, in Dimhollow Crypt and flees to the Soul Cairn (plane of Oblivion inhabited by souls and undead).
- The Dragonborn finds Serana and brings her to Castle Volkihar (Harkon’s home).
- The Dragonborn sides with the Dawngaurd, Serana will follow, and they will work together to defeat Harkon and his followers.
Stats
- Base damage - 8
- Weight - 9
- Base value -1472
- Smithing upgrade - steel
- Enchantment - absorb 15 points each of health, stamina, and magicka if wielded by a vampire
What Makes Harkon’s Sword Awesome
- Ability to absorb health, magicka, and stamina from the target
Kindred Judgement
- Speak to Serana after receiving Auriel’s Bow.
- Return to Fort Dawnguard for further instruction.
- Meet the members of the Dawnguard at Castle Volkihar.
- Defeat the vampires and death hounds.
- Enter Castle Volkihar Cathedral.
- Defeat Harkon and loot Harkon’s Sword from his remains.
Below is a walkthrough of Kindred Judgement (38 minutes).
https://www.youtube.com/watch?v=VISDWEx8f4c
6. Bloodskal Blade
 The Dragonborn creates an energy blast with the Bloodskal Blade.
The Bloodskal Blade is a unique two-handed Greatsword found in Bloodskal Barrow at the end of “The Final Descent”.
Timeline
- Bloodskal Barrow originally belongs to the Bloodskal Clan and is the resting place of Zahkriisos (dragon priest).
- The blade is found by Gratian Caerellius (miner) before he is killed by the draugr.
- Approximately 200 years later, one of his descendants, Crescius Caerellius, sends the Dragonborn to retrieve Gratian’s journal from the barrow.
Stats
- Base damage - 21
- Weight - 16
- Base value - 500
- Smithing upgrade - silver
- Enchantment - releases energy blasts with power attacks that deal 30 damage
What Makes the Bloodskal Blade Awesome
- Energy blast can be used on enemies without breaking the Become Ethereal shout’s effect
- Does not require soul gem recharging
- Energy blast can be used against allies and NPC’s without drawing aggression
- Energy blast can detonate rune spells
The Final Descent
- Speak to Crescius Caerellius inside Raven Rock Mine.
- Enter the mine and navigate through the paths until you see the spot to jump down to the lower park of the mine.
- Follow the water to the chest and collect Gratian’s journal.
- The Bloodskal Blade will be nearby and can be used to open the Bloodskal Door (aim energy blasts).
- Navigate to and defeat Zahkriisos.
- After defeating him, you will see a word wall and Black Book (triggers a separate quest).
- Follow the stairs and use the pull chain to open a stone door and get back to Solstheim.
Below is a walkthrough of The Final Descent (31 minutes).
https://www.youtube.com/watch?v=3zEslfW0HaQ
5. Mace of Molag Bal
 The Dragonborn beats Logrulf into submission.
The Mace of Molag Bal is another daedra artifact. It is a unique one-handed mace. It can be found in the abandoned house in Markarth, although it will appear as an unchanted, rusty mace until the quest “The House of Horrors” is completed. Molag Bal is the daedric prince of domination and enslavement of mortals. Upon arrival in Markarth, you will be met by Tyranus, a Vigilant of Stendarr, who is investigating the house as he believes it to be a site of previous daedra worship.
Stats
- Base damage - 16
- Weight - 18
- Base value - 1257
- Smithing upgrade - ebony
- Enchantment - 25 damage to stamina and magicka; fills soul gem if target dies within 3 seconds of the hit
What Makes the Mace of Molag Bal Awesome
- Ability to fill empty soul gems
- Most powerful unique mace in the game (base damage)
House of Horrors
- Speak to Tyranus and follow him into the basement of the abandoned house.
- Kill Tyranus per Molag Bal’s command.
- Step onto the altar and speak to Molag Bal. (He will trap you in a spiked cage.)
- Rescue Logrulf in a random forsworn camp.
- Lure Logrulf into the basement.
- Beat Logrulf into submission.
- Receive the Mace of Molag Bal.
Below is a walkthrough of the quest (13 minutes).
https://www.youtube.com/watch?v=UowhG1EaGtg
4. Champion’s Cudgel
 The Dragonborn wields the Champion's Cudgel at the College of Winterhold.
The Champion’s Cudgel is a unique two-handed warhammer that is obtained from General Falx Carius after defeating him in “March of the Dead”.
Timeline
- Captain Falx Carius is the Imperial commander of Fort Frostmouth.
- Falx is captured by daedric Lord Hircine and forced to take part in a series of trials related to the Bloodmoon Prophecy.
- Falx is forced to confront the Nerevarine.
- Falx is presumably killed by the eruption of Red Mountain or following ash storms.
- Falx is resurrected by a necromancer before being defeated by the Dragonborn.
Stats
- Base damage - 24
- Weight - 27
- Base value - 1767
- Smithing upgrade - n/a
- Enchantment - 50% chance of each element (fire, frost, shock) to do 25 points of damage
What Makes the Champion’s Cudgel Awesome
- Enchantment is leveled
- Chance to inflict multiple elements of damage at once
March of the Dead
- Rescue Captain Veleth from the ash spawn and speak to him.
- Find the note called “Declaration of War” near Old Attius Farm and give it to Veleth.
- Enter Fort Frostmouth and defeat the ash spawn.
- Navigate through the fort to find the general and defeat him.
- The Champion’s Cudgel can be looted from his remains.
- Return to Veleth to complete the quest.
Below is a walkthrough of March of the Dead (21 minutes).
https://www.youtube.com/watch?v=3z5BSzTCOU8
3. Sanguine Rose
 The Dragonborn summons a dremora with the Sanguine Rose.
The Sanguine Rose is a unique staff that, when cast, will summon a dremora to fight for you for 60 seconds. It is a daedric artifact belonging to Lord Sanguine (daedric lord of debauchery). The dremora summoned are leveled based on character level at the time of summoning, with a range of 12-46. This staff is gained once “A Night to Remember” is completed.
Stats
- Base damage - n/a
- Weight - 10
- Base value - 2087
- Smithing upgrade - n/a
- Enchantment - summons a dremora for 60 seconds
What Makes the Sanguine Rose Awesome
- Summoned dremora can be resummoned prior to the 60-second window if it is killed in battle
- Ability to use skills on summoned dremora to level up
- Ability to loot weapons on occasion upon dremora death/expiration
A Night To Remember
- Find Sam Guevanne in a random tavern and speak to him.
- Accept Sam’s offer of a drinking contest.
- Help clean the temple and apologize to the priestess.
- Speak to Ennis in Rorikstead and assist him in finding his goat, Gleda.
- Speak to Ysolda in Whiterun and find the wedding ring for her.
- Speak to Sam inside Morvunskar.
- Receive the Sanguine Rose from Lord Sanguine.
* It is possible to skip the tasks assigned to you by the priestess, Ennis, and Ysolda through either bribing or persuading if your Speech skill is high enough. *
Below is a walkthrough of A Night to Remember (34 minutes).
https://www.youtube.com/watch?v=ocPR_cVj6rM
2. Dragonbane
 The Dragonborn battles a dragon with Dragonbane.
Dragonbane is a unique one-handed sword that once belonged to the Blades, a faction of dragonslayers that has since disbanded. It is found in Sky Haven Temple during “Alduin’s Wall”.
Stats
- Base damage - 10-14
- Weight - 10-14
- Base value - 970-1560
- Smithing upgrade - quicksilver
- Enchantment - 20-40 points of extra damage to dragons, 10 points of shock damage to others
What Makes Dragonbane Awesome
- Very helpful in completing the Dragonborn questline and defeating dragons
- Does shock damage to all enemies
Alduin’s Wall
- Escort Esbern (found in The Ratway) to the Sleeping Giant Inn in Riverwood to talk to Delphine.
- Meet Delphine and Esbern at Karthspire.
- Enter into the caverns after defeating the forsworn and hagraven (and also sometimes a dragon).
- Navigate to the entrance of the temple.
- Speak to Esbern and step onto the pressure plate.
- Dragonbane can be found inside the temple while Esbern is examining the wall.
- Speak to Esbern to complete the quest.
Below is a walkthrough of Alduin’s Wall (9 minutes).
https://www.youtube.com/watch?v=KVEDJutEE_I
1. Dawnbreaker
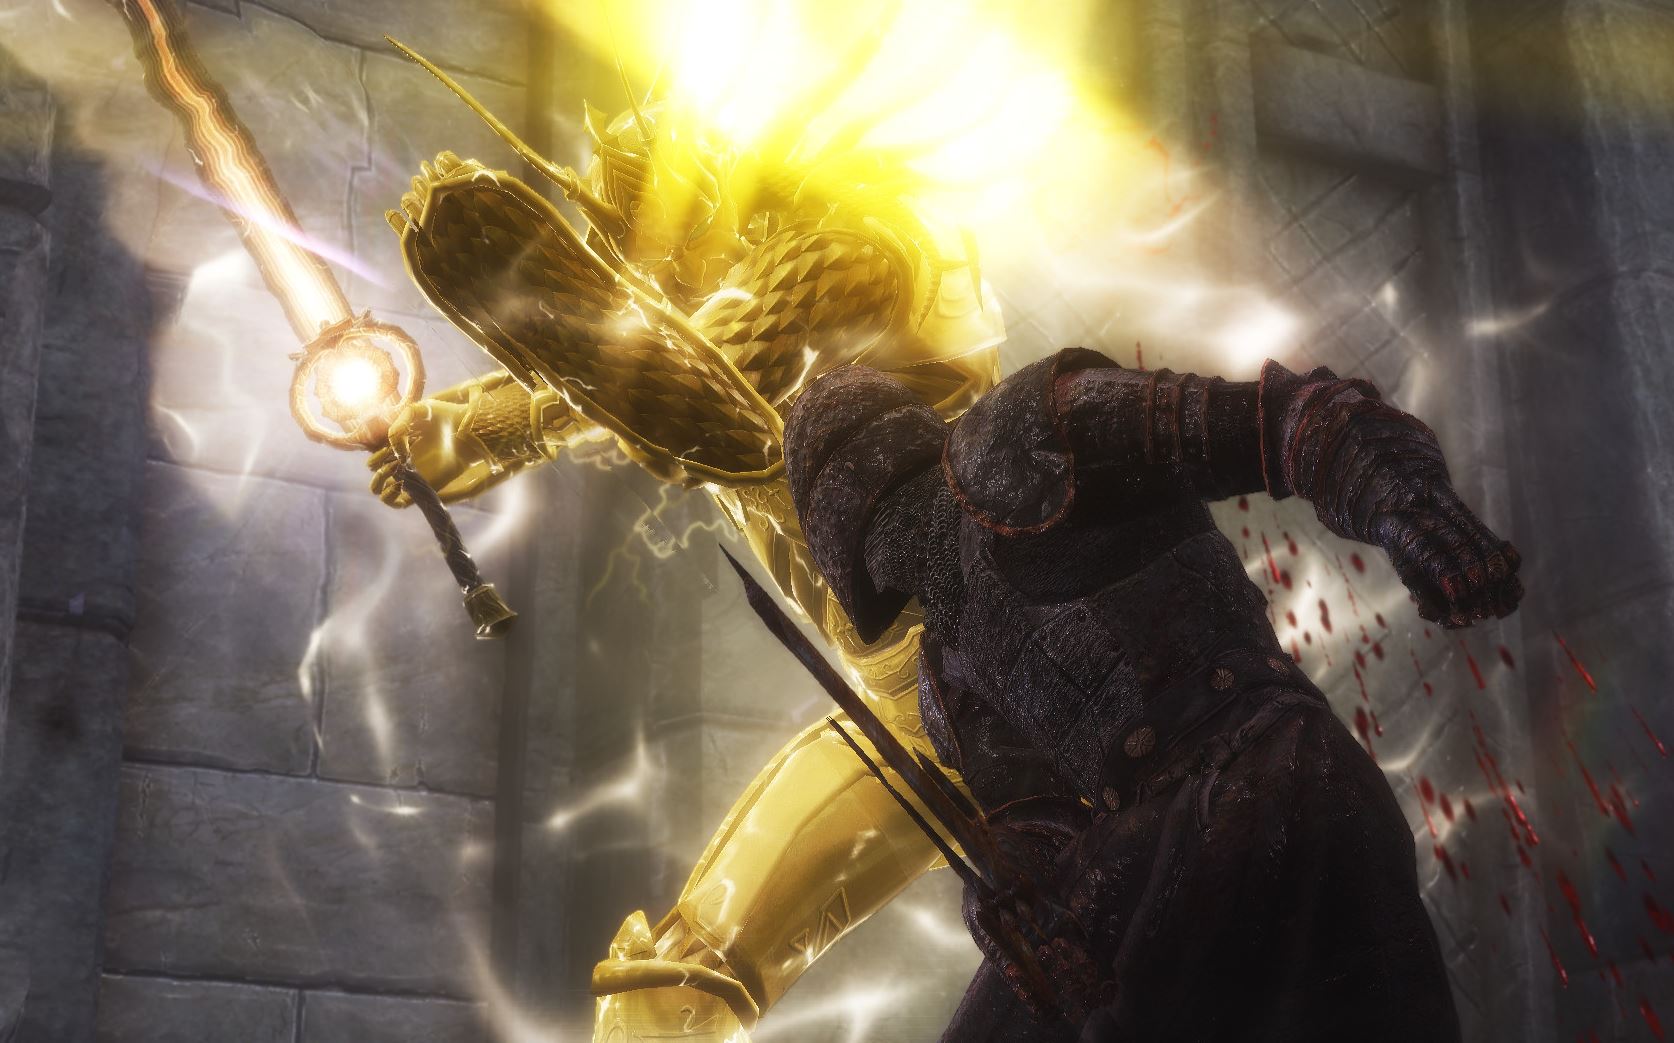
 The Dragonborn creates an explosion with Dawnbreaker.
The Dawnbreaker is a unique one-handed sword found inside the Statue to Meridia after completing “The Break of Dawn”. It is very helpful for battles against the undead. It is a daedric artifact belonging to the daedric prince Meridia.
Stats
- Base damage - 12
- Weight - 10
- Base value - 740
- Smithing upgrade - ebony
- Enchantment - burns for 10 points, chance to cause a fiery explosion if used to kill undead that will turn or destroy nearby undead
What Makes Dawnbreaker Awesome
- Explosion will affect undead of any level
- Higher charge than most enchanted weapons
The Break of Dawn
- The quest can be triggered by either discovering the Statue to Meridia or finding Meridia’s Beacon in a random chest (level 12 or higher).
- Place the beacon at the shrine.
- Enter Kilkreath Temple and guide Meridia’s light through the temple to unlock doors.
- Defeat Malkoran in the final room of the temple.
- Retrieve Dawnbreaker.
Below is a walkthrough of The Break of Dawn (14 minutes).

