Home
Home PC Game Trailers
 News
News Menu
Menu[Top 15] Dota 2 Best Ward Spots For Winning Games
Updated: 27 Jun 2023 5:46 pm

 BY: Siddhesh B.
Warding is a feature in Dota which is sadly overlooked, but if utilized correctly, it can change the trajectory of the game. The Observer Wards are pretty self-explanatory, they provide you with the vision of a certain area when you plant them, alerting you of any incoming rotations or allowing your team to gank the unsuspecting foes. Wards are undoubtedly essential to the game, a mechanic which we wish never gets removed. Start utilizing the spots that you haven’t and see your MMR go up through the roof!
To assist you in winning your ranked games, we bring you the Best 15 Wards Spots. These spots are up to date with the current map and meta, and hence you can use them in your pub games without any hassle.
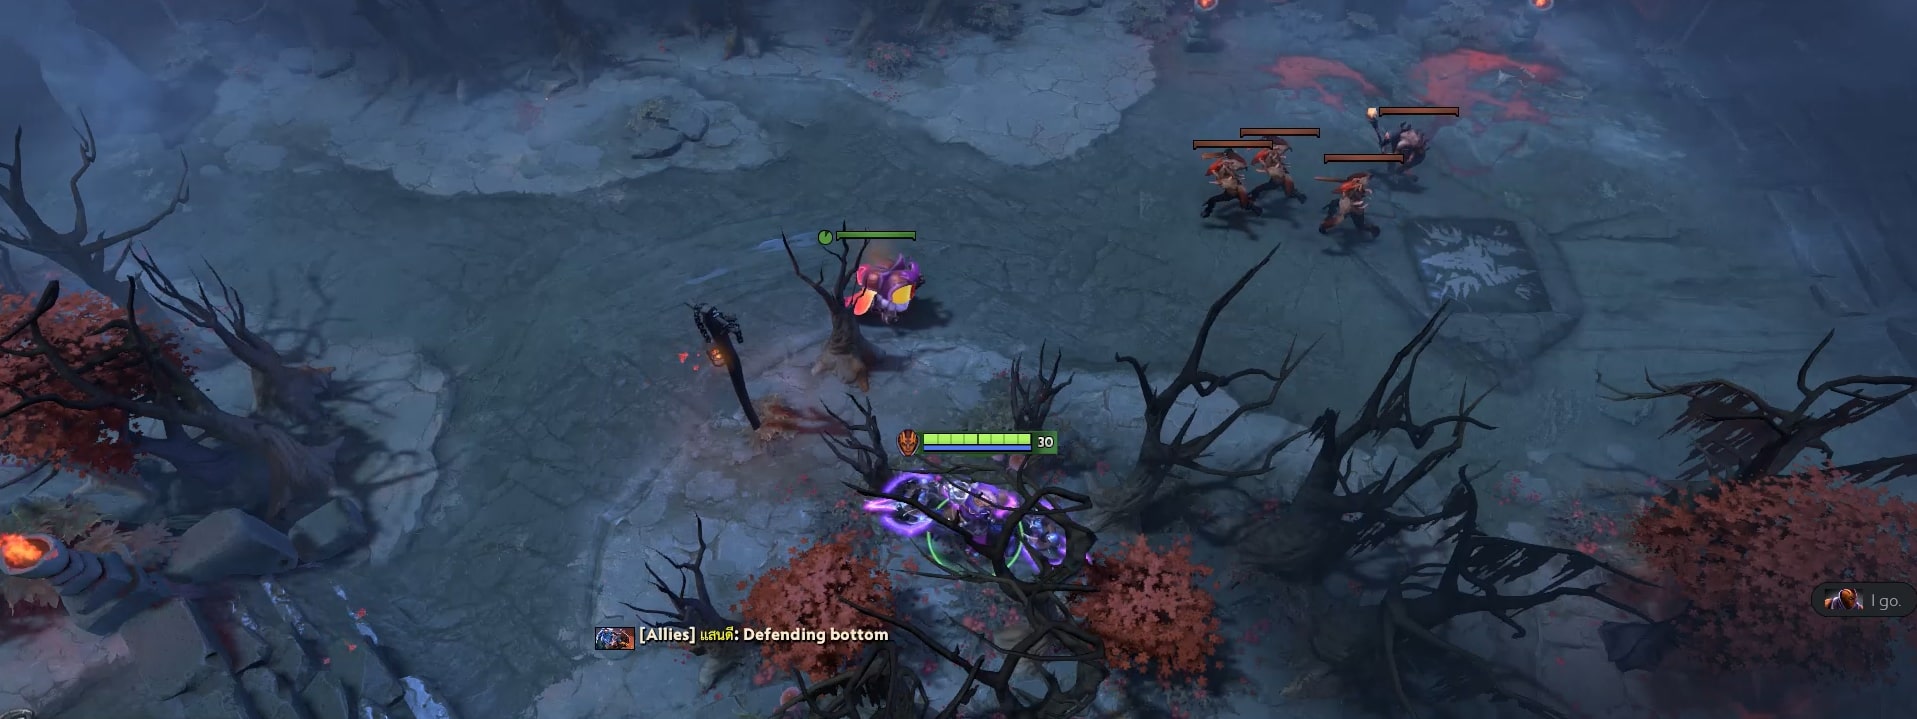
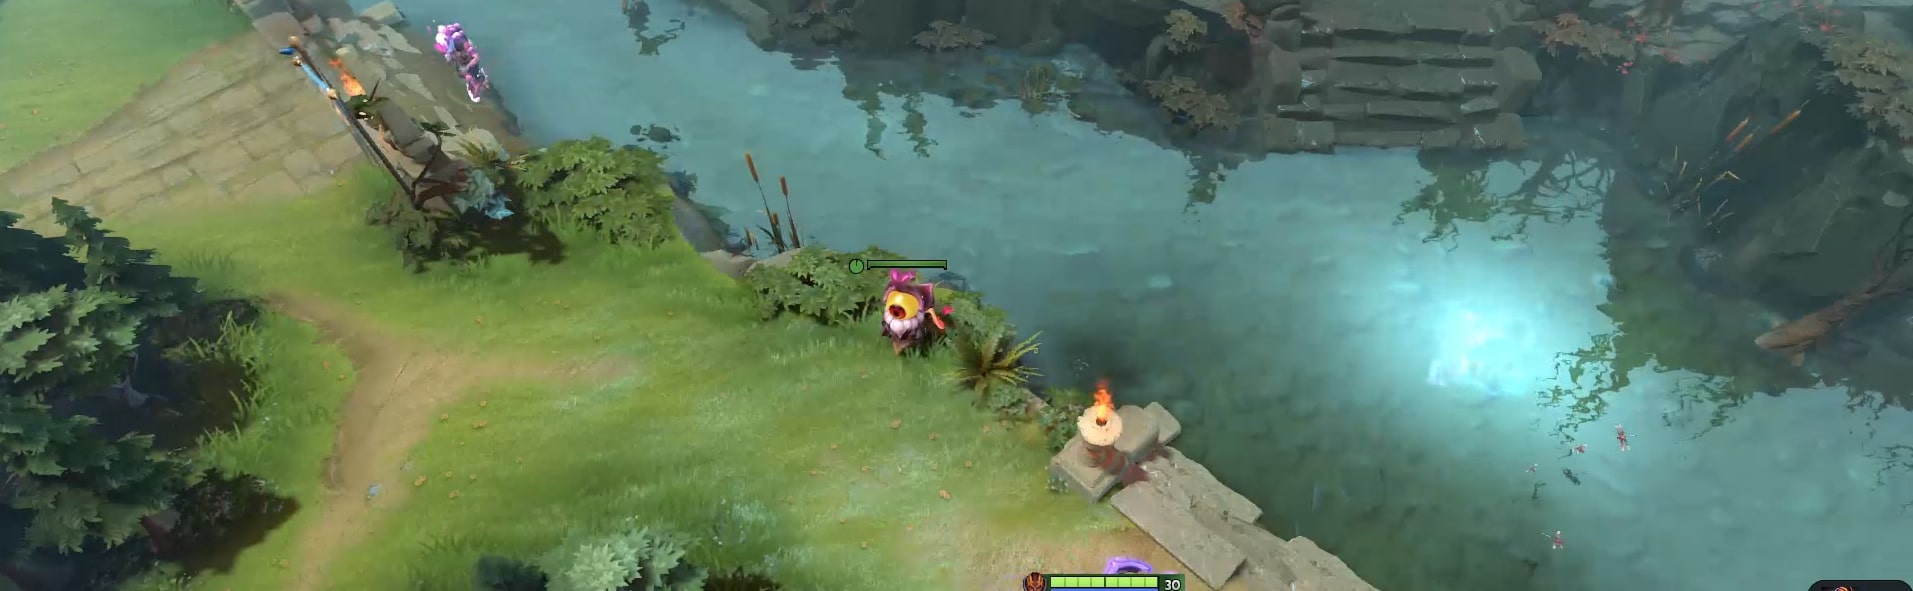
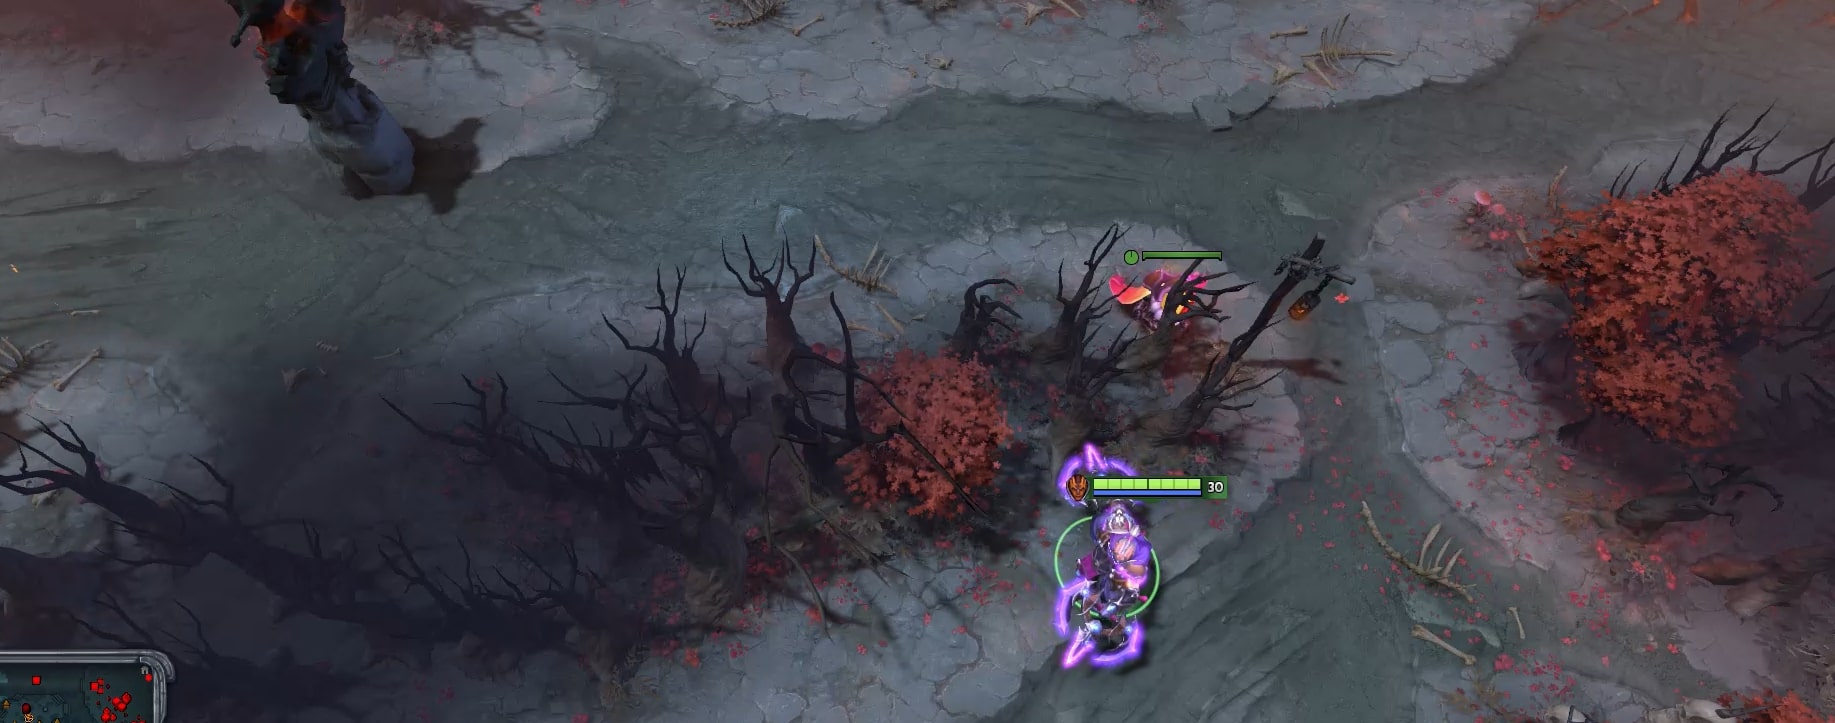
15. Radiant Top Cliff Ward
This cliff ward is highly underrated and mostly overlooked in the game, but it is one of the most essential ward spots which can make or break the game! The cliff spot provides you flying vision over the nearby area, providing you with the vision of neutral creeps and potentially any heroes trying to invade your territory.
Though this ward is often seen in the late game, it is also advantageous in the early game. This deep ward can even net you any kills if you’re on the Dire side. Any unsuspecting low HP enemy can’t escape alive if he is seen under this ward!
Advantages of this ward
- Provides vision of neutral creeps and heroes in the vicinity
- It can also be used defensively to escape or prevent any incoming ganks
- Offensively it can be used to gank any unaware enemy hero farming in that area.
14. Deep Lane Wards
Like the ward spot seen above, spots between the towers are criminally underrated as they’re not utilized much in your typical pub games. Such wards are seen in the higher MMR pool where players understand the concept of deep wards. These ward spots can be placed on both sides and can be used to gank any unsuspecting and unaware hero farming in the jungle nearby.
These wards are extremely useful after the 15-20 minute mark, as this is the duration where most of your tier 1 towers are destroyed, you need this ward to push lanes and scout for any enemies in the process of smoking up or ganking any lanes.
Advantages of this ward
- This is a great ward to spot enemy rotations, which can help you gank or escape from the enemies depending upon the scenario
- Highly useful to snipe couriers or intercept ganks
- Does not get dewarded quickly as it is an unusual spot
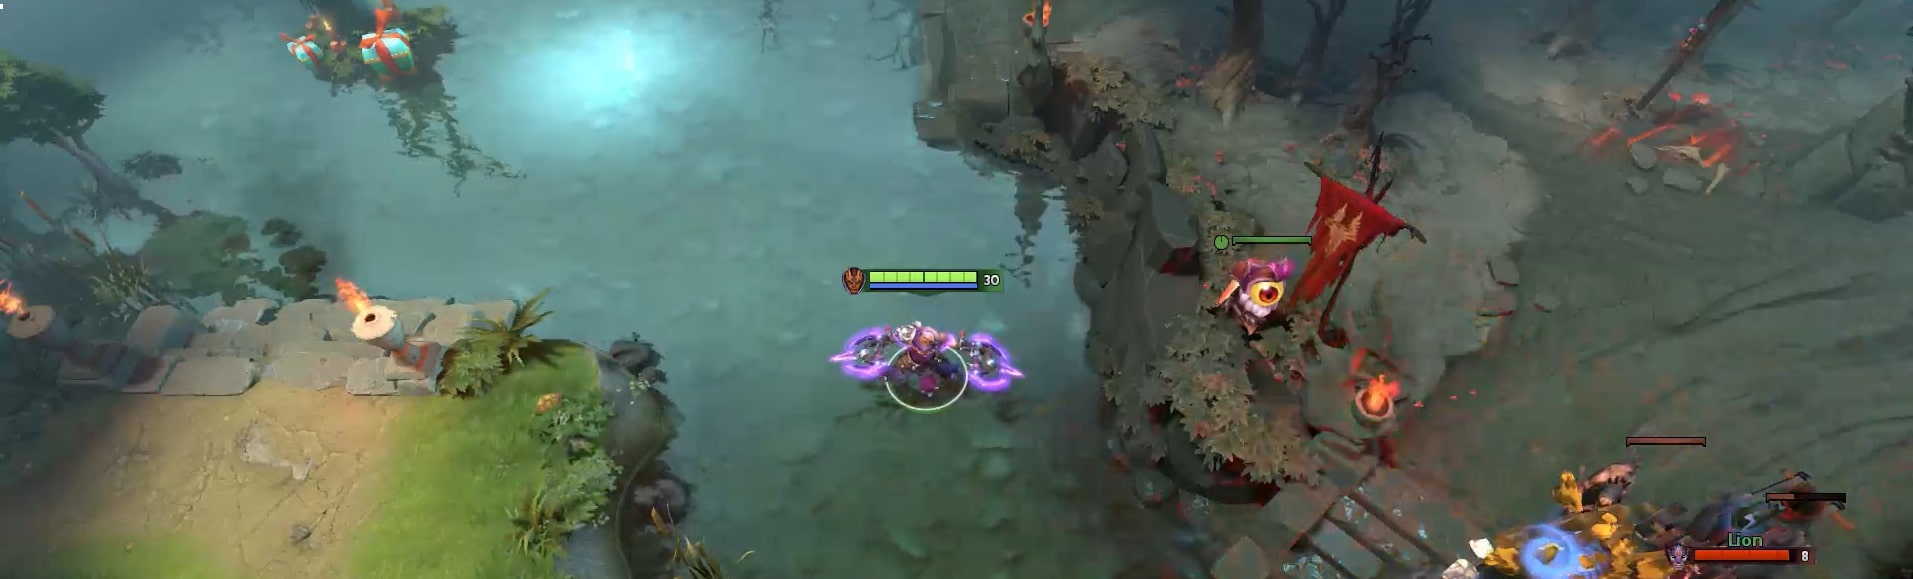
13. Radiant Top Cliff Ward
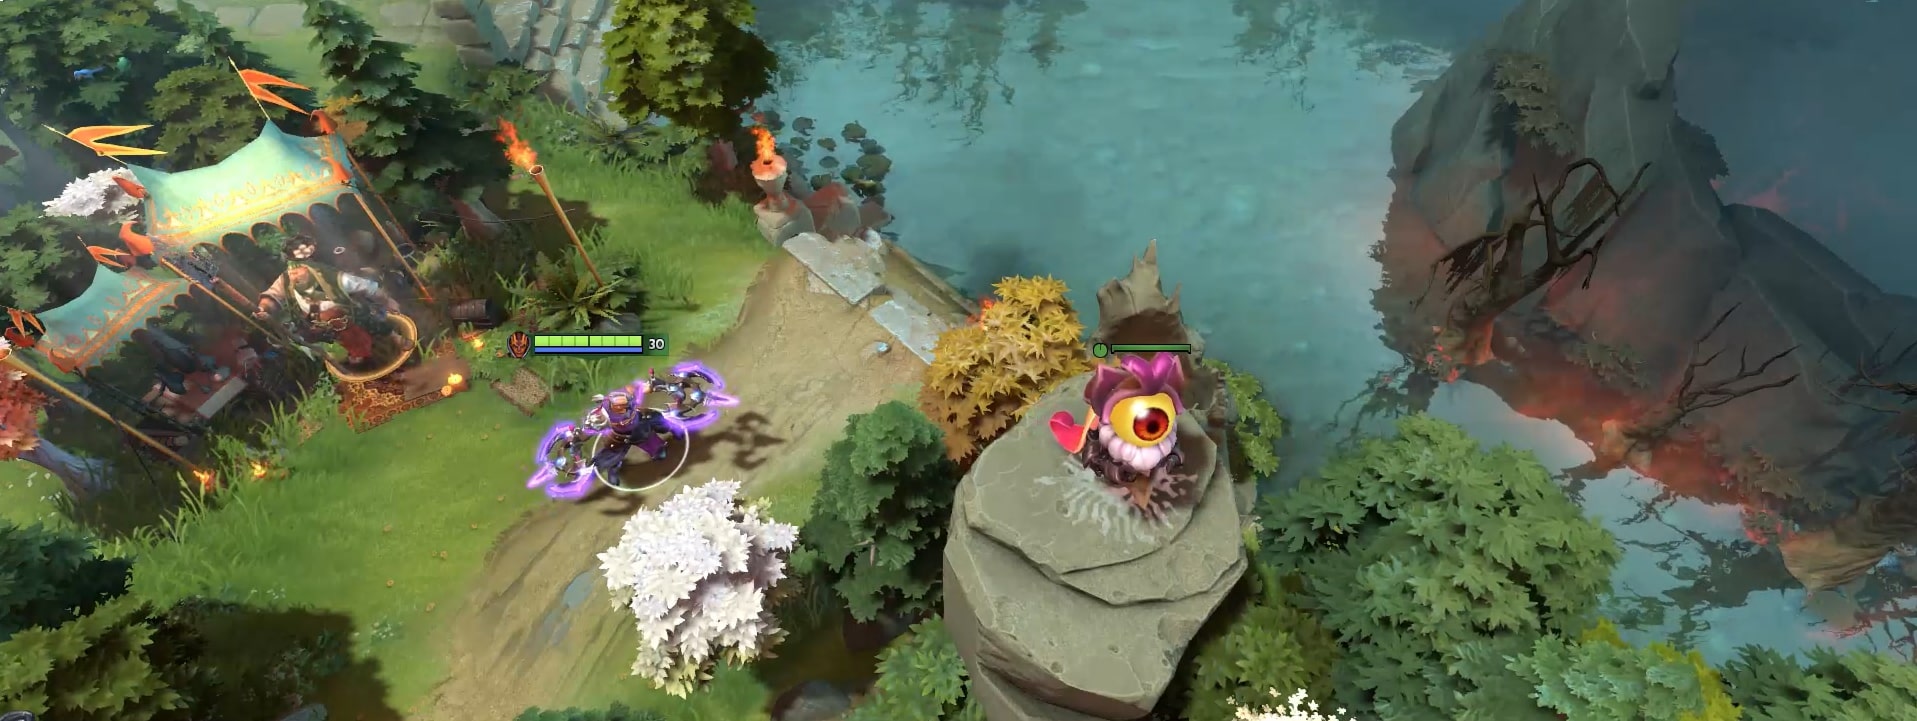
Some wards are generally great regardless of the side of the map you’re playing on! For Radiant, this is a great defensive ward to spot any potential Roshan attempts or to safeguard your ancient creep stacks. For Dire, this ward turns into an offensive ward, giving a vision of the enemy team while they farm or as you’re attempting to Rosh.
You may even place these wards to provide vision to your cores to farm safely without worrying about any enemy ganks. This ward isn’t that common of a spot in the recent meta, but it works wonders if you place it in the late stages of the game where it all boils down to who gets the Aegis!
Advantages of this ward
- Provides vision near the Roshan pit
- It can be used both offensively and defensively
- It also spots any potential ganks or enemy smokes
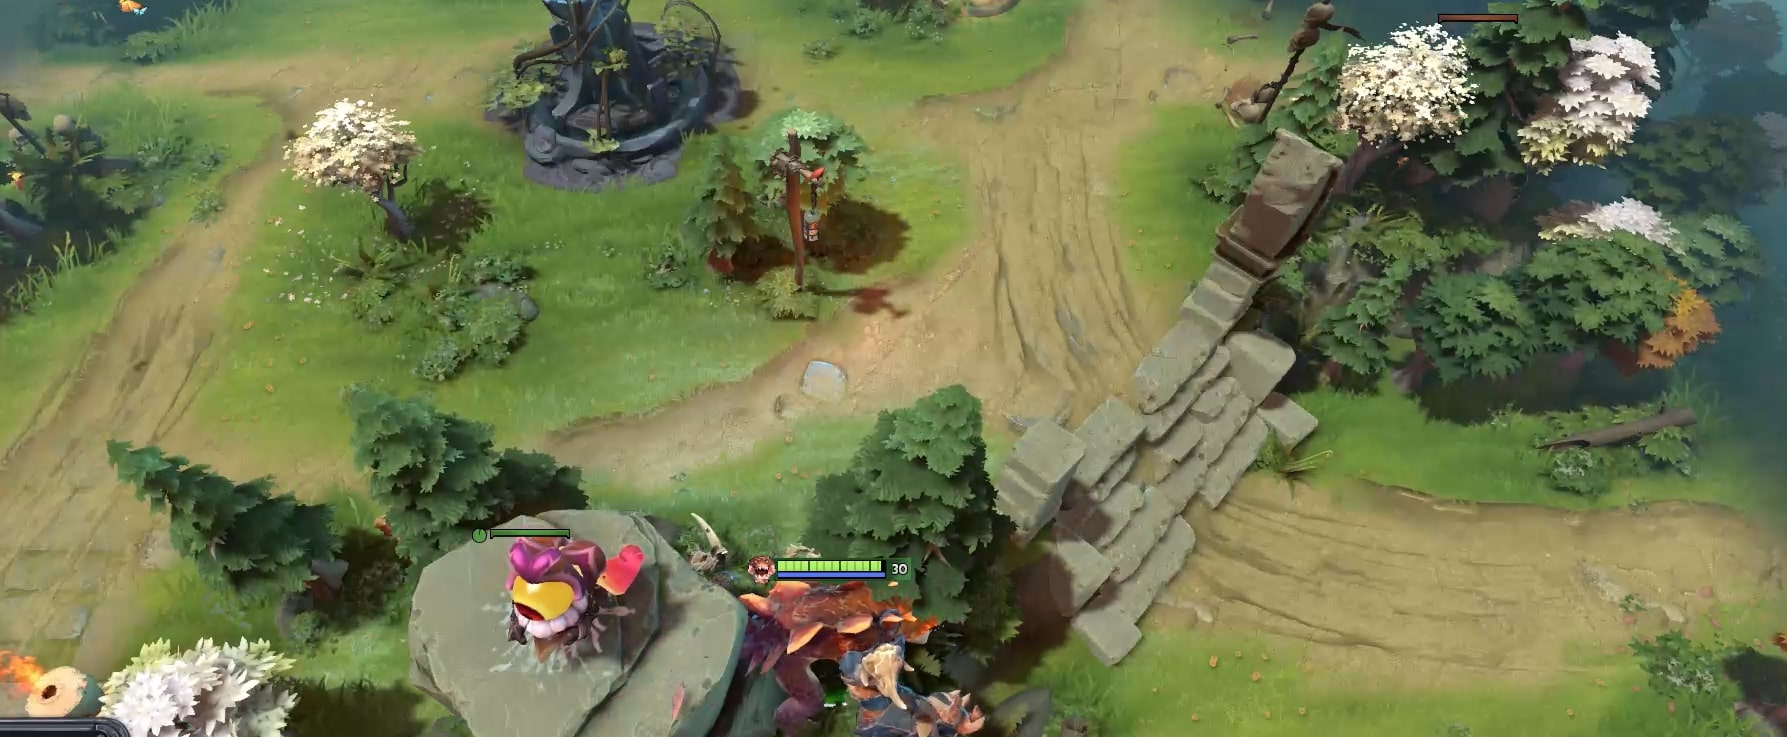
12. Dire Jungle Cliff Ward

The magnificent cliff wards, no matter wherever on the map, are considered extremely useful. But, certain cliff wards are considered to be more useful than others. If you happen to be playing on the Radiant side, you can plant this ward on the Dire jungle cliff, close to the small camp.
This ward offers you flying and unobstructed vision in a huge AoE, hence it can be used to spot out any enemy rotations, and incoming ganks, or snipe low HP enemies just farming in the jungle. This ward can also spot the support hero trying to pull, hence you can intercept the pull on time if you are close by!
Advantages of this ward
- Extremely high unobstructed vision
- Great to spot rotations and hiding enemies
11. Radiant Mid Lane Ward
There is no doubt about wards between the towers being the rage in recent times, this is due to the significance of courier snipes and TP rotations. This ward can be used both defensively and offensively, it can be placed by you if you’re on the Dire side, and it's highly beneficial! Both sides make excellent use of this ward spot, all thanks to the symmetrical nature of the Dota map.
If your enemy is trying to be sneaky by rotating and hiding in the trees, waiting for the perfect time to pounce on you, then this ward is a lifesaver. It can also be used offensively to initiate on the enemy mid if you know the coast is clear.
Advantages of this ward
- It is a great ward for sniping couriers, or low HP enemies returning back to the base
- It also gives vision in case of any TP rotations or any enemies lurking around
10. Dire Mid Lane Ward
There is no doubt about wards between the towers being the rage in recent times, this is due to the significance of courier snipes and TP rotations. This is generally a defensive ward, it can be placed by you if you’re on the Radiant side, and it's highly beneficial!
If your enemy is trying to be sneaky by rotating and hiding in the trees, waiting for the perfect time to pounce on you, then this ward is a lifesaver. It can also be used offensively to initiate on the enemy mid if you know the coast is clear.
Advantages of this ward
- It is a great ward for sniping couriers
- It also gives vision in case of any TP rotations or any enemies lurking around
9. Radiant Rune Spot
This mid ward provides you the vision of the power rune, which ensures you don’t waste your time going to the other side in search of it. Along with that, this ward also spots out any potential gank attempts on you, making you play safe in the early game.
The ward also provides a faint vision of the enemy high ground, always keeping you up to date with the location of your fellow mid counterpart. The ward can also be used in the late game to spot any enemies trying to invade the bottom side of your jungle as Radiant. You can easily intercept such ganks or escape without any casualties if you have this ward down.
Advantages of this ward
- Gives a vision of the power rune and the enemy high ground
- Spots any potential ganks or enemies lurking around in the vicinity
8. Dire Outpost/Jungle Ward

This Dire cliff ward is of high value, as it is used to spot enemy-carry heroes farming alone deep into the jungle. Intercepting smoke ganks becomes easy with this ward. If you’re on Radiant, you can put this ward down on the cliff or on the low ground to provide a vision of any nearby foes while your team is fighting Roshan.
This ward is best in the early game as no one expects such a deep ward so early on. If you see any low HP enemies jungling or returning to the base, you can just snipe them if you’re in the vicinity. This ward is a common spot in the late game, as it is often used defensively by the Dire side.
Advantages of this ward
- Spots any enemy hero farming in the jungle
- Not a common ward spot if you place it in the early game, if you’re luck you may even get a kill or two with this secret ward
- It also provides a slight vision of the outpost, spotting any potential incoming enemy ganks or smokes
7. Highground Ward
If you’re pushing into the enemy team in the late game, the high-ground wards must be an essential part of your siege. This ward is used to spot any enemy movements, and also makes you prepared to use your spells if you see the enemies trying to initiate on you. There are various alterations to this spot, but they all work on both sides of the map! This ward is also seen being countered a lot, so use it wisely.
With this spot, the enemy position gets compromised and can’t initiate as you can quickly escape or retaliate without them getting a chance to react. It is an excellent spot that can see any courier rotations or any incoming smokes as well. Add this spot to your arsenal and see your team winning fights effortlessly!
Advantages of this ward
- Low chances of getting dewarded if you don’t make it obvious or initiate from the low ground
- This ward provides high-value vision as it can be the deciding factor of the game for your team
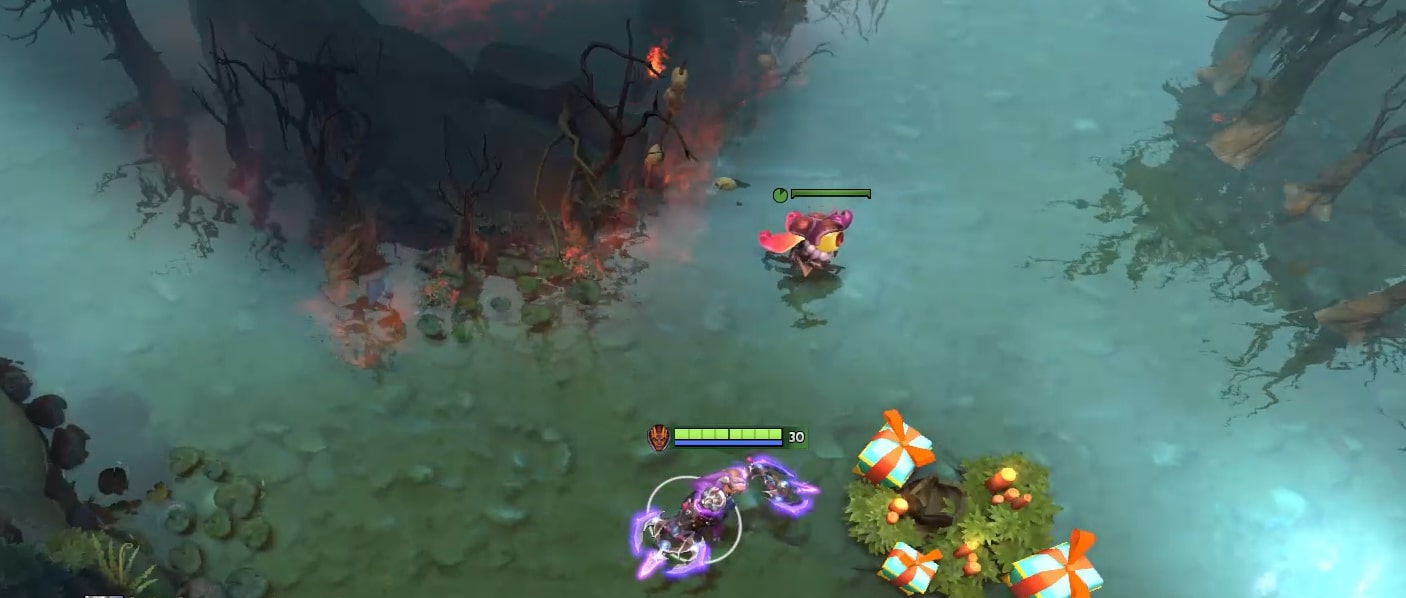
6. Radiant Outpost Ward
The Radiant Outpost ward is highly useful even if you’re on the Dire side! If as Dire, you place this ward on the cliff, you get all the essential information about the whereabouts of your enemies. You may even gank an unsuspecting enemy if they’re idly farming in this triangle.
Even on the Radiant side, this ward is useful as you can defensively plant it to grant vision of any incoming enemy ganks or counter wards. You may also intercept the gank or initiate it if you see it coming. Such deep wards are highly beneficial in the late game because most players do not see it coming!
Advantages of this ward
- Highly deep ward, very hard to get dewarded in the late game.
- Can be used both offensively or defensively.
- Can spot enemies farming the triangle camps nearby
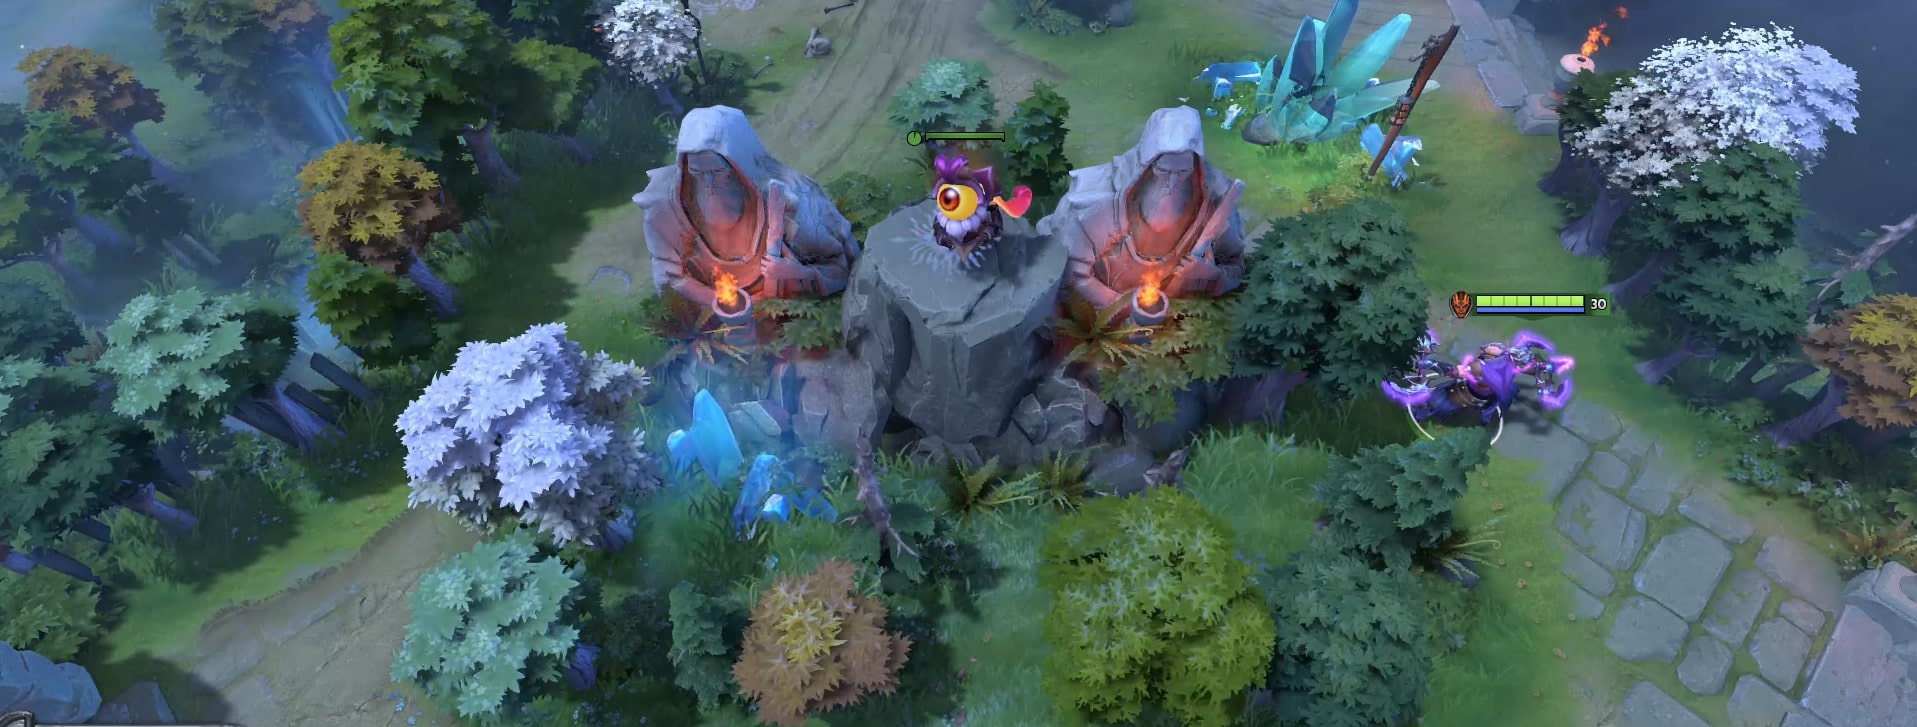
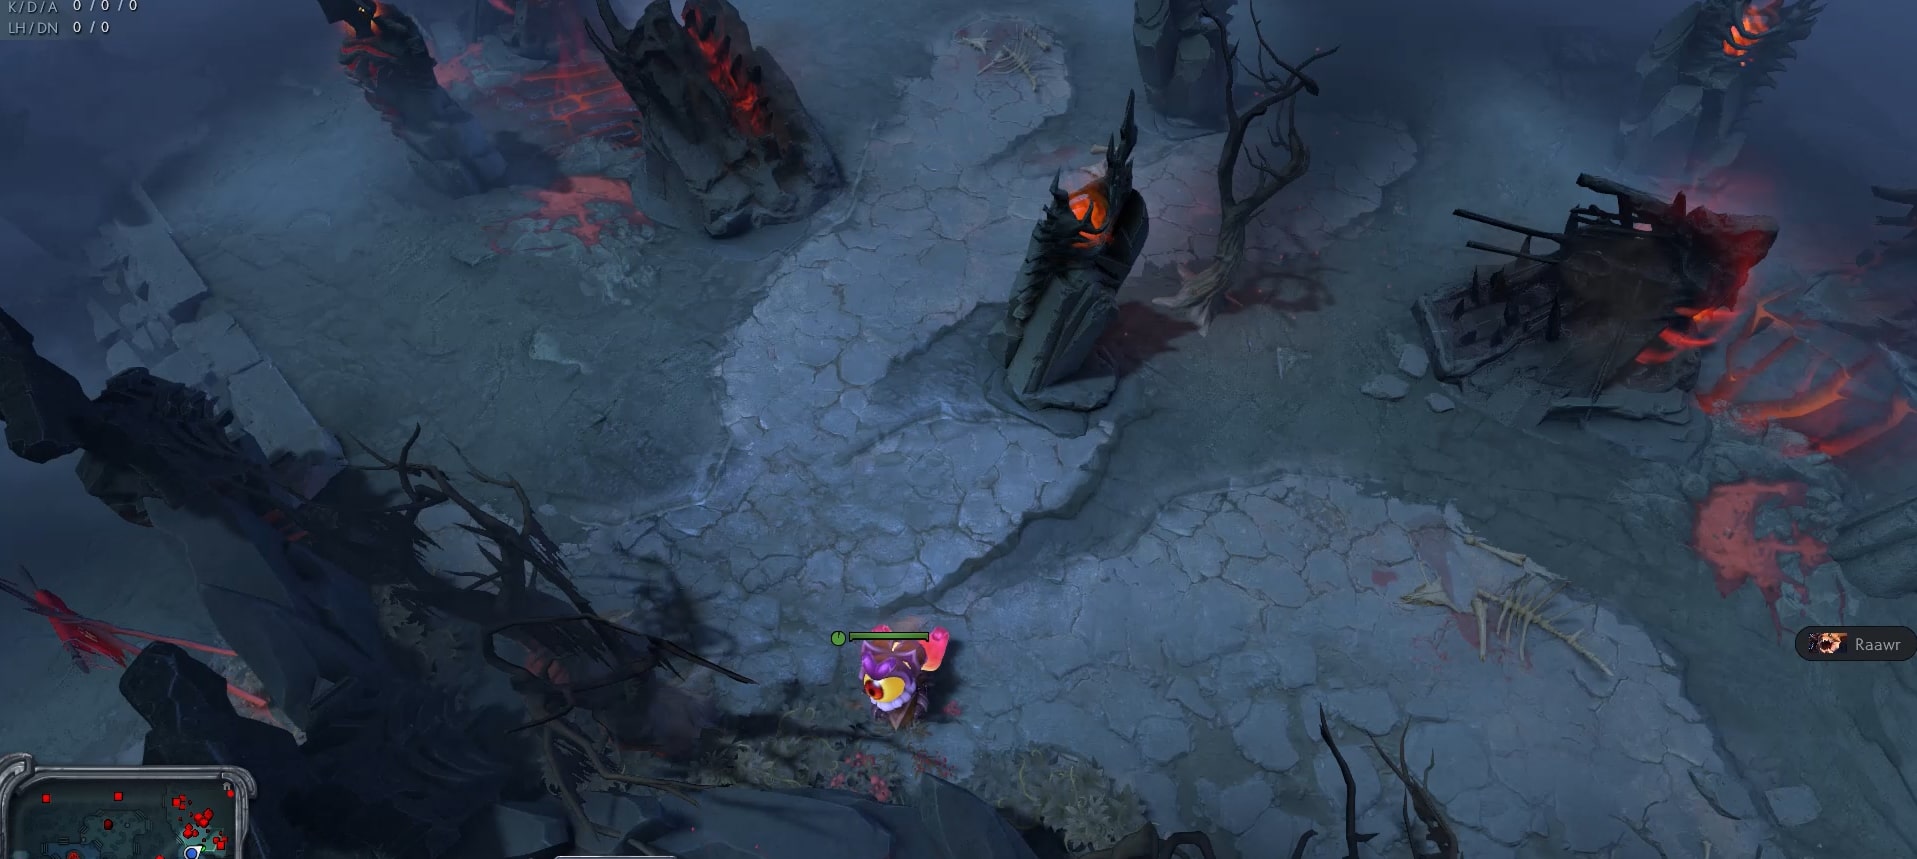
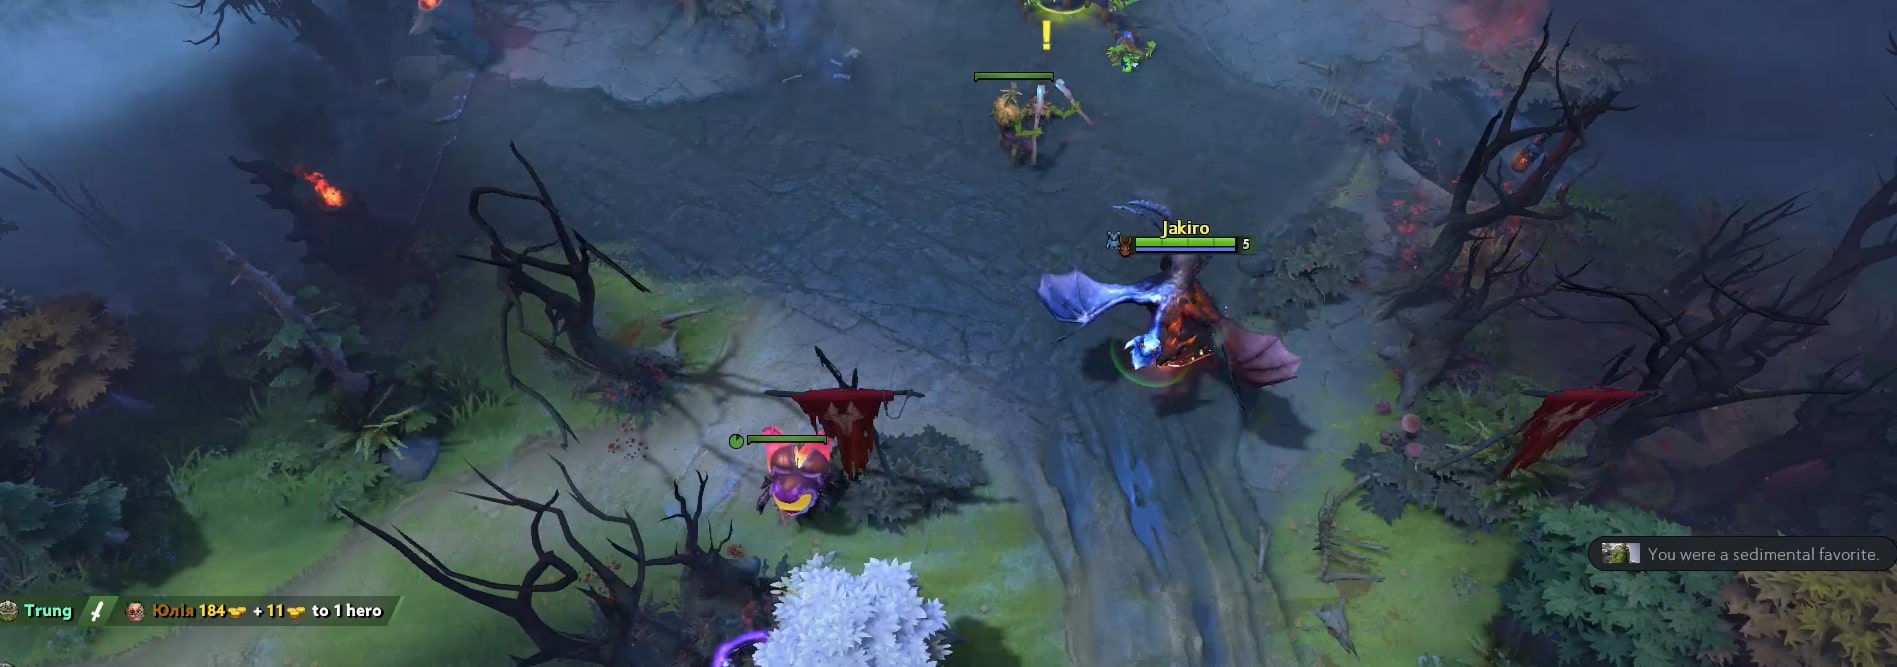
5. Roshan Ward
Undoubtedly the most prestigious neutral creep in the game has to be Roshan! The scaly-winged beast is a creature that all carry heroes want to slay. Hence, it is recommended to always have a Roshan ward which alerts you and your allies if enemies are seen sneaking into it. Beware, this spot is famously dewarded a lot, so unless you’re in the deep Herald trenches, you have to constantly fight for this spot!
The ward also provides a vision of the top rune, so if you find a double damage rune and the Rosh is up, you’ve hit the lucky jackpot! You don’t get any vision inside the Roshan but you can see enemy supports or heroes, in general, standing outside to guard their cores.
Advantages of this ward
- If the enemies aren’t smoked (which happens in low MMR brackets), you might just spot them entering the Roshan pit
- It is also a great spot for runes.
- It also provides a vision of any incoming ganks coming your way on the top side of the map.
4. Dire Safelane Ward
The Dire Safeleane ward is extremely useful in the early game, it gives a vision of any incoming enemy TP rotations. It can also be used to prevent the enemy support from pulling if you spot him under this ward, it’s also great to cancel any salve or clarity potions or snipe couriers if you see them coming under this extremely useful ward.
In most games, this ward goes unnoticed, especially in the lower MMR where warding itself is a myth! Jokes apart, give this ward a try if you play as a position 4 or as an offlaner, it will make a huge difference in your gameplay!
Advantages of this ward
- It can be used to spot any incoming enemies trying to gank
- It has extremely low chances of getting dewarded in the lower ranks
- It can be used to snipe incoming enemy couriers to prevent enemies from acquiring their items
- You can also snipe low HP enemies returning to base or cancel their teleports or consumables.
3. Mid Rune Ward
It’s no secret that the mid-lane wards are important, and failing to have one may even damage your gameplay right from the early game. Every midlaner must place the, essentially before the horn is even heard. The ward above can be put both by the Dire mid or the Radiant mid, but beware of any counter wards or dewards as this might just be the most popular warding spot in the game!
This ward also provides you with the vision of the power rune, which ensures you don’t waste your time going to the other side in search of it or having your counterpart snub it right in front of your eyes! Along with that, this ward also spots out any potential gank attempts on you, making you play safe.
Advantages of this ward
- Gives a vision of the power rune, and the high-ground area on both sides
- It can be used to spot any potential gank or movements from the enemy team
2. Radiant Lane Ward
Lane wards are essential if you want to secure your laning phase without much hassle and spot any incoming enemy ganks. These wards are generally placed only during the laning phase, sometimes even before the game even begins, to have an edge over the enemy movements. You may also be able to snipe, couriers, if your enemies are unaware!
Similarly, the same ward can be placed on the Dire side, near the same set of trees! It is surreal how the Dota map is weirdly symmetric, meaning both sides are balanced. Wards like these allow your safe lane to farm without worrying about the possibility of a gank.
Advantages of this ward
- It can spot enemy rotations
- Not a very commonly seen ward spot if you play in the Herald to Ancient MMR bracket.
- It can be used to sneak up on low HP enemies and snipe them if they aren’t cautious.
1. Camp Blocking Ward
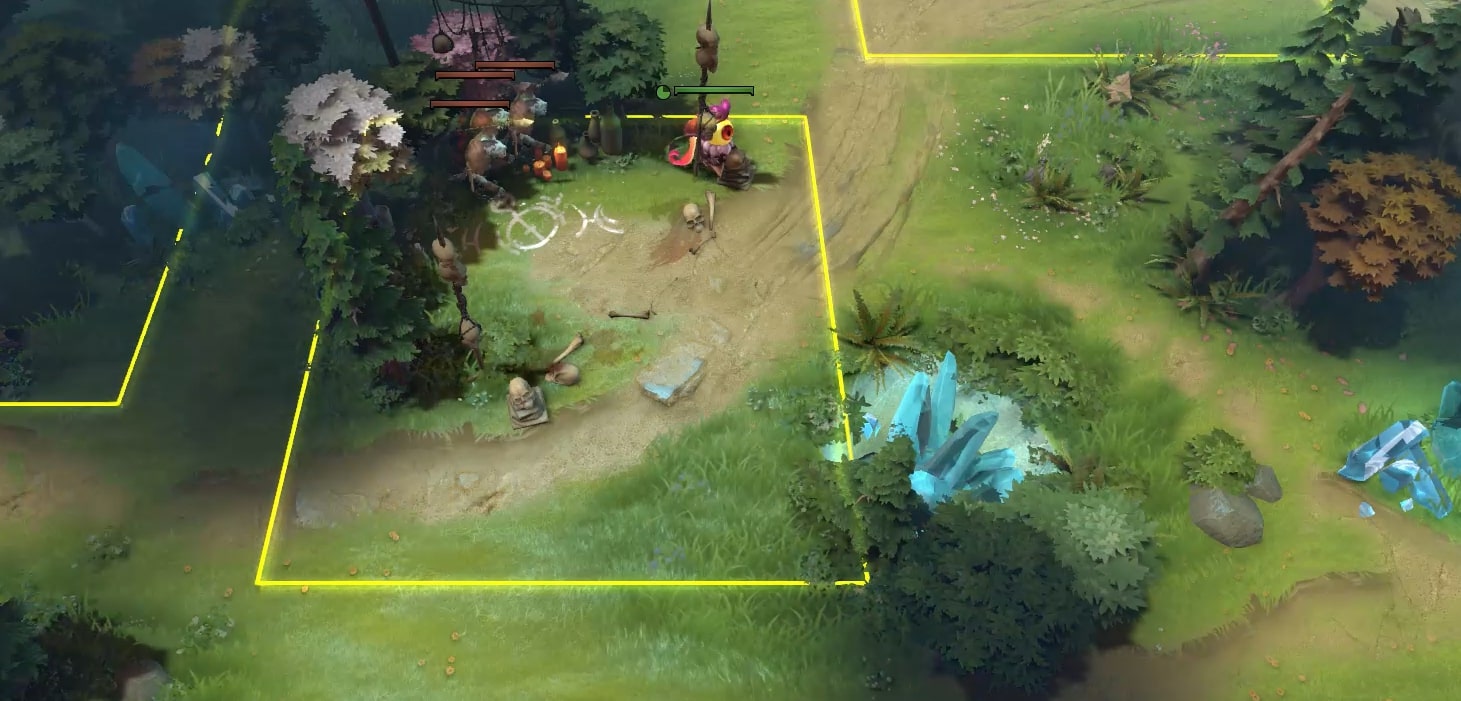
The most integral ward in the game is undoubtedly the ward spot that blocks camps. Some experienced players may use this to simultaneously provide vision and block enemy camps so they can’t farm or pull. At the same time, this ward can also be used for blocking your hard camps.
This ward has the highest chance of getting dewarded, hence people use sentry wards to block camps so they don’t end up feeding gold to their foes. You can block the enemy’s small pull camp or any camp in general, preventing enemies from stacking as well.
Advantages of this ward
- It blocks the spawning of neutral creeps in the neutral camps, preventing your enemies from farming them or stacking/pulling them in the early game
- Provides vision of enemy movements
You may also like:
- [Top 10] Dota 2 Best Carry Heroes That Wreck Hard!
- Top 10 Best Mid Heroes of Dota 2
- Top 10 Best Support Heroes of Dota 2
- In-game Best Settings for an Advantage in Dota 2
- Top 10 Best Offlane Heroes in Dota 2
- [Top 10] Dota 2 Best Agility Heroes That Wreck Hard!
- [Top 10] Dota 2 Best Junglers That Wreck Hard!
- [Top 10] Dota 2 Best Aghanim Upgrades That Are OP
Share this Article:

- Log in or register to post comments


")