Which Are The Best Operators in Rainbow 6 Siege?
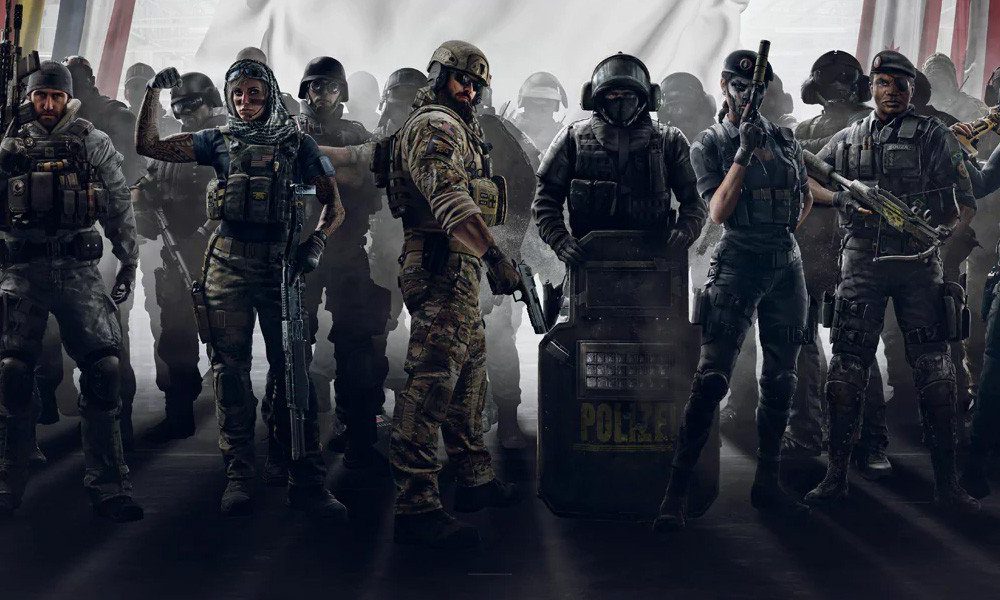
Rainbow 6 Siege is more complex than your average shooter. The operator you choose holds a significant amount of weight on how you and your team perform.
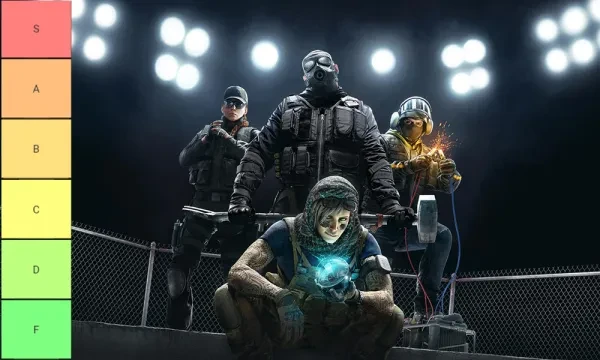
That's why it is crucial for your team to pick the most strategic operators if you and your squad want to climb to the top of the ranks. In this tier list we will explore where all 48 operators rank and even go into more detail with the cream of the cr(op).
S-Tier
These are the operators your squad NEEDS to be using in almost every round of very match. By learning and utilizing these operators, you will significantly be at an advantage over the opposing team
S-Tier Attackers
Thermite: 94/100
Hibana: 90/100
S-Tier Defenders
Bandit: 95/100
Mute: 90/100
A-Tier
These are the operators your squad should being using the majority of the time, but may not be as essential as S-tier operators
A-Tier Attackers
Thatcher: 86/100
Maverick: 85/100
A-Tier Defenders
Mira: 89/100
Kaid: 84/100
B-Tier
Operators with powerful loadouts and unique abilities that can be beneficial to the team. These operators can interchangeably be played and have the same advantage. Each operator can be very useful in most situations, but are not required
B-Tier Attackers
Ash: 81/100
Sledge: 81/100
Twitch: 79/100
Nokk: 78/100
Dokkaebi: 78/100
Zofia: 77/100
Jackal: 77 /100
Buck: 75 /100
B-Tier Defenders
Pulse: 82/100
Jager: 81/100
Doc: 80/100
Valkyrie: 79/100
Lesion: 77/100
Echo: 77/100
Caviera: 76/100
Smoke: 75/100
Vigil: 75/100
C-Tier
Although still quality operators, these players may have less powerful loadouts or unique abilities that are situational
C-Tier Attackers
Gridlock: 72/100
Blitz: 71/100
Nomad: 71/100
Ying: 70/100
Montagne: 70/100
Capitao: 68/100
Finka: 68/100
Lion: 65/100
C-Tier Defenders
Rook: 73/100
Alibi: 72/100
Mozzie: 72/100
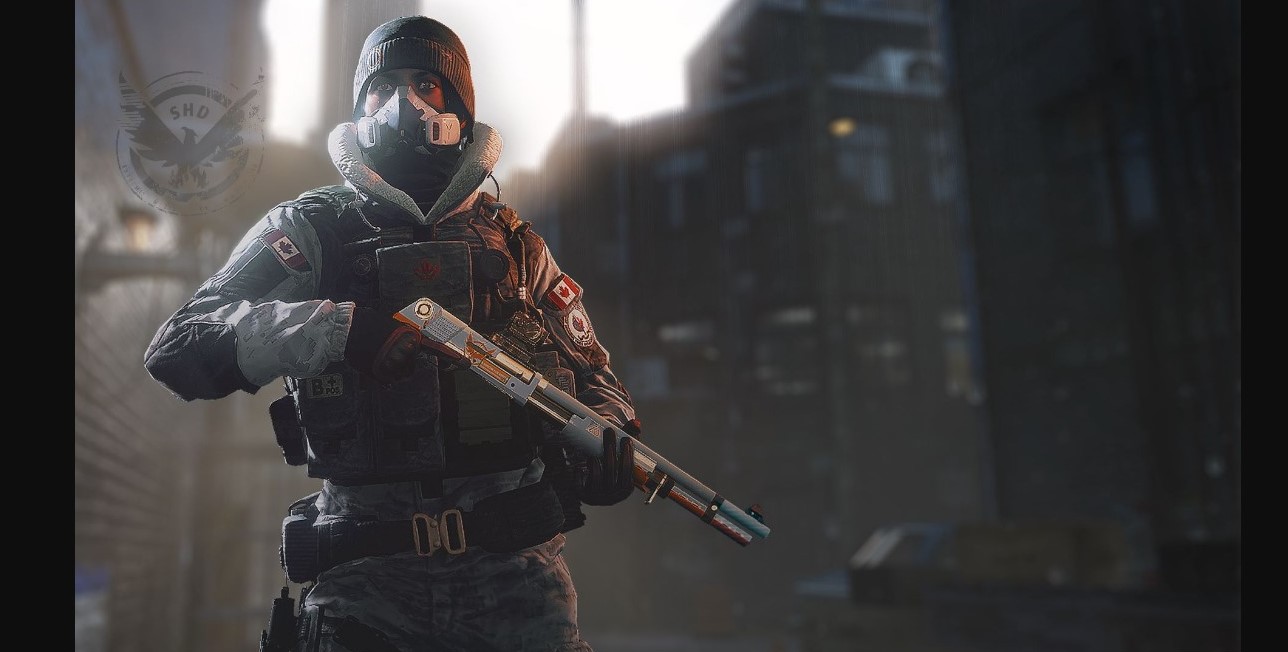
Frost: 70/100
Maestro: 69/100
Ela: 69/100
D-Tier
These operators can be fun to play, but are not as effective at attacking/holding the objective. Their unique abilities are very situational and should be played sparingly
D-Tier Attackers
Fuze: 63/100
IQ: 62/100
Blackbeard: 60/100
D-Tier Defenders
Clash: 66/100
Kapkan: 66/100
Castle: 63/100
Warden: 62/100
F-Tier
These operators will likely cause your teammates to judge you and are extremely situational if not useless the majority of the time. Avoid these operators at all costs
F-Tier Attackers
Glasz: 50/100
F-Tier Defenders
Tachanka: 45/100
In-Depth Analysis
Thermite: (S-Tier)
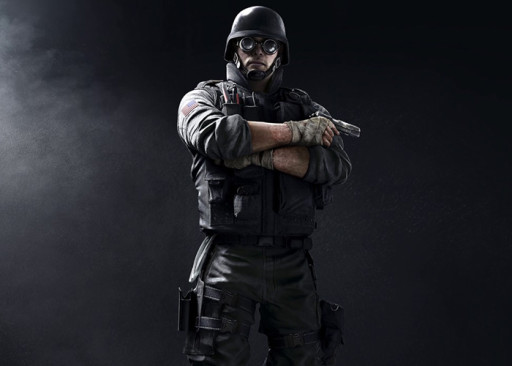
Thermite is one of two hard breachers in Rainbow 6 Siege. This means his unique gadget (Exothermic Charge) allows you to melt through the defenders’ number one defense, reinforcements. As the defensive team will most likely barricade exterior building walls, thermite is essential for creating new building entry points and gaining access to the objective.
Speed: 2
Armor: 2
Best Weapon Loadout:
- Primary Weapon: 556XI | Sight: ACOG | Attachments: Vertical Grip, Compensator
- Secondary: M45 MEUSOC | Attachment: Muzzle Brake
- Gadget: Claymore
Thermite Strengths:
- As an original Rainbow Siege operator, all players have immediate access to Thermite
- Exothermic charges allow you to break through reinforced walls, giving your team more exterior entry points
- Well-rounded primary weapons make Thermite lethal from close to long distances
- Thermite Weaknesses:
- Thermite’s unique ability is easily countered by Bandit, Mute, and Kaid, so having a teammate run Thatcher/Twitch is always recommended
Hibana: (S-Tier)
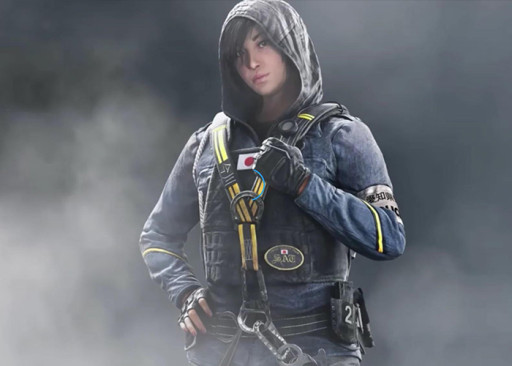
Hibana is the other hard breacher who is outfitted with the X-KAIROS, a thermal charge launcher which allows her to break through reinforcements from a distance. This gadget is exceptionally useful at creating multiple vantage points on the objective room, whereas Thermite is usually more useful on the outside of the building.
Speed: 3
Armor: 1
Best Weapon Loadout:
- Primary Weapon: Type-89 | Sight: ACOG | Attachments: Vertical Grip, Compensator
- Secondary Weapon: Bearing 9 | Sight: Holographic | Attachment: Compensator
- Gadget: Stun Grenades (x3)
Hibana Strengths:
- Powerful loadout with a high fire rate. Perfect for hit and run maneuvers
- X-KAIRO Launcher melts through reinforcements without having to get close and personal
- Easily counters Mira’s Black Mirrors
- Hibana Weaknesses:
- It’s easy to burn through your clip since Type-89 has a high fire rate and low magazine size
S-Tier Defenders
Bandit: (S-Tier)
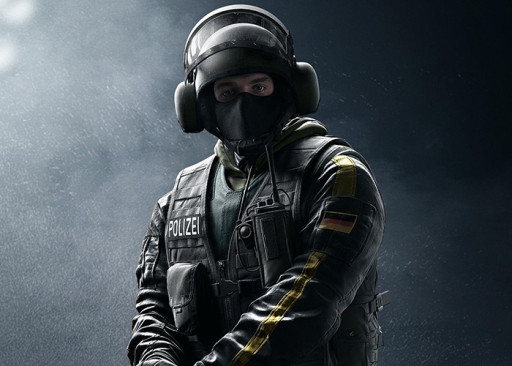
While Thermite and Hibana are the foundation of a strong attack, a hard breach counter makes for a stronger defense. In order to succeed in defending the objective, your squad must lockdown the objectives as best as possible and prevent any additional entry points. Bandit’s unique gadget accomplishes this task with ease making him a top tier defender. His crude electrical devices (Shock Wire), electrocute the wall reinforcements and will instantly destroy any projectile or charge that is applied to it. The more secure the objective room is, the more likely your team will win.
Speed: 3
Armor: 1
Best Weapon Loadout:
- Primary Weapon: MP7 | Sight: Holographic | Attachments: Compensator
- Secondary: P12 | Attachment: Muzzle Brake
- Gadget: Nitro Cell
Bandit Strengths:
- Counters all hard breachers and prevents multiple access points
- A skilled player will be able to bypass Thatcher’s EMP grenades, making the reinforcements virtually impenetrable
- Bandit’s high speed and Nitro Cell make him a smart pick in any situation
Bandit Weaknesses:
- His unique gadget tends to gravitate him towards the objective even though he performs best as a roamer
Mute: (S-Tier)
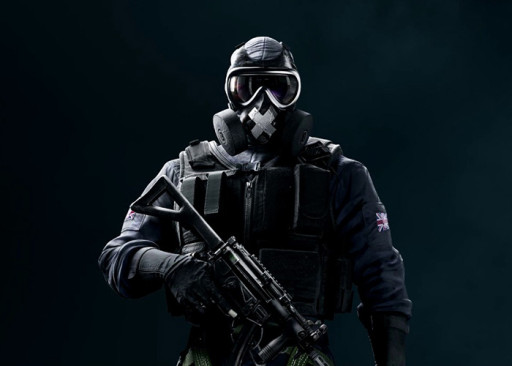
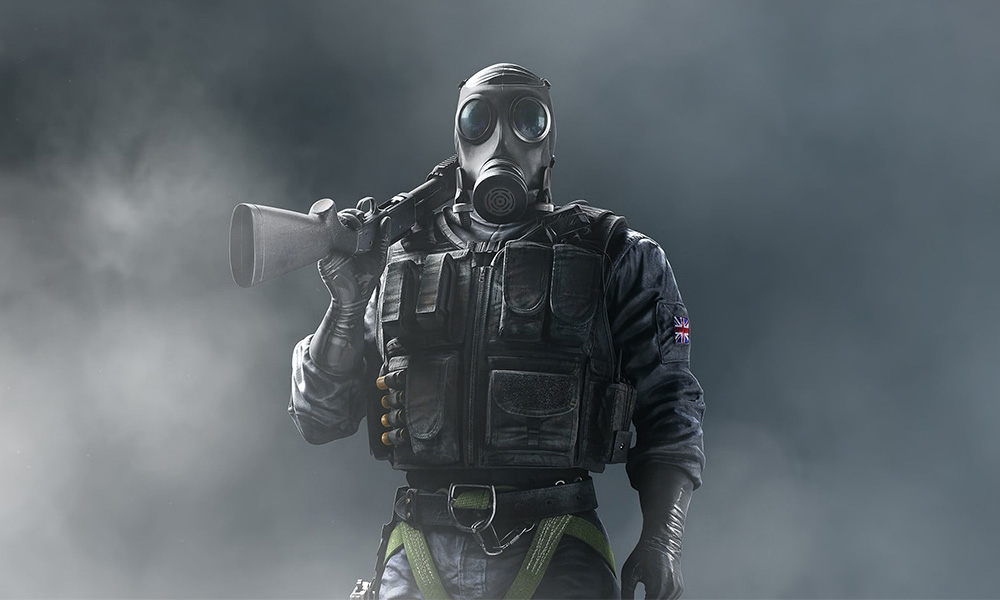
He might not be the most glamorous operator, but Mute can have a significant impact on your team’s performance. His unique gadget (Signal Disruptors) are the jack-of-all-trades when it comes to defending. They can deny drones, breaching charges, exothermic charges, X-Kairos, and even block Dokkaebi and Lion’s special abilities. They can be placed on both walls and floors making them very versatile.
Speed: 2
Armor: 2
Best Weapon Loadout:
- Primary Weapon: MP5K | Sight: Holographic | Attachments: Compensator
- Secondary Weapon: SMG-11 | Sight: Reflex | Attachment: Compensator, Vertical Grip
- Gadget: Nitro Cell
Mute Strengths:
- Denies attackers intel on your team’s strategy and structure
- Counters Twitch, protecting Mira’s Black Mirrors and any other mounted devices
- As an original operator, every player has immediate access to Mute
Mute Weaknesses:
- Mute’s loadout is somewhat lackluster, but still gets the job done
A-Tier Attackers
Thatcher: (A-Tier)
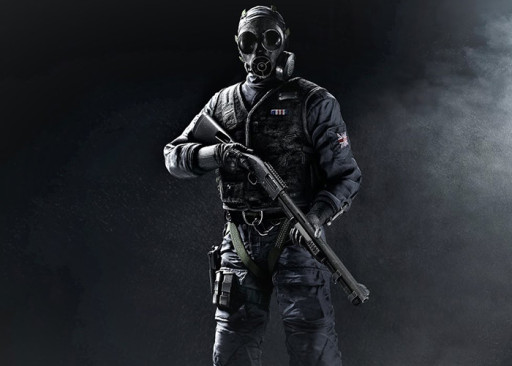
There is nothing more frustrating than playing as a hard breacher and realizing no one on your team chose Thatcher. Hard breachers and Thatcher go hand-in-hand and are essential if your team wants to win. His EMP grenades can knock out all breach-blocking gadgets in a pinch allowing your team more entry and vantage points.
Speed: 2
Armor: 2
Best Weapon Loadout:
- Primary Weapon: L85A2 | Sight: ACOG | Attachments: Compensator, Vertical Grip
- Secondary Weapon: P226 MK 25 | Attachment: Muzzle Brake
- Gadget: Breaching Charge (3x)
Thatcher Strengths:
- His EMP grenades will deactivate all defender gadgets, giving your team more access points and protection
- The EMP Grenades are the easiest method of destroying breach counters, just toss them near any electrical gadget
- His EMP Grenades can also briefly take out your enemies red dot or holographic sights, putting your enemies at slight disadvantage when aiming down the sights
Thatcher Weaknesses:
- Clever opponents can sometimes trick you into wasting all of your EMP Grenades
Maverick: (A-Tier)
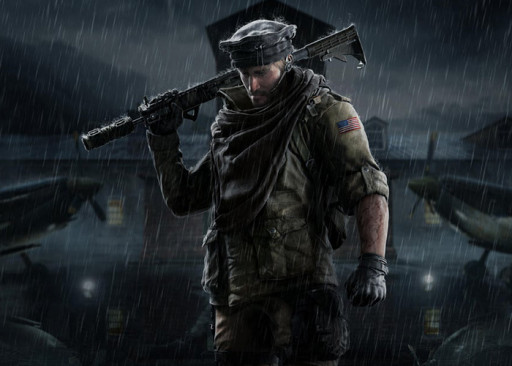
Maverick is the ultimate stealth attacker. Although he is sometimes considered to be a hard breacher, his unique ability (Blow Torch) is most effective at creating unnoticed vantage points. Using his blow torch to melt through reinforcements, Maverick can easily take out unsuspecting defenders who are holding down the objective.
Speed: 3
Armor: 1
Best Weapon Loadout:
- Primary Weapon: M4 | Sight: ACOG | Attachments: Silencer
- Secondary: 1911 TACOPS | Attachment: Muzzle Brake
- Gadget: Claymore
Maverick Strengths:
- Can stealthily kill enemies after burning holes in reinforcements
- His blow torch is quiet and allows you to sneak up on anchoring defenders
- Placing his claymore near an exit makes for an easy defensive trap
Maverick Weaknesses:
- Maverick is easily killed due to only being a 1 armor
A-Tier Defenders
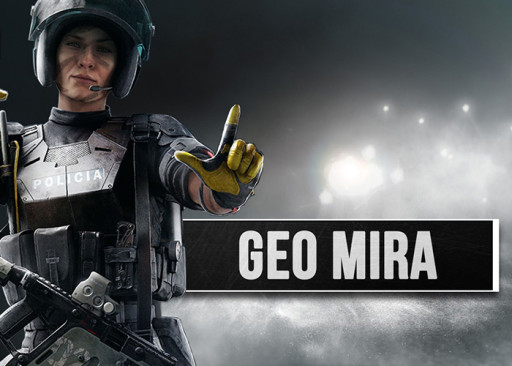
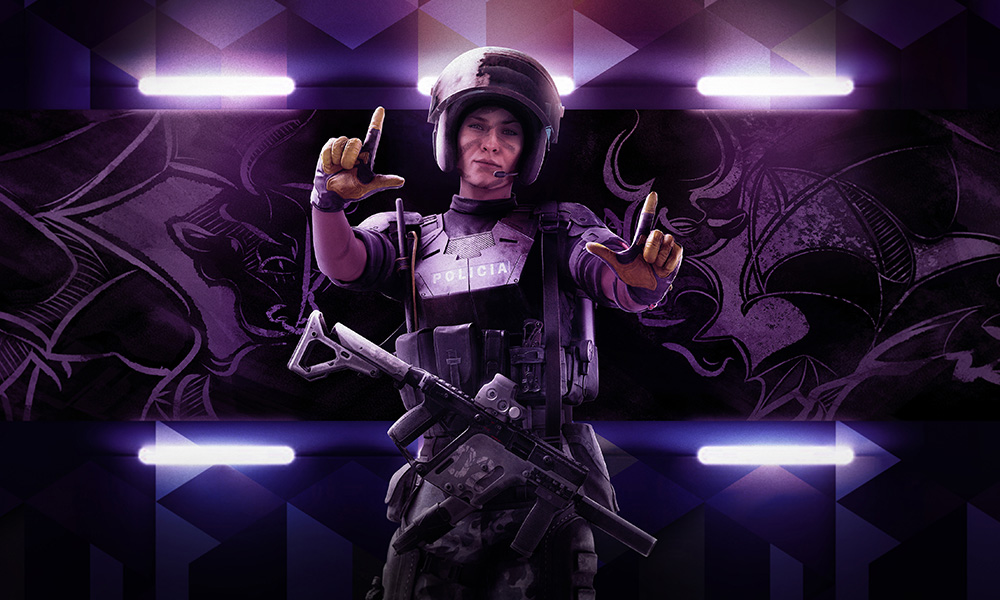
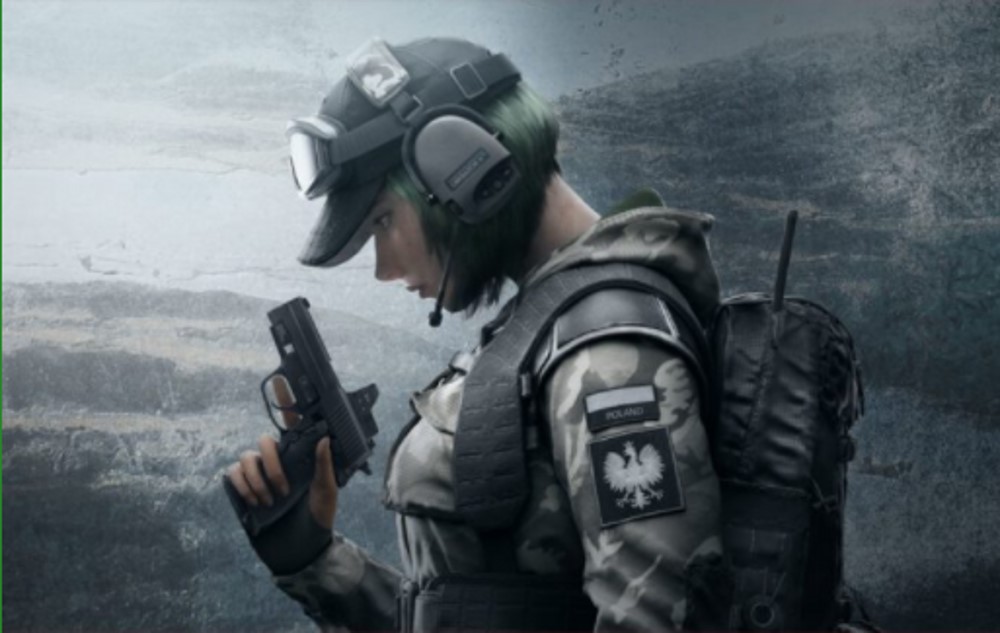
Mira: (A-Tier)
Mira is one of the best defensive anchors in the game. Her unique gadgets (Black Mirror)allow you and your entire squad to see through reinforced walls, letting you keep tabs on the enemy team.
Speed: 1
Armor: 3
Best Weapon Loadout:
- Primary Weapon: Vector .45 ACP | Sight: Holographic | Attachments: Compensator
- Secondary: ITA12S | Sight: Default
- Gadget: Nitro Cell
Mira Strengths:
- Mira’s 3 armor makes her a sturdy anchor who can lock down the objective room
- Her Vector submachine gun has an outrageous fire rate that almost guarantees a headshot
- Using her Black Mirror, you and your teammates can pre-fire around corners and walls on unsuspecting enemies
Mira Weaknesses:
- If the attacking team manages to shoot out her Black Mirror, your team is at a severe disadvantage
Kaid: (A-Tier)
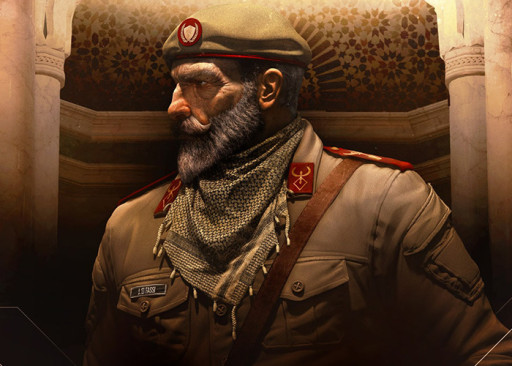
Like Bandit, Kaid is very effective at preventing hard breachers from gaining access to the objective rooms. His unique gadget (Rtila Electroclaw) is especially useful at electrocuting reinforced hatches, preventing the enemy team from raining bullets on you and your squad from above.
Speed: 1
Armor: 3
Best Weapon Loadout:
- Primary Weapon: TCSG12 | Sight: ACOG | Attachments: Vertical
- Secondary: .44 Mag Semi-Auto | Sight: Default | Attachments: None
- Gadget: Barbed Wire
Kaid Strengths:
- Electroclaws can be used to prevent hard breachers breaking through walls and hatches
- His slug shotgun is super effective from both short and long distance
- His Electroclaws are difficult to see and can also shock barbed wire preventing enemies from going down specific hallways and staircases
Kaid Weaknesses:
- Be cautious with your electroclaw placement since he only gets two of them

