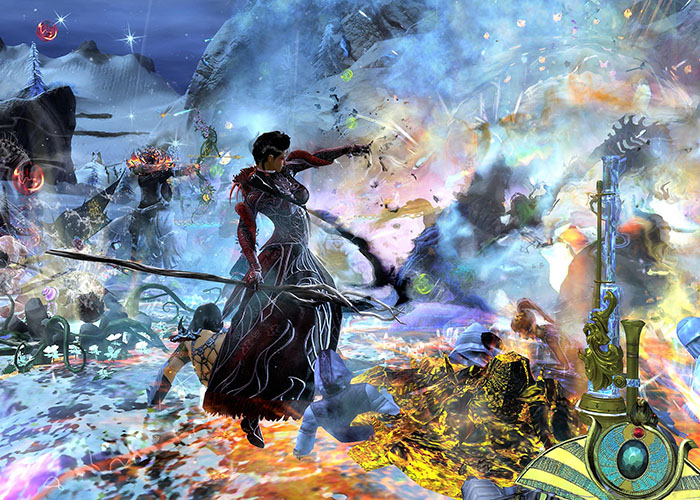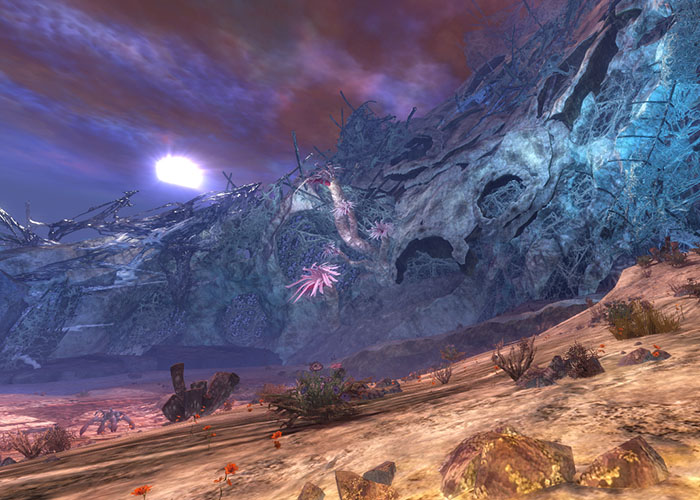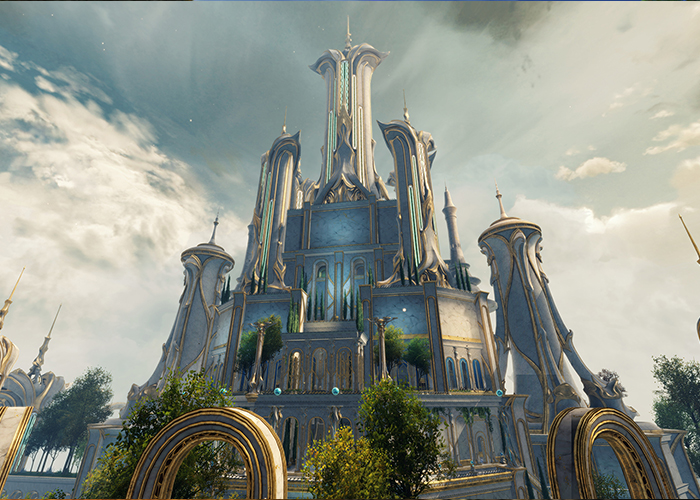
A couple of years ago when the Heart of Thorns expansion of Guild Wars 2 was announced, many players waited in anticipation for the arrival of more challenging endgame content that would test their skills and build to their limits. What we got was the game’s answer to raid events: instanced content where players take on challenging encounters that take up to 10 players in a squad, making cooperation an absolute must-have. Let us take a closer look at the five beloved raids that people love challenging over and over again for one reason or another.
5. Vale Guardian - Spirit Vale
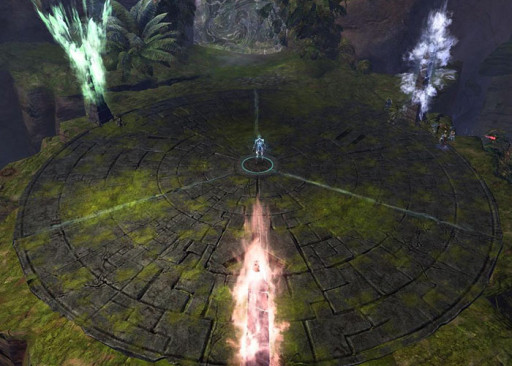
The very first raid that nearly everyone has played, the Vale Guardian has just enough difficulty to prepare you for future raid encounters and wings by testing your skill and builds. Whether you
are a total raid newbie or a seasoned raiding veteran, the Vale Guardian will always have a place in your heart.
What makes this encounter beloved
- The Vale Guardian encounter is the first raid that majority of the players have ever encountered and is the first one to be released.
- The mechanics for the encounter are explained right before the start of the actual Vale Guardian fight so that even new raiders can quickly pick up on what they have to do.
- For a beginner raid encounter, it has a decent difficulty level and tests if you are ready to become a full-fledged raider with your build and skill level.
Tips for new raiders
- Pay close attention to the mechanics being taught to you by the game at the start of the encounter and make sure you know the role you will play, whether you should be bringing more condition damage over power, pure DPS, etc.
- Take note of what is going on, especially in dealing with the orbs the various colored bosses will throw at you. For the red orbs, knock them away from other players or kite around them while launching condition damage on the red Guardian.
- For the green circle, while fighting the blue guardian, four people need to stand within the circle. If you are unable to, hope for the best that your healing skills and stats are enough for it, especially if your healer is not within range. The blue guardian also needs to have its boons removed so one of your members needs boon removal.
- For the green guardian, it will launch several blue area-of-effect attacks, and your screen will have a yellow-orange effect on it, signifying that the attack is about to hit. If you are standing on any of those blue AoEs, you will be teleported away from the boss.
- At 66% health, the Vale Guardian will split up into three and need to be dealt with. For players with condition damage, take out the red boss while everyone else goes for the blue guardian. For the green guardian, one person kites the boss and lures them to where the players fighting the blue guardian are.
- Eventually, the Vale Guardian will begin to electrify the circular arena so players need to be wary about this while fighting the boss as it continues to split apart once again after reaching another HP threshold. Proceed to pour on the pressure, and the boss should fall in no time at all.
YouTube guide
4. Mursaat Overseer - Bastion of the Penitent
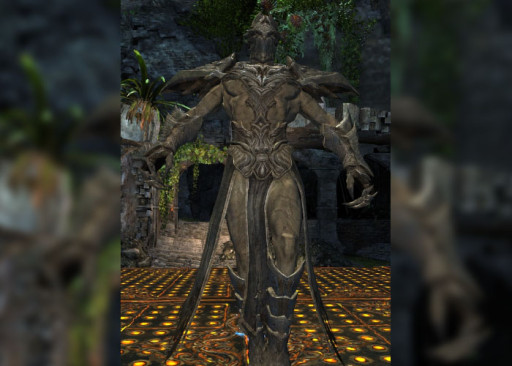
The Mursaat Overseer encounter is a special raid boss that resembles more like a chess game. While the actual boss does not launch an attack and just soaks up the player’s damage, the arena itself is what makes the encounter challenging.
What makes this encounter beloved
- The actual raid encounter is one of the shortest ones in the game and revolves more movement and heavy DPS to get through.
- The “fight” takes place on an arena that resembles game board tiles that have nasty surprises popping up every so often, and players need to be quick on their feet to evade danger.
- The boss is, in the words of the player base, a glorified DPS Golem in the shape of a Mursaat statue that needs to be burst down during the entire encounter while evading the deadly traps below the players’ feet.
Tips for new raiders
- Players will be able to pick up an intractable item that gives them one of three special action items: Claim, Protect, and Dispel.
- The player with the Claim special action needs to claim the enemy tiles so that there are safe zones for players to step on and to avoid spikes. It also has the added bonus of luring the Mursaat Overseer to the player with the special action. They need to position the Mursaat Overseer close to the middle so that the others can defeat the Jade enemies that are summoned to flip the safe zones back to enemy tiles.
- The player with the Protect special action becomes one of the most important people on the team because they have the sole duty to provide a dome of invulnerability and kiting the Jade Soldiers that they lure.
- The player with the Dispel special action has to use the skill on Jade enemies with an orange barrier and remove it to allow players to destroy them.
- For the actual tiles themselves, all you really need to know is that the red-orange tiles with spikes protruding on them are preparing to launch spikes but can still be stepped on despite it slowly sapping your health. If it starts turning green, however, get away as fast as possible.
YouTube guide
3. Mathias Gabrel - Salvation Pass
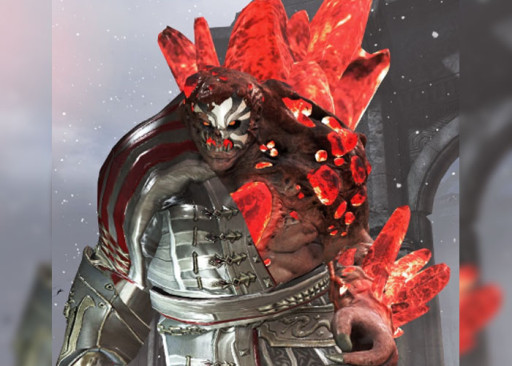
What is worse than dealing with bandits? Bandits that play a part of the White Mantle! Mathias is the leader of the bandits in Salvation Pass, as well as an Inquisitor for the White Mantle, making him no slouch in the fighting department. What lies beneath his human exterior is an abomination waiting to be unleashed per se.
What makes this encounter beloved
- Despite all of the mechanics overload that both new and old raiders may encounter, the Mathias Gabrel fight is well telegraphed and you can easily tell what his attacks are going to be if you practice enough.
- Even if there are many mechanics to figure out, according to the more tenured raiders, they find the encounter relatively easy as they can easily counter everything the boss does.
Tips for new raiders
- At the beginning of the encounter, you may notice that you will occasionally have the Chill debuff so cleanse this condition.
- Mathias may sometimes randomly encase one of your squadmates inside crystals. A well-placed crowd control attack will destroy it, freeing your teammate but be careful while doing so as it may unintentionally hurt them.
- When Mathias whirls his staff, it is a massive tell that he is about to launch an orb of energy in a straight line so be sure to be away from his front or dodge out of the orb’s way.
- Players may often receive the Corruption debuff while fighting Mathias. To cleanse this, you must rush for one of the four fountains found on the edge of the arena and walk toward it. Upon using the fountain, it will become unusable for some time, so others with Corruption need to go to another one to cleanse themselves. If a player has the mastery, Forsaken Thicket Waters, the debuff will stun and inflict heavy damage on you. Commanders may opt to place markers so that players can find them easily.
- After some time, the boss will cast a Blood Shield to protect himself. The best course of action is to use reflect skills to send his projectiles flying back to him to destroy the barrier.
- As the fight progresses, players will begin to get another debuff, Unstable Blood Magic, where they will see a green icon appear above their head, and once they do, they need to use a special action key to drop the poison field away from the team. It is preferred to launch the skill near the well but not exactly at it.
- Mathias will start using the skill, Zealous Benediction, to instantly down players caught in a red circle. When players start seeing growing red circles beneath their feet, spread out and stop moving to avoid accidentally getting your teammates killed.
- Once you get him to at least 40% health, he will transform and begin to throw shards, cast Fear debuffs, all the while casting the previous skills mentioned above.
- If that wasn’t enough, random spirits will run across the battlefield, inflicting damage on players caught between their paths. The damage can be blocked but not dodged so simply move out of the way.
YouTube guide
2. Sabetha The Saboteur - Spirit Vale
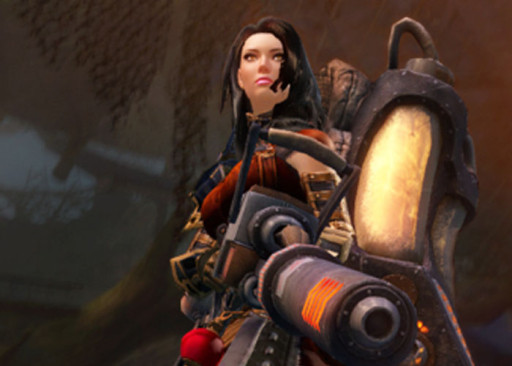
Sabetha the Saboteur is perhaps one of the most beloved raid bosses in the entire game if it weren’t replaced by something a bit more difficult. This bandit leader is the final boss of the Forsaken Thicket raid wing and will test if you have learned all of the skills from the entire raid. With her giant flamethrower in hand, this fight will simply heat right up for a fight of epic proportions. Burn baby, burn!
What makes this encounter beloved
- The fight has just enough difficulty wherein if you die, you can definitely say it is your fault and not the game’s high difficulty. You need to have learned the previous mechanics in order to know the basics of raiding. The entire raid wing (Forsaken Thicket) is usually considered as the training raid wing after all.
- The players just love Sabetha’s flamethrower mechanic and attempt to survive the jet of flames by any means necessary (not that they survive doing so).
Tips for new raiders
- Before fighting Sabetha, clear out the bandits in the surrounding area to prevent any inconvenience and interruptions. Do NOT, however, aggro any of the Bandit Sappers.
- Players close to Sabetha may have a time bomb attached to them and an icon over their head will be shown, as well as a red circle beneath their feet. Get away from the other players to avoid hurting your teammates. At 50%, Sabetha will attach the bombs to two players instead.
- Sabetha’s most famous mechanic is her Firestorm attack, or more commonly known as the Flamewall. She uses her flamethrower to aim at a target and shoots a jet of flame that rotates counterclockwise that instantly kills players that aren’t moving away from it. It is unblockable and cannot be dodged.
- Heavy bombs begin appearing at 75% health and need to be kicked off the platform by players by pressing the special action key. If left unattended, the damage caused by the bombs will destroy the platform you are on, killing the squad.
- Occasionally, Sabetha will aim for the furthest player and fire her Flak Shot attack at them, causing flames to erupt and dealing damage to players. A designated Flak Kiter must be named prior to the encounter so that they can lead her shots away from the team intentionally while being able to still provide damage.
- At certain health stages, Sabetha leaves the platform and will be replaced by other bandits that need to be defeated in order for her to return. Depending on how fast you dealt with them, Sabetha may instantly use her Flamewall attack or delay it.
- To deal with the cannons, use the Sapper Bomb you find that are dropped by the Bandit Sappers on launch pads to hurl you to the cannons that are firing at the platform. Be wary, however, that players that use it cannot use it consecutively and need to wait for someone else to destroy the next cannon.
- The cannons will spawn in this specific order - South, West, North, East, South, North, West, East.
YouTube guide
1. Xera - Stronghold of the Faithful
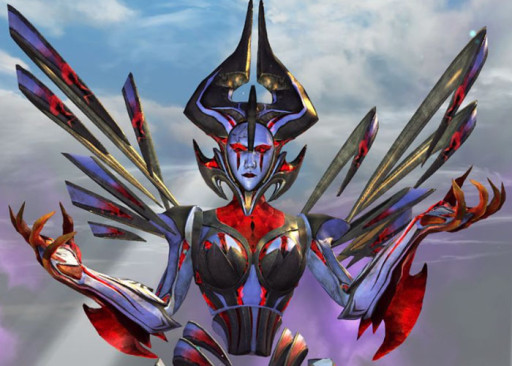
To this day, many regard the Xera fight to be one of their favorite for just how amazing the fight is and the unique mechanics at play while still being welcoming to newbie raiders. While the encounter will highly likely wipe newbie raiders out, it will force them to either get better or be left in the dust. Adapt and survive or fail and be left out, it is all on the player’s skill to carry themselves through one of the best raid bosses in the game.
What makes this encounter beloved
- The actual fight is a spectacle to behold and gives open world PvE encounters a run for their money.
- The mini-games alone are a fun challenge for the squad and makes everyone have something to do in the raid.
Tips for new raiders
- Prior to attempting this raid, all players must have the Ley Line Gliding Mastery for certain parts of the Xera encounter.
- For this encounter, one member of the team needs to atleast have very high Toughness stat in order to become the tank and soak up damage for the team.
- Before the actual main boss fight, you will need to first defeat the Xera clone and proceed to split up afterwards. Players will encounter either the orb pushing mini-game or the button mini-game.
- For the Orbs, players can push the orbs out of the arena with either auto-attacks or crowd control skills to remove the barrier protecting a Bloodstone Shard. Afterwards, red circles and rifts will begin to form. Push the orbs into the rifts to get rid of them.
- For the Buttons, three players need to stand on specific spots to lower the shield on the Bloodstone Shard but doing so saps the health of the players depending on how many stacks they get (10 will kill you). The three simply need to move clockwise to the other button as soon as the other person moves as well. While the three are rotating on the buttons, the others burst down the shard as fast as possible. Eventually when all the mini-games are done, the real fight begins.
- The commander may have icons on the map, telling where you need to be at specific periods of time so make sure you listen carefully and do what the commander tells you to do.
- If your team does not have enough DPS or is simply lacking, a laser may appear in the middle while you are trying to attack Xera so follow the commander if they tell you to pull her towards a certain direction.
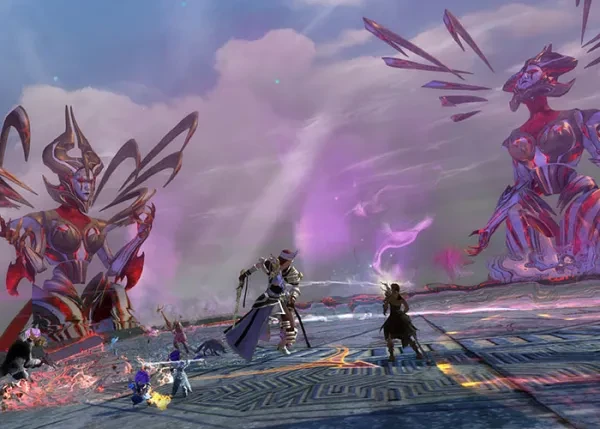
- A popup may appear saying “You have harnessed ambient magic” which gives you a new special action that you must use to shield your teammates when all three giant Xeras are holding their arms back in preparation for a huge blast. Use it in time to cast a dome of protection on your allies from the instant-death attack.
- At 50%, Xera will disappear and islands with more shards need to be dealt with. Once all of the shards are destroyed, head back to the central island.
- Some of the players will be teleported to the outer islands where they need to do the minigames again so you need to prepare thusly. Get back to the center as soon as you can if you are one of them and help your teammates defeat Xera once and for all.
- Each and every time you see Xera with a break bar, hope you have your crowd control skills available by then and blast her with as many CCs as you can.
- For the tanking player, Xera may use Blurred Frenzy (Mesmer sword 2 skill) so be sure to dodge out of the way or be behind her when she does this.
YouTube guide
Closing Thoughts
There are many other awesome raid bosses that could have been mentioned here like the freaking cool Dhuum boss fight, the always fun Slothasor, or even Qadim for the absolute masochists, but because some of them may have too high a skill ceiling, not everyone will be able to appreciate those as much. It doesn’t mean that you shouldn’t try the others out; in fact, you should attempt them with your favorite raid group to test your mettle. After all, end game content like raids are supposed to be a challenge and tests your gaming skills.

