Black Ops 4 Zombies Guide for Beginners and Pros
Starting Out
In Black Ops 4 there are three zombie maps that all owners of the game can play (four with the Black Ops 4 Season Pass). We will start with the Walkthrough on the Roman Zombie Map “IX.”
On IX You and up to three others will join a game that takes place in a Roman Coliseum. Here you will defeat zombies and “champions” (this level’s version of stronger boss-type zombies). One of the first things you need to do on the map is find one of the flags around the starting arena (pictured below). Cut the rope that holds up the flag and then do the challenge it gives you. Every time you complete a challenge, go back to the starting square in the middle of the arena and go to the flame with the matching color of your flag. There you can redeem your challenge for a perk, which then gives you another challenge to accomplish.
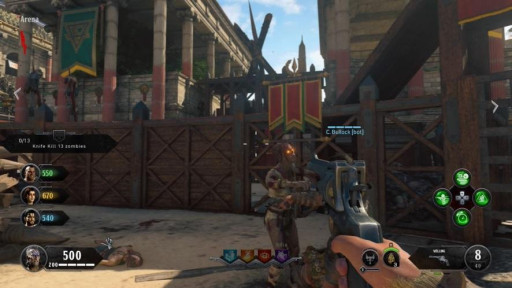
(Here in the Roman Coliseum is where you will fight off zombies to redeem perks.)
How to Get the Shield There are three parts to the shield and they are all located in different “God Buildings” on the map. There are four exit points leading out from the beginning area and each lead to one of these God Buildings. These parts can be found in any order and can spawn in three different locations in each building, so just look along the walls of the God Buildings I name, and the part should be in there somewhere. The first part I will talk about is in the Zeus Tower. Like the rest of the parts, it can spawn in one of three areas in the tower (just keep poking around and searching the walls and you will find it). The second part is located in Ra Tower and can be found in any of the three levels of the building. The final part is in Odin’s Tower and you can spawn in different areas and levels of the building just search along the walls and it should be in the tower.
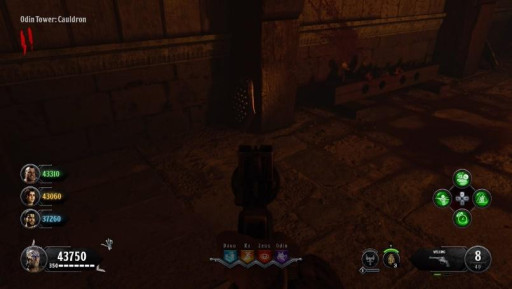
(Shield Part found in Odin’s Tower)
Following the finding of all three shield parts the next step is to locate the crafting table. The crafting table is located in The Pit, which is underneath of all the towers (once you get used to the map you will realize all the tunnels connect to one another underneath the map). Just go up to the table, hold the craft button (depends on your system) and after a quick animation you will have the IX Shield.
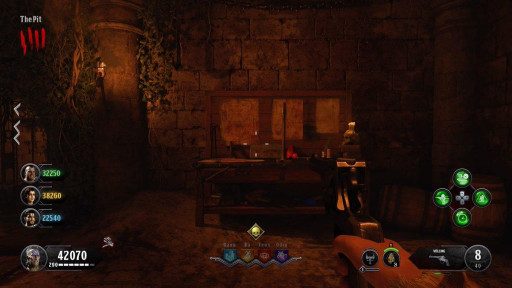
(Crafting table in the picture above located in the Pit.)
Pack-A-Punch To get Pack-A-Punch to work, your squad needs to kill the bosses on the map (called champions). With each champion that is killed, you just need to approach this altar and “sacrifice champion’s blood” and after a few of these, it will reveal itself to you in the exact spot pictured below. This is by far the easiest Pack-A-Punch to access on any of the three Black Ops 4 Zombie Maps.
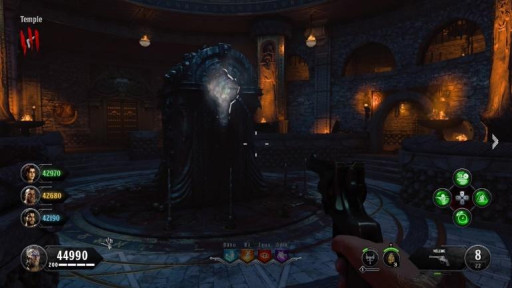
(Pack-A-Punch in the Temple, the very bottom of the map)
Voyage of Despair Voyage of Despair is probably my favorite zombie map in Black Ops 4. It’s not too complicated and the map is designed really well in my opinion. It has the usual items we have come to expect in a zombie map, such as; Pack-A-Punch, wonder weapons, mystery boxes, and bosses.
How to Get the Shield The same as in IX, it takes three shield parts to put together a shield for the whole team. The first is located in the “State Rooms” area of the map (only one door up from the spawn area). It can spawn in three different locations, but they are all located in the State Rooms area. Another part is located in the bridge area and can also spawn in three different locations.
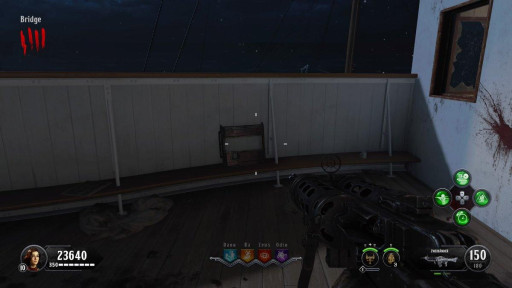
(One of the example parts located in the bridge area)
The final shield piece is located in the Provisions area of the map and once again can spawn in three different areas. After finding all the shield pieces you should make your way to the Poop Deck where you can put them all together and create the shield!
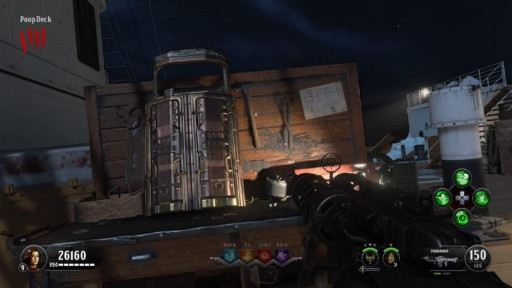
(Crafting Table located in the Poop Deck)
Pack-A-Punch To activate the Pack-A-Punch on Voyage of Despair, it will take a lot of door opening and running. The first step is to make your way across the ship and locate the Sentinel Artifact. It is located at the very opposite end of the boat and will open doors that otherwise are not accessible. Once the Artifact is retrieved, you need to activate four of the stones. These are located on the Poop Deck, the Cargo Hold, the Lower Grand Staircase, and the Turbine Room.
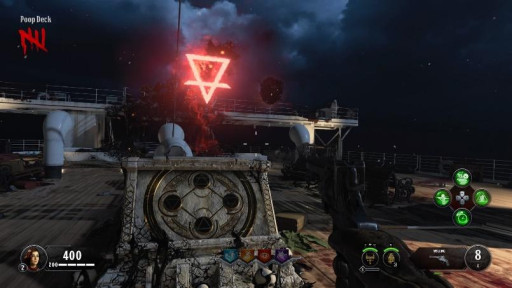
(Sentinal Artifact Located on the opposite end of the boat,)
Once all four of these are activated, the Pack-A-Punch will spawn in any of the four locations (Poop Deck, Cargo Hold, Lower Grand Staircase, and Turbine Room). The picture below is where the Pack-A-Punch will spawn near the Lower Grand Staircase.
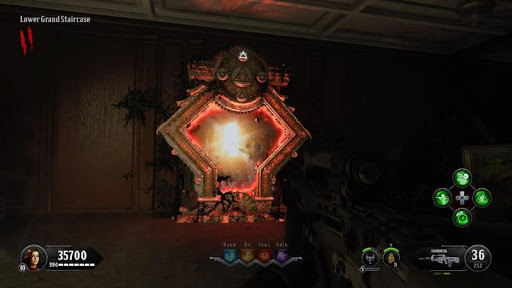
(Lower Grand Staircase where the Pack-A-Punch will appear.)
Blood of the Dead
How to Get the Shield Once more, there are three steps to getting the shield except this time it involves killing the warden. The first part is actually an “essence” and is located on one of the power boxes in the cell block halls (From D-Block to Michigan Avenue). The second piece is located down the Spiral Staircase down in the Citadel Tunnels. The warden is the boss on this map and once killed, he drops a key which is the third part of the shield. There are multiple crafting benches on this map, but the easiest one to get to is at the Docks.
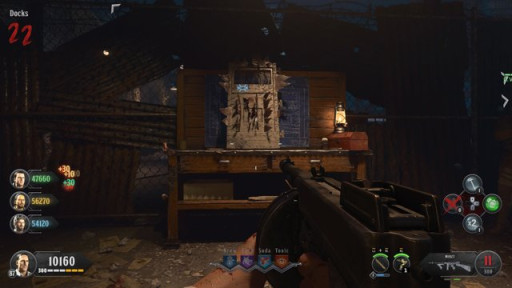
(Crafting bench at the Docks.)
Pack-A-Punch For the Pack-A-Punch you NEED the shield. The first step is to suck the soul out of the zombies with the gun that comes with the shield (pictured below).
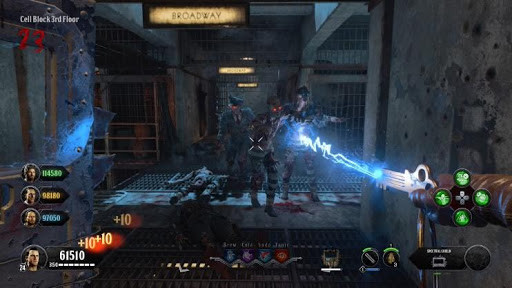
(Doing this three times should move you onto the next step.)
After doing this three times, you have enough power to activate the voltage box (pictured on the right side in the photo below) on the roof. This will activate the Pack-A-Punch (on the left side on the photo below).
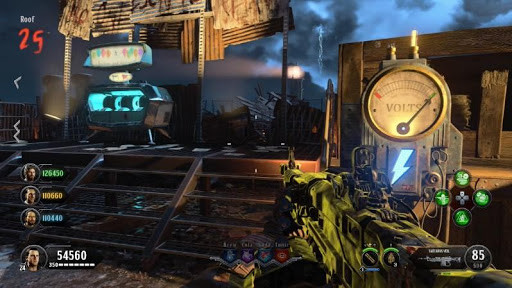
(On the rooftop you will Find the voltage box to activate the Pack-A-Punch
Tomahawk To get the tomahawk on Blood of the Dead, you need to activate all three of the dog head areas. One is in Eagle Plaza next to the Warden’s House. Another one is in the New Industries area of the map. The last is in Cell Block 2nd Floor. In order for the dog heads to activate and feed on the zombies, they need to be killed within range of the heads. After a certain number of zombies are fed to the dog, they will go back to the original state and glow.
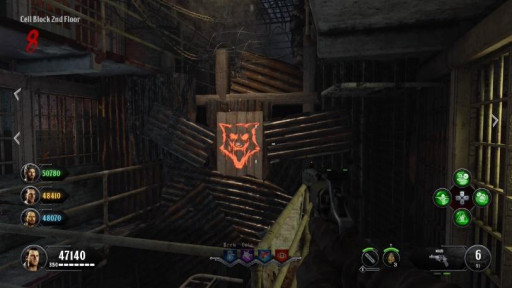
(The doghead in the cellblock can be seen in the picture above)
After activating and completing all these dog head challenges make your way to the Warden’s House. Inside there will be a portal that takes you to an area called the Showers. (pictured below). Travel to this area and along the way, grab the tomahawk (it will automatically take you there, all you must do is press square or x and it will give it to you along the way).
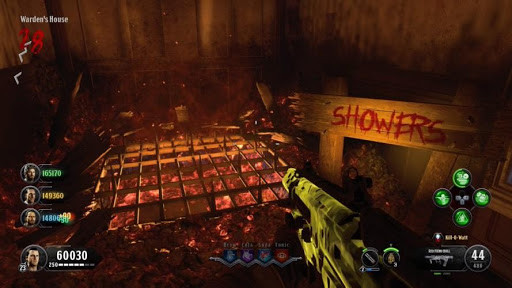
(The Showers where they can be located inside the Wardens house in the picture above.)
Wonder Weapons If you’re a hardcore zombie fanatic, you may be wondering why I haven’t mentioned any of the wonder weapons yet. That’s because there are more than 16 (as of right now) in the game.The wonder weapons are found in the mystery boxes and It varies from map to map (aether and chaos maps). If you want to know more and get an in-depth look at the wonder weapons, check out the Call of Duty wiki page:
http://callofduty.wikia.com/wiki/Wonder_Weapons.
You may also be interested in:
- Top 10 Best Zombie Survival Games
- 10 Most Satisfying Zombie Shooting Games
- 10 Ultimate Best Zombie Games to Play In 2019 https://www.gamersdecide.com/articles/best-zombie-games
- Top 11 Games Like Left 4 Dead (Games Better Than Left 4 Dead In Their Own Way) https://www.gamersdecide.com/articles/games-like-left-4-dead
- Top 10 Games Like Resident Evil 5 ( Games Better Than Resident Evil 5 In Their Own Way ) https://www.gamersdecide.com/articles/games-like-resident-evil-5
