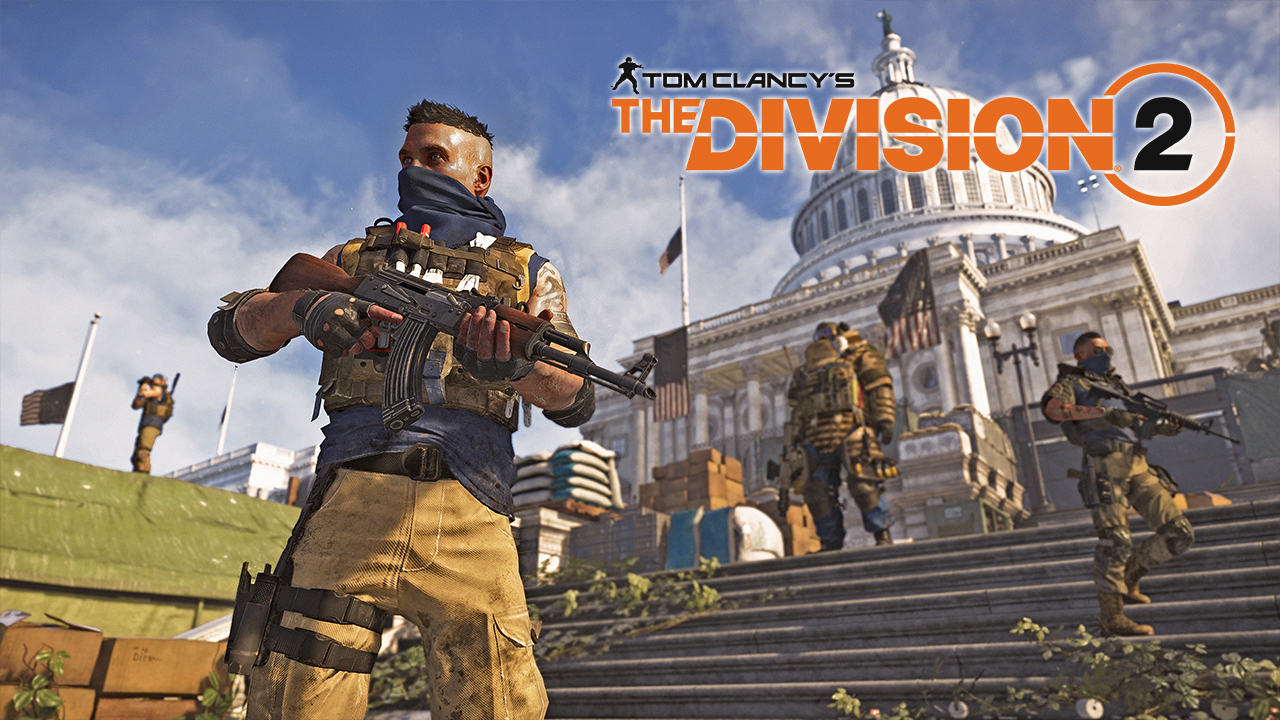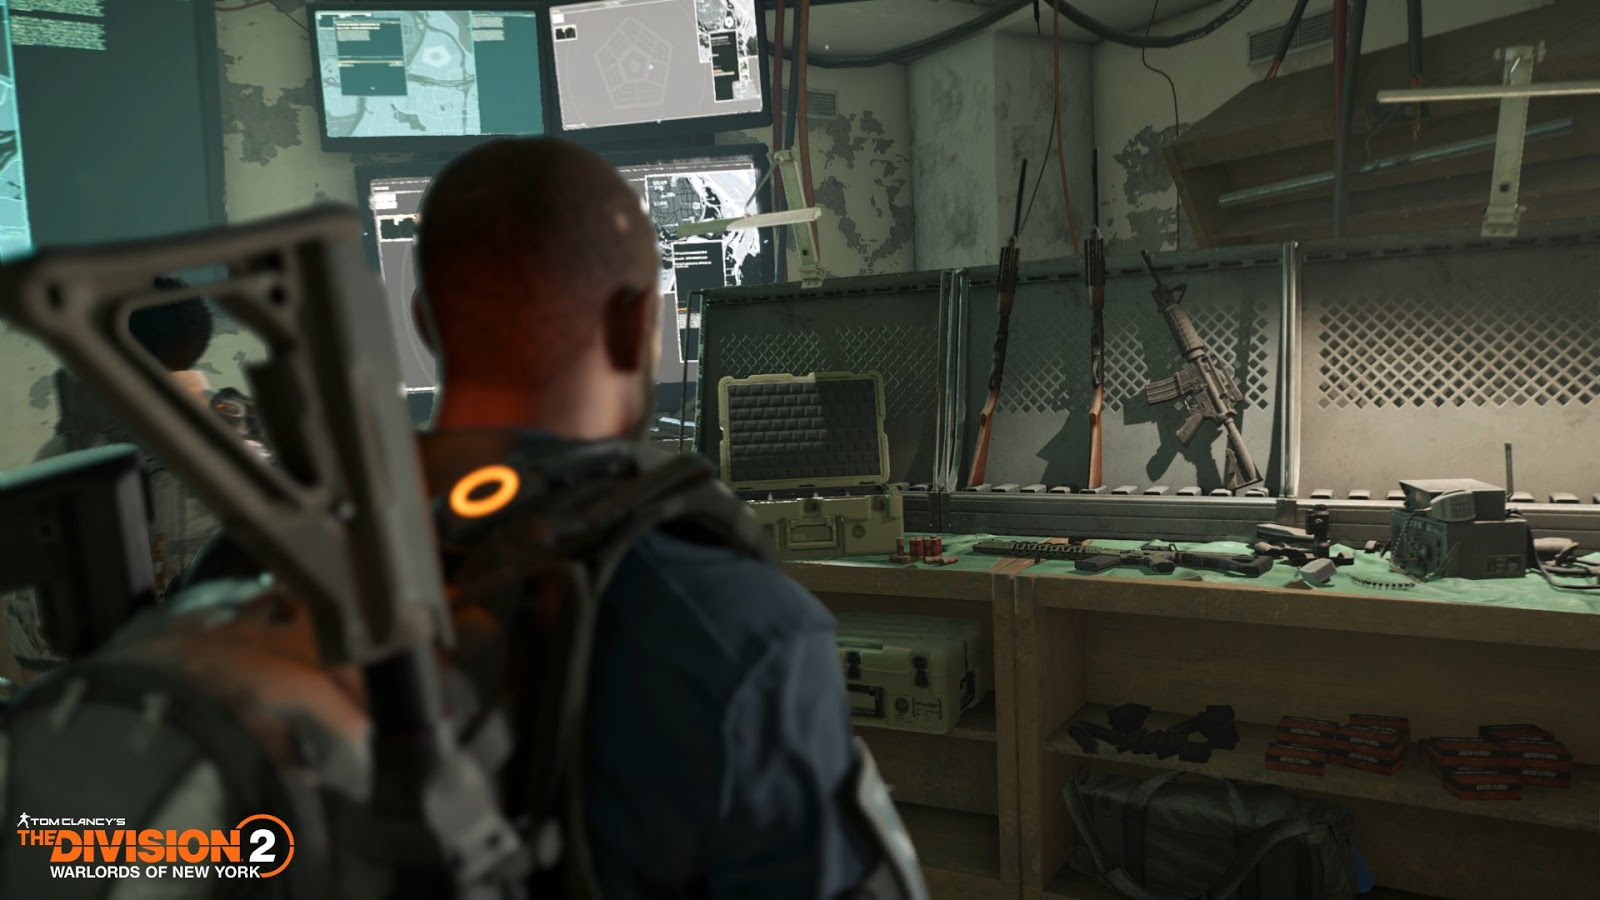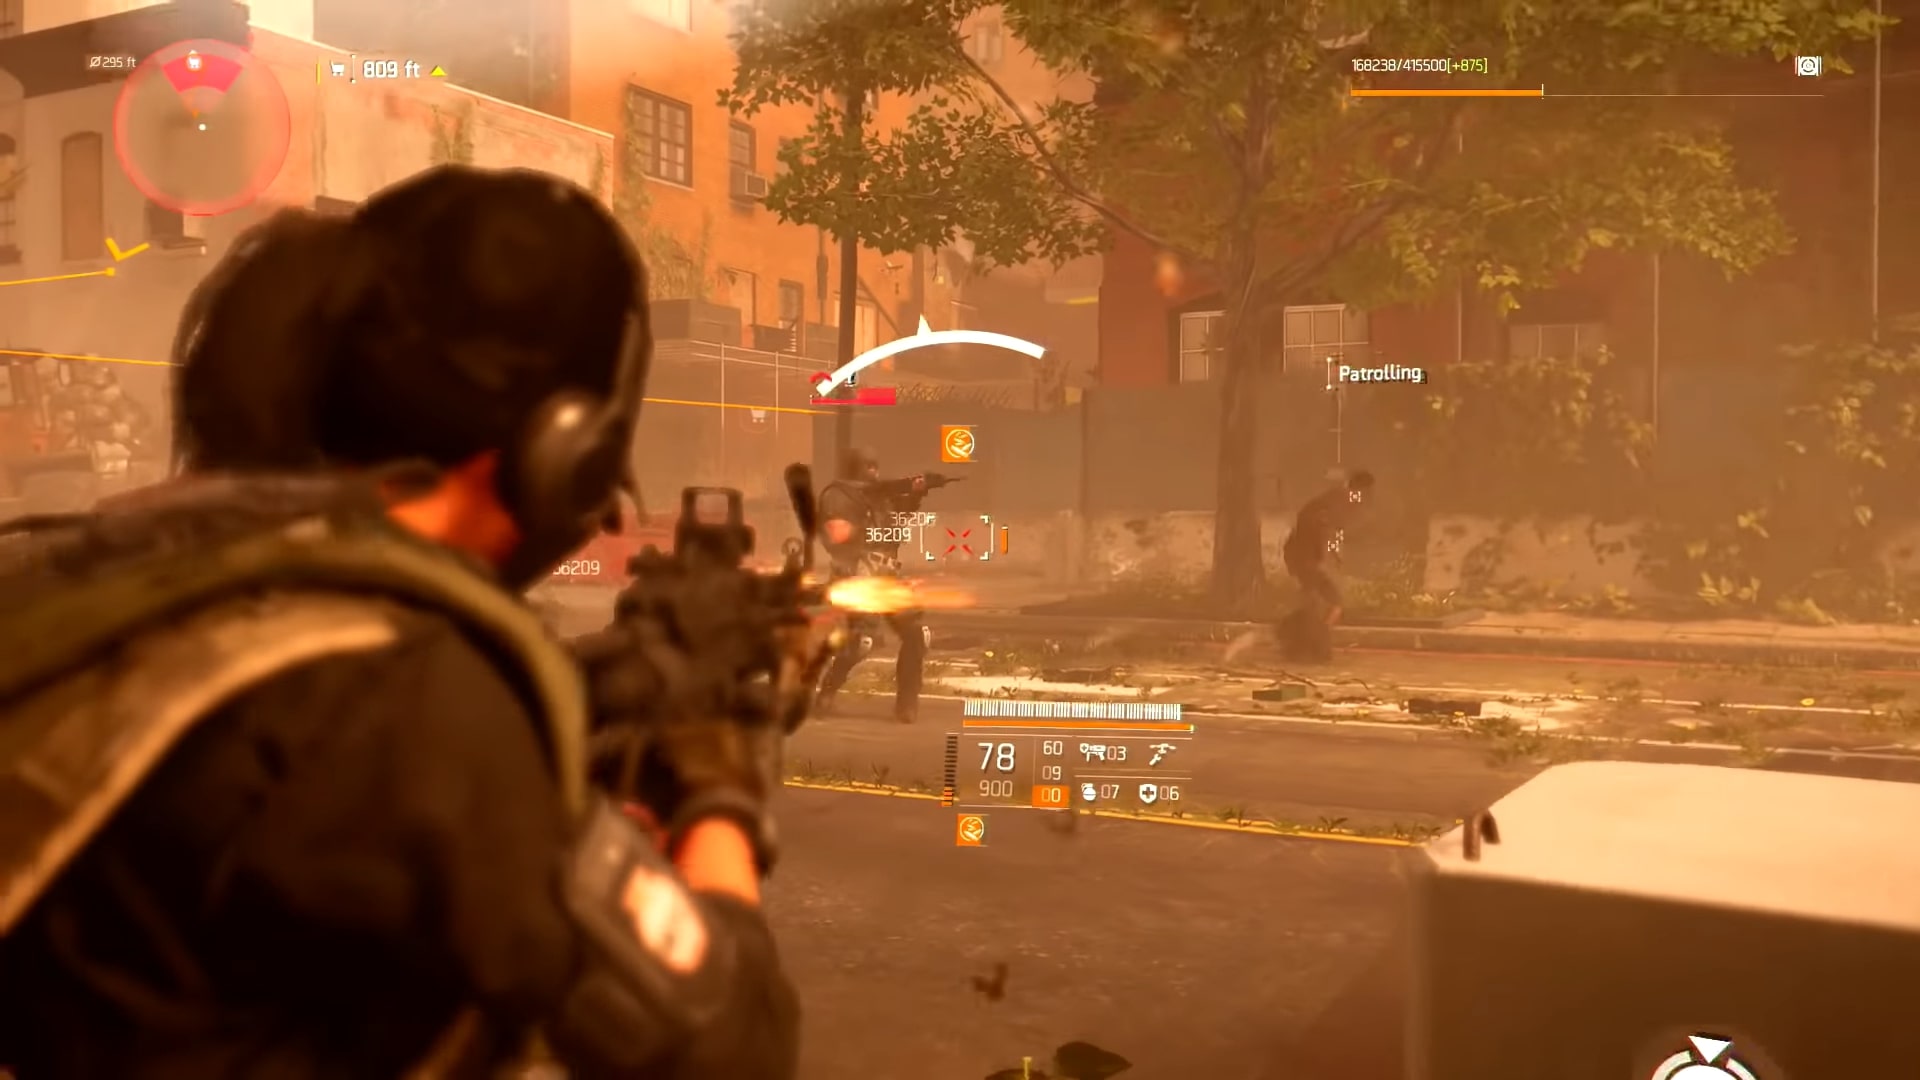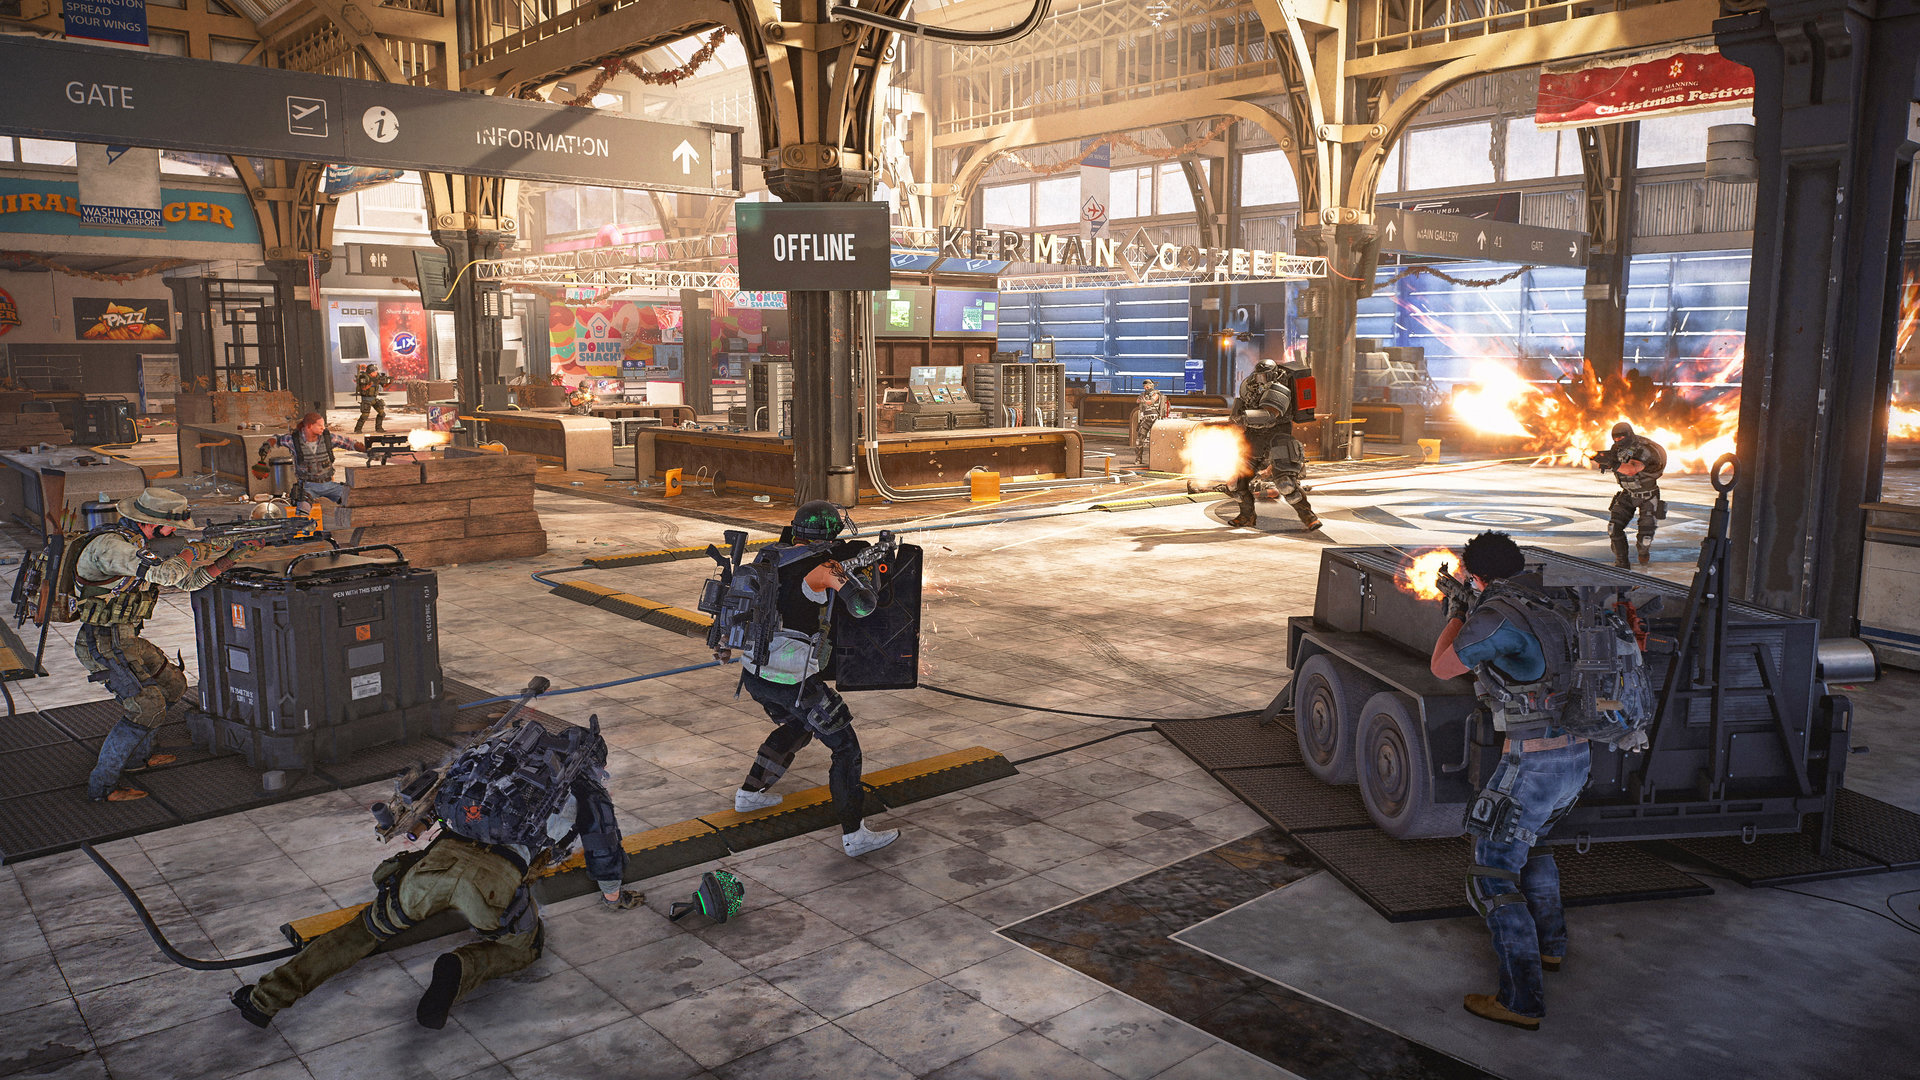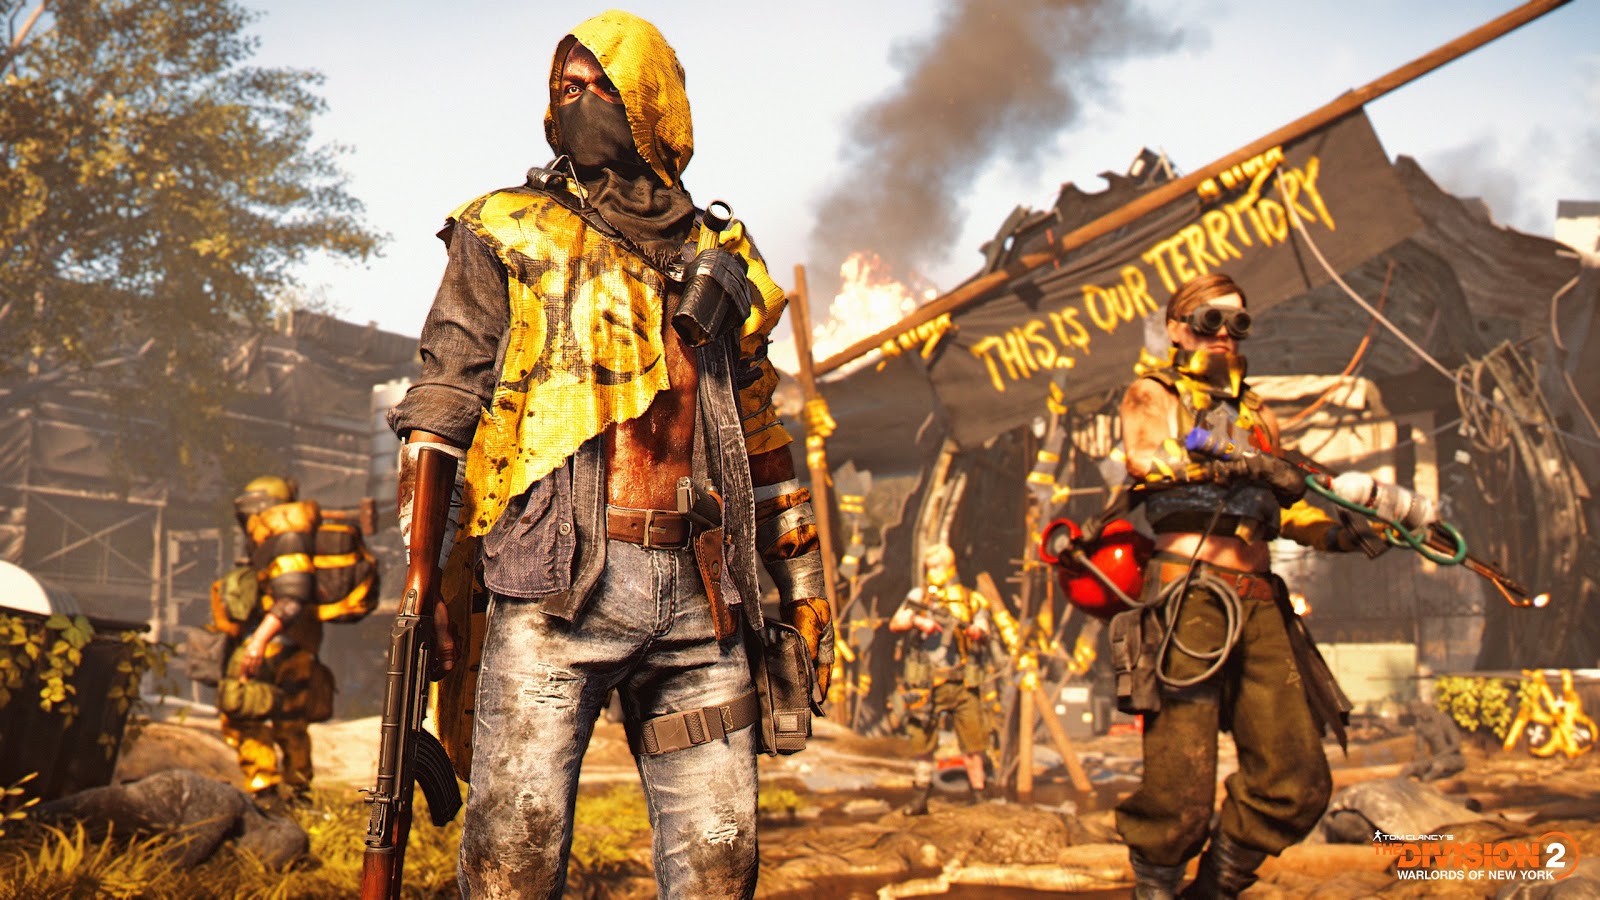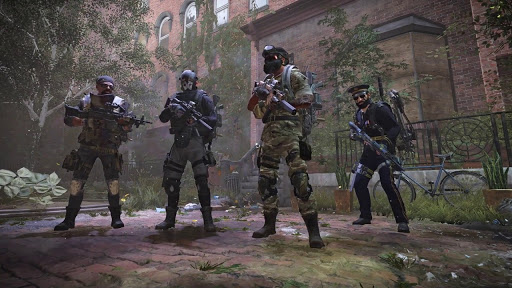
Tom Clancy’s The Division 2 offers an array of weapon talents that players can use to make their weapons as formidable as possible.
Many of the weapon talents are usable for all weapon types, while there are some that are for specific categories, like assault rifles or pistols.
No matter what though, one can be sure that they will find something that will fit their weapons and styles.
The weapon talents can add certain perks to one’s gameplay that are unique, to simply increasing weapon damage, stability, or accuracy.
In this article, we’re going to be going over all of the weapon talents, their descriptions, and setting them in a tier list ranking them from best to worst talent.
1. S Tier
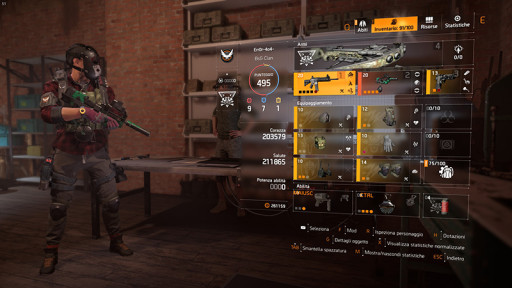
These are the weapon talents that are in the S Tier category.
These talents would be considered the most useful as many of them are seen to be increasing the player’s weapon damage or critical hit damage.
Not only are they ranked in S Tier, but they have their own individual rating as well.
Close & Personal
- Why Close & Personal Is Useful:
- Weapon damage is increased by 50%.
- Close & Personal Description:
- “A weapon talent that provides an incredible 50% bonus weapon damage when a target that is within 7 meters is killed. Although it's extremely dangerous to get that close to an enemy in the current highest World Tier, the sheer amount of increased damage that the talent provides is good enough to put it on this list.”Close & Personal Usefulness Rating: Out of 100
- 99/100
Frenzy
- Why Frenzy Is Useful:
- Weapon damage increased by 20%
- Improves LMG performance
- Frenzy Description:
- “Reloading from empty grants +20% weapon damage and +35% rate of fire for 7s.”
- Frenzy Usefulness Rating: Out of 100
- 96/100
Premeditated
- Why Premeditated Is Useful:
- Weapon damage increased by 50% for every shot.
- Improves Shotgun performance.
- Premeditated Description:
- “Weapon damage is increased for every shell loaded to a max of +35%. If all shells are reloaded then weapon damage is increased by an additional +50%. Buff lasts for 10 seconds.”
- Premeditated Usefulness Rating: Out of 100
- 96/100
Strained
- Why Strained Is Useful:
- Useful for all weapons.
- Critical hit damage increased by 10%.
- Strained Description:
- “+10% critical hit damage is gained for every 5% of your armor that is depleted”
- Strained Usefulness Rating:
- 95/100
Unhinged
- Why Unhinged Is Useful:
- Weapon damage increased by 25%.
- Improves LMG performance.
- Unhinged Description:
- “Receive +25% weapon damage at the cost of -35% weapon handling.”
- Unhinged Usefulness Rating: Out of 100
- 95/100
Allegro
- Why Unhinged Is Useful:
- No requirements needed.
- Useful for all weapons.
- Unhinged Description:
- “+10% Rate of Fire.”
- Unhinged Usefulness Rating: Out of 100
- 93/100
In Rhythm
- Why In Rhythm Is Useful:
- Occurs once every 60s.
- Useful for all weapons.
- In Rhythm Description:
- “While equipped, enemy kills have a 5% chance to refresh active skill cooldowns. Can occur once every 60s.”
- In Rhythm Usefulness Rating: Out of 100
- 93/100
Stop, Drop, and Roll
- Why Stop, Drop, and Roll Is Useful:
- Useful for all weapons.
- Stop, Drop, and Roll Description:
- “While equipped, rolling removes burn, bleed, and poisoned status effects. Can occur once every 60s.”
- Stop, Drop, and Roll Usefulness Rating: Out of 100
- 92/100
Protected Deploy
- Why Protected Deploy Is Useful:
- No requirements needed.
- Useful for all weapons.
- Protected Deploy Description:
- “While equipped, this weapon grants +10% bonus armor while deploying a skill.”
- Protected Deploy Usefulness Rating: Out of 100
- 92/100
Protected Reload
- Why Protected Reload Is Useful:
- No requirements needed.
- Useful for all weapons.
- Protected Reload Description:
- “While equipped, this weapon grants +10% bonus armor while reloading.”
- Protected Reload Usefulness Rating: Out of 100
- 92/100
Rebooted
- Why Rebooted Is Useful:
- Useful for all weapons.
- Rebooted Description:
- “While equipped and in cover, all skill damage and healing are increased by +25% for 10s. Buff is lost when exiting cover. Can occur once every 25s.”
- Rebooted Usefulness Rating: Out of 100
- 92/100
Wascally
- Why Wascally Is Useful:
- Useful for all weapons.
- No requirements needed.
- Wascally Description:
- “While holstered, you are able to resist 5 ensnare attempts. Can occur once every 60s.”
- Wascally Usefulness Rating: Out of 100
- 92/100
2. A Tier
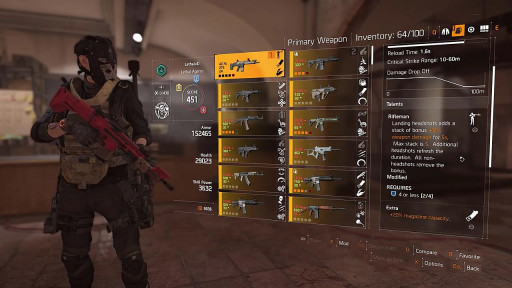
A Tier weapon talents may not have the ferocity as S Tier talents; only a few increase weapon damage.
But what they lack in that, they make up for in uniqueness.
These talents, you will notice, are very particular and are perfect for the player that likes to pay attention to detail.
Some weapon talents will require the player to have certain stats in armor, utility, or health before being used but there are many in A Tier that have no requirements and can be used for all weapon types.
Fast Hands
- Why Fast Hands Is Useful:
- No requirements needed.
- Useful for all weapons.
- Fast Hands Description:
- “Critical hits add a stack of 3% reload speed bonus. Max stack is 20.”
- Fast Hands Usefulness Rating: Out of 100
- 89/100
First Blood
- Why First Blood Is Useful:
- Only active when using an 8x scope or higher.
- Improves marksman rifle performance.
- First Blood Description:
- “First shot fired from a full magazine deals headshot damage to any part of the body hit.”
- First Blood Usefulness Rating: Out of 100
- 86/100
Lucky Shot
- Why Lucky Shot Is Useful:
- Improves the performances of rifles, marksman rifles, and pistols.
- Lucky Shot Description:
- “Magazine capacity is increased by 20%. Missed shots from cover have a 25% chance to return to the magazine.”
- Lucky Shot Usefulness Rating: Out of 100
- 86/100
Optimist
- Why Optimist Is Useful:
- Useful for all weapons.
- Weapon damage increased.
- Optimist Description:
- “Weapon damage is increased by +3% for every 10% ammo missing from the magazine.”
- Optimist Usefulness Rating: Out of 100
- 85/100
Preservation
- Why Preservation Is Useful:
- Armor repair.
- Useful for all weapons.
- Preservation Description:
- “Killing an enemy repairs 5% armor over 3s. Headshot kills improve the repair.”
- Preservation Usefulness Rating: Out of 100
- 85/100
Ranger
- Why Ranger Is Useful:
- Weapon damage increased.
- Useful for all weapons.
- Ranger Description:
- “Every 5m you are from the target grants +2% weapon damage.”
- Ranger Usefulness Rating: Out of 100
- 83/100
Steady Handed
- Why Steady Handed Is Useful:
- Weapon handling increased.
- Mag increase.
- Useful for all weapons.
- Steady Handed Description:
- “Landing a shot adds a stack of bonus 2% weapon handling. Max stack is 15. At max stacks, each shot landed has a 5%chance to consume the weapon handling bonus and refill the magazine.”
- Steady Handed Usefulness Rating: Out of 100
- 83/100
Reformation
- Why Reformation Is Useful:
- Headshot damage increased.
- Weapon damage increased.
- Useful for all weapons.
- Reformation Description:
- “Headshot kills increase skill repair and healing by 25% for 25s”
- Reformation Usefulness Rating: Out of 100
- 82/100
Extra
- Why Extra Is Useful:
- Magazine capacity increased.
- Improves the performances of assault rifles, LMGs, SMGs, rifles, shotguns, pistols.
- Extra Description:
- “+20% Magazine Capacity.”
- Extra Usefulness Rating: Out of 100
- 82/100
Stable
- Why Stable Is Useful:
- Increases stability for preferred weapons.
- Useful for all weapons.
- Stable Description:
- “15% Stability.”
- Stable Usefulness Rating: Out of 100
- 82/100
3. B Tier
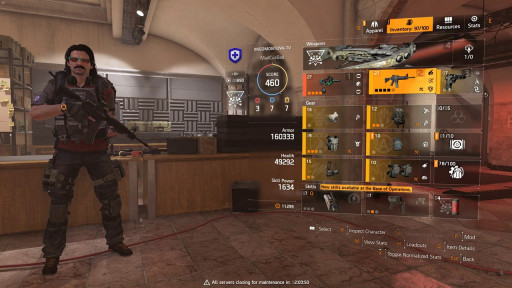
While these talents may be in B Tier, they are useful in their own right.
Some of the B Tier talents are seen to be exclusive to other weapons, and that can cause an interesting talent to be skipped over because it can only be used for shotguns, etc.
These talents may not be as strong as S Tier or A Tier talent, but they are still used by players and have been quite enjoyable.
Boomerang
- Why Boomerang Is Useful:
- Improves the performance of rifles.
- Boomerang Description:
- “Critical hits have a 50% chance to return the bullet to the magazine. If a bullet is returned to the magazine, the next shot has +20% increased damage.”
- Boomerang Usefulness Rating: Out of 100
- 79/100
Breadbasket
- Why Breadbasket Is Useful:
- Useful for all weapons.
- Breadbasket Description:
- “Landing body shots adds a stack of bonus +5% headshot damage to the next headshot for 10s (Max stack is 10)>
- Breadbasket Usefulness Rating: Out of 100
- 76/100
Eyeless
- Why Eyeless Is Useful:
- Useful for all weapons.
- Eyeless Description:
- “Deal +20% weapon damage to blinded enemies.”
- Eyeless Usefulness Rating: Out of 100
- 76/100
Finisher
- Why Finisher Is Useful:
- Improves performances for pistols/sidearms.
- Finisher Description:
- “Swapping from this weapon within 3s of killing an enemy grants +30% critical hit chance for 15s.”
- Finisher Usefulness Rating: Out of 100
- 75/100
Ignited
- Why Ignited Is Useful:
- Useful for all weapons.
- Ignited Description:
- “Deal +20% weapon damage to burning enemies.”
- Ignited Usefulness Rating: Out of 100
- 75/100
Sadist
- Why Sadist Is Useful:
- Useful for all weapons.
- Sadist Description:
- “Deal +20% weapon damage to bleeding enemies.”
- Sadist Usefulness Rating: Out of 100
- 73/100
Killer
- Why Killer Is Useful:
- Useful for all weapons.
- Killer Description:
- “Killing an enemy with a critical hit grants +50% critical hit chance for 5s.”
- Killer Usefulness Rating: Out of 100
- 73/100
Near Sighted
- Why Near Sighted Is Useful:
- Improves performance of assault rifles.
- Near Sighted Description:
- “Receive +35% stability at the cost of -20% critical strike range and -20% optimal range.”
- Near Sighted Usefulness Rating: Out of 100
- 72/100
Recharged
- Why Recharged Is Useful:
- Improves the performances of assault rifles, rifles, marksman rifles, shotguns, SMGs, LMGs.
- Recharged Description:
- “While equipped, skills deployed at full armor have +25% duration, charges, and ammo.”
- Recharged Usefulness Rating: Out of 100
- 72/100
4. C Tier
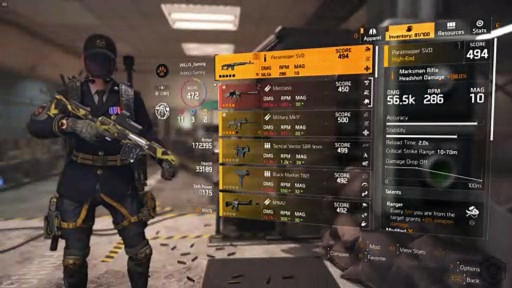
C Tier talents are in a very interesting position.
Some of these talents can be useful, but they are in C Tier because many of them are used as much by players as opposed to the talents in S Tier and A Tier.
They suffer the same specificity problems that B Tier does, although they do carry some weight in originality.
Measured
- Why Measured Is Useful:
- Improves performances for assault rifles, LMGs, SMGs.
- Measured Description:
- “The top half of the magazine has +15% rate of fire and -20% weapon damage. The bottom half of the magazine has -25% rate of fire and +20% weapon damage.”
- Measured Usefulness Rating: Out of 100
- 69/100
Naked
- Why Naked Is Useful:
- Only active when using an 8x scope or higher.
- Improves the performance of marksman rifles.
- Naked Description:
- “Headshot damage is increased by +50% while your armor is depleted.”
- Naked Usefulness Rating: Out of 100
- 66/100
Outsider
- Why Outsider Is Useful:
- Improves the performance of LMGs.
- Outsider Description:
- “Weapon fire rate is lowered but the optimal range increases as the weapon is fired.”
- Outsider Usefulness Rating: Out of 100
- 66/100
Vindictive
- Why Vindictive Is Useful:
- Useful for all weapons.
- Vindictive Description:
- “Killing an enemy with a status effect applied grants all group members within 15m +20% critical hit chance for 10s.”
- Vindictive Usefulness Rating: Out of 100
- 65/100
Perpetuation
- Why Perpetuation Is Useful:
- Useful for all weapons.
- Perpetuation Description:
- “Headshot kills grant +5% skill duration, ammo, and charges to the next skill used. Max stack is 10.”
- Perpetuation Usefulness Rating: Out of 100
- 65/100
Unwavering
- Why Unwavering Is Useful:
- Improves the performances of SMGs.
- Unwavering Description:
- “Swapping to this weapon grants max weapon handling for 5s. Kills refresh the buff.”
- Unwavering Usefulness Rating: Out of 100
- 63/100
Accurate
- Why Accurate Is Useful:
- Useful for all weapons.
- Accurate Description:
- “+15% Accuracy.”
- Accurate Usefulness Rating: Out of 100
- 63/100
Everlasting
- Why Everlasting Is Useful:
- Improves the performances of assault rifles, rifles, marksman rifles, SMGs, LMGs, and shotguns.
- Everlasting Description:
- “While holstered and in cover, this weapon regenerates 2 ammo every 5s.”
- Everlasting Usefulness Rating: Out of 100
- 60/100
D Tier
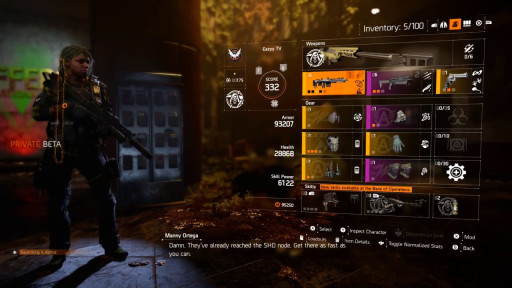
Now to the D Tier weapon talents.
Simply put, these weapon talents are either just not used by many players or aren’t as useful when it comes to advanced gameplay.
While there are some new players out there, many of those who are enjoying The Division 2 are high in the World Tiers, and using these weapon talents wouldn’t suit their level of gaming.
Many of the D Tier talents can be used to increase certain aspects of a weapon, like its optimal range or reload speed.
While those are great increases in vital spots for your weapon, a player can easily increase their optimal range or decrease their reload speed with mods attached to their weapon.
Overlap
- Why Overlap Is Useful:
- Improves the performances of assault rifles, rifles, marksman rifles, SMGs, LMGs, and shotguns.
- Overlap Description:
- “While holstered, your equipped weapon gains a handling bonus based on this weapon's type.”
- Overlap Usefulness Rating: Out of 100
- 58/100
Transmission
- Why Transmission Is Useful:
- Useful for all weapons.
- Transmission Description:
- “While holstered, shock applied to the Agent transfers to an enemy within 10m. Can occur once every 60s.”
- Transmission Usefulness Rating: Out of 100
- 56/100
Greased
- Why Greased Is Useful:
- Useful for all weapons.
- Greased Description:
- “While holstered, weapon swap speed is increased by 10%.”
- Greased Usefulness Rating: Out of 100
- 56/100
Distance
- Why Distance Is Useful:
- Useful for all weapons.
- Distance Description:
- “+15% Optimal Range.”
- Distance Usefulness Rating: Out of 100
- 55/100
Jazz Hands
- Why Jazz Hands Is Useful:
- Useful for all weapons.
- Jazz Hands Description:
- “+10% Reload Speed.”
- Jazz Hands Usefulness Rating: Out of 100
- 55/100
Optimized
- Why Optimized Is Useful:
- Useful for all weapons.
- Optimized Description:
- “+15% Weapon Handling.”
- Optimized Usefulness Rating: Out of 100
- 53/100
Pummel Rifleman
- Why Pummel Rifleman Is Useful:
- Improves the performance of shotguns.
- Pummel Rifleman Description:
- “3 consecutive body shot kills refills the magazine and grants +50% weapon damage for 7s.”
- Pummel Rifleman Usefulness Rating: Out of 100
- 53/100
Spike
- Why Spike Is Useful:
- Useful for all weapons.
- Spike Description:
- “Headshot kills grant +25% skill damage for 10s.”
- Spike Usefulness Rating: Out of 100
- 52/100
On Empty
- Why On Empty Is Useful:
- Weapon handling is increased.
- Improved assault rifle performance.
- On Empty Description:
- “Reloading from empty grants +30% weapon handling for 10s.”
- On Empty Usefulness Rating: Out of 100
- 51/100
Doubly Duty
- Why Doubly Duty Is Useful:
- Shotguns, LMGs, SMGs, assault rifles, rifles, marksman rifles all have improved performances.
- Doubly Duty Description:
- “While holstered, reloading from empty gives you a 20% of your magazine back as free ammo. Can occur once every 30s.”
- Doubly Duty Usefulness Rating: Out of 100
- 50/100
Zen
- Why Zen Is Useful:
- Useful for all weapons.
- Zen Description:
- “While equipped, resting in cover for 3s removes blind and disorient status effects.”
- Zen Usefulness Rating: Out of 100
- 49/100
If you found this article useful, then these may also come in handy:
Here is a video going over the weapon talents that were mentioned in this article:
The Division 2 - Weapon Talent Tier List | What are the Best Talents?
You may also be interested in:
- [Top 10] The Division 2 Best Weapons and How To Get Them
- The Division 2: Best Specializations Revealed
- [Top 10] The Division 2 Best Builds
- [Top 10] The Division 2 Best PvP Builds
- [Top 10] The Division 2 Best PvE Builds
- [Top 10] The Division 2 Best Exotic Weapons
- [Top 5] The Division 2 Best Solo Builds
- [Top 5] The Division 2 Best Crit Builds

