What mysterious lunar items are the strongest, and how do you find these elusive items?
Now if you've played Risk of Rain 2 for a while, you likely know that Lunar items aren't supposed to be the best items in the game. Every lunar item has a drawback that makes the benefit you get from them, not so good or completely useless. But just like how every item has a niche in every build, lunar items are no different with some items being right at home in builds.
Even though lunar items are supposed to be fun wild cards, that add a little chaos into your game. Some of the items you pick up can make you downright overpowered, and this list will clue you on which ones they are.
10. Brittle Crown
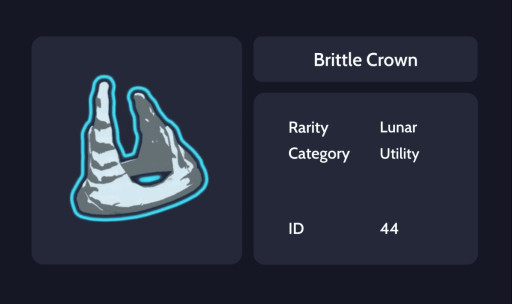
Brittle Crown is a famous item that exchanges health for gold, if you hurt enemies you get gold, if they hurt you, you lose it. There’s a lot of discussion on whether Brittle Crown is good or not. Some say it has a weak early game, since even if you don’t get hit you don’t have enough damage to benefit from the gold you gain.
But, depending on your build in the late game you’ll be able to kill enemies fast and get a lot of gold, letting you move through stages a lot faster. And even if you don’t have much need for opening chests quickly, it will give you a ton of experience making you stronger overall. This item is very niche like most lunar items, so if it doesn’t work for you initially try it in a different build.
Why Brittle Crown is Great
- A large accumulation of gold in the late game.
- Can be a great way to farm experience, depending on your build.
- Doesn’t have an active drawback unless you get hit.
How To Get Brittle Crown...
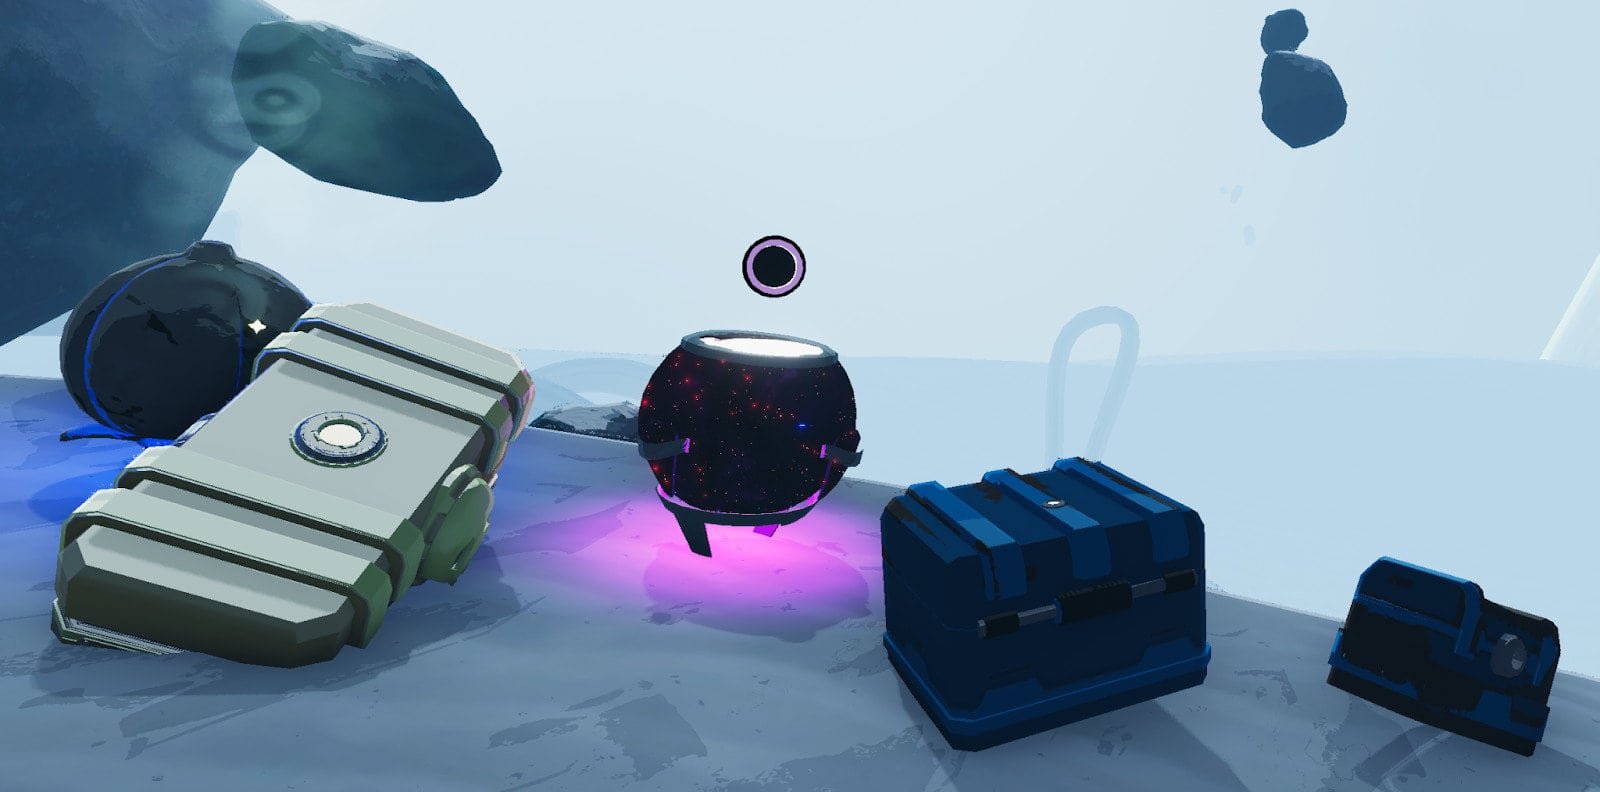
- You can obtain this item randomly by opening a lunar pod which costs a lunar coin.
- Randomly available for purchase for two lunar coins in the Bazaar Between Time.
Brittle Crown details: https://riskofrain2.fandom.com/wiki/Brittle_Crown
9. Hooks of Heresy
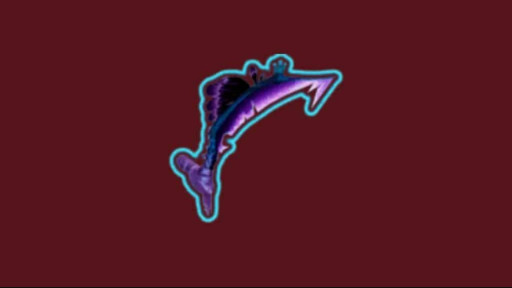
Just like the other Lunar items of heresy replaces one of your hero's main abilities. Hooks of Heresy replaces your hero’s secondary skill with Slicing Maelstrom. You charge up a projectile that deals 875% damage per second to nearby enemies, exploding after 3 seconds to deal 700% damage and root enemies for 3 seconds.
Now in most cases, heresy items won’t be useful, as the original ability works better in most cases for the hero. But for certain heroes like Captain who benefit from changing their ability, it can make runs feel a lot better. And it’s a great way to alter a hero’s kit if certain parts feel weak or overly clunky.
Why Hooks of Heresy is Great
- Gives you another option aside from your mainline abilities.
- Has great damage values, and is even stronger than some hero's secondary abilities.
- Its only drawback is switching the secondary ability.
How To Get Hooks of Heresy...
- You can obtain this item randomly by opening a lunar pod which costs a lunar coin.
- Randomly available for purchase for two lunar coins in the Bazaar Between Time.
- Complete the Blockade Breaker challenge, and kill 15 bosses in a single run.
Hooks of Heresy details: https://riskofrain2.fandom.com/wiki/Hooks_of_Heresy
8. Transcendence
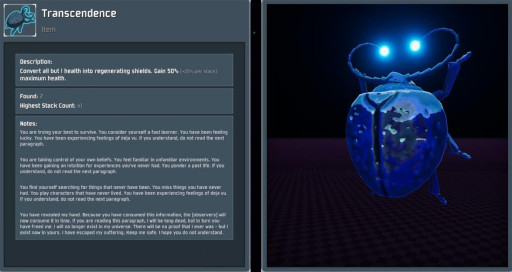
This item raises the holder’s maximum health by 50% but replaces all but 1 of the user’s health with shields, which regenerates over a period of 2 seconds after not being hit for 7 seconds. At first glance, the item seems pretty good. It removes your need to pick up healing items while giving you an instant buff to the shield.
This item does fall short in some ways, with its biggest weakness being prolonged fights. Forcing you to retreat and come back to the fight after your shield recovered. And later in levels, this drawback can be deadly, as it won’t be as easy to escape damage for 7 seconds. But there are some definite benefits, like how all fall damage is now reduced to 1. And certain item build paths can make it so you don’t take damage as much, giving the shield more time to recharge. And health stacking strategies still work, transferring the gained health to the shields.
Why Transcendence is Great
- A great defense option early game.
- A good option if you’re lacking healing options in your build.
- Can still benefit from excess healing, making Aegis a good item to go with it.
How To Get Transcendence...
- You can obtain this item randomly by opening a lunar pod which costs a lunar coin.
- Randomly available for purchase for two lunar coins in the Bazaar Between Time.
Transcendence details: https://riskofrain2.fandom.com/wiki/Transcendence
7. Stone Flux Pauldron

This item simply doubles your health while halving your speed. Stone Flux Pauldron is another niche item that is great for some builds but can completely ruin others. Being the only item to reduce speed is a blessing and a curse. Although the reduction of movement seems only a negative, especially since your speed decides if you can dodge that deadly attack a boss threw at you.
But if you find yourself moving too fast throughout stages because you stacked too much movement speed, this can be a great option to give you health and reduce that speed. Even though this item can be offset by getting more movement speed, it might not be smart to stack this item as it will make it much harder to get through stages.
Why Stone Flux Pauldron is Great
- Great if you have too many movement speed items.
- A good item late game if you’re looking for some extra tankiness.
- Works great on certain less mobile characters.
How To Get Stone Flux Pauldron...
- You can obtain this item randomly by opening a lunar pod which costs a lunar coin.
- Randomly available for purchase for two lunar coins in the Bazaar Between Time.
Stone Flux Pauldron details: https://riskofrain2.fandom.com/wiki/Stone_Flux_Pauldron
6. Light Flux Pauldron

This item reduces the final cooldowns and attack speed of the holder. Essentially means you’ll be attacking a lot slower, but your abilities with have a shorter cooldown. As you can tell this is another niche item that you’ll be picking up depending on your character or build.
Even though attack speed is probably one of the most powerful stats in the game, nearly every character largely benefits from it. There are still great uses for Light Flux Pauldron. For characters like Acrid and Loader, it’s not a bad pick, as some of their most-used abilities don’t scale off of attack speed. And the skills that do scale off attack speed aren’t too badly affected. Even though the drawback can be somewhat alleviated since it is your final attack speed and cooldown, attack speed items after you pick this up will be less effective. So best to get this item after you have quite a lot of attack speed.
Why Light Flux Pauldron is Great
- Good late game when you already have a surplus of attack speed.
- Great for a build where you’ll spam certain abilities.
- The drawback can be reduced with enough items.
How To Get Light Flux Pauldron...
- You can obtain this item randomly by opening a lunar pod which costs a lunar coin.
- Randomly available for purchase for two lunar coins in the Bazaar Between Time.
Light Flux Pauldron details: https://riskofrain2.fandom.com/wiki/Light_Flux_Pauldron
5. Vision of Heresy
This item of heresy switches out your primary ability for Hungering Gaze. This allows you to fire a flurry of tracking shards that detonate after a delay, dealing 120% base damage. Hold up to 12 charges that reload after 2 seconds. As it's the ability you’ll be using the most consistently, your primary attack is probably your most important ability. So if your ability feels off, your whole run will likely feel off.
This ability works great with characters like Acrid and Loader whose primary attack is solely close range, letting them proc their on-hit ability from afar. It also tends to be better on Artificer since she’ll be able to use it more consistently. Although this ability won’t be better for everyone, it’s undeniable to be a great help on certain builds and characters.
Why Vision of Heresy is Great
- Great on certain characters who suffer due to their primary attack.
- Gives another playstyle to characters, and has decent damage values.
- Its only drawback is switching the primary ability.
How To Get Vision of Heresy…
- You can obtain this item randomly by opening a lunar pod which costs a lunar coin.
- Randomly available for purchase for two lunar coins in the Bazaar Between Time.
- Complete the Blockade Breaker challenge, and kill 15 bosses in a single run.
Vision of Heresy details: https://riskofrain2.fandom.com/wiki/Visions_of_Heresy
4. Focused Convergence
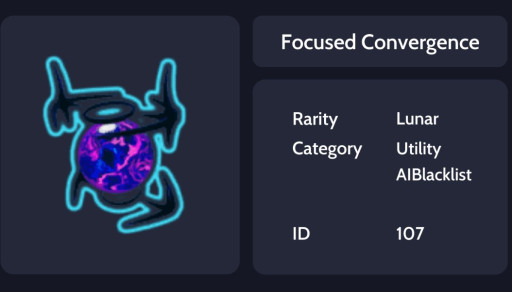
This item makes teleporters charge 30% faster, but decreases the charging radius by 50%. The benefits of this item are immediately obvious for anyone who sat waiting for a teleporter to charge while killing beetle after beetle. And the drawback despite being noticeable isn’t that big of a hindrance. Especially since this item works for all holdout zones, making it more wildly used than one might initially think.
In most cases, you’ll end up fighting a hard boss outside of the charging radius, and for those who don’t the smaller radius won’t make too big of a difference. And, with a shorter time for charging you can quickly move over to the next stage, without having to worry about the next wave that will inevitably spawn while you wait. Although late game you’ll be wanting as much range as you can for certain enemies and bosses, I very rarely find myself regretting picking up Focused Convergence.
Why Focused Convergence is Great
- A very minuscule drawback for a great benefit.
- Very helpful in both the early game and late game.
- Helps you not get overwhelmed by enemies at the teleporter event.
How To Get Focused Convergence...
- You can obtain this item randomly by opening a lunar pod which costs a lunar coin.
- Randomly available for purchase for two lunar coins in the Bazaar Between Time.
Focused Convergence details: https://riskofrain2.fandom.com/wiki/Focused_Convergence
3. Strides of Heresy
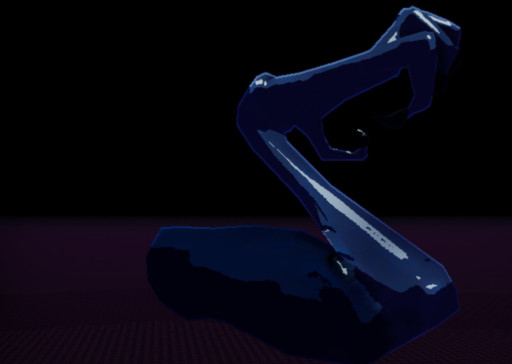
This is the last of the heresy items on the list, which replaces your utility skill with Shadowfade. Allowing you to fade away, becoming intangible and gaining +30% movement speed. Heal for 18.2% of your maximum health, lasting for 3 seconds. If you’ve ever been targeted by an army of lesser wisps, you know how important a utility skill is. One that allows you to blink, boost, or teleport out of danger is invaluable in a game with an infinite flood of enemies.
Since this item effectively takes you out of the battle and provides you with a decent heal a great item to pair with it is N’Kuhana’s Opinion. With more stacks of Strides of Heresy which will make you intangible for longer, N’Kuhana’s Opinion will provide some much-needed damage during that downtime. This item is fantastic on some characters, and just meh on others which leads it largely to preference.
Why Strides of Heresy is Great
- Works great with N’Kuhana’s Opinion allowing you to stack it safely.
- Gives great defensive options for characters who have weak utility skills.
- Its only drawback is switching the utility skill.
How To Get Strides of Heresy...
- You can obtain this item randomly by opening a lunar pod which costs a lunar coin.
- Randomly available for purchase for two lunar coins in the Bazaar Between Time.
- Complete the Blockade Breaker challenge, and kill 15 bosses in a single run.
Strides of Heresy details: https://riskofrain2.fandom.com/wiki/Strides_of_Heresy
2. Shaped Glass
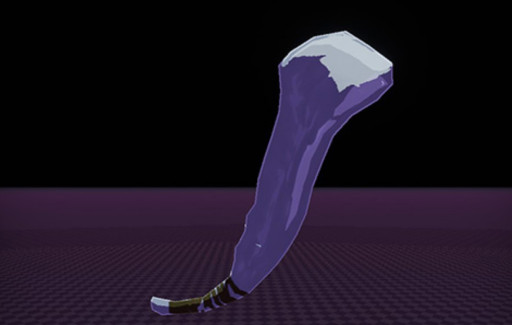
With this item, the holder’s base damage is doubled, but in exchange, their total maximum health is halved. Damage has to be one of the most fun things to abuse in Risk of Rain 2, and this is the item that allows you to abuse it. Being a fan favorite, Shaped Glass changes your playstyle from defending and dealing damage, to just dealing damage.
Mobility is your friend, as you’ll need a lot to dodge attacks and avoid enemies surrounding you. One wrong hit on your character can end your run fairly quickly with Shaped Glass. Damage reduction and shield items will also be your friend, as you’ll need to prepare to be in 1 shot range at all times. So pick up some Tougher Times and Topaz Brooches to be safe. And since stacking is exponential with this item, that very well might be the case. What is for sure, getting this item will sure make your runs through stages a lot faster.
Why Shaped Glass is Great
- One of the most, if not the most powerful item in the game.
- The drawback can be lessened by picking up a lot of defensive items.
- Great at all stages of the game, and makes runs quicker.
How To Get Shaped Glass...
- You can obtain this item randomly by opening a lunar pod which costs a lunar coin.
- Randomly available for purchase for two lunar coins in the Bazaar Between Time.
Shaped Glass details: https://riskofrain2.fandom.com/wiki/Shaped_Glass
1. Gesture of the Drowned
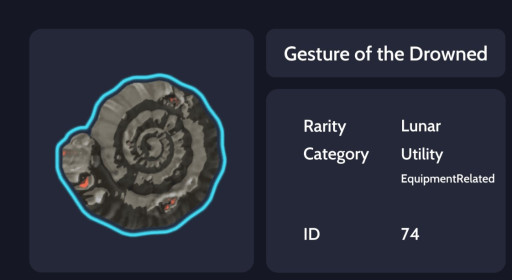
The first time you pick up this item it reduces the holder’s equipment cooldown by half, but it activates it as soon as it’s ready. Each additional pick-up reduces equipment cooldown by 15% each.
This is definitely the item that allows you to completely experiment with equipment in a unique way. And it happens to be one of the only lunar items with a fairly positive drawback. As most equipment works just as well if not better being activated as soon as it’s ready. If you’re able to stack a lot of Gesture of the Drowned and Fuel Cells, you’ll be able to keep certain equipment perpetually active. When paired with equipment like Spinel Tonic or Royal Capacitor, you’ll bulldoze through waves easily.
Why Gesture of the Drowned is Great
- Has no real drawback, as it tends to be a benefit in most cases.
- Can be paired with almost any equipment and be consistently useful.
- Can make it so certain equipment is always active with enough stacks.
How To Get Gesture of the Drowned…
- You can obtain this item randomly by opening a lunar pod which costs a lunar coin.
- Randomly available for purchase for two lunar coins in the Bazaar Between Time.
- Complete The Demons And The Crabs challenge, kill 20 Hermit Crabs by chasing them off the edge of the map.
Gesture of the Drowned details: https://riskofrain2.fandom.com/wiki/Gesture_of_the_Drowned

