What items will give you an invincible run, and where can you find them?
Runs in Risk of Rain 2 are defined by the items you pick up. Some items you barely feel as you’re shooting, bashing, or slashing your way through enemies. But, some items completely changed your run from an endurance test of seeing how far you can survive, to wiping an army of monsters before they can even touch you. The items on this list will be the beginning of your one-man army.
15. AtG Missle Mk. 1
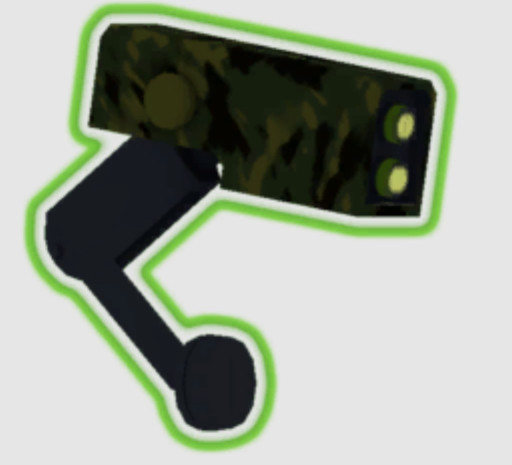
Last but not least is the AtG Missle Mk. 1, with an on-hit effect that sends out a homing missile. This item is great on any run, if you’re able to stack it you’ll be shooting off missiles on nearly every attack. And it’s also great paired with other on-hit items, making it great for early runs.
Why AtG Missle Mk. 1 is Great
- High damage.
- Works great with other on-hit items.
- Easy to obtain.
How To Get AtG Missle Mk. 1…
- Luck, it will drop randomly through your runs.
AtG Missle Mk. 1 details: https://riskofrain2.fandom.com/wiki/AtG_Missile_Mk._1
14. Runald’s Band
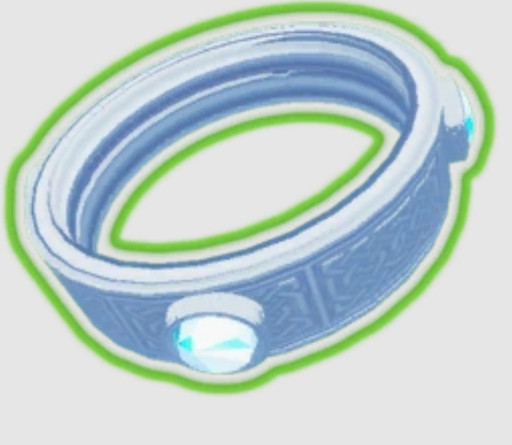
The Runald’s Band and its counterpart Kjaro’s Band, are both great additions to your build. While Runald is more single target with 50% less damage than Kjaro’s band. It does slow enemies hit, which can keep some mobs at bay while you destroy immediate threats.
Why Runald’s Band is Great
- A high damage 3-second slow.
- Strike-based activation.
- Activates along with Kjaro’s Band.
How To Get Runald’s Band…
- Open the secret chamber in the Abandoned Aquaduct and defeat the bosses inside.
Runald's Band details: http://https://riskofrain2.fandom.com/wiki/Runald%27s_Band
13. Kjaro’s Band
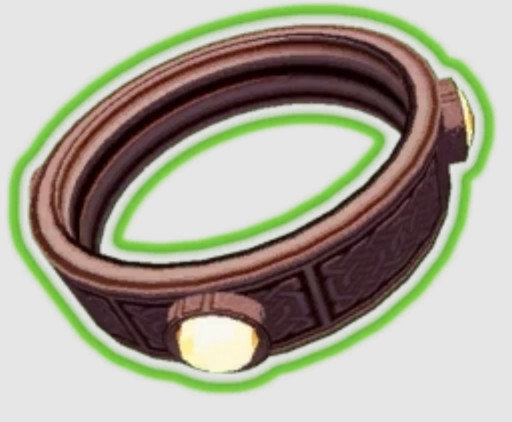
Similar to Runald’s Band, Kjaro’s Band is strong because it benefits from other on-hit items. Dealing more damage, and providing an AOE, I find Kjaro’s Band to always be a necessity in runs. And it can provide much-needed damage in burst bosses early, and kill off small enemies so they don’t accumulate.
Why Kjaro’s Band is Great
- A high damage 3-second AOE tornado.
- Strike-based activation.
- Activates along with Runald’s Band.
How To Get Kjaro’s Band…
- Open the secret chamber in the Abandoned Aquaduct and defeat the bosses inside.
Kjaro's Band details: https://riskofrain2.fandom.com/wiki/Kjaro%27s_Band
12. Charged Perforator
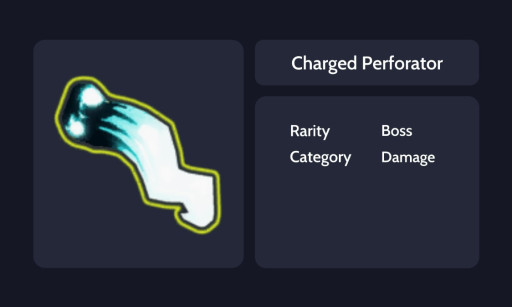
The item equivalent of the equipment Royal Capacitor, Charged Perforator is a stronger version of AtG Missle Mk. 1. This item is actually stronger than most items early, as it rolls its critical of the triggering hit. This means you’ll have two chances to critical hit on each activation. This item is also great against flying enemies, as it has an extreme downward knockback.
Why Charged Perforator is Great
- High damage.
- Great against flying enemies.
- Easy to Proc.
How To Get Charged Perforator…
- This boss item will be dropped by the Overloading Worm.
Charged Perforator details: https://riskofrain2.fandom.com/wiki/Charged_Perforator
11. Will-o’-the-Wisp
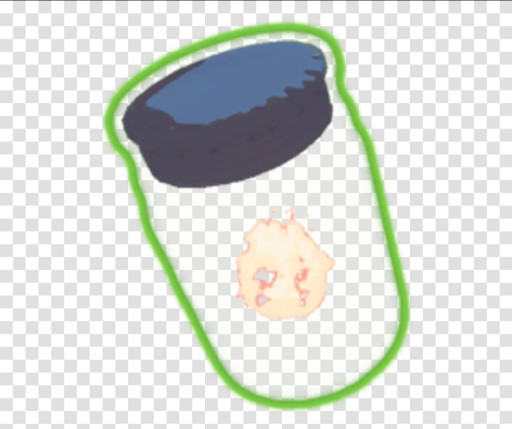
Will-o’-the-Wisp is definitely one of the strongest items in the game. And no matter if you’re early or late in your run it will always be useful. You’ll specifically find it helpful in killing large groups of small enemies like Lesser Wisps or Beetles. This item will definitely be responsible for a kill chain, where you kill one enemy and every enemy next to it dies as well.
Why Will-o’-the-Wisp is Great
- Activates on enemy death.
- Great for AOE damage.
- Lethal against small enemies.
How To Get Will-o’-the-Wisp...
- Luck, it will drop randomly through your runs.
Will-o'-the-Wisp details: https://riskofrain2.fandom.com/wiki/Will-o%27-the-wisp
10. Ukulele
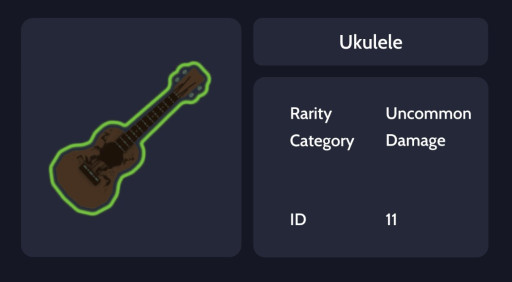
Ukulele is the best choice if you want to record an award-winning song or electrocute everyone in the vicinity. Whichever comes first. With a 25 chance to create chain lighting on every hit, this will be invaluable in the early stages. As the low but far-reaching damage will deal great chip damage to mobs. And this item targets even more enemies with each stack, so you can likely get enough to electrocute half the map with one attack.
Why Ukulele is Great
- Great AOE.
- Easy to proc.
- Easy to obtain.
How To Get Ukulele…
- Luck, it will drop randomly through your runs.
Ukulele details: https://riskofrain2.fandom.com/wiki/Ukulele#
9. Paul’s Goat Hoof

Although its effect is simple, you won’t want to miss out on Paul’s Goat Hoof for your run. Giving you much-needed movement speed throughout your build, this item will help you avoid attacks and traverse the map quickly. And with enough Hoofs and movement speed items, you’ll run circles around enemies. Which can be very helpful when you’re low on health and need to hide.
Why Paul’s Goat Hoof is Great
- Gives much-needed mobility.
- Easy to obtain.
- Becomes powerful quickly with stacks.
How To Get Paul’s Goat Hoof...
- Fail three Shrine of Chance rolls 3 times in a row.
Paul's Goat Hoof details: https://riskofrain2.fandom.com/wiki/Paul%27s_Goat_Hoof
8. Shatterspleen
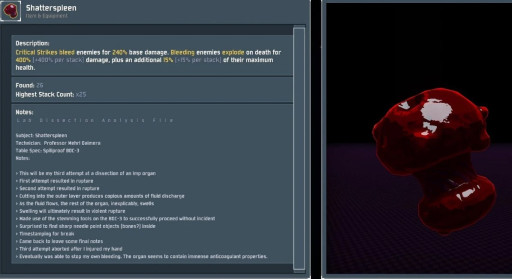
Shatterspleen is the reason I’m always happy to see the Imp Overlord. I don’t need to tell you how strong effects like burn can chip away at a hp bar. This item puts that chip damage into overdrive, acting as a boosted combination of Tri-tip dagger and Will-o’-the-Wisp. If you are lucky enough to get this item in a crit build, every single attack will be proccing insane bleed damage.
Why Shatterspleen is Great
- Great damage when paired with critical strikes.
- Has a strong AOE built-in.
- If you have Tri-tip dagger enemies will always explode on death.
How To Get Shatterspleen…
- This boss item will be dropped by Imp Overlord.
Shatterspleen details: https://riskofrain2.fandom.com/wiki/Shatterspleen
7. Harvester’s Scythe

In nearly every game, the ability to heal is invaluable. Sometimes it’s readily available and in cases like Risk of Rain 2, it’s rare. Harvester’s Scythe is placed here rather than Leeching Seed because it provides better healing. Although the healing is inconsistent early on, with a few crit items under your belt you’ll find your hp never gets too low.
Why Harvester’s Scythe is Great
- One of the best healing items.
- Easy to obtain.
- Scales are better than Leeching Seed.
How To Get Harvester’s Scythe...
- Obtained by completing a Prismatic Trial.
Harvester's Scythe details: https://riskofrain2.fandom.com/wiki/Harvester%27s_Scythe
6. Shattering Justice
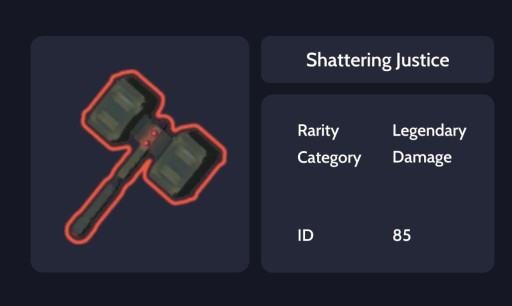
You really can’t go wrong with a giant hammer that splits the enemy’s defense in half. And with most enemies in Risk of Rain 2 not having defense, it’s not hard imagining how fast they’ll pop when they’re in the negatives. And with the only requirement being to hit the enemy 5 times, with a few attack speed items your enemies will never have armor.
Why Shattering Justice is Great
- Puts a powerful debuff on enemies.
- Easy to activate, especially on certain heroes.
- Lasts a long time that goes up with each stack.
How To Get Shattering Justice...
- Luck, it will drop randomly through your runs.
Shattering Justice details: https://riskofrain2.fandom.com/wiki/Shattering_Justice
5. Gesture of the Drowned
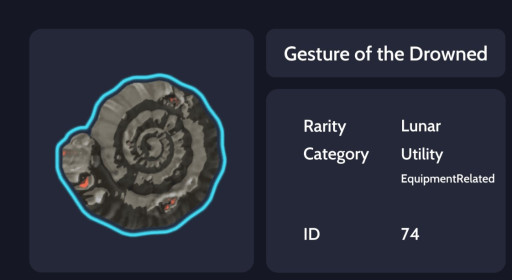
Making its way to the 5th spot on the list, the lunar item with the highly specific unlock requirement. The case with most lunar items is that they’re really good, with a big drawback attached. But, Gesture of the Drowned drawback is actually a positive, as most equipment in Risk of Rain 2 is great when constantly active. If you’re able to pick up Spinel Tonic, look forward to an easy run.
Why Gesture of the Drowned is Great
- Cuts your equipment cooldown by half.
- Makes equipment with a low cooldown overpowered.
- Pairs really well with Spinel Tonic.
How To Get Gesture of the Drowned...
- Is obtained by killing 20 hermit crabs by chasing them off the map.
Gesture of the Downed details: https://riskofrain2.fandom.com/wiki/Gesture_of_the_Drowned
4. Lens-Maker’s Glasses

Although it is one of the common items, that shouldn’t downplay its power. With just 10 of these Glasses, you’ll be able to deal double damage on every attack and skill. Not to mention that every crit-based item will also be permanently on hit. This item will always be needed in just about every build.
Why Len's-Maker's Glasses is Great
- When stacked can increase the critical strike chance.
- Pairs with every item.
- Easy to obtain.
How To Get Len's-Maker's Glasses...
- Luck, it will drop randomly through your runs.
Len's-Maker's Glasses details: https://riskofrain2.fandom.com/wiki/Lens-Maker%27s_Glasses
3. Ceremonial Dagger
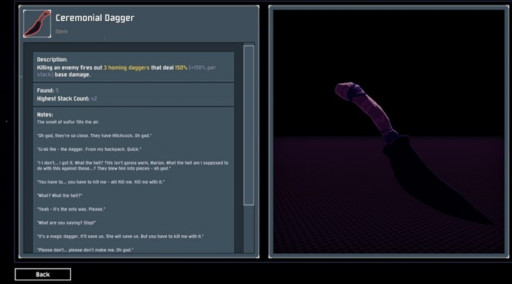
This is one of my favorite items in Risk of Rain 2, just for how enjoyable it is to play it. No matter what point in your run you are, this item won’t fail to execute a large portion of your enemies. Once it gets going it won’t stop, killing enemies from across the map with its extremely long range. Which makes it pair great with other items like Will-o’-the-Wisp. With a couple of kills to start the dagger off, you’ll feel like Yondu from Guardians of the Galaxy.
Why Ceremonial Dagger is Great
- Pairs great with other activate on death items.
- Has an extremely long range.
- Its homing and damage are affected by critical chance.
How To Get Ceremonial Dagger...
- Luck, it will drop randomly through your runs.
Ceremonial Dagger details: https://riskofrain2.fandom.com/wiki/Ceremonial_Dagger
2. Tougher Times
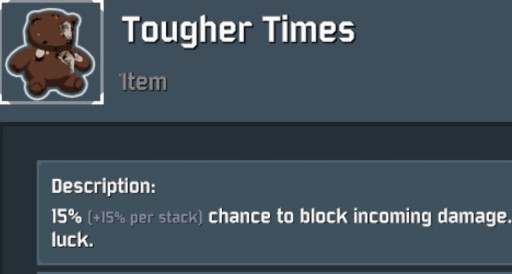
Tougher Times is another common item that is invaluable to a run. If you dislike getting one-shot early or later in runs, this item is one of your best ways in preventing that chance. Although no matter how many teddies you collect, you’ll never block 100% of attacks. It will still block enough for you to survive most onslaughts. And who can hate the squeaky noise every time a hit is absorbed?
Why Tougher Times is Great
- Blocked hits don’t activate on-hit effects.
- Good at any point in the game.
- Easy to obtain.
How To Get Tougher Times...
- Obtained by dying 5 times.
Tougher Times details: https://riskofrain2.fandom.com/wiki/Tougher_Times
1. 57 Leaf Clover
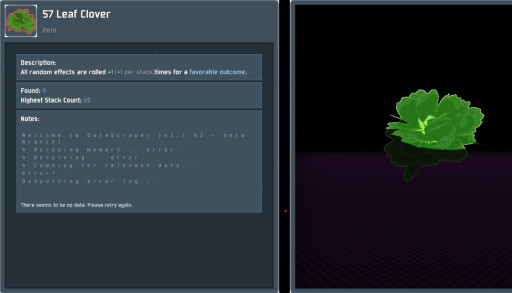
This item is what truly defines a run, giving you the ability to essentially reroll most chance-based effects. So things like sticky bombs, missiles, and the chance to stun all happen more consistently. With so many items in Risk of Rain 2 being chance-based, this item leads itself to be overwhelmingly powerful. It truly deserves to be at the top spot.
Why 57 Leaf Clover is Great
- Gives another chance for a beneficial effect to happen.
- Makes items that were already overpowered, even stronger.
- Invaluable in late-stage runs.
How To Get 57 Leaf Clover...
- Obtained by completing 20 stages in a single run.
57 Leaf Clover details: https://riskofrain2.fandom.com/wiki/57_Leaf_Clover
You may also be interested in:

