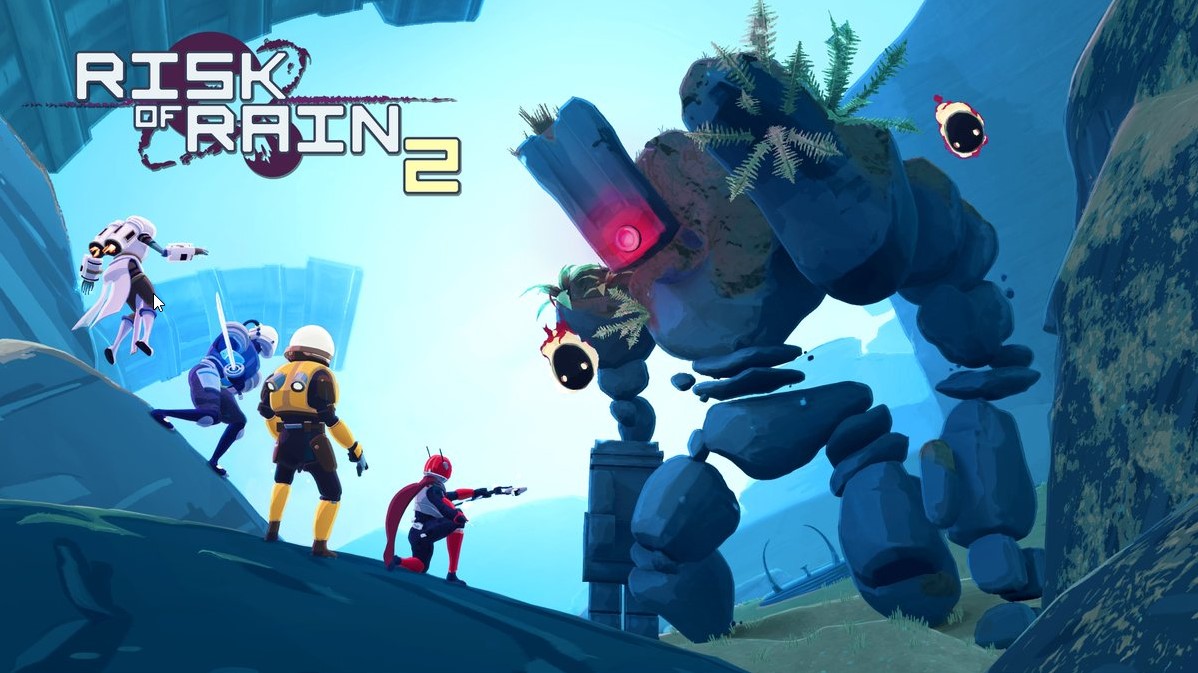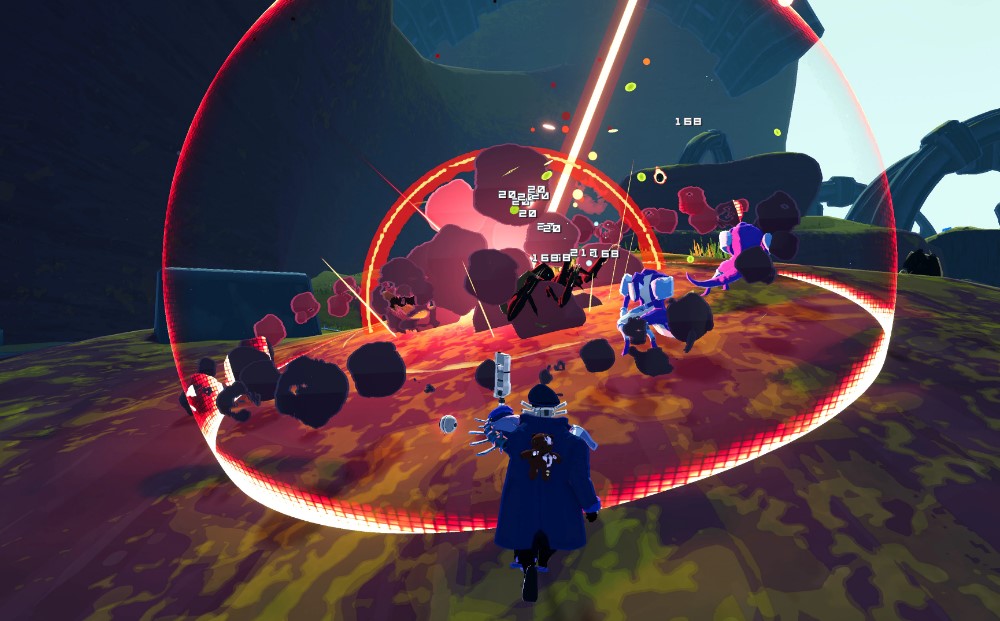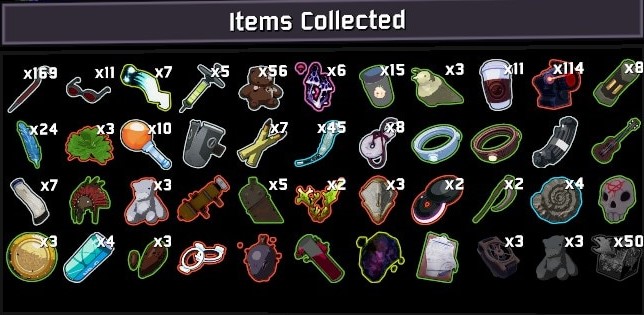
In Risk of Rain 2, the items you collect can make or break your run. Throughout your run, you get choices as to what items to take, and what items to leave behind. Choosing the right items for your build is situational, depending on your survivor and how far you plan to take your run. However, there remain some items that are powerful in almost any situation. And some items are more useful than others, regardless of the situation.
Below, I’ve collected a list of the top ten most useful items you will encounter in Risk of Rain 2. I’ve selected these items based on the criteria of being universally useful, powerful when compared to other items in their tier, and their synergy with survivors and even other items. Of course, your personal playstyle might mean that your list of top 10 items looks different from mine. But that’s why I’ve gone on to explain the pros and cons of each item and what exactly makes each one useful.
10. Hopoo Feather

Scorched Acres is hard to traverse efficiently without mobility items such as Hopoo Feather.
Hopoo Feather
Gain +1 (+1 per stack) maximum jump count.
Rarity: Uncommon
Category: Utility
Mobility is one of the most sought after features in Risk of Rain 2. The ability to get yourself out of crowds of enemies, to dodge hard-hitting attacks, and traverse the stage more efficiently makes your odds of success in the game skyrocket. Hopoo Feather is an essential movement item, effectively giving you the ability to double jump (or triple jump or quadruple jump depending on how many you collect).
While a Hopoo Feather by itself won’t automatically make your run a success, I’ve slotted it in at #10 here because it’s never a bad item to receive. The feather makes it so much easier to extend your runs by not getting hit. Beyond that, most of the stages become much easier to traverse once you have more than one jump. This can be useful not just in escaping enemies or repositioning, but also in looting a stage and finding the teleporter as quickly as possible.
What Makes Hopoo Feather Useful
- Grants the ability to reach locations that might be hard or impossible to access.
- Synergizes with every survivor, granting a buff to your survivability no matter what your build.
- The feather can save you from taking fall damage by double jumping just before hitting the ground.
- You can dodge attacks like the Stone Golem’s laser attack by jumping at the right time.
- You can change the direction you are moving in the air with each jump, allowing you to dodge attacks easier.
9. Spinel Tonic

Use Spinel Tonic to burn through bosses like the one pictured.
Spinel Tonic
Drink the Tonic, gaining a boost for 20 seconds. Increases damage by +100%. Increases attack speed by +70%. Increases armor by +20. Increases maximum health by +50%. Increases passive health regeneration by +300%. Increases movespeed by +30%. When the Tonic wears off, you have a 20% chance to gain a Tonic Affliction, reducing all of your stats by -5%.
Rarity: Lunar
Category: Equipment
Cooldown: 60s
Lunar items are difficult items to rank because they bring both benefits and downsides. In Spinel Tonic’s case, however, the benefit is usually much stronger than the downside. The stat boost that Spinel Tonic offers is more than enough to make killing bosses a breeze, and the chance at a 5% decrease won’t be that noticeable - especially if you only use Spinel Tonic a few times throughout a run. In that case, the item is strictly an improvement and pretty easy to use. Although, I wouldn’t recommend picking up this equipment on Engineer, as his turrets do not benefit from the stat increases.
The real power of Spinel Tonic shows itself if you manage to collect at least 1 Gesture of the Drowned and 3 Fuel Cells. Together, these items can give your Spinel Tonic permanent uptime, allowing you to reap the benefits of the item while never facing the 5% chance decrease in your stats. If you’re able to collect these items (which isn’t hard if you start looking early in your run), you’ll be practically unstoppable. This item also pairs very well with other health regeneration and attack speed items. When paired with War Horn, Spinel Tonic’s attack speed buff goes from +70% to +119%, for example.
What Makes Spinel Tonic Useful
- The benefit of this lunar item is way stronger than its downside, as long as you don’t use it recklessly.
- The downside can be mitigated completely by finding a combination of Fuel Cells and Gesture of the Drowned.
- Useful on almost every survivor.
- Synergizes very well with other common items, making them much more powerful.
8. Paul’s Goat Hoof

How do you get out of a crowd of enemies? Run!
Paul’s Goat Hoof
Increases movement speed by 14% (+14% per stack).
Rarity: Common
Category: Utility
Paul’s Goat Hoof is the best movement speed and mobility item in the game. It is strictly better than items like Energy Drink and more versatile than the Hopoo Feather. If you see this item in a shop, you should almost always pick it up.
The reason this stacking movement speed buff is so useful is because even just one stack of this item helps you dodge enemy attacks and traverse the stage noticeably quicker. Especially as the game goes on and enemy attacks do more and more damage, not getting hit becomes the primary way to stay alive in Risk of Rain 2. The best way to ensure you can consistently dodge enemy attacks is more movement speed, which is why I consider Paul’s Goat Hoof even more useful than an item like Tougher Times, which is only useful if you end up getting hit.
What Makes Paul’s Goat Hoof Useful
- It allows you to more easily avoid getting hit.
- It is more valuable the longer you hold on to it, as it will significantly cut down on the time you spend on each stage.
- It gives basically the same movement speed boost as Energy Drink, but affects walking as well as sprinting.
7. Ukelele

Take care of minions with Ukelele while you focus your damage on the boss.
Ukelele
25% chance to fire chain lightning for 80% TOTAL damage on up to 3 (+2 per stack) targets within 20m (+2m per stack).
Rarity: Uncommon
Category: Damage
Area of effect damage items that can ignite proc chains are the bread and butter of Risk of Rain 2. A “proc chain” is any event when the effect of one item triggers the effect of another item. Ukelele is one of the best examples of this kind of item.
Ukelele stands out above other uncommon items that have a similar purpose due to its high damage, and the fact that just a few of them can quickly stack to affect enormous groups of monsters. Ukelele is essential for proc chains - and also looks quite cool.
What Makes Ukelele Useful
- By itself, Ukelele is good at clearing out groups of enemies.
- Combined with other proc chaining items, Ukelele can be the start of a chain of damage effects.
- The 25% chance to proc occurs with every attack.
6. Shatterspleen

Rallypoint Delta is good stage for fighting the Imp Overlord, which can drop Shatterspleen.
Shatterspleen
Gain 5% critical strike chance. Critical Strikes bleed enemies for 240% base damage. Bleeding enemies explode on death for 400% (+400% per stack) damage, plus an additional 15% (+15% per stack) of their maximum health.
Rarity: Boss
Category: Damage
Shatterspleen is far and away the best Boss item in the game. It is gained by defeating the Imp Overlord (pictured above) and almost always guarantees a high damage run. Keep in mind, there’s a chance that Shatterspleen won’t always drop from the Imp Overlord.
The full power of Shatterspleen is unlocked with other crit and/or bleed items to enable Shatterspleen’s effect. By itself, Shatterspleen will do a bit of additional damage, but even one extra Lens-Maker’s Glasses or Tri-Tip Dagger multiplies the damage this item cana do. If you have the chance to fight the Imp Overlord and earn this item, it is almost always worth your while.
What Makes Shatterspleen Useful
- Having Shatterspleen makes any Lens-Maker’s Glasses you pick up double as bleed items.
- Having Shatterspleen makes Tri-Tip Daggers more valuable as they will proc Shatterspleen’s explode effect.
- If successfully proceed on a high health enemy, Shatterspleen is the best area of effect damage item in the game.
5. Shaped Glass
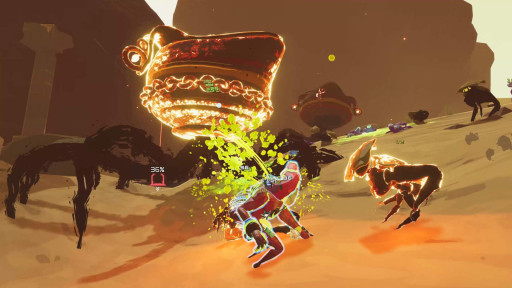
Melt bosses with Shaped Glass, before you get melted yourself...
Shaped Glass
Increase base damage by 100% (+100% per stack). Reduce maximum health by 50% (+50% per stack).
Rarity: Lunar
Category: Damage
Shaped Glass is an incredibly straightforward damage item that comes with a tradeoff. Shaped Glass doubles all of your damage, but reduces your health maximum by half. In a game where one hit from a boss can spell the end of your run, is this tradeoff really worth it? Yes. Absolutely. Pick up Shaped Glass.
The first few times you use Shaped Glass in a run, you will probably die due to being used to taking more damage. But, in Risk of Rain 2, the best thing you can do to avoid dying is avoiding getting hit at all. That’s why mobility items like Hopoo Feather and Paul’s Goat Hoof rank so highly. Because late game, it doesn’t matter if you have Shaped Glass or not, you are going to die in one hit anyway. The best defense? Kill your enemies before they overwhelm you - and Shaped Glass is one of the best ways to do that. My advice if you’re still struggling with using Shaped Glass? Get good.
What Makes Shaped Glass Useful
- If you’ve been getting unlucky with damage items, Shaped Glass can instantly save a run by doubling your damage output.
- Shaped Glass synergizes well with shielding items, which can make up for your lack of health.
- Taking multiple stacks of Shaped Glass is more powerful than it looks. If you can stack shield items or simply avoid getting hit, you can multiply your damage such that you kill everything before it gets a chance to hit you.
4. Lens-Maker’s Glasses

Everyone in your party will want to get their hands on Lens-Maker's Glasses.
Lens-Maker’s Glasses
Your attacks have a 10% (+10% per stack) chance to ‘Critically Strike’, dealing double damage.
Rarity: Common
Category: Damage
Lens-Maker’s Glasses takes the top Common item spot due to being the most consistent common damage item in the game. On top of that, the glasses synergize well with other items on this list (like Shatterspleen) to make your damage skyrocket above what it says on the tin.
This item is a must-take on most survivors looking to pump up their damage, as there is no more reliable way of doing huge amounts of damage in a short time other than raising your critical strike chance.
What Makes Lens-Maker’s Glasses Useful
- 3D Printers for this item are fairly common, meaning you can acquire the 10 needed for 100% critical strike chance with relative ease.
- Synergizes well with other items like attack speed items.
- Critical strikes are calculated after items like Shaped Glass, making them even more effective.
- Equipment can critically strike.
3. ATG Missile Mk. 1

Hit enemies from far away.
ATG Missile Mk. 1
10% chance to fire a missile that deals 300% (+300% per stack) TOTAL damage.
Rarity: Uncommon
Category: Damage
The ATG Missile Mk. 1 has a 10% chance to fire a missile everytime you attack. At first glance, this doesn’t seem like the type of item deserving of “third best item,” but there’s a lot more to it than meets the eye. Like Ukelele, the ATG Missile serves as a proc chaining item, meaning that other items can trigger their effects when an ATG Missile hits. More than that though, the chance of an ATG Missile can offer more consistent damage than even a Lens-Maker’s Glasses. This item has all the benefits of Ukelele, with better single target damage.
What Makes ATG Missile Mk. 1 Useful
- Can proc Kjaro’s Band and Runald’s Band, two powerful Uncommon items.
- Benefits from critical strike chance items like Lens-Maker’s Glasses, as the ATG Missile will critically strike if the attack that proc’d the missile critically striked.
- Stacking this item results in extremely high damage output.
- The best damage item in the game for its rarity.
2. Ceremonial Dagger

Ceremonial Dagger is a must during the late game stages.
Ceremonial Dagger
Killing an enemy fires out 3 homing daggers that deal 150% (+150% per stack) base damage.
Rarity: Legendary
Category: Damage
This item is similar to the ATG Missile Mk. 1 in its strengths, but simply better. While also lending itself to proc chains, the Ceremonial Dagger has the added benefit of more missiles (daggers) and the fact that the daggers will wait for a target to appear if they can’t immediately find one.
Because this is an on-kill item, instead of an on-hit item, the dagger can snowball quite quickly. If your overall damage is high enough, the daggers can kill many targets in one hit, instantly spawning 3 more daggers, which can compound on itself quickly.
What Makes Ceremonial Dagger Useful
- Can instantly kill large groups of weak enemies.
- Homing aim means that these daggers will always find their mark and do damage.
- The on-kill effect means these daggers can continually spawn more daggers.
1. 57 Leaf Clover

It's a simple item, with the most underestimated effect...
57 Leaf Clover
All random effects are rolled +1 (+1 per stack) times for a favorable outcome.
Rarity: Legendary
Category: Utility
The 57 Leaf Clover might be Risk of Rain 2’s most iconic legendary item. This utility item will immediately boost the power level of any build and any survivor. By rerolling random effects like critical strike chance or bleed chance, the clover doubles the effectiveness of nearly every item in the game.
While the clover doesn’t do any damage by itself (and isn’t that useful if it’s the first item you pick up in the game), it gets more powerful with each item you pick up. For example, 1 Lens-Maker’s Glasses give a 10% chance to critically strike. With a 57 Leaf Clover, this chance goes up to 19%, without the need for more Lens-Maker’s Glasses. The more items you pick up with percent chance effects, the more useful 57 Leaf Clover is.
What Makes 57 Leaf Clover Useful
- Universally useful, there is not a survivor that doesn’t benefit from the 57 Leaf Clover.
- Boosts critical strike chance.
- Boosts the chance of proc chains from Ukelele or ATG Missile Mk. 1.
- Makes even just 1 stack of a damage item like Lens-Maker’s Glasses much more effective.
- Becomes more useful the more items you have.

