15. Paul’s Goat Hoof
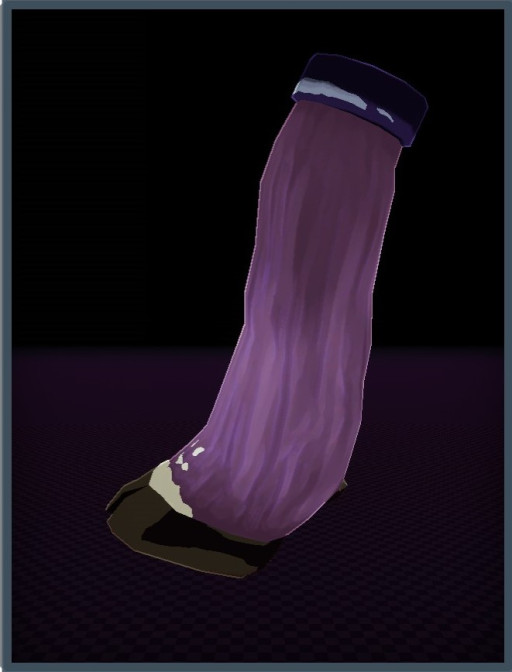
With how the items appear on the characters but don't scale to them, sometimes the goat hoof (shown above) can look weird on characters who are larger then the stardard size.
Paul’s Goat Hoof is a key item for any slow moving character, especially when stacked. The Goat Hoof increases movement speed by 14% plus an additional 14% per extra Goat Hoof. While combining the Goat Hoof and Energy drink creates an optimal speed, even just the Goat Hoof alone is enough to be quite speedy.
14. Soldier Syringe
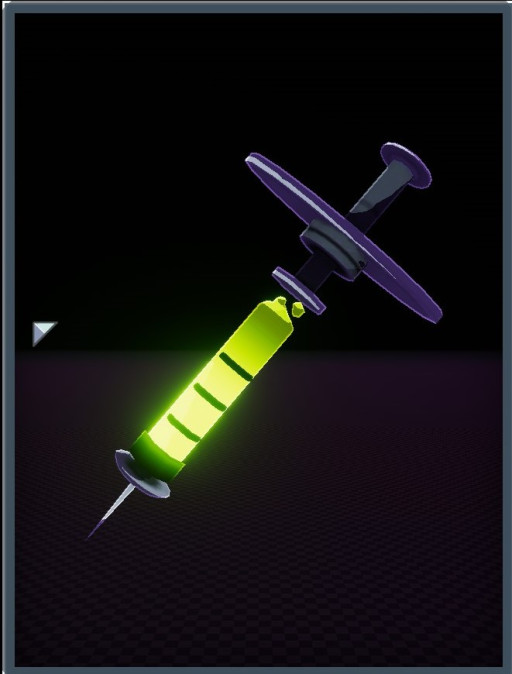
The Soldiers syringe's liquid (in syringe above) is a bright radioactive looking juice that when stacked, can create beasts of the survivors.
Soldiers' Syringe is a valuable item for survivors who have slow attack speeds. The extra 15% to attack speed; and more depending how many you stack, is sometimes the difference between life and death. This item helps a lot with reducing the risk of dying due to dealing with attacks or skills taking too long to actually complete.
13. Bustling Fungus (Bungus)
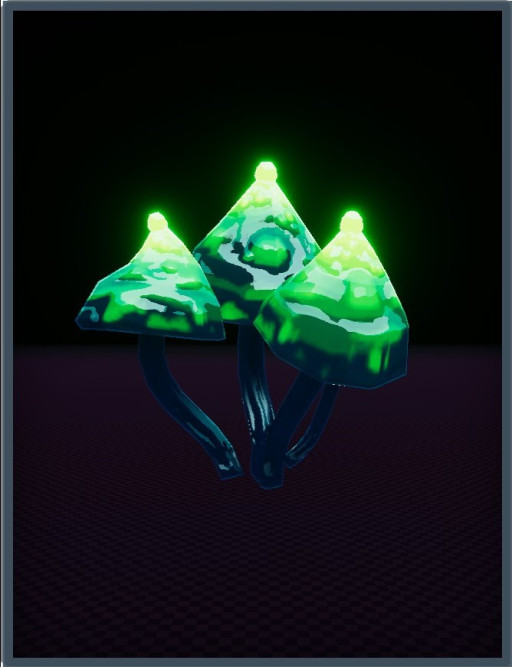
Bungus (Bustling Fungas, above) when shown on the survivors, has giggle physics that create some fun moments when running around the levels.
Bustling Fungus is one of the best healing items in the game. It allows you to heal yourself and allies for 4.5% of your health, plus 2.25 per additional Fungus, after standing still for 1 second. A good portion of this games online community prefers to call it Bungus, with it’s void counterpart, the Weeping Fungus, being nicknamed Wungus.
12. Hopoo Feather
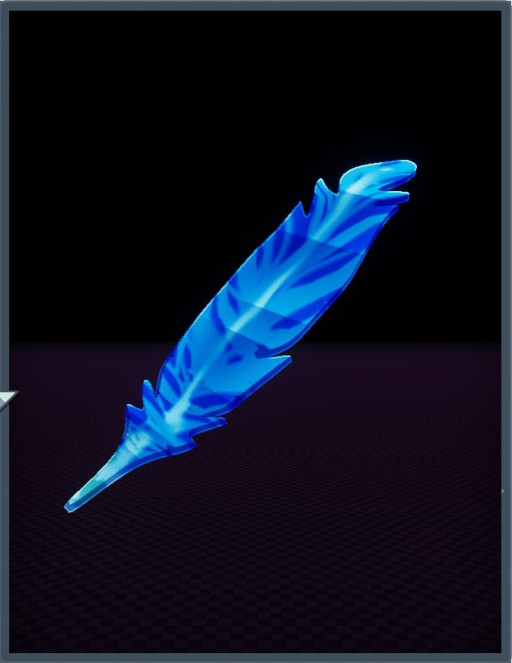
Hopoo Feathers when stacked high enough can practically allow you to fly. Each Hopoo Feather you collect gives you an additional jump, when used with survivors such as Artificer, you can keep yourself far away from enemies, or even get yourself closer to them. This item, while simple, is incredibly versatile.
11. Shipping Request Form
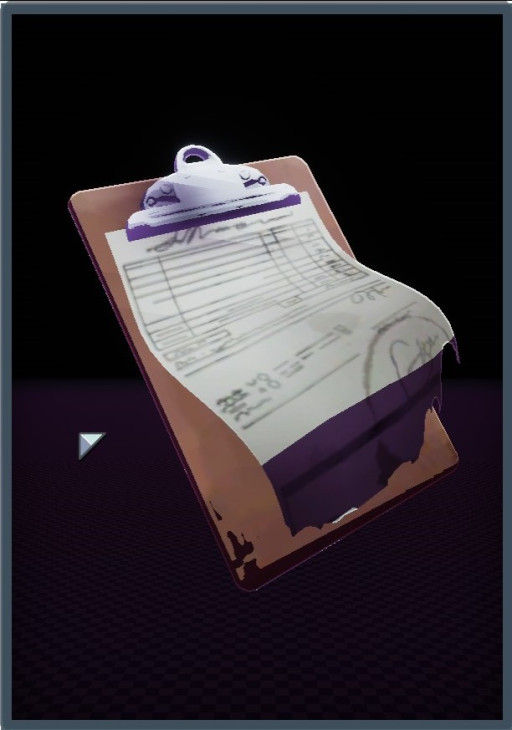
The Shipping Request Form gives you a delivery on each stage after it’s picked up, that contains 2 items. The rarity of the items is determined by how many are stacked, the more you have the better chance to get a red item. With only one the chances are, 79% for a white item, 20% for a green item, and 1% for a red item. When multiple people have them that only changes the amount of deliveries per stage it doesn’t affect the rarity of the items in the delivery.
10. Leeching Seed
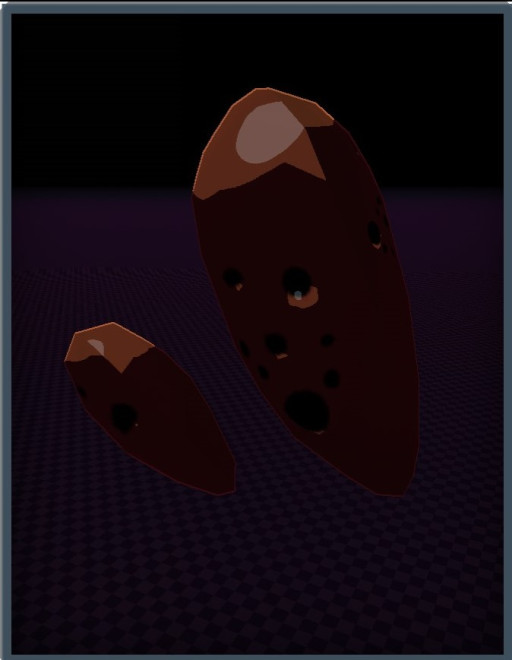
The Leeching Seed is good for high damage and/or high attack speed survivors. Every time you deal damage you heal 1hp, plus 1hp per additional Seed. The only weakness of the Leeching Seed is the healing amount is determined by stack size rather than scaling to the enemy or your own max health.
9. Planula
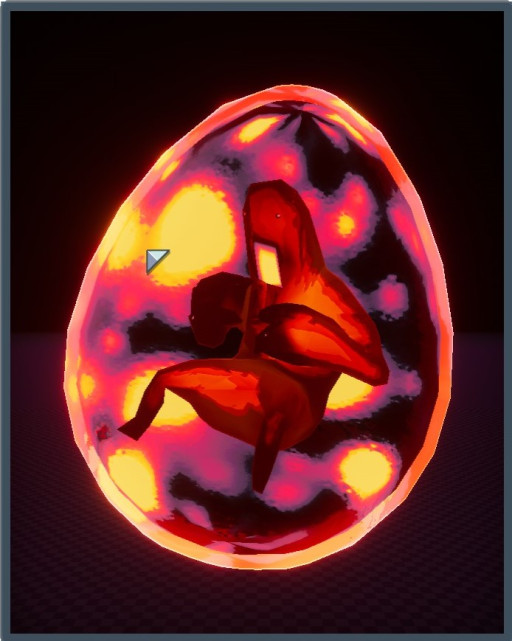
Watching your hp bar while having the Planula basically say "Nope" to enemies is always entertaining.
The Planula is a yellow tier item that heals 15hp after taking damage, with an additional 15hp per Planula stacked. It creates an interesting and entertaining effect sometimes when you watch your hp bar and numbers decrease and then practically immediately go back up all within a matter of a minute. While a simple item, it can make a huge difference when it comes to surviving to the next stage.
8. Runald’s/Kjaro’s Bands
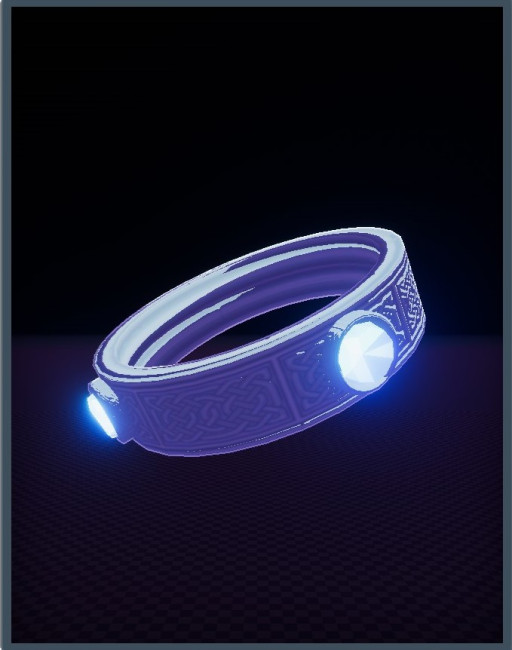
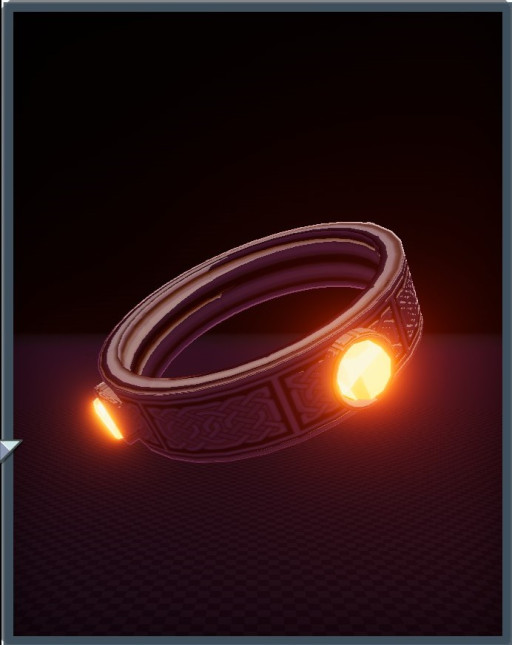
These bands (Both above) feel like the Risk of Rain 2 equivalent of Fireboy and Watergirl (an old flash game)
These bands are effectively two in one, and the Survivors of the Void DLC, the developers confirmed this, adding a void item that converts BOTH bands into the Singularity Band. The two bands deal fire and ice damage on high damage hits, dealing even more damage on top of it and applying status effects, meaning high-health enemies should watch out for this one!
7. Infusion
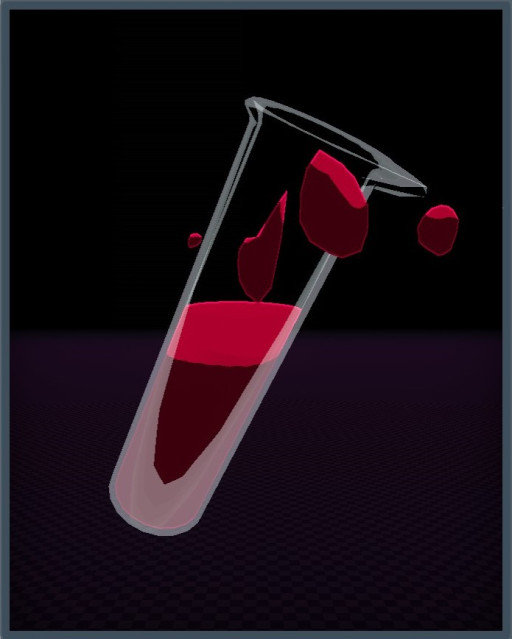
Infusion is an essential part of any tanking build, adding 1hp for every kill, and increasing the amount added by 1hp with each stack. The item allows you to build up a huge stock of HP to survive the increasing power of your enemies, and is not to be overlooked when building a character. The only potential weakness to consider is that it maxes out at 100 hp per stack.
6. Purity
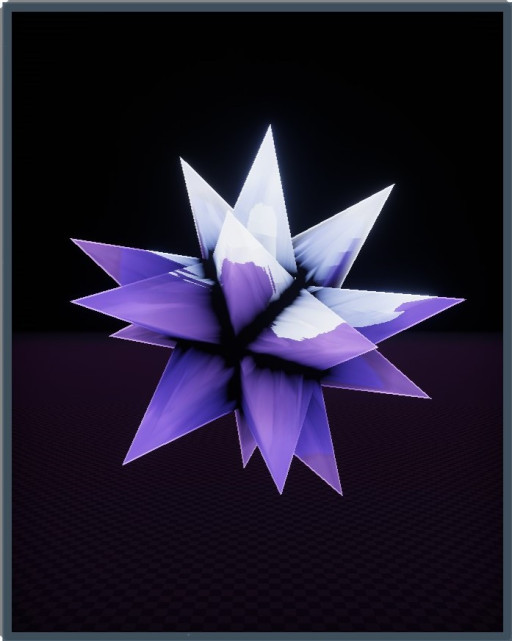
Stacking Purity enough times can sometimes break certain characters, such as with Mercanery were you can basically become invincible.
Purity is a Lunar item, its effects are easy to understand, each Purity reduces 2 seconds for cooldowns on your skills, but also adds another roll, which increases per stack, to any chance-based items or other things that roll based on that. For purely skill-based builds, this item is a godsend, and when stacked enough, can make you utterly invincible.
5. Gesture of the Drowned
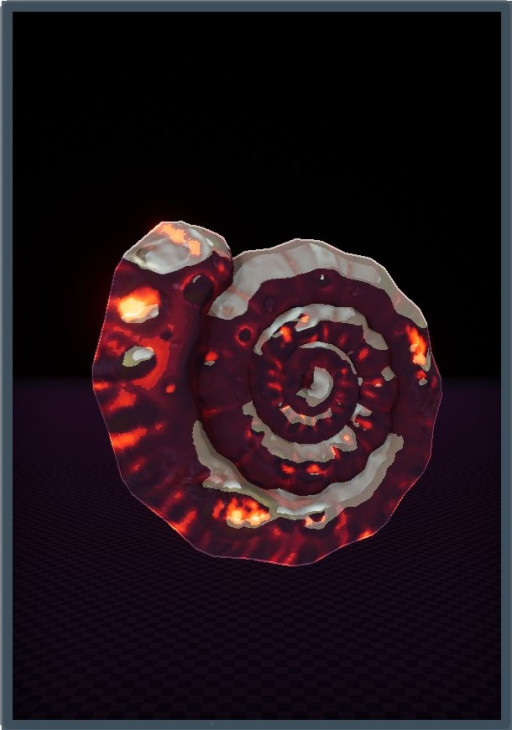
Gesture of The Drowned (above) when used with certain equipment such as the drone one, can sometimes cause tons and tons of drones that could lag out the game.
Gesture of the Drowned is a Lunar item that automatically makes your equipment activate as soon as it’s ready, and decreases your recharge times on your equipment items by 50% plus 15% per stack. Most lunar items give downsides, but this one is all ups, assuming you have equipment you wouldn’t mind being active all the time!
4. Alien Head
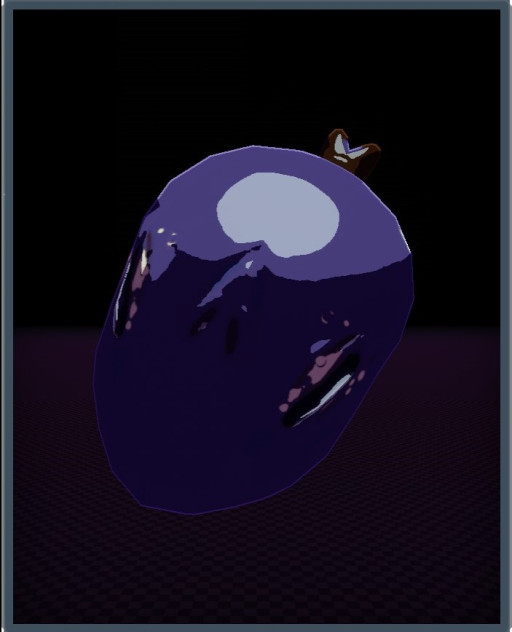
Alien Head is a very simple item, like Purity, it reduces skill cooldowns by 25%, with an extra 25% per stack, but has no adverse effects. The only issue here is, it’s a red item, one of the rarer items in the game. There isn’t much to say about this item, besides its obvious functionality and use for every class in the game.
3. Ceremonial Dagger
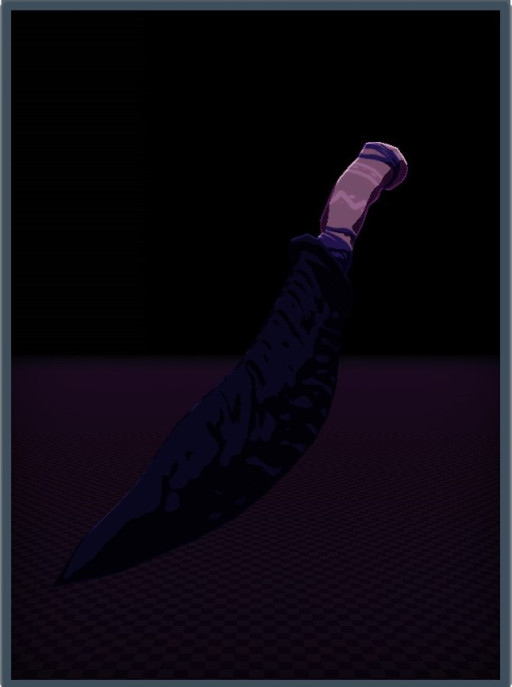
The Ceremonial Dagger appears just behind your character when picked up and will offer essentially covering fire.
The Ceremonial Dagger is a unique on-kill item. Whenever an enemy is killed by you, it releases three homing daggers that fly at the nearest enemy dealing 150% base damage, with additional 150% per stack. These have a high kill-rate when used on low-health enemies, and chain for some seriously destructive horde-wipes.
2. Symbiotic Scorpion
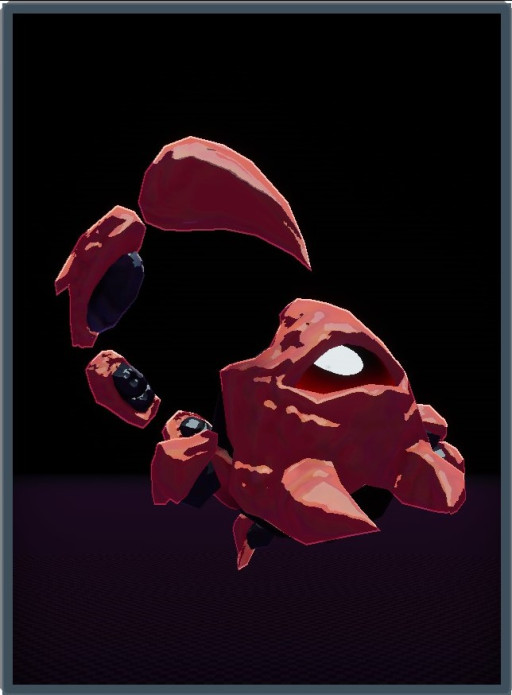
When picked up by certain survivors the Sybiotic Scorpion appears on the shoulder almost like a little pet.
The Symbiotic Scorpion is an item added in the Survivors of the Void update, and has quickly become a favorite in my runs. Once again, on high attack-speed characters, you can’t go wrong with this one! Each attack does more damage than the last, as it shreds 2 armor permanently on each hit, and each stack adds an additional 2 armor shredded to that pool. You will watch your enemies melt with this one.
1. Brilliant Behemoth
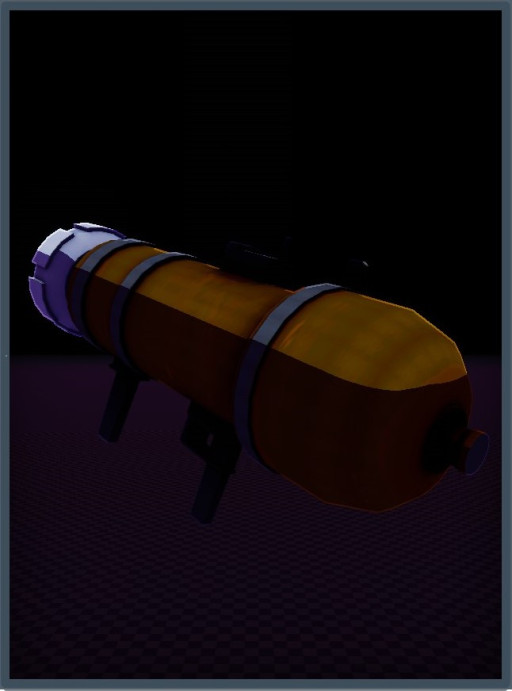
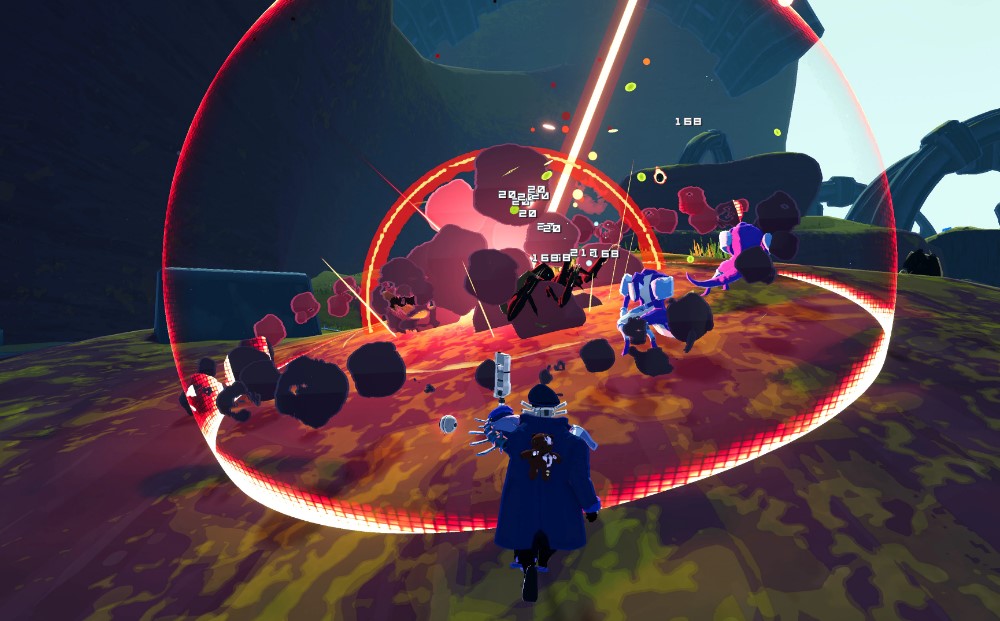
The Brilliant Behemoth is a powerful boost to any survivor’s outfit, finding itself on the top of this list due to its sheer ability to mesh with almost any build. The Brilliant Behemoth makes attacks explode in a 4 meter radius which expands by 1.5 meters per stack. The item will stack adding size to the explosions creating more damage dealt and dealing with larger hordes of enemies better. This is incredibly powerful in high attack-speed survivors, and should not be underestimated.


