![[Top 10] Insurgency: Sandstorm Best Loadouts That Are Excellent [Top 10] Insurgency: Sandstorm Best Loadouts That Are Excellent](/sites/default/files/styles/responsive_image_600xauto/public/2023-05/36e76c60a49143d50acaf01390256da4.jpg.webp?itok=iCvnsSr0)
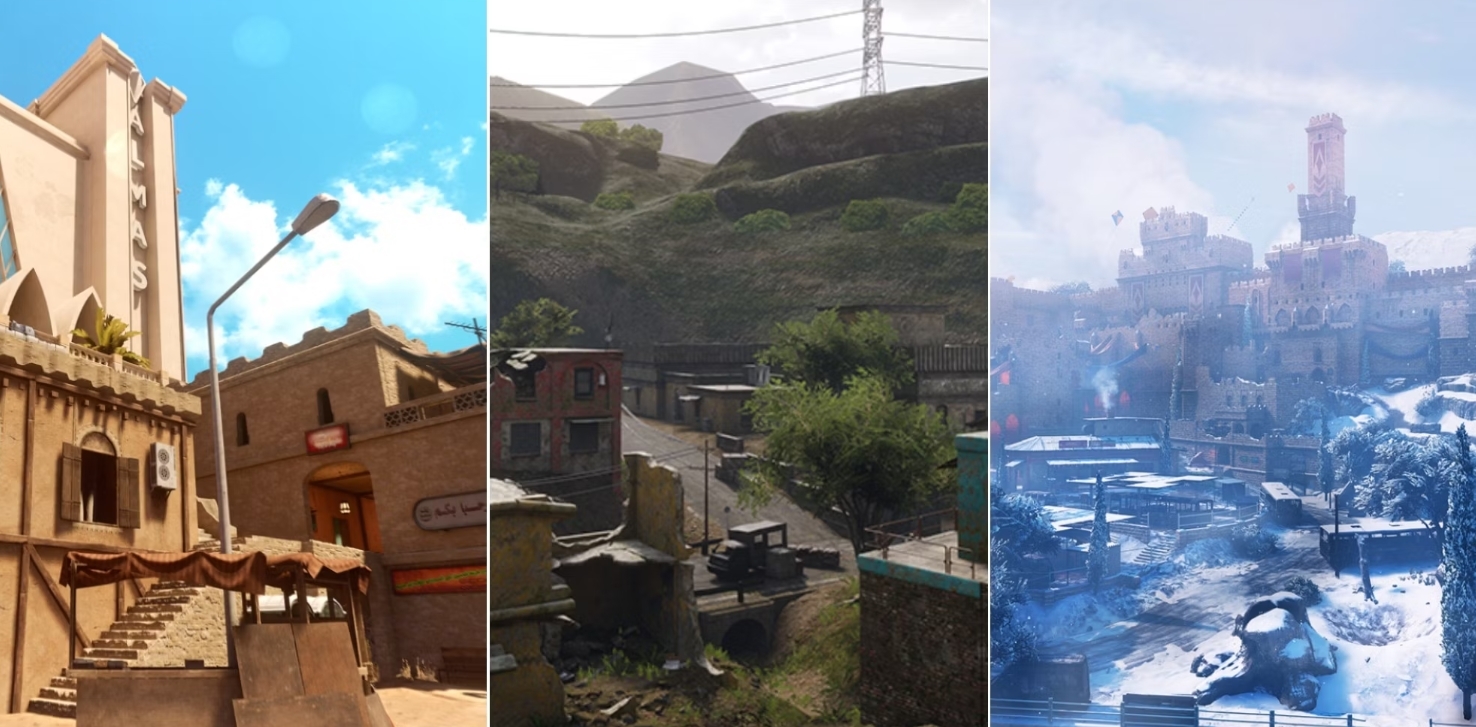
So you’re still not sure what kind of loadouts you should go with and have no idea what to pick for a specific map? Well, it’s simple: if you’re playing on a huge map, you should pick a weapon that has range, or if you’re playing on a small map with a ton of tight corners. you can use something that has less range but a higher fire rate.
Today I’ll show you some of the best loadouts you can pick in this game and why you should go with them. I highly recommend that you at least try every loadout mentioned in this list because you never know what you might like and enjoy!
10. Shotgun Loadout
Lock n’ load baby!
This game has made shotguns pretty fun to use. This is one of those rare games where you don’t have to be close to your enemy for the shotgun to deal damage. In real life, a 12-gauge shotgun has a range of 60-70 meters, and so they do in this game as well.
You just have to be careful not to find yourself in a position where you’re reloading and the enemy is right around the corner. But if that does happen, make sure that you carry a pistol with you so that the enemy can’t catch you off guard if you run out of ammo.
What Shotgun Loadout Excels In:
- In close-to-medium combat encounters.
- They deal a lot of damage and can kill anyone easily with a single shot to the chest.
- The shotguns in this game have a good range, so you don’t have to get close to someone to kill them.
- Depending on the ammo type that you’re using, it can also have high penetration.
- They are single-fire only, which makes them perfect for 1v1 situations.
- You’ll want to carry a pistol with you in case there are enemies around you and you can’t afford to reload.
Loadout Details:
- Primary Weapon: KSG/TOZ-194
- Secondary Weapon: Desert Eagle
- Explosive: F1 Frag
- Carrier: Light Carrier
- Accessory: Gas Mask
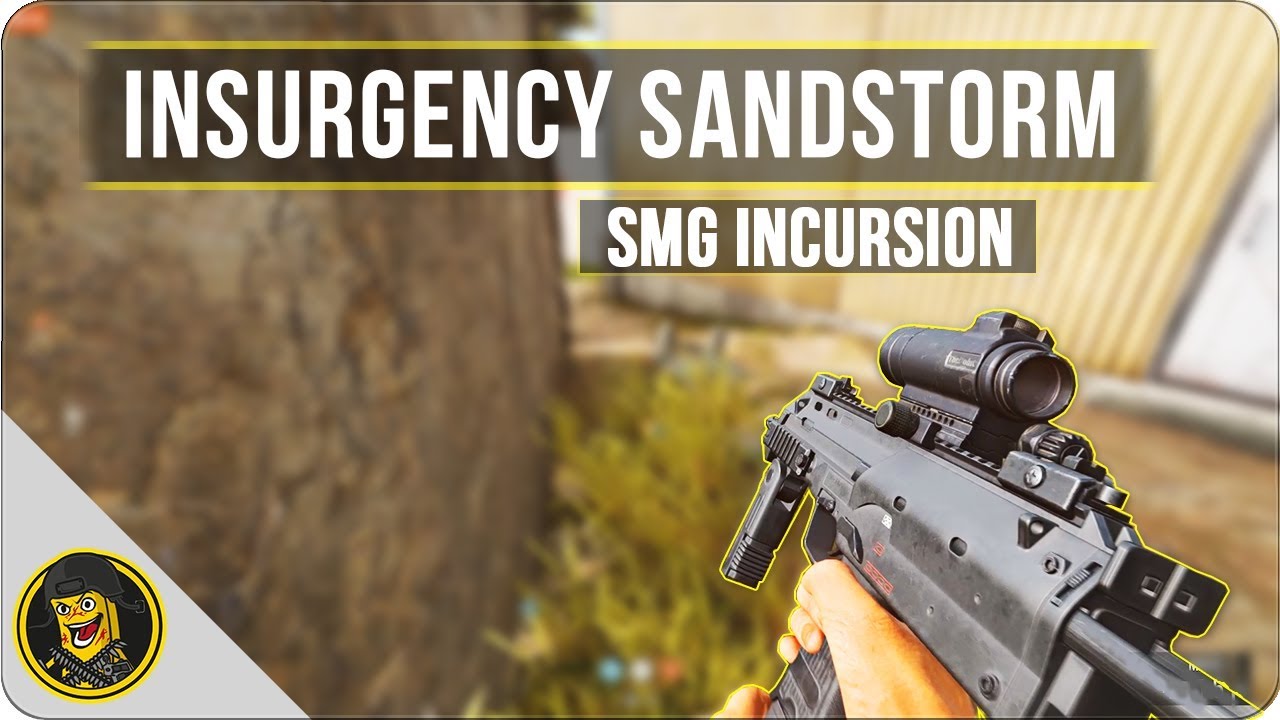
9. SMG Loadout
Quick and easy.
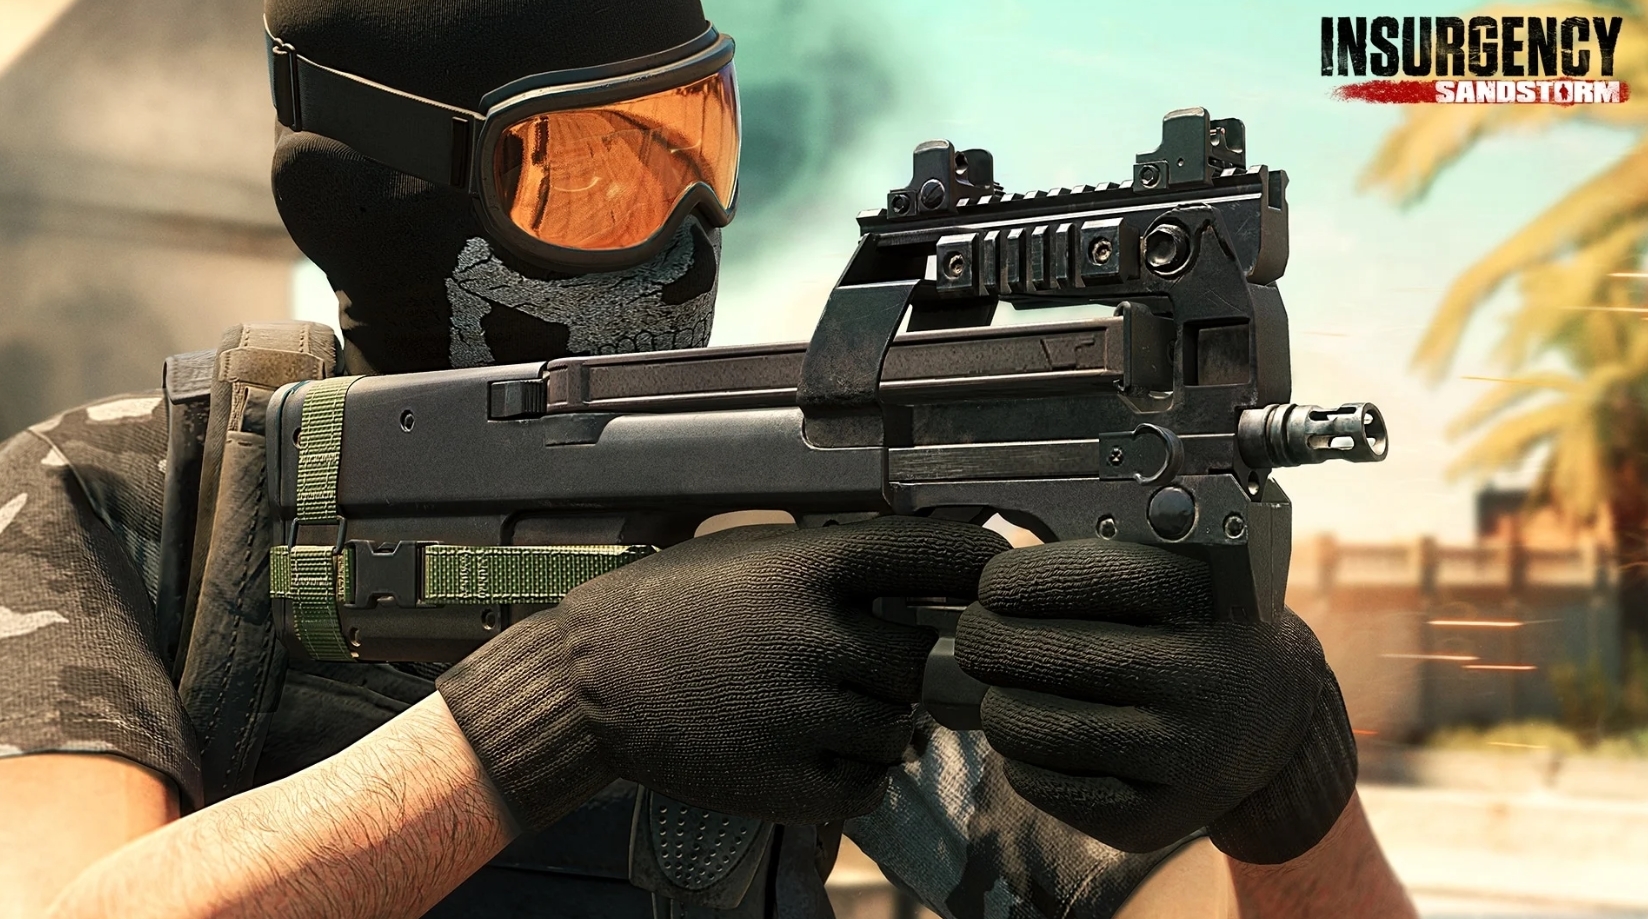
This is similar to the shotgun loadout, but instead of firing a single shot, you’ll be able to shoot out a whole magazine at someone. When it comes to this loadout, the main strategy is to be light as possible and flank the enemy.
This type of loadout also works only in situations where you’ll be able to get close to the enemy. If you can’t get close to them, then you won’t have any luck with loadout. It’s also very important to always keep an eye out on your ammo, as you can run out of it pretty damn quickly.
What SMG Loadout Excels In:
- Works well on maps that aren’t too open.
- You can get a lot of kills with this loadout if you flank the enemy team.
- Works well when trying to rush the other team.
- You are light on your feet.
Loadout Details:
- Primary Weapon: MP5A2
- Attachment 1: 2X-1X Kobra
- Attachment 2: Compensator
- Attachment 3: Recoil Grip
- Attachment 4: Extended Magazine
- Secondary Weapon: M1911
- Accessory: Gas Mask
8. M110 SASS Loadout
I’ve got you in my sights.
This is a very specific loadout, as it only revolves around one weapon. You see, with this weapon, you can go up close and personal to the enemy or you can stay far away and snipe.
If you’ve picked the marksman class where there aren’t a lot of open areas and you need to start pushing, this gun will come in perfect. Just make sure that you put on the right attachments for the weapon. You can also carry a pistol if you want, but it’s not needed that much.
What M110 SASS Loadout Excels In:
- With the right attachments, you can even push the enemy with this weapon.
- It has good penetration, which allows you to kill enemies hiding in cover.
- The recoil is controllable and won’t hinder your performance.
Loadout Details:
- Primary Weapon: M110 SASS
- Attachment 1: 6X-3X DOS SCOPE
- Attachment 2: Suppressor
- Attachment 3: Recoil Grip
- Secondary Weapon (Optional): L106A1
- Carrier: Light
- Armor: Light
- Accessory: Gas Mask
7. Rifleman Loadout
You can never go wrong with this one.
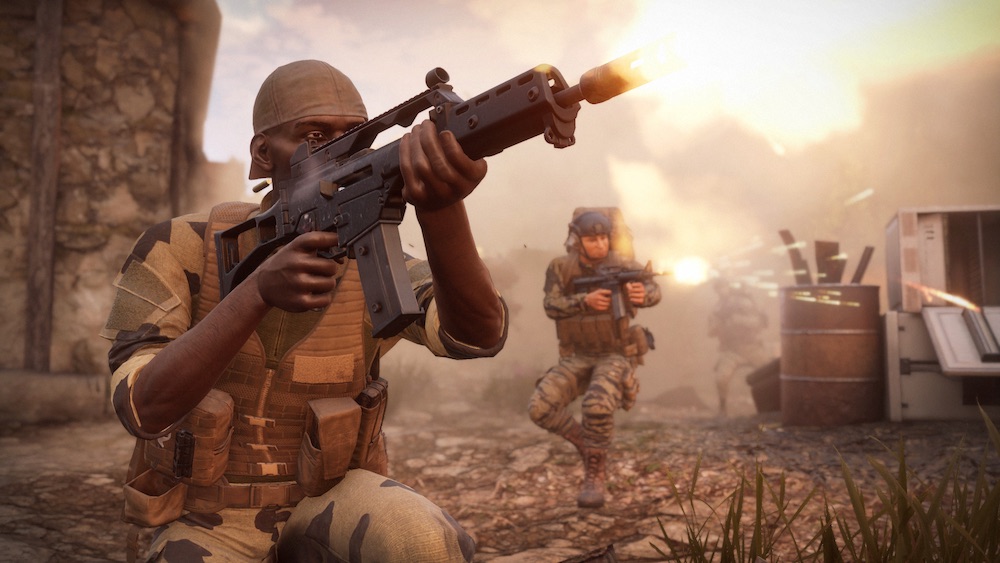
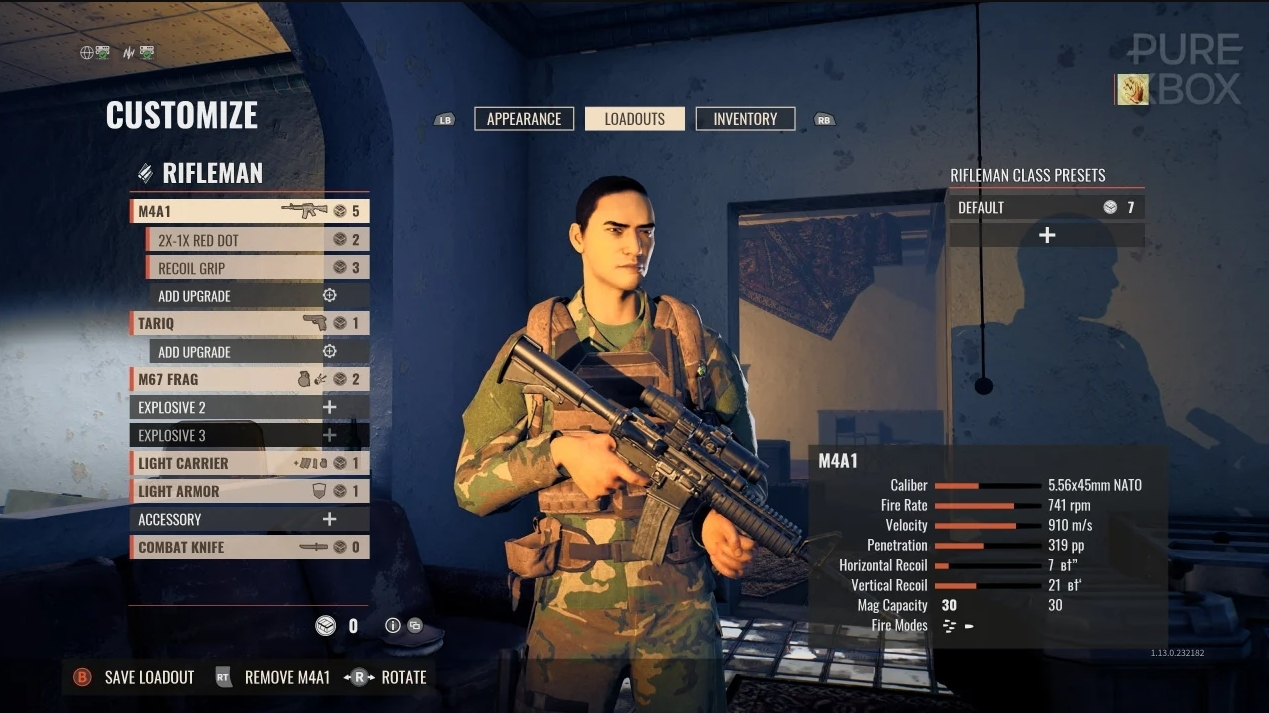
If you just loaded into a match and you can’t pick any specific class, well, why not go with the basic ones? There is a lot that you can do with this loadout, but mostly it revolves around your primary weapon, which is the AKM for the Insurgents or an M4 if you’re playing on the Security side.
If you need something long-range well, then just put a scope on the weapon and fire in semi-automatic mode, or if you need to push an objective, put it in fully automatic.
What The Rifleman Loadout Excels In:
- If every other class is taken or you don’t know what to play for a specific man, you can never go wrong with the rifleman.
- You can customize the weapon however you want.
- The loadout mainly focuses on the AKM or the M4, which are suitable for any situation.
- It’s great for taking or defending objectives, depending on which side you’re on.
Loadout Details:
- Primary Weapon: AKM
- Attachment 1: 2X-1X MARS
- Attachment 2: Recoil Grip
- Attachment 3: Extended Magazine
- Carrier: Light
- Armor: Heavy
- Accessory: Gas Mask
6. CQC Loadout
This gun must be sent from God.
Here’s a loadout that a lot of people hate playing against, especially on maps that are oriented around close combat encounters. The key with this loadout is to be quick on your feet and to think quickly because if you don’t, you might find yourself at the bottom of the scoreboard.
The way that I like to play with this loadout is to strap myself up with some flash grenades and launch a full-on attack on the enemy team. Especially if I’m the one attacking the objective and there are a lot of enemies sitting on it.
What The CQC Loadout Excels In:
- It’s great when you want to clear a room full of enemies.
- The flash grenades make your life easier, as you can blind the enemies and pop them later.
- The key to this loadout is to be quick on your feet and have fast reflexes.
- It works well on maps that are close combat oriented.
Loadout Details:
- Primary Weapon: Honey Badger
- Attachment 1: Suppressor
- Attachment 2: 2X-1X Holographic
- Attachment 3: Recoil Grip
- Explosive: M84 Flash
- Accessory: Gas Mask
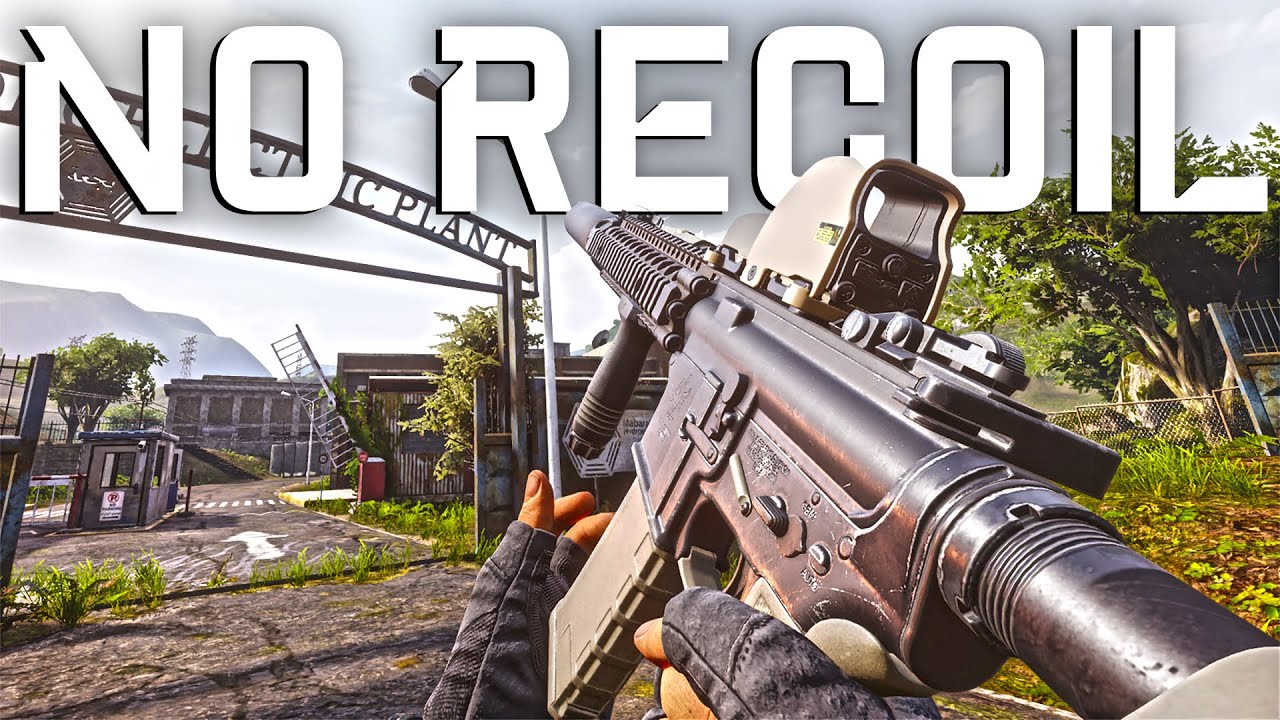
5. No Recoil Loadout
Whao, this gun is so easy to use!
Do you hate controlling your recoil? If you do, then this is the perfect loadout for you. To make this loadout work, you’ll need to pick the vector as it has no vertical recoil and add some attachments to remove the horizontal recoil.
Once you have added all of those, your gun will have almost no recoil. This loadout specifically excels at killing 2-3 enemies at once. But be careful, as the weapon also has a high fire rate and you will run out of ammo quickly, so try to shoot at enemies in short bursts.
What The No Recoil Loadout Excels:
- Killing 2-3 enemies at once.
- You will have no recoil to control, and all you must do is aim at the enemy.
- The gun that you use for this loadout has no vertical recoil.
- You can eliminate most of the horizontal recoil with the right attachments.
- You can kill a whole squad easily if you know how to manage your ammo.
Loadout Details:
- Primary Weapon: Vector
- Attachment 1: 1X Holographic
- Attachment 2: Compensator
- Attachment 3: Extended Magazine
- Armor: Light
- Accessory: Gas Mask
4. Machine Gunner Loadout
Say hello to my little friend.
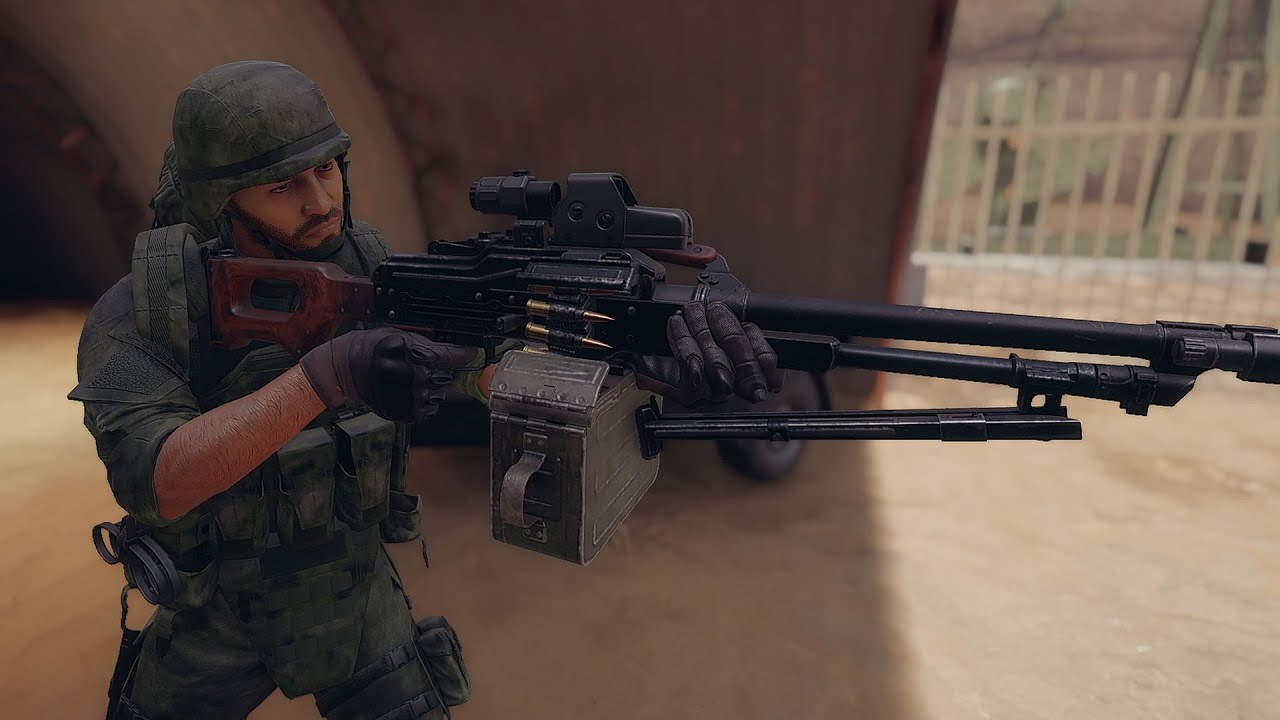
This is the complete opposite of the previous loadout. If you try to hip-fire a machine gun, you’ll have a ton of recoil to control, but if you put a bipod on the machine gun, you’ll do just fine.
The only worry is that you’ll have to find the right spot to lie down, and that gives you the vision of the enemy team. Also, don’t be afraid to shoot into the smoke or walls sometimes, as the machine guns have a lot of ammo and high penetration.
What The Machine Gunner Loadout Excels At:
- It’s great at defending objectives.
- The guns come with a lot of ammo, so don’t be afraid of shooting into smoke.
- You can take helicopters down with machine guns.
- Great for zoning out the enemy.
Loadout Details:
- Primary Weapon: M60
- Attachment 1: 2X-1X Holographic
- Attachment 2: Recoil Grip
- Attachment 3: Extended Magazine
- Carrier: Heavy
- Armor: Light
3. High Penetration Loadout
You ain’t safe behind that wall.
This loadout is perfect when the enemy is constantly hiding behind the cover. You see, with this loadout, you can penetrate through any wall without a hitch. The enemy will never be safe. Not only that, but you can also destroy a technical vehicle with only two or three shots to the engine.
This comes in handy if the enemy is trying to use them a lot and your team is suffering because of it. But remember, when you play with this loadout, you’ll want to have some distance between yourself and the enemy, as this loadout doesn’t do well at close range.
What High Penetration Loadout Excels At:
- Killing enemies behind cover.
- This loadout can destroy a technical vehicle with two to three hits to the engine.
- It’s great for long-distance combat and sucks at close combat.
Loadout Details:
- Primary Weapon: M82A1 CQ
- Attachment 1: 7X Sniper Scope
- Attachment 2: Extended Magazine
- Secondary Weapon: PF940
- Attachment 1: 1X Mini Red Dot
- Carrier: Light
2. RPG Loadout
Why is my helicopter beeping?
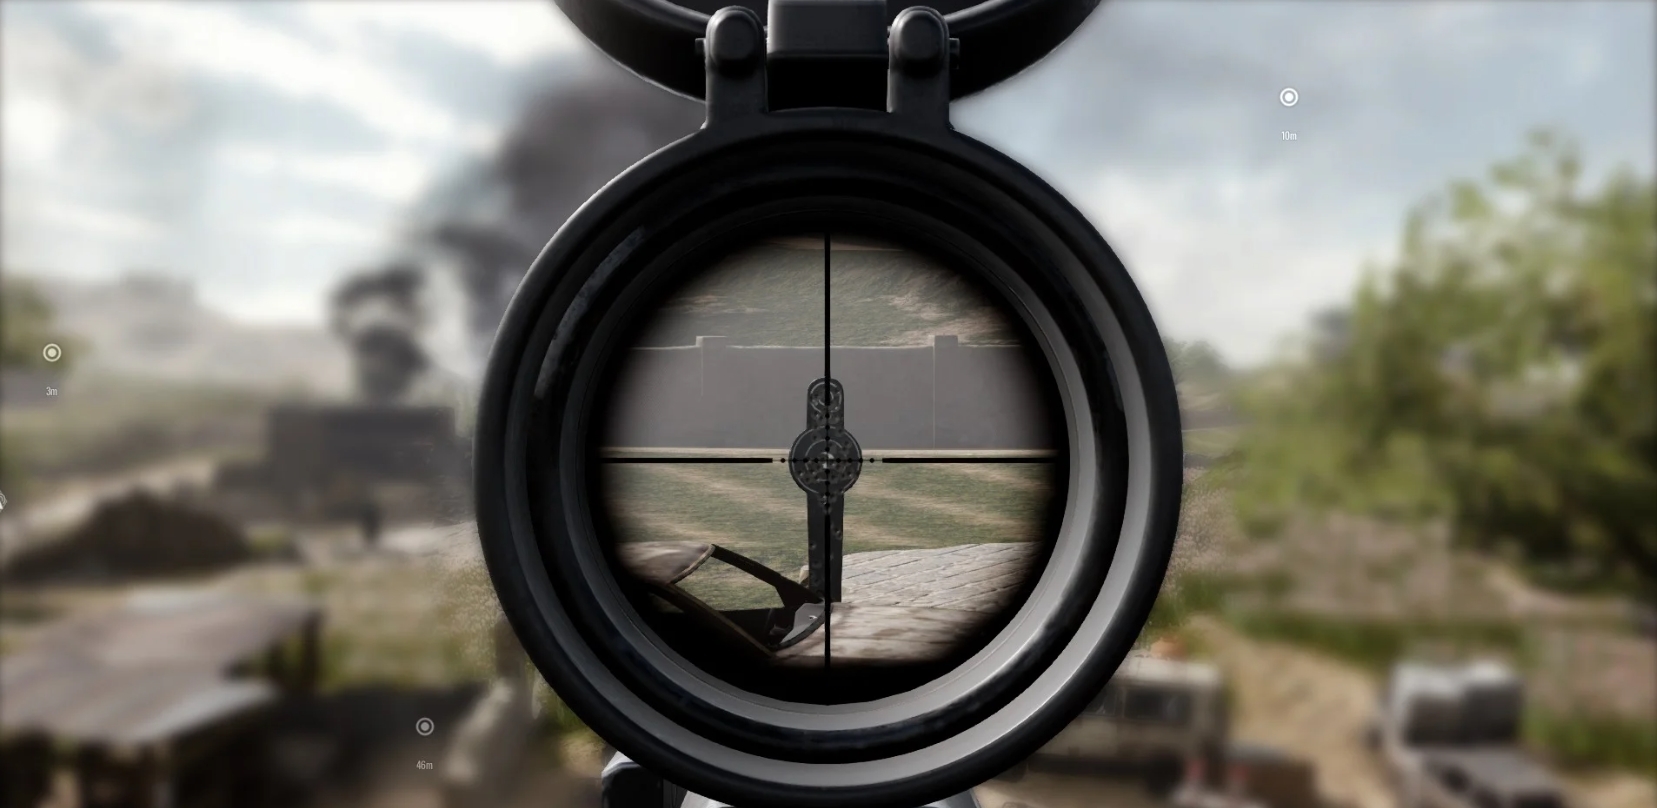
Is the enemy team commander spamming helicopters, and your team is just dying to them? Well, you can change that with this loadout, as it’s specifically meant for destroying them. With this loadout, you get an RPG and an AK that has a grenade launcher.
You can use the RPG against helicopters when they call them in, or you can use it in a room to clear it quickly, but I don’t recommend that as you carry an AK with a grenade launcher specifically designed for that.
What RPG Loadout Excels At:
- It’s great for destroying technical vehicles.
- The AK with the grenade launcher is great at clearing rooms.
- You can easily take out helicopters with this loadout, disabling the enemy's help.
Loadout Details:
- Primary Weapon: AKM
- Attachment 1: Explosive Launcher
- Secondary Weapon: BROWNING HP
- Explosive 1: RPG
- Explosive 2: F1 Frag
- Carrier: Light
- Armor: Light
- Accessory: Gas Mask
1. Utility Loadout
There is so much smoke.
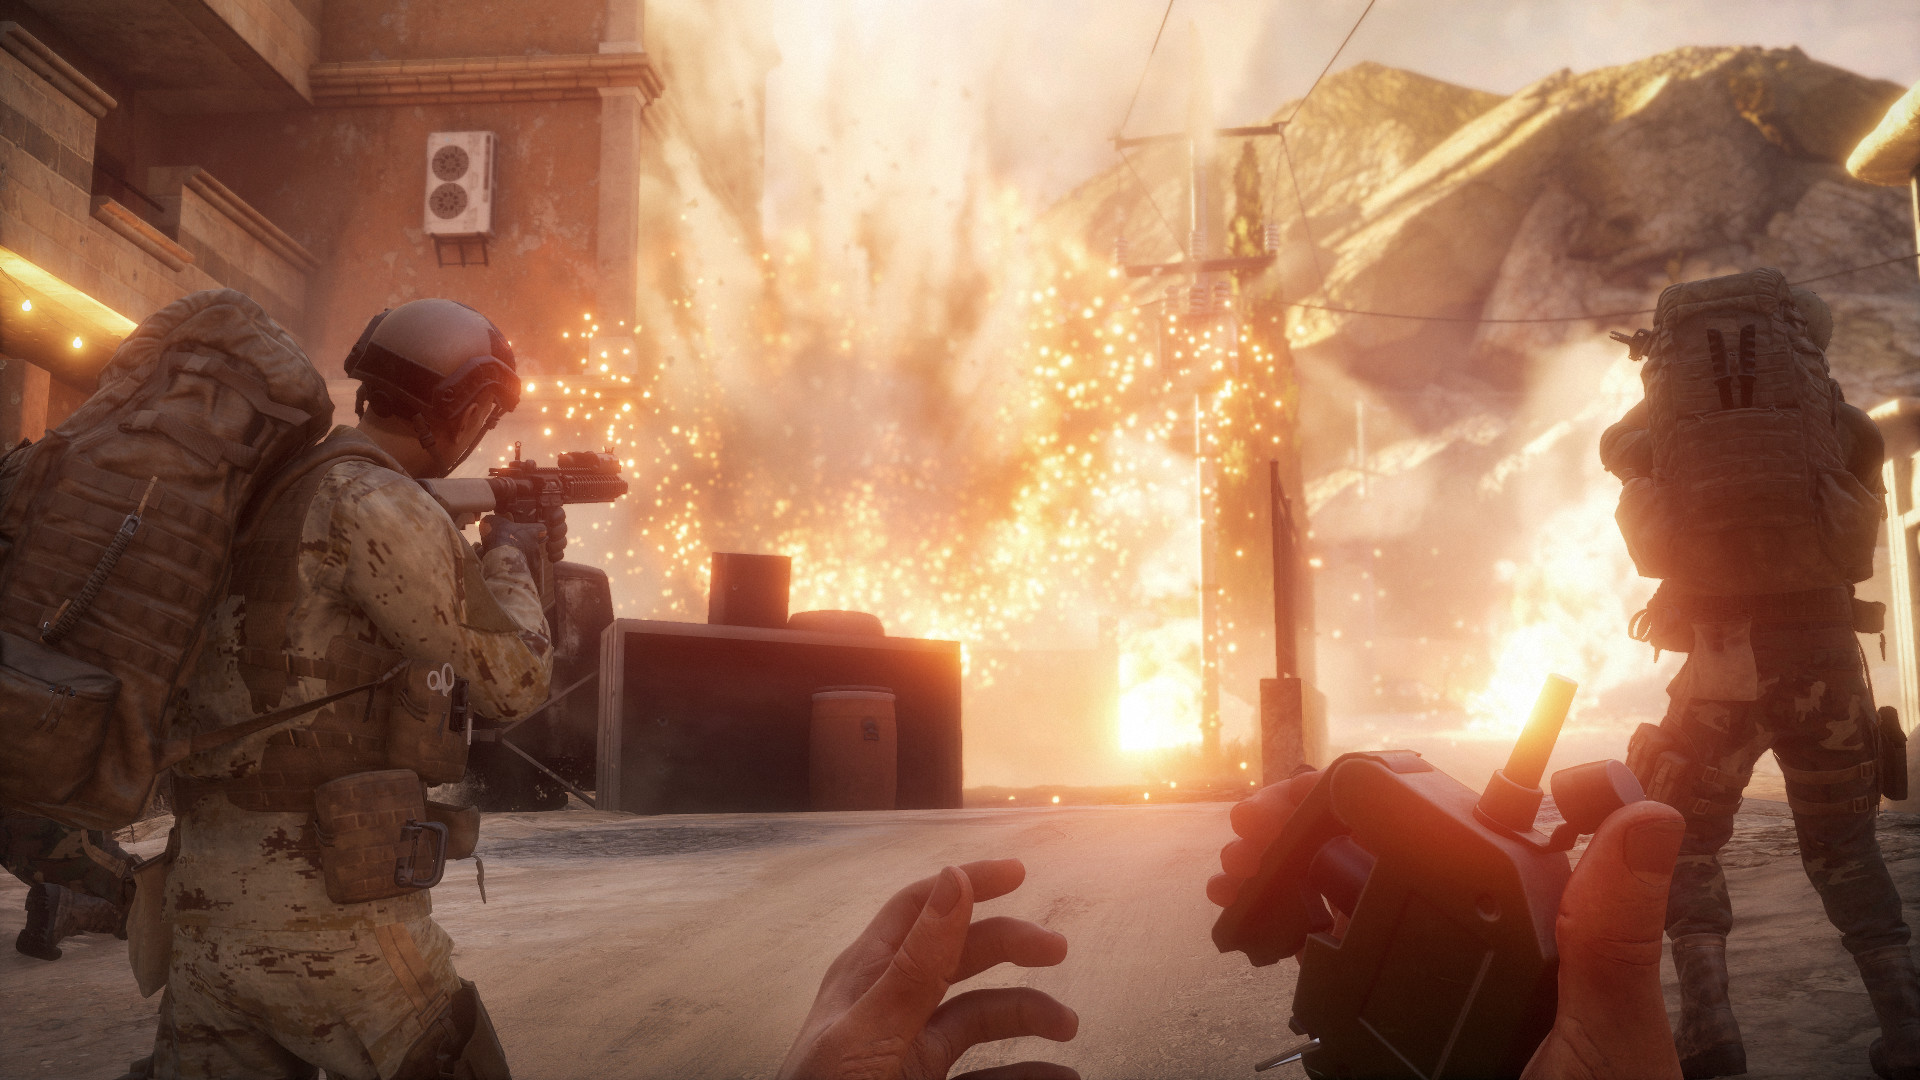
If you want to help out your team, then all you have to do is play this class. This loadout allows you to spam smoke all around the map, which allows your team to push easily to an objective. You can also obstruct the enemy's vision with the smokes or flash grenades if you’re carrying them.
The best class to use with this loadout is the observer class, as you’ll always want to stay behind your team, support them with smoke grenades, and help out your commander when he needs to call in support. The primary weapon isn’t that important, but I highly recommend that you use the FAL, as it’s one of the best weapons for this class.
What Utility Loadout Excels At:
- Helping your teammates push toward an objective.
- The utility loadout best works with the observer class.
- When you play the observer class, you carry a radio, which the commander can use to call in support.
- You can carry a lot of smoke grenades, flash bangs, explosives, and Molotovs with this loadout.
- This loadout helps a lot while defending an objective.
Loadout Details:
- Primary Weapon: FAL
- Attachment 1: 2X-1X KOBRA
- Attachment 2: Quick Draw Grip
- Explosive 1: M83 Smoke
- Explosive 2: M83 Smoke
- Explosive 3: Molotov
- Armor: Heavy
- Accessory 1: HQ RADIO
- Accessory 2: Gas Mask

