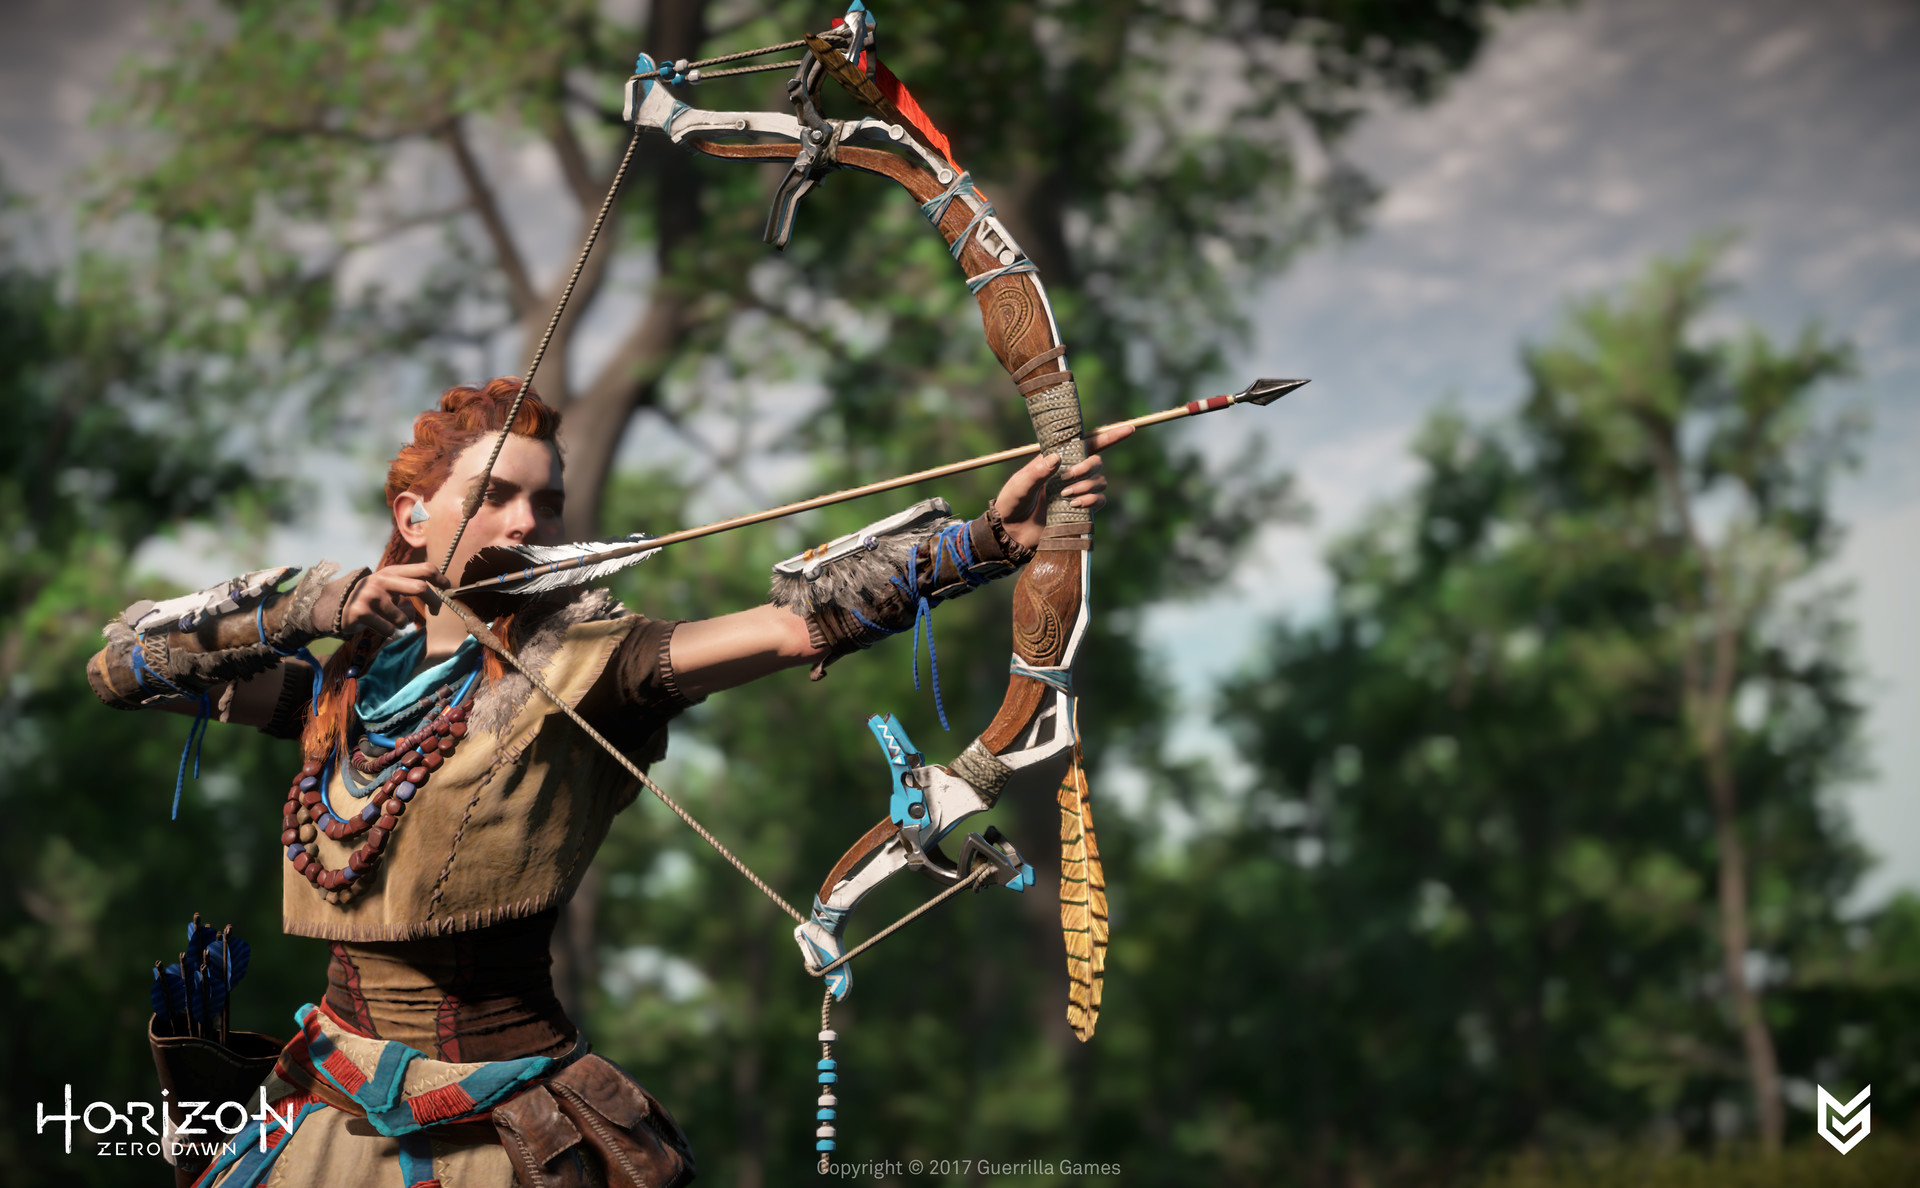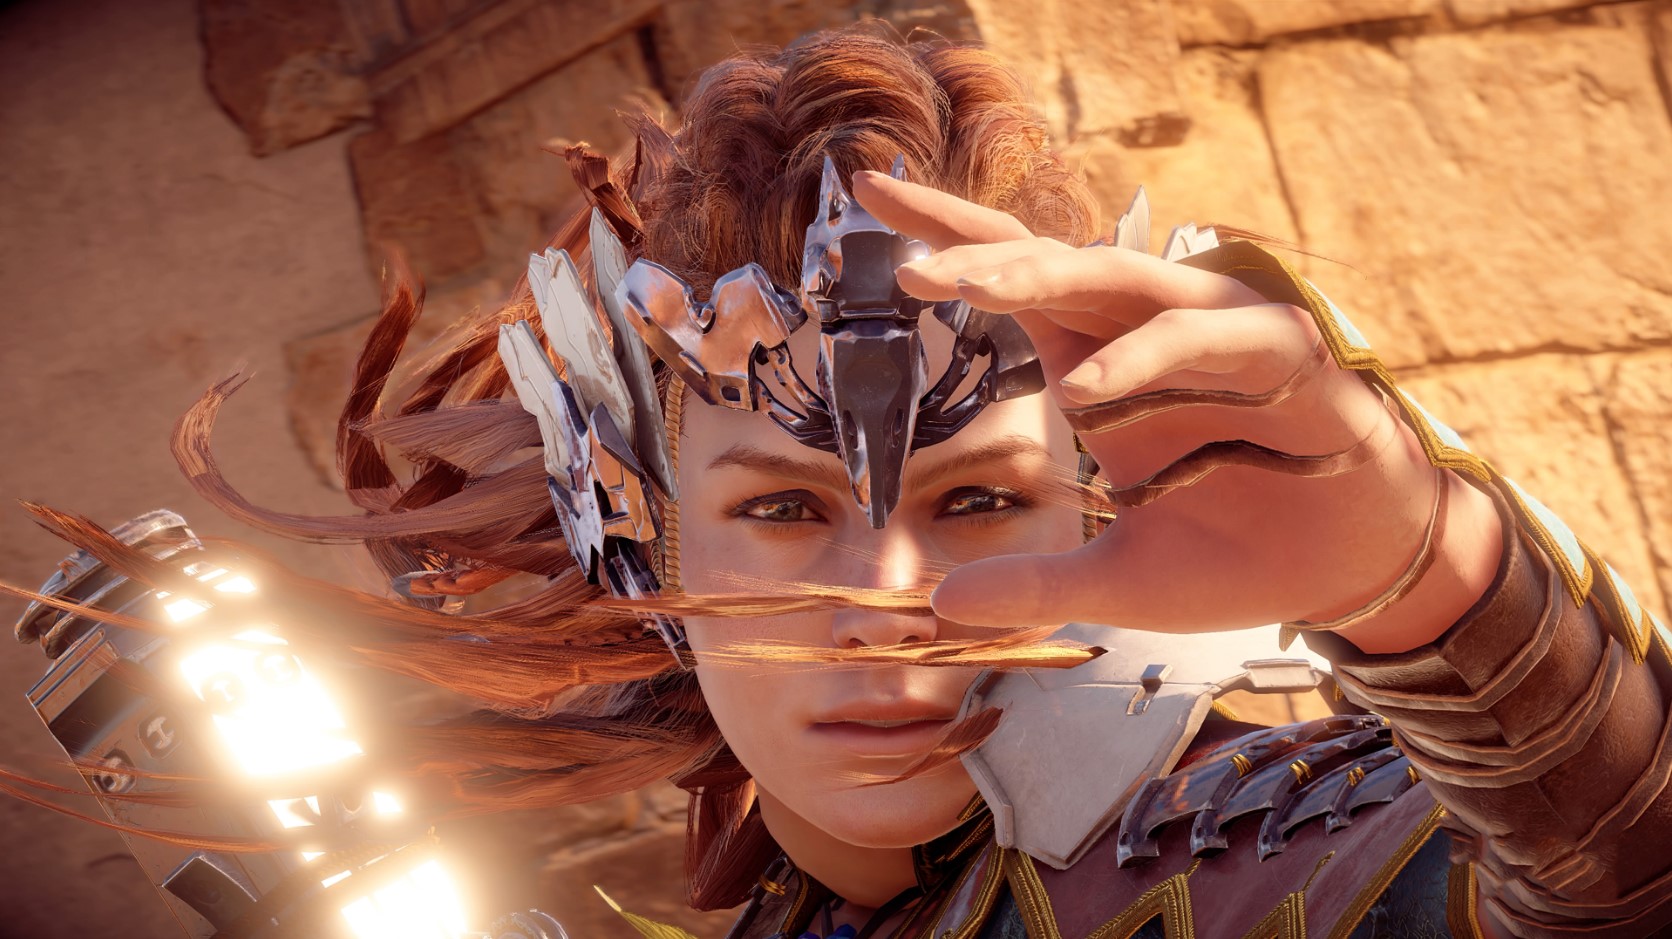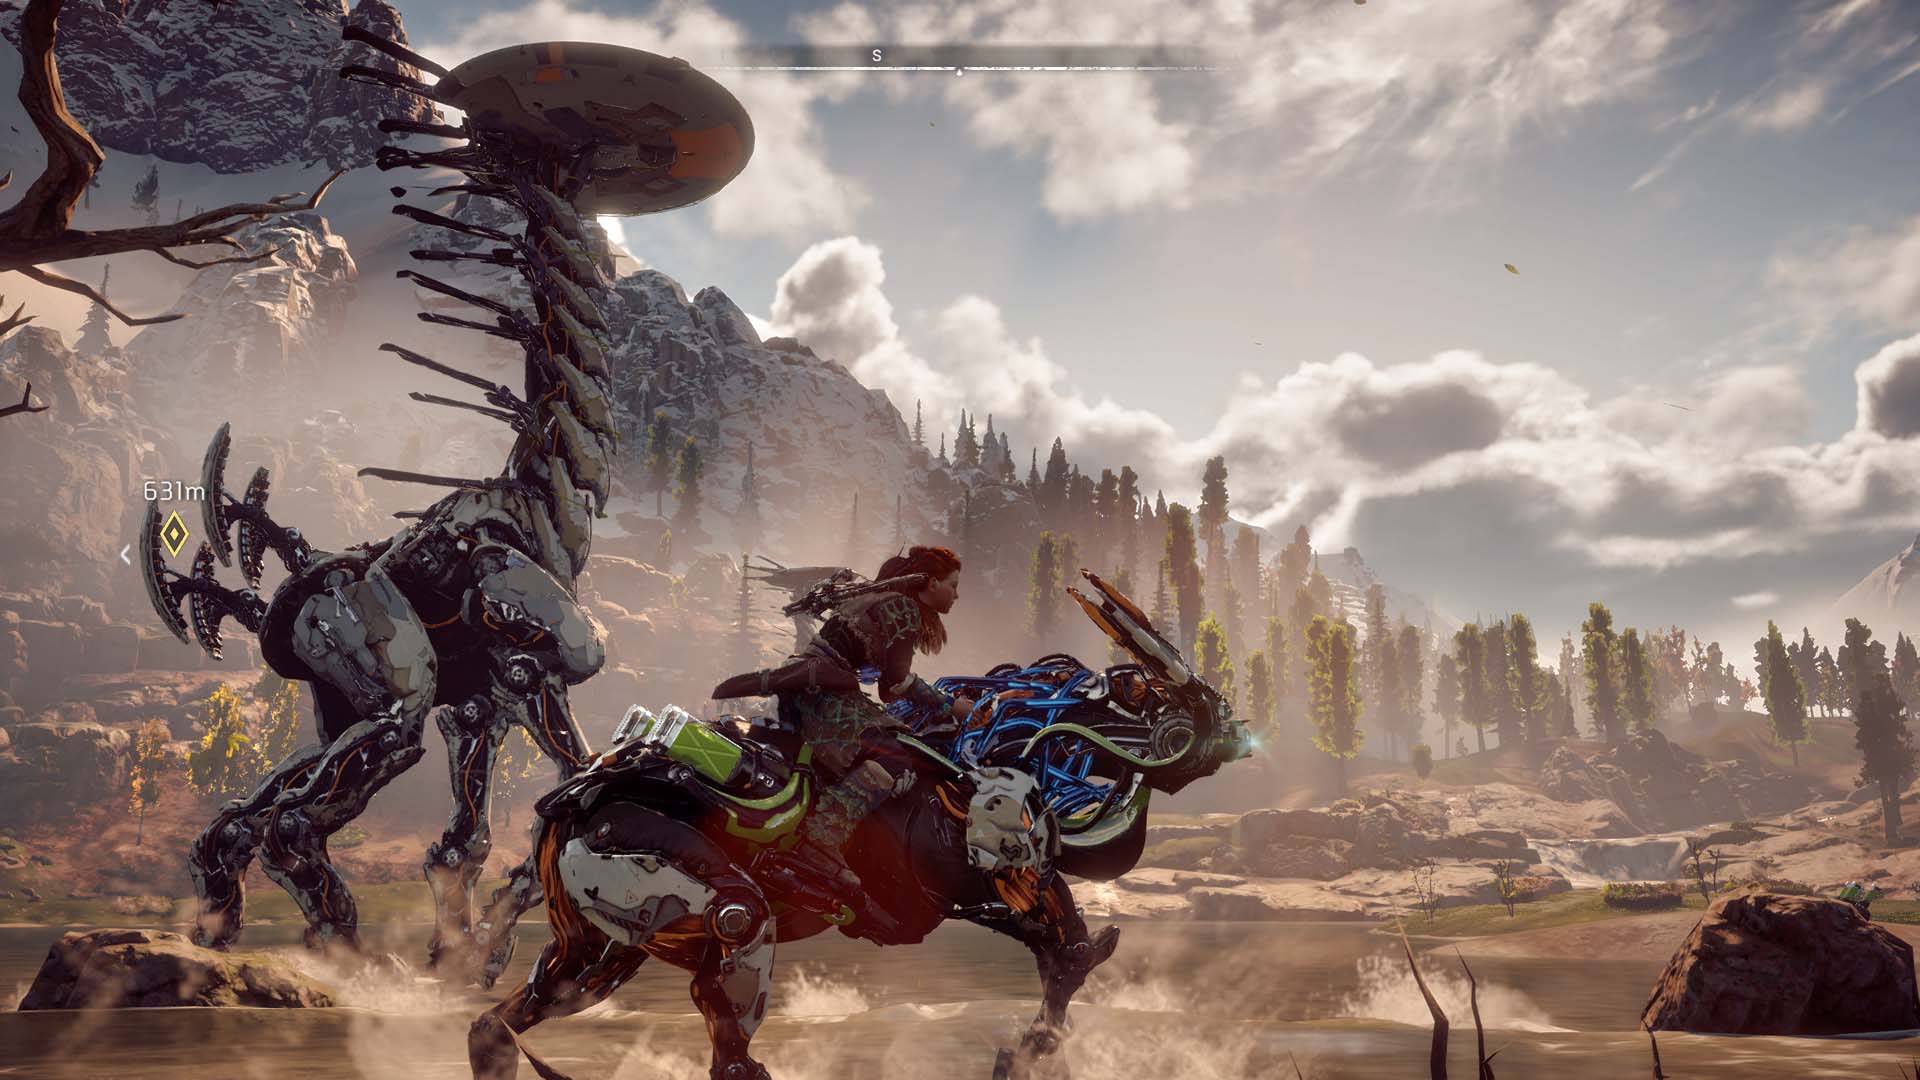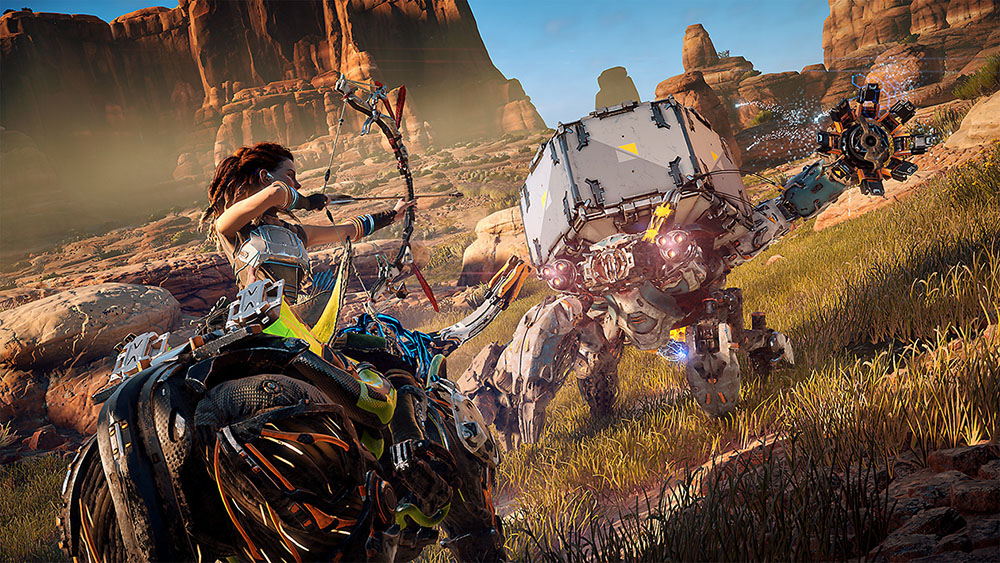
Horizon: Zero Dawn has a multitude of powerful weapons, let's see what the best of them are.
In Horizon: Zero Dawn, Aloy is thrust into a world of dangerous people and even more dangerous machines, with nothing more than a basic bow and spear to protect herself. As she makes her way through the wilds towards her goal, she will come across a wide variety of weapons, all with different strengths that will be essential to defeating the most dangerous enemies. You’ll have to go out of your way to obtain some of the strongest weapons if you want them before the end of your first playthrough, but I promise, it will be worth it. Continue reading for a list of the ten most powerful and devastating weapons Horizon: Zero Dawn has to offer.
10. Shadow Tripcaster
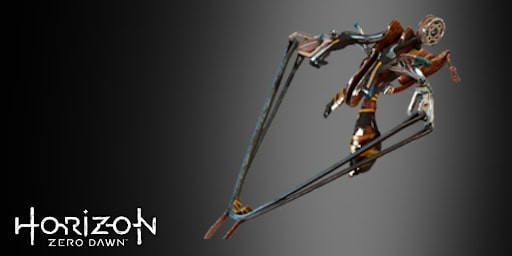
The Shadow Tripcaster
Coming in tenth on our list is The Shadow Tripcaster, which is a powerful trap-type weapon that can disable or damage enemies by laying out tripwires that detonate when broken. This variation of the tripcaster offers Shock Wires, Fire Wires, and Blast Wires, and can be used to disable or damage enemies stealthily or in the heat of the battle. While not absolutely essential, this weapon will be a lifesaver when infiltrating enemy territory and you’ll be very happy to have it in your arsenal.
Why it Wrecks:
- Powerful tripwire ammunition that can cause high damage or disable enemies without detection
Base Stats:
- Shock: 160 shock damage
- Blast: 250 impact damage
- Fire: 160 fire damage
How to Obtain?
- The Shadow Tripcaster can be purchased from merchants in the Sundom (after reachingDaytower) for x750 Metal Shards and x1 Scrapper Heart
9. Shadow Sling
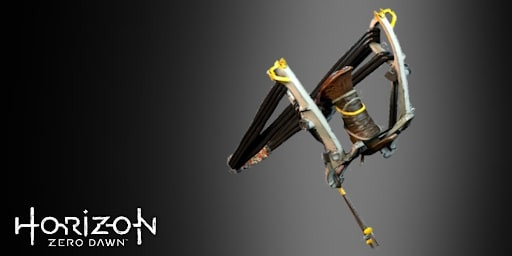
The Shadow Sling
The Shadow Sling is another great weapon for disabling and weakening enemies before attacking with higher damage weapons. With Freeze Bombs, Shock Bombs, and Fire Bombs at your disposal, this weapon is great for a tight situation where disabling enemies is essential to keeping Aloy alive. I recommend going in with freeze bombs and blasting the machine until frozen, before following up with another weapon to deliver the killing blows. Doing this will be sure to help you bring down enemies quickly and efficiently.
Why it Wrecks:
- It is the strongest weapon in its category and can disable massive machines in a few shots, making them vulnerable to follow-up attacks
Base Stats:
- Freeze Bomb: 20 impact damage and 50 freeze damage
- Shock Bomb: 20 impact damage and 50 shock damage
- Fire Bomb: 10 impact damage and 50 fire damage
How to Obtain?
- The Shadow Sling can be purchased from merchants in the Sundom (after reaching Daytower) for x650 Metal Shards and x1 Crystal Braiding.
8. Lodge Blast Sling or Shadow Blast Sling
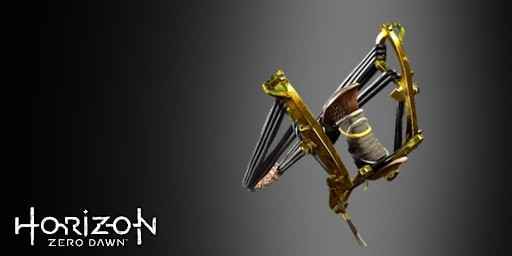
The Lodge Blast Sling
The Lodge Blast Sling, which is tied in terms of damage with The Shadow Blast Sling, but slightly more difficult to obtain, wins this spot due to the increased handling (70 vs 40) which makes Aloy draw back and launch her bombs almost twice as fast. Both weapons do massive area damage with Blast Bombs, Sticky Bombs and Proximity Bombs as ammo and are best used in close to mid-quarters combat. The Shadow Blast Sling will be a suitable placeholder until the Lodge Blast Sling is unlocked, but you should try to replace it as early as you can to maximize Aloy’s damage potential.
Why it Wrecks:
- Quick and powerful shots that do high area damage
Base Stats:
- Blast Bombs: 100 impact damage, explode upon impact
- Sticky Bombs: 150 impact damage, sticks to target and explodes after 5 seconds
- Proximity Bombs: 75 impact damage, explodes when target steps within range
How to Obtain?
- The Lodge Blast Sling can be obtained by completing all 5 hunting grounds and receiving half suns on all 15 trials. The Shadow Blast Sling can be purchased from merchants in the Sundom (after reaching Daytower) for x650 Metal Shards and x1 Crystal Braiding.
7. Banuk Champion Bow
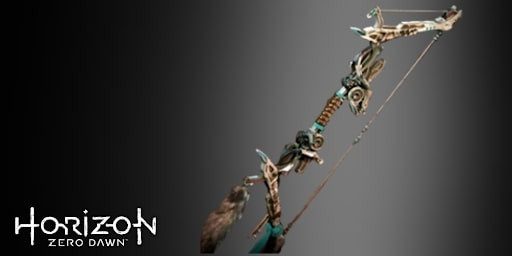
The Banuk Champion Bow
The Banuk Champion Bow is a powerful war bow that can only be attained through the Frozen Wilds DLC. It is the most powerful war bow in the game, but the power does come at a cost. In order to do the most damage, Aloy has to overdraw the shot, which without the help of handling coils can make one shot take a couple of seconds. Regardless, the raw damage potential makes this the best war bow the game has to offer.
Why it Wrecks:
- Overdrawn shots deal massive damage that can down an enemy in just a few hits
Base Stats:
- Shock Arrow: 7 impact damage and 50 shock damage (3 impact and 20 shock damage if the shot is underdrawn)
- Freeze Arrow: 7 impact damage and 50 freeze damage (3 impact and 20 freeze damage if the shot is underdrawn)
- Corruption Arrow: 80 corruption damage (40 corruption damage if the shot is underdrawn)
How to Obtain?
- The Banuk Champion Bow can be purchased from merchants in the Cut for x12 Bluegleam. Be aware, this weapon can only be purchased once per playthrough.
5. Banuk Striker Bow
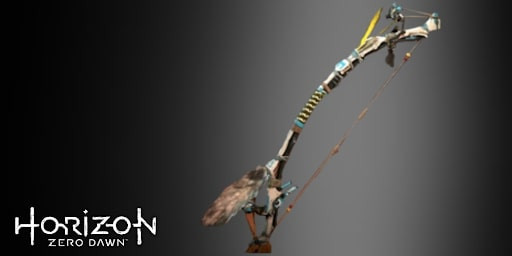
The Banuk Striker Bow
The Banuk Striker bow is the strongest Hunter bow in both the base game and the Frozen Wilds DLC. Like the Champion Bow, this bow has the need to be overcharged in order for it to do more damage than the other options. In fast paced combat, it isn’t always possible to overcharge every shot, but adding handling coils can increase the arrow draw speed, and I think you’ll find the increased damage potential is worth the slightly less powerful underdrawn shots.
Why it Wrecks:
- The potential to do almost twice the damage of any other hunter bow
Base Stats:
- Hunter Arrow: 40 impact damage and 65 tear damage (10 impact and 20 tear damage if the shot is underdrawn)
- Fire Arrow: 16 impact damage and 50 fire damage (20 fire damage if the shot is underdrawn)
- Hard Point Arrow: 70 impact damage and 90 tear damage (20 impact damage and 50 tear damage if the shot is underdrawn)
How to Obtain?
- The Banuk Striker Bow can be purchased from merchants in The Cut for x16 Bluegleam. Be aware, this weapon can only be purchased once per playthrough.
4. Banuk Powershot Bow
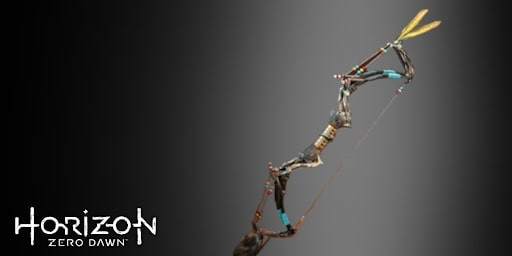
The Banuk Powershot Bow
The Banuk Powershot Bow is another weapon brought to us by the Frozen Wilds DLC. Like all very rare sharpshot bows, this weapon uses Precision Arrows, Tearblast Arrows, and Harvest Arrows, and deals more damage than any other bow in the game. The only catch once again is the slow fire rate due to the need to ‘overdraw’ the arrows to deal the most damage, making this weapon ideal for sniping enemies at a distance.
Why it Wrecks:
- Long range and high damage when shots are overdraw
Base Stats:
- Precision Arrow: 100 impact damage and 50 tear damage (50 impact and 25 tear damage when not overdrawn)
- Tearblast Arrow: 100 tear damage
- Harvest Arrow: 50 impact damage and 60 tear damage (5 impact damage and 50 tear damage when not overdrawn)
How to Obtain?
- The Banuk Powershot Bow can be purchased from merchants in the Cut for x14 Bluegleam. Be aware, it can only be purchased once per playthrough.
3. Improved Forgefire
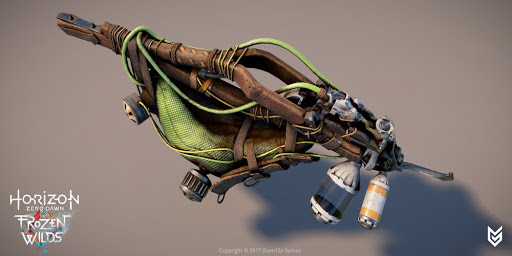
The Improved Forgefire
The Improved Foregefire is a weapon also obtained and improved through the Frozen Wilds DLC, and is incredible against enemies weak to fire.With the basic version you will have a powerful short range flamethrower, and with the improved version you’ll also gain the ability to shoot balls of fire at enemies at a longer range. This devastating weapon has the potential to do massive burning damage to the strongest of foes; especially the corrupt machines that are ravaging the world outside of The Cut.
Why it Wrecks:
- Close-range ‘Firethrower’ ammo works similar to a flamethrower, spitting fire at enemies and causing massive burning damage.
- Long-range ‘Fire Burster’ ammo launches fireballs at enemies at increased range.
Base Stats:
- Firethrower Ammo: 75 fire damage
- Fire Burster Ammo: 180 impact damage and 100 fire damage
How to Obtain?
- The basic version of the Forgefire can be obtained by defeating the leader of the only Bandit Camp in The Cut; Stone Yield. After completing the camp and receiving the weapon, it can be purchased from merchants in the Cut for x800 Metal Shards and x1 Scorcher Lens.
- The Improved Forgefire can be obtained by completing the ‘Geared Up: Forgefire’ side quest with Varga in The Cut. After completing this quest, it can be purchased from merchants in the Cut for x1600 Metal Shards and x1 Fireclaw Heart.
3. Improved Icerail
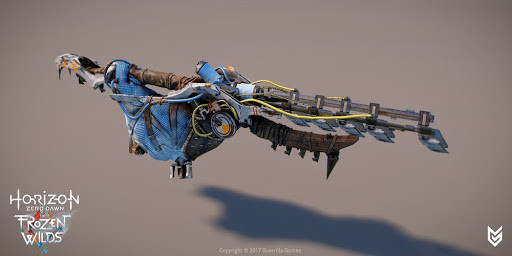
The Improved Icerail
This next weapon is pretty difficult to get, but is super powerful and absolutely worth the effort. The Improved Icerail, which can be obtained during the Frozen Wilds questline, and then improved through another side quest from the DLC, is definitely a must-have. This weapon will deal massive freezing damage to enemies with the basic icethrower version, and has an ultra powerful sniper-like shot in the improved version. Even the fiercest of Fireclaws and toughest Thunderbirds don’t stand a chance against it.
Why it Wrecks:
- Close-range ’Icethrower’ ammo that quickly freezes enemies, making them more vulnerable to additional damage.
- Long-range ‘Ice Cannon’ ammo, a concentrated ice blast shot that takes a long time to charge, but does massive damage.
Base Stats:
- Icethrower Ammo: 75 frost damage
- Ice Cannon Ammo: 300 impact damage and 50 frost damage
How to Obtain?
- The basic version of the Icerail (which does not include the Ice Cannon attack) can initially be obtained by completing the side quest ‘For the Werak’. After completion of this quest, it can be purchased from merchants in the Cut for the price of x750 Metal Shards and x1 Fireclaw Lens.
- The Improved Icerail is obtained after the side quest ‘Geared Up: Icerail’ which can be obtained from Varga in the Cut. After completion of this quest, the Improved Icerail can be purchased from merchants in The Cut for x1500 Metal Shards and x1 Frostclaw Lens.
2. Shadow Rattler
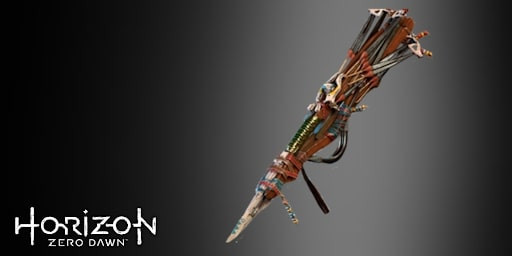
The Shadow Rattler
The Rattler is a weapon easily overlooked, but the Shadow Rattler is powerful at close range and can do devastating damage in the right situation, which is why I’ve put it as number two on this list. This weapon uses Metal Bolts, Shock Bolts, and Freeze Bolts, and combining the three ammunition types can take down medium sized machines within just a few seconds. My personal favorite method is to attack with freeze bolts, and follow up with metal bolts to finish the job. When a machine is frozen, any additional attacks do double damage, so using this method will help you take your enemies down quickly.
Why it Wrecks:
- The combination of Freeze Bolts and Metal Bolts gives the opportunity for massive damage
- Multiple projectiles are fired with each shot, making it great for close range combat where accuracy isn’t as important
Base Stats:
- Metal Bolts: 10 impact damage and 5 tear damage
- Shock Bolts: 5 impact damage and 5 shock damage
- Freeze Bolts: 5 impact damage and 5 freeze damage
How to Obtain?
- The Shadow Rattler can be purchased from merchants in the Sundom (after reaching Meridian) for x950 Metal Shards, x1 Boar skin, x1 Rabbit Skin, and x1 Fox Skin.
1. Improved Stormslinger -the most powerful weapon in the game, but also can kill you while using it so use with caution
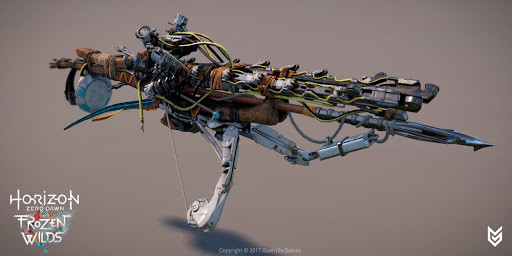
The most powerful weapon in the game, without contest, is the Improved Stormslinger. Another one courtesy of the Frozen Wilds DLC, this weapon gains charge with each consecutive shot fired, and each shot is more devastating than the last. The only catch with this absolute beast is the damage kickback. When the weapon overcharges, it deals shock damage to Aloy, and a few shots without a break or shock protection can kill her faster than any machine, so use with extreme caution.
Why it Wrecks:
- Powerful impact and shock damage that increases with each consecutive shot
Base Stats:
- 150 impact damage and 15 shock damage
How to Obtain?
- The basic version of the Stormslinger can be obtained by completing the side quest ‘The Shaman’s Path’. After this, it can be purchased from merchants in The Cut for x825 Metal Shards and x1 Frostclaw Lens.
- The Improved Stormslinger is then obtained by completing the ‘Geared Up: Stormslinger’ side quest with Varga in the Cut. After completion of this quest, it can be purchased from merchants in The Cut for x1650 Metal Shards and x1 Scorcher Heart.
While some of these weapons can be difficult to get, they will be well worth the effort and using them in combination with each other will be sure to make Aloy lethal to any enemy she faces.
Things to keep in mind:
These stats and prices are all based upon normal difficulty level and a first time playthrough.
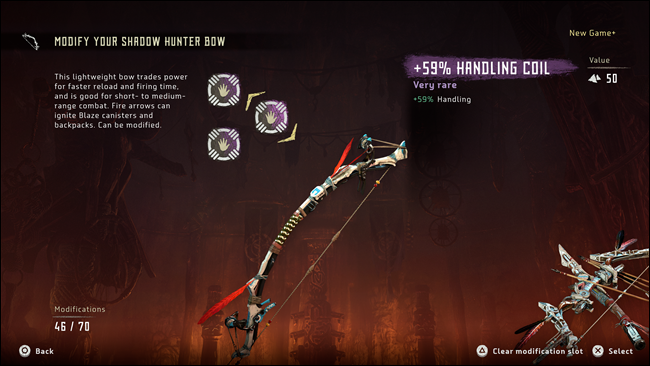
Most weapons have modification slots, allowing for increases to all types of damage and handling. Always modify your weapons with your best available modifications to maximize damage potential and speed.
Almost all weapons have an Adept version available in New Game+. The adept version of any weapon offers the same stats as the strongest variant, but with an additional modification slot.
You may also be interested in:

