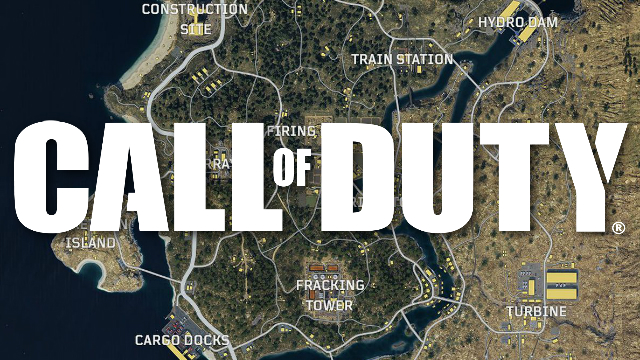
While the key to any Blackout victory is skill with a weapon, teamwork, and a bit of luck; knowing where to land is usually the best place to get off to a great start. Read along and I’ll give you some tips to dropping at ten of the best known and unknown locations.
10. Nuketown Island
To kickoff this countdown is COD’s most famous spot, Nuketown. Nuketown comes in at #10 because while it is fantastic for loot, it is also a curse given how player-congested it can be and the array of difficulty that it takes to get off the island and towards the circle.
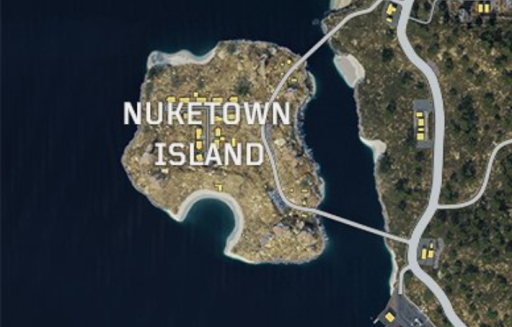
Why it’s a great landing spot:
- Great Loot
- Familiarity for long time CoD players
- You have a HUGE advantage if the circle lands here
- If you manage to leave on top, you’ll likely be more geared out than any other player on the map
A few tips for landing in Nuketown:
- The Nuketown sign will actually show you how many players are on the island with you.
- There are some underground bunkers that are perfect for finding loot, try to get there before others, there is a small opening on the south side of the map that is easy to land at.
- Often times it is hard to see players among the burned down buildings, use this to your advantage.
- There are very few high ground areas on the island. There are the hills that surround Nuketown, again use these to your advantage.
9. Firing Range
Firing Range comes in as my number nine spot on this list for various reasons. Landing here is often difficult, but highly rewarding. It is a hotspot on the map, if not the hottest spot. But if you emerge victorious, you’ll be set up for the rest of the match.
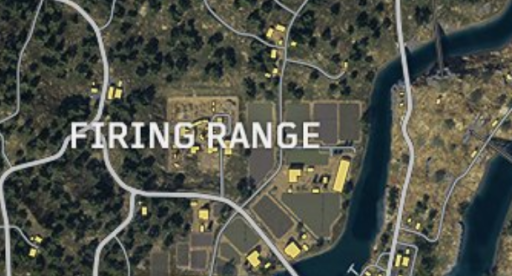
Why it’s a great landing spot:
- Fantastic loot, often having multiple crates and a wide array of weapons.
- It is in the middle of the map, meaning you will almost always be in the within the first circle. I HATE chasing the circle!
- It is a maze of a location, meaning if you are familiar with the layout, you have a small advantage over those that don’t.
Tips for landing in Firing Range:
- Be aware at all times. You are often surrounded at this location so having your head on a swivel is paramount.
- Loot for the spots where crates spawn. A lot of crates often spawn in Firing Range, getting them first will separate you from your opponents, allowing you to be the only one leaving this area.
- Use this location to your advantage when it comes to the circle. Firing Range allows you to move in any direction, move wisely and the circle becomes your friend.
8. Unnamed - The Six Houses
Coming in at number 8 is an unnamed position that my friends and i dub “The Six Houses,” I know, real creative. These six houses are a strategic spot to land for those looking to win. While it may not always have the best loot, you can normally come away pretty loaded and unscathed.
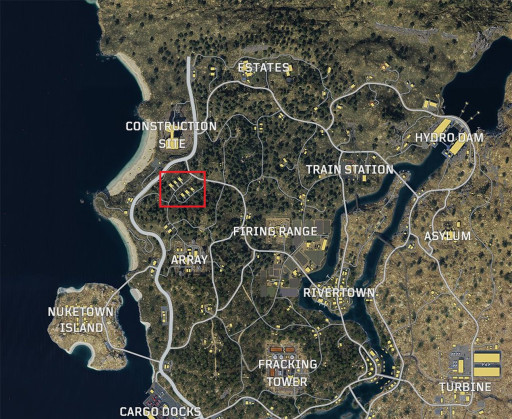
Why it’s a great landing spot:
- It sits directly between Construction Site, Array and Firing Range, meaning those three locations usually draw most of the attention of those that are dropping in this area.
- It has good loot and often a crate or two.
- It is in a great, tactical location. Meaning you are often in the first circle or close to it. It also allows you to move to Construction Site, Array or Firing Range if you’re feeling brave or in desperate need of better loot; or be in position to kill anyone who is coming out of those locations.
- It sits on a high ground with plenty of cover on all sides.
Tips for landing in The Six Houses:
- If you find yourself landing here with others, it is a fantastic location to have a gun fight, with plenty of cover and ways to out maneuver your opponents.
- Land on the high-ground houses, these would be the houses on the south side. If someone else lands on the North side houses, you’ll have the high ground on them, and if necessary, you can retreat south completely out of the view of the northern homes.
- Try not to break the glass, it’s loud and if someone lands there with you it will easily give away your position.
- Make sure you search every room, if you do a thorough search, you can be fully loaded and out before the first circle collapses.
7. Construction Site
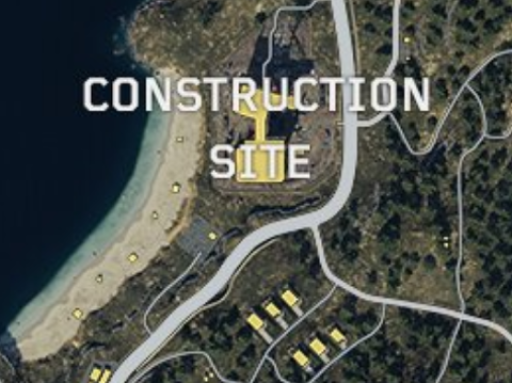
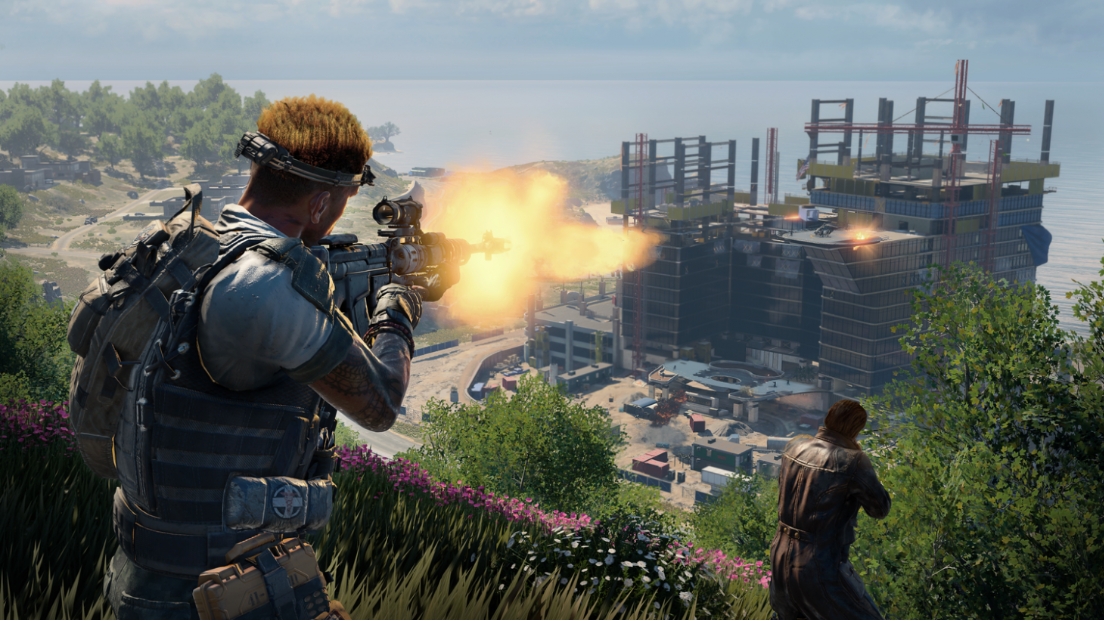
Location number 7 is Construction Site. Construction Site may be the second most popular drop spot in Blackout given its size and abundance of loot. Although it sits in an awkward location, is always congested and you can often be out-positioned, the loot and helicopter located on site make it worth a drop.
Why it’s a great landing spot:
- A ton of loot in this location.
- Access to a helicopter pretty frequently. Allows for movement to anywhere on the map that is needed.
- If the circle ends around Construction Site, you’ll be almost locked in for a top ten spot with a superior position to anywhere on the map with the highest high ground.
Tips to landing in Construction Site:
- Land as high as possible and work your way down. If you land at the bottom and work your way up, 9 out of 10 times you will be out-positioned by someone who landed on the high spots.
- Try to remain quiet, footsteps echo all over the location. While it’s a large area, it is condensed. The audio in Blackout can be wonky and someone on the top floor will know when someone is on the bottom floor. Look for a Dead Silence or Stalker as quickly as possible.
- If too many people land there, don’t be afraid to snag a helicopter and fly to somewhere less populated.
- Avoid the parking garage. It is often crowded and hard to see other players in the garage area.
6. Train Station
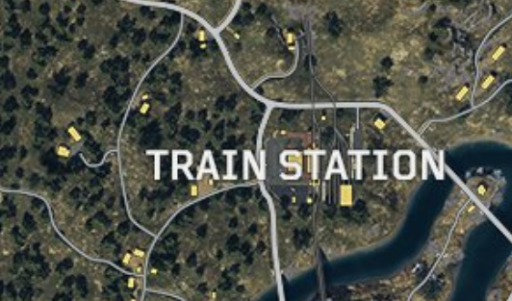
Train Station is my number 6 spot to land. Train Station is often loaded with loot and great places to outmaneuver your opponents. Dropping here can be a gamble as it can be difficult to find others in this maze of a location, but its loot possibilities and great location make it prime to drop in.
Why it’s a great landing spot:
- Train station is on the northeast side of the map where there isn’t too many spots to drop, making it usually pretty baron unless the drop is directly over it.
- It is loaded to the brim with loot. Often with multiple crates, buildings and train cars that can have up to 10 items in one car. You will find yourself leaving fully loaded and ready to fight.
- There is a ton of high ground. Seriously, when you land here, or if you have a grappling hook, the high ground spots are abundant to gain the edge in combat.
- No matter what direction you leave, Train Station often has great locations to move to. There are hills to the north and a fantastic ravine to the south that leads directly to Rivertown. It’s a good location to treck from.
Tips for landing in Train Station:
- Try to aim for the high ground first. There are several buildings in Train Station. Landing on high ground gives you the ability to survey your area and move in any direction needed.
- If not the high ground, then try to land in the main building in Train Station. Landing at the train carts themselves is dangerous. There are a lot of sight lines you can be seen from and with Blackout’s wonky audio, it is often hard to discern where someone is when they are near you.
- Move to the train carts only when you’ve cleared the main building. The carts are where you will find the most loot.
- Use all the cover to your advantage. Train station is full of nooks and crannies to hide in. Let your opponent over extend into a well positioned ambush.
5. Unnamed - The Circle
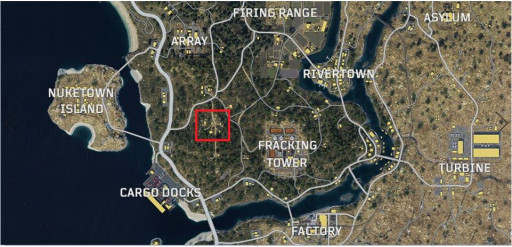
My number five best spot to land is something my squadmates and I deem ‘The Circle.’ It is a small unnamed compound to the northwest of Fracking Tower. There are several houses here with a ton of loot that is usually uncontested.
Why it’s a great landing spot:
- As noted before, ‘The Circle’ is unnamed and surrounded on all sides by massive compounds, leaving it to be relatively untouched.
- It sits atop a hill so it is a fantastic place to camp if you find yourself in the circle. It also makes it very difficult to attack this position from all sides.
- You will often find yourself in the first collapsing circle because of the central location of ‘The Circle.’
- There is a wide variety of loot here. While it can sometimes be a little barren, you will usually leave pretty loaded out.
Tips for landing in ‘The Circle’:
- Land at one of the two story buildings. They usually have the best loot and if someone lands with you, you will find yourself with the high ground and the better loot.
- If you find that in the unlikely circumstance that several people are landing at ‘The Circle,’ there are several smaller areas to regress to instead. There’s groups of buildings both North and South.
- Moving to Fracking Tower afterwards is often a good bet to enhance your arsenal and gain some high ground advantage.
4. The Farm
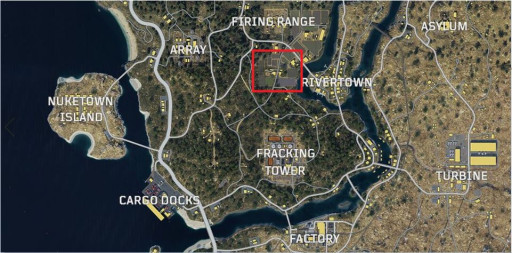
Another fantastic location that most people know about is The Farm. A large, unnamed area dead in the center of the map. Full of loot and zombies, The Farm is a high risk, high reward drop zone.
Why it’s a great landing spot:
- The Farm is a prime spot if you don’t feel like chasing the circle the whole game. It is dead center of the map and is often always in the first collapse.
- The Farm is also surrounded by many named locations that take precedence over The Farm itself, drawing the crowds away from this area.
- There are zombies at The Farm which also means there is a large chest waiting for those who are good enough to survive the players while killing all the zombies.
- Often there is more than one chest and tons of loot in the many buildings located around The Farm. Meaning you are constantly dispersed and never really stuck in one spot.
- There is usually a helicopter, a truck, or an ATV, sometimes all three, parked somewhere on the farm. Use these to get around the map if you do find yourself having to chase the circle.
Tips for landing in The Farm:
- When jumping in, look for one of the many buildings located on The Farm. Many of these buildings will have tons of loot, enough to get you from one building to the next.
- When escaping The Farm, use the cornfields. While they’re loud and don’t stop bullets, they will hide you from view when you need to chase the collapse.
- Unless you can kill them all, don’t bother killing the zombies. They’ll only make you waste ammo and reveal your position.
3. Fracking Tower
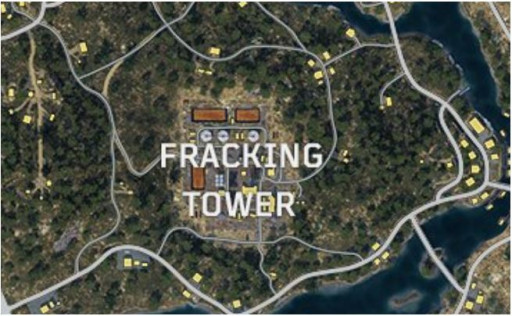
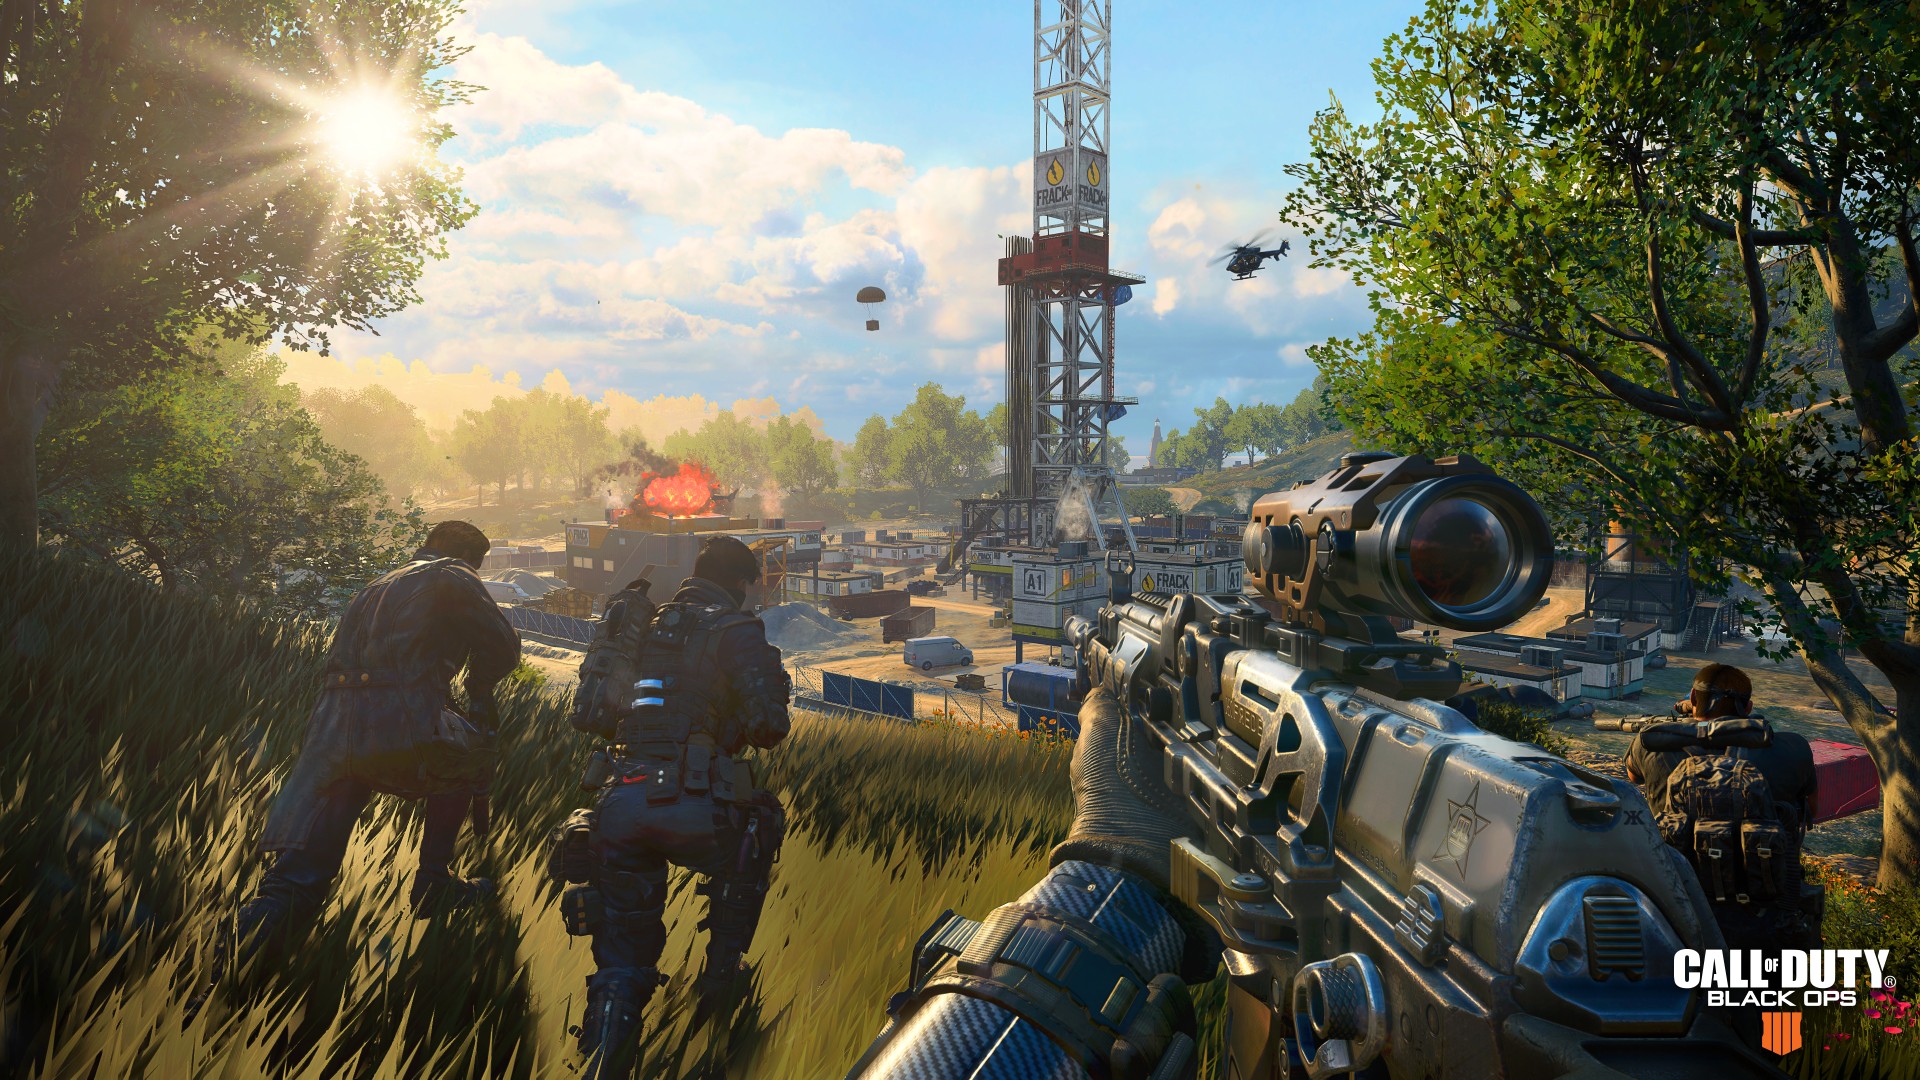
Starting off my top three is Fracking Tower. A well known location in the middle of the map. Fracking Tower is a popular drop but for good reason. It is a central location with tons of high ground to take advantage of.
Why it’s a great landing spot:
- There is so much loot at Fracking. Whether solo or quads, you can fill every slot in your backpack and then some from Fracking.
- Tons of options to land at. There are a ton of buildings to land at, meaning even if 10 people jump here, you can each land at your own building and be loaded out.
- A lot of high ground. From the giant middle tower to the large buildings on the east side of Fracking, there is a lot of high ground to use to your advantage.
- It is in the middle of the map. Seriously, not having to chase the circle is half the battle already won. Can you tell I HATE chasing the circle?
Tips for landing in Fracking Tower:
- There is an underground location in Fracking Tower that many still don’t know about. You can press either of the two buttons or enter through a door on the north to get to the underground passage that often has a crate or some other high tiered item.
- There is almost always multiple crates in Fracking Tower, land in any of the larger buildings and you’ll usually find one.
- Try landing on the second tier of the middle tower. I like to land there, climb the ladder to the very top, then you can glide to any building that you don’t see people at. It’s mobility and vision all in one spot.
- Stay mobile. There is a ton of places to get into cover in Fracking Tower and moving from building to building is the best way not to get shot.
2. Unnamed - On the River
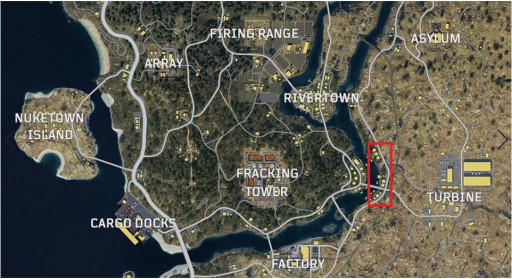
This number two spot has become my favorite spot to land. My friends and I haven’t exactly given this spot a name, we just call it “On the River.” It is an unnamed location on the right side of the river that is almost always empty but loaded with loot.
Why it’s a great landing spot:
- It is unnamed and therefore, usually ignored.
- It is next to a zombie location that is on the left/west side of the river, usually leaving this location even more ignored than usual.
- There is many different locations to hide and shoot from.
- It almost always has a chest hiding somewhere in the location.
- There is always a vehicle, either an ATV or truck, in this location.
- It is at a crossroads of the wind farm and the rest of the map.
Tips for landing ‘On the River’:
- There are many small boats that line the river, these are great, discrete landing spots to pick up some loot.
- There is a train track that runs parallel to this town, it is a great location with cover that allows you the advantage over any enemy that may wonder into your town.
- I like to mesh mine the large bridge in the middle of the town. It allows for a free kill every once and awhile and also protects the borders of the town, allowing you to know who may be nearby while completely walling off one side of the town to vehicle entrance.
- Just west of the large houses to the north of this town, there is often a hidden crate next to the river.
1. Rivertown
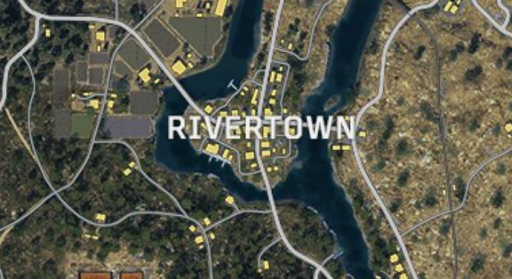
The last and final drop spot is usually the most popular, but there is good reason for it. Rivertown hits all the checkmarks, it is loaded with loot, in a prime location, tons of vehicles and tons of high ground. Yes it is the biggest high risk/high reward drop zones, but if you leave here alive, you will often win your game.
Why it’s a great landing spot:
- Tons of loot. Seriously, every building in Rivertown, and there are a bunch, is loaded with loot.
- Multiple crates and almost always a level 3 armor.
- Stiff competition. While this may seem like a negative, it isn’t. If you manage to leave this area on top of the totem pole, odds are you killed the best players on the map leaving a lot easier competition to face.
- Multiple vehicles and regress spots. There is always multiple trucks, ATVs and even boats in Rivertown that will get you anywhere on the map.
- Prime location. It sits just in the middle of the map. Running to the circle...I HATE IT.
Tips on landing in Rivertown:
- Unless you are Shroud or a heck of a shot, try to land on the outskirts of Rivertown. I prefer the gas station on the northern side then moving in.
- Get high ground. Once you’re in Rivertown, get the high ground. There are plenty of buildings to accomplish this. It will help you navigate the town while everyone else loots for you.
- Mesh mine the road. If you have a mesh mine, mine up the cross roads. You’ll limit any vehicles coming in to take your town and get some free loot along the way.
- Keep your head on a swivel. With the location of Rivertown being in the middle, people will always be coming into the town in all stages of the game. Always assume someone is in the town with you.
These are my ten best spots to drop in Blackout. They’re not all easy but they are certainly your best shot at coming out victorious. Good hunting, my friends.
You may also be interested in:
