![[Top 5] Banished Best Build Orders Banished Best Build Orders](/sites/default/files/styles/responsive_image_600xauto/public/2021-09/top-5-banished-best-build-orders.jpg.webp?itok=V2j_pdBL)
How should you plan your Banished community?
Banished, a 2014 city-building video game released by Shining Rock Software, has been widely popular among a vast circle of fans, and rightly so. Even without additional mods, the official version offers rich gameplay, beautiful graphics, and a number of development strategies to try out. With the wide variety of mods, the opportunities for fun are even bigger!
If you’re looking for new ways to build a city, perhaps the ways you haven’t tried yet, then you’ve come to the right place. We’re going to have a look at 5 amazing strategies to apply to your newly created and rapidly growing civilization.
5. Vikings Retreat

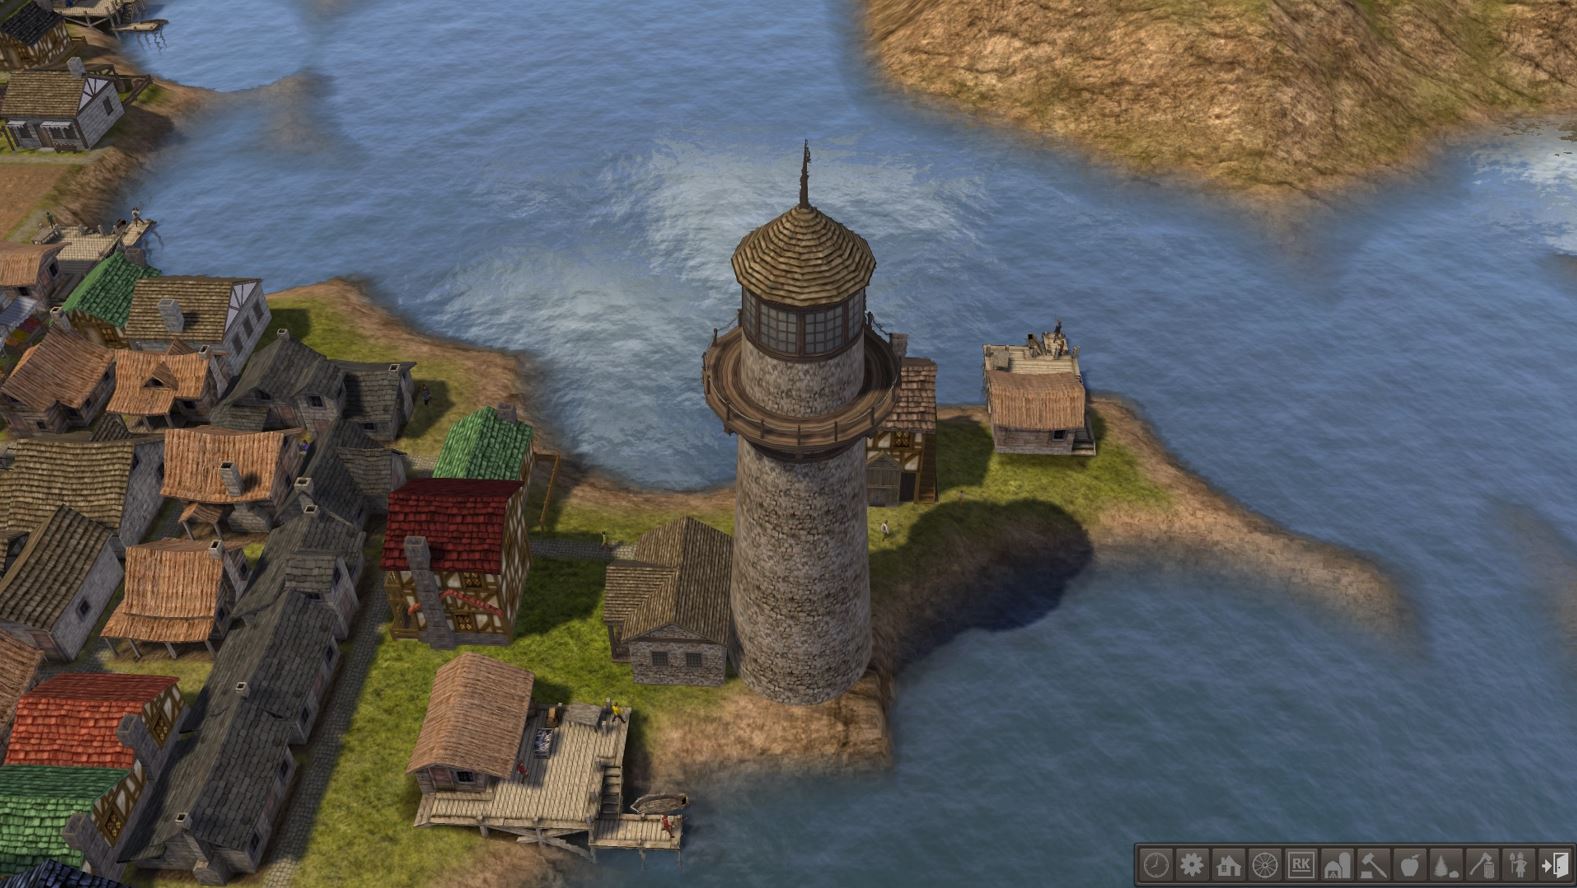
NORTH 7 loading screen will allow you to enjoy the scenery while you’re waiting for a new game to start.
- Mod: NORTH7
- Terrain Type: Valley
- Terrain Size: Large
- Starting Conditions: Farmer
NORTH 7 is an absolute treat for those who have been craving a real challenge in Banished. Set in a harsh nordic world of tough Vikings, the game will test out your stamina, patience, and all those qualities you’ve been wanting to show off.
The Farmer mode will give you more seeds to plant at the beginning of the game than other modes would, although don’t get excited too soon. You won’t be able to plant them all at once anyway. You’ll have to be really patient as you’re growing your farming community because while you have a lot of seeds to choose from, you have practically nothing else at the beginning.
Stick to this strategy to make sure your citizens won’t die from starvation or freeze to death in the first two years:
1. Never, and I mean never, waste any time when playing NORTH 7. You can’t afford to be idle if you want to keep the cold and hunger at bay. You have very little to start with, and you should concentrate on preserving what you have. Since you start every new game in early spring, it’s the perfect time to take care of your crops. Build two small crop fields, sized 10x10, and assign two farmers to each of them. That way, you’ve got enough food secured to survive through your first year.
2. Have you noticed what else is different? That’s right, no houses. All your citizens are homeless. It won’t kill them throughout spring and summer, but be sure to have three houses built for them by the time winter comes. Because winter is coming, and it’s going to be a dangerously cold one unless your Vikings have a roof over their heads.
3. Don’t leave your animals hanging! Build a pasture. It sounds pretty obvious now, but when you actually find yourself in those conditions, it’s very easy to give in to panic at the sight of just how little, if anything at all, your citizens have prepared for their survival. Don’t look too far into the future. Focus on what you need to take care of now. Crop fields and first houses are ready, so now it’s time to make sure your animals have a safe space to live and breed. Breeding brings food and textiles for coats; food and coats are the enemies of starvation and hunger.
4. Housing is good, but it’s easier to survive harsh nordic winters in heated houses, and for that, you need fuel. With about 10 people in your settlement, you really don’t need more than one wood cutter, so make sure to assign one and always have wood for them to chop for fuel.
5. From there on, you can expand in any order your heart desires, because the basics are covered. You’ve got food sources, housing, and fuel supplies - that is the foundation for survival. The two things you don’t want to forget about are tools and coats. Your citizens need to be dressed, and they can’t do their jobs without tools, so a blacksmith and a tailor should be your next hires. But aside from that, whether you want to invest in your crops, or turn your Vikings into pottery masters - it’s entirely up to you.
May the best Viking survive!
4. Profession: Miner
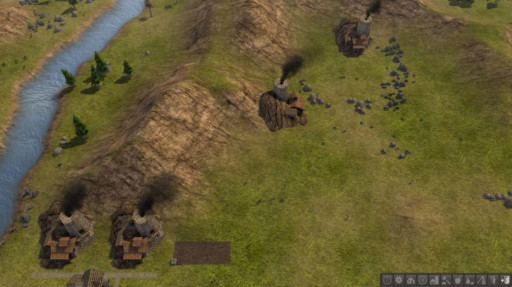
Mining is tough work, but the rewards are worth it.
- Mod: None (official game version)
- Terrain Type: Mountains
- Terrain Size: Large
- Climate: Mild
- Starting Conditions: Any
This build order is good for the official game version — no mods are needed to implement it. That said, if you wish to try it out with mods, you absolutely can! Just make sure to select the starting conditions that don’t include anything too unorthodox. The recipe for this dish is nothing but a bunch of citizens, one or two seeds ready to plant, and a big map full of rocky mountains.
The point of this build is to create a mining community that would pride itself in mining for iron and coal. Be prepared to have less flat terrain than you may be used to, but don’t worry about not having as much space for crops and orchards as you’ve expected. You can’t eat coal or iron, but you can surely trade it! You’ll still have enough terrain to have at least one crop field or orchard per every seed available in the game, and you’ll have enough space left for the rest of the buildings, too. The map will be mostly occupied with mountains, but that doesn’t mean it won't have anything else.
Here’s a step-by-step guide to follow if you want your mining city to live and thrive:
1. Before you even start thinking about what to build first, look around. Each new game always begins in the middle of the map, but you want to make sure that the first few buildings in your settlement are located not too far away from the closest mountains. That said, you don’t want them too close to the mountains either. Remember: you’ll use mountains for mines, and mines can’t be too close to your citizens’ houses unless you want the level of happiness to be affected by the smoke.
2. During your first year, mining is not important. Food is. Begin by making all the necessary arrangements for your citizens to have enough food to survive: build crop fields and orchards, hunting cabins, and fishing docks. Don’t neglect your animals - remember to build a pasture.
3. As soon as you can spare at least 5 laborers for the job, go ahead and build your first mine. You don’t need to fill it up with the maximum number of workers right away. It’s okay to increase the number of your miners gradually.
4. Build a trading post and stock it up with everything you have in abundance by now, including iron. With your first mine fully operating and with plenty of iron available to collect from around the map, you’ll have more than enough iron to use both for production chains and for trade.
5. You can build your second mine without waiting for the first one to fill up with workers. The second mine, however, will be for coal. Coal is an alternative source of fuel, which your citizens need unless you want them to freeze to death in their own homes in winter. Firewood is what you’ve been using to heat the houses up until now, but wood can be scarce, and it’s also widely used in construction, while the only use for coal is heating houses. You won’t find coal lying around the map, unlike iron, so make sure you have enough workers in the coal mines. As long as you do, you can stop building Wood Cutters altogether!
A mining civilization is quite an unorthodox strategy, but it’s good for those who want a new challenge to face, as well as a new strategy to try out.
3. Silk Road Empire
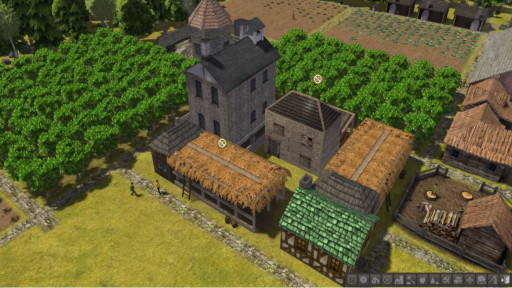
With white mulberry orchards nearby, Silkworm Hut workers should have everything they need for work.
- Mod: CC: New Frontier
- Terrain Type: Verdant Plains
- Terrain Size: Large or Very Large
- Starting Conditions: Silk Road - Easy or Silk Road - Medium
CC: New Frontier (CC stands for Colonial Charter) is another mod available for Banished, and it offers the widest range of professions, crop seeds, terrain types, and starting conditions. One of such starting conditions options is Silk Road, which allows you to start with a Silkworm Hut already built in your village.
A silkworm hut is the building that produces silkworm cocoons, which are later used for silk production. It also produces silkworm eggs and silkworms themselves (can be used as food). You may not think much of this unusual business, and perhaps, it doesn’t look like much, but I promise you, it’s a blessing in disguise.
Silk and all the products related to the silk business are actually an amazing offer for traveling merchants that will stop by your trading post. With such goods as silkworm eggs, silkworm cocoons, silkworms, and silk stocked in the trading post, you’ll be able to purchase a lot of food, cattle, seeds, and other important items in exchange for a comparatively small number of silk-related goods. Yes, they are expensive! Buy a ton of corn, beef, and fruit for only a handful of silk. Buy five different seeds to plant on your orchards and crop fields for only a few dozen of silk cocoons.
Here’s the summary of the build order for the Silk Road Empire:
1. Build necessary buildings for your citizens to have enough food for beginning (crop fields, shore houses, orchards, and fishing docks).
2. Invest in the silkworm hut as soon as your first white mulberry orchard starts producing mulberry leaves required for the silkworms to eat.
3. Build a trading post as soon as you have some silkworm cocoons, silkworm, or silk to trade. Don’t waste any time when you can begin obtaining necessary items right away.
Silk Road is your golden key to conquering the big, tough, and scary world of the trade business. Don’t miss the opportunity and see for yourself!
2. Marine Journey
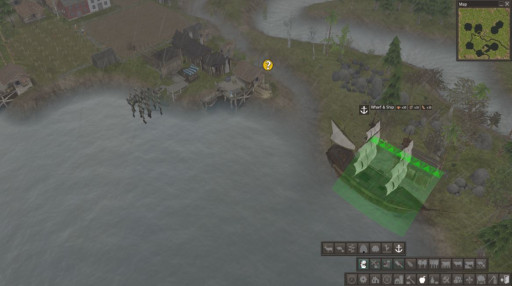
Explore the diversity of the shoreline buildings.
- Mod: CC: New Frontier
- Terrain Type: Lake Waters
- Terrain Size: Large or Very Large
- Starting Conditions: Matacapan Jungle - Easy or Matacapan Jungle - Medium
The Marine Journey scenario relies entirely on having a lot of water sources in your world, so choosing Lake Waters as the Terrain Type is an absolute must. You’ll need a long shoreline, but you’ll also need the kind of waters that are vast, as lakes are, rather than narrow like rivers.
You’ll have rivers and streams on your map one way or another, so make sure to use those wisely. Streams are perfect for shore houses, which produce reeds, sand, clay, turtles, and frogs. Shore houses, as well as hunting blinds, are very small and don’t require a lot of water space, so streams are perfect for those. Rivers are good for fishing docs and tidal pools, with the latter fishing for mussels, seaweed, pearls, and crayfish.
Finally, lakes are what is going to make all the difference, because their shores are going to be full of such buildings as Wharf & Ship, a large structure attached to the water that needs much more water space than a stream or a river could provide. In the Wharf & Ship, your citizens will hunt seals, whales, and lobsters, with whales being used not only as food but also as a source of oil.
Here’s a quick look at the build plan for a successful Marine Journey community:
1. Begin by making waterfront buildings your main source of food. Build shore houses alongside your streams and make your citizens catch turtles and frogs.
2. Build one fishing dock. You won’t be able to build more than that at the beginning since you won’t have too many laborers available to assign to your fishing docks.
3. With time, build a tidal pool and a couple of shore houses that will be collecting reeds. You need to start gathering reeds in advance because you’ll need to turn them into ropes required for building a hunting blind.
4. Once you have collected about 100 reeds, build a Ropery. Here, ropes are made out of reeds. It’s a slow process, but you only need 6 ropes to build one hunting blind anyway. Don’t hesitate to stock up your trading post with ropes, since they’re not widely used in construction or anything else!
5. The Wharf & Ship needs materials produced at the very end of a long chain of production, so your best bet to get them at the beginning of the game is through trade. Build a trading post and fill it up with everything you can spare, beginning with items that don’t have any practical use, such as pearls. Make sure to stock up your trading post well, so that you have enough items to offer to the first merchant who’ll visit you with the materials you need for a Wharf & Ship.
Expand your community, grow your marine business, and offer your citizens a seafood-reach diet that they will appreciate and reward with hard work and 5 stars of happiness!
1. Smart Farmer, Happy Farmer
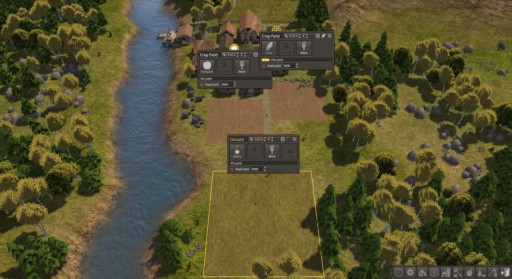
Crop fields vs. orchards at the beginning of a game.
- Mod: Any
- Terrain Type: Valleys
- Terrain Size: Large
- Climate: Mild
- Starting Conditions: Any
The reason this build order is number 1 is that it’s a very essential element of any new game that involves planting crop seed while having very few laborers to do the job. It works for any mod and any type of starting conditions as long as they give you seeds to plant and provide at least a few houses that are already built. So it’s not as much of a build order as it is a build strategy that will help you in those fragile first years when your citizens are still young, uneducated, and scarce, and when you may have too much to do and too few workers to do it.
Following this strategy can make a huge difference in how efficient your workers are going to be, and it will allow you to have much more done than the population numbers of your village may suggest possible:
1. As always, you begin in early spring. This is the time for your farmers to shine, so go ahead and build your first crop field. Only this time, build a small one, sized 10x10. Why, you ask? Because, as I’ve mentioned before, there are too many tasks that need to be done at the beginning of the game and too few people to assign those tasks to. You don’t need two large crop fields. A large crop field means more farmers are assigned to it. You don’t need a lot of food because your population is still low. Most often you’ll begin with 2 seeds that can be planted in a crop field, so go ahead and build two 10x10 crop fields and assign 2 farmers to each of them.
2. You want both crop fields to be built as early in the spring as possible so that your farmers don’t miss the deadline for planting the seeds, so prioritize them over anything else. Assign all your laborers to do the job if you have to. Once the crop fields are built and the farmers are at work, you can turn those builders back into laborers again.
3. While your farmers are doing their thing, it’s time to find useful employment for the rest of your aspiring citizens. Build a pasture and a fishing dock for extra income of food, and hire a blacksmith to prevent any shortage of tools. Keep an eye on the event log: whenever children grow up and become laborers, you want to build new houses for them to move into — that way, you’ll ensure the growth of your population. That’s pretty much everything you’ll need to worry about until the end of your first autumn in the game.
4. With your first crops harvested successfully and your citizens rejoicing in the success of this questionable endeavor, remove both crop fields. That’s right, remove them entirely. By now, your population is bigger, and you can actually afford having two 15x15 crop fields, with 4 farmers assigned to each of them. Of course, always check the number of available laborers first before making any move that will require new hires for a certain profession. Building smaller crop fields and replacing them with bigger ones later is a great way to make sure you won’t waste any workforce and also won’t run out of food by having not enough crops to begin with.
5. While this strategy is applicable to a wide range of mods, don’t be fooled: it doesn’t apply to orchards. Orchards are where you plant tree seeds, such as apple, plum, chestnut, pecan, etc. Trees need a few years to grow before they start producing food and contributing to your fruit and nut supplies. It would be a shame to build a tiny orchard with 2 farmers because you can’t afford a bigger one, only to have to chop it all down two years later and replace it with a bigger one. It won’t have even brought you any harvest yet! So make sure you remember once and for all to build the orchard exactly the size you intend it to be and in the exact location where you’d like it to stay forever, because, unlike a crop field, it can’t be replaced in a matter of a month and give you food the same year.
Try this strategy once, and I won’t be surprised if you use it in every single game you play. I know I have!
You may also be interested in:
- Top 10 Banished Best Crops
- Top 10 Best Banished Mods That Make The Game More Fun!
- Top 10 Games Like Banished (Games Better Than Banished)
- Top 10 Best Banished Mods That Make The Game More Fun!
- Banished Best Seeds That Are Fun
- Banished Best Animals That Are Fun To Play With
- Banished Best Build Orders
- Top 10 Best Farming Games for PC

