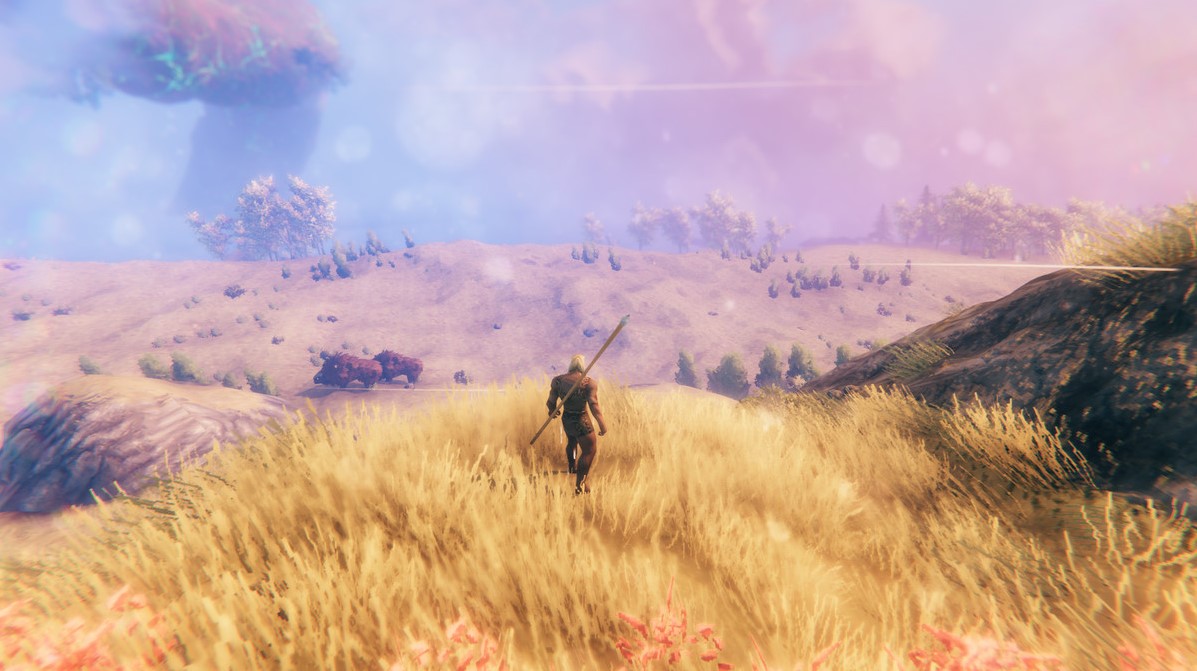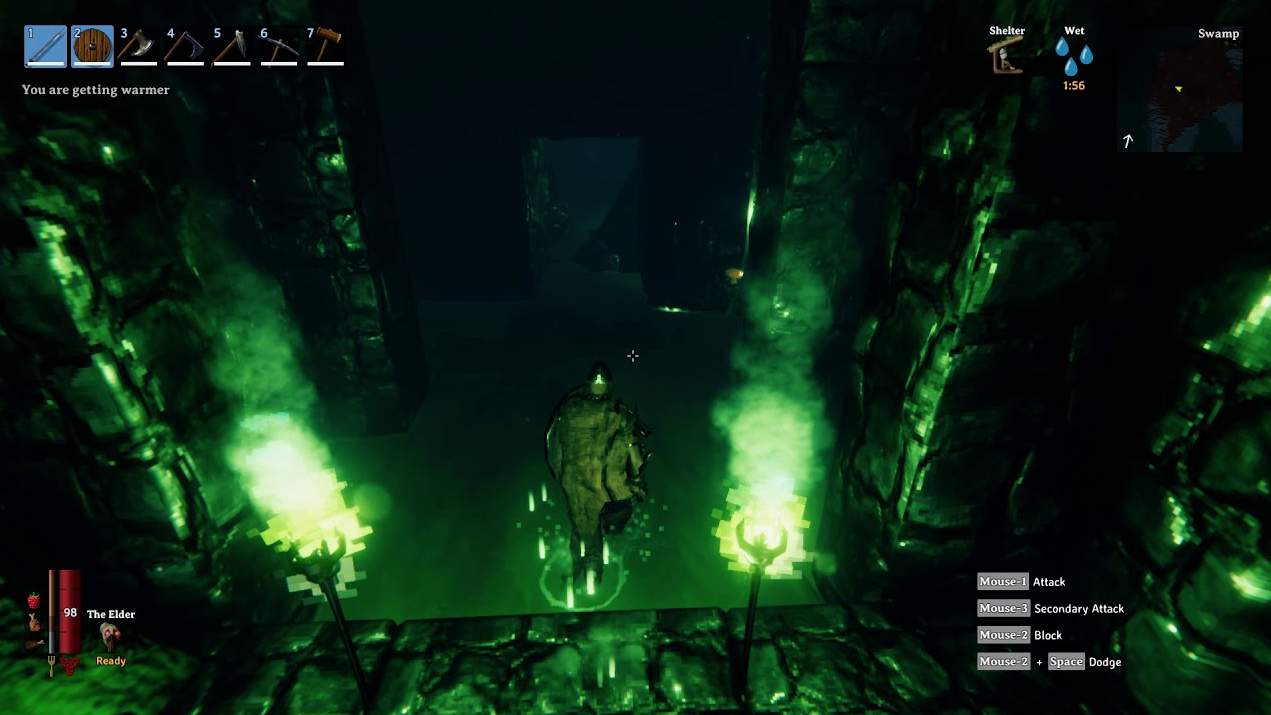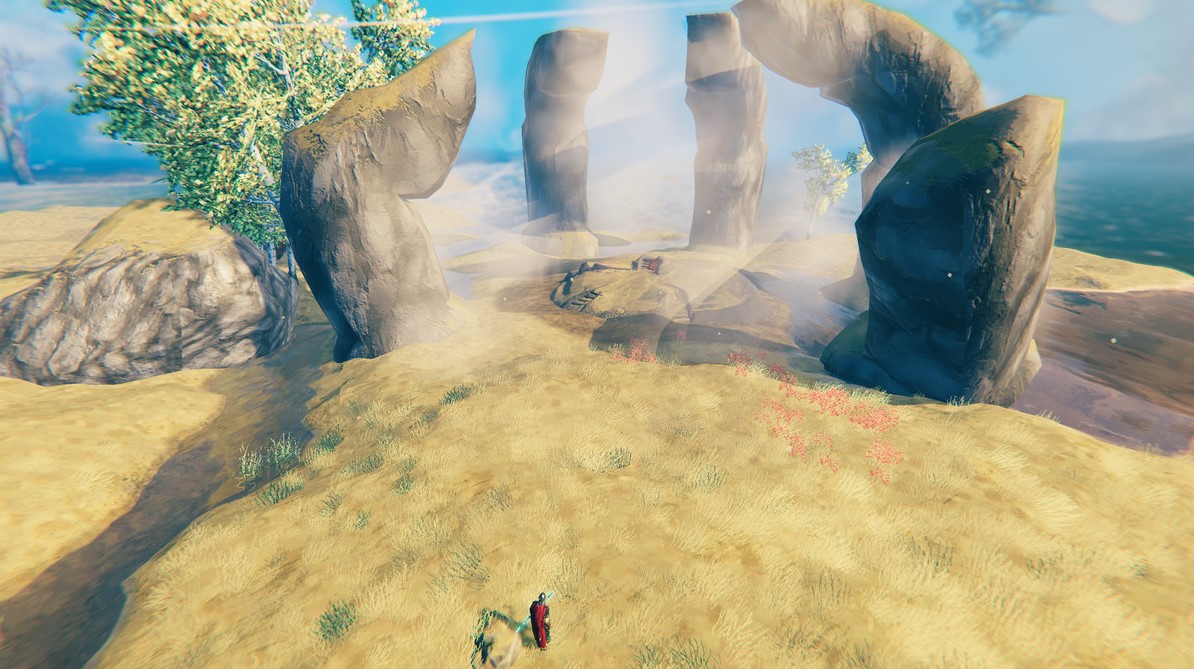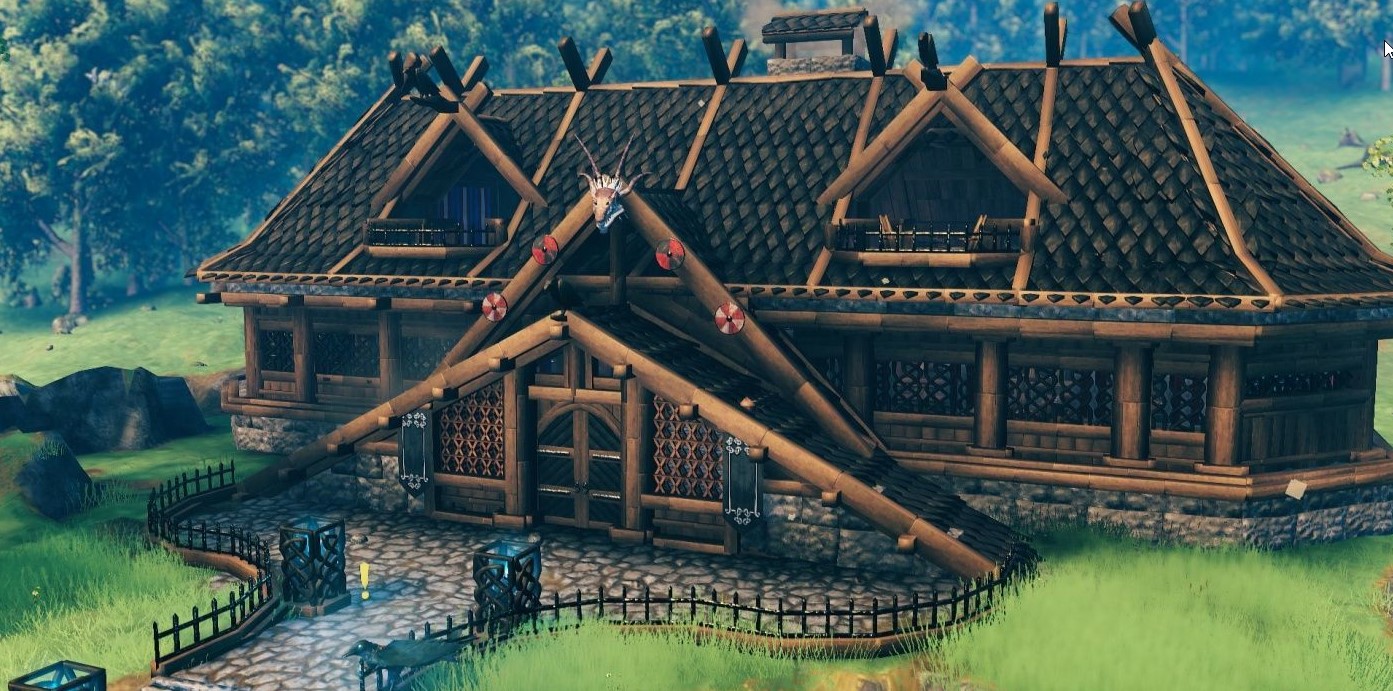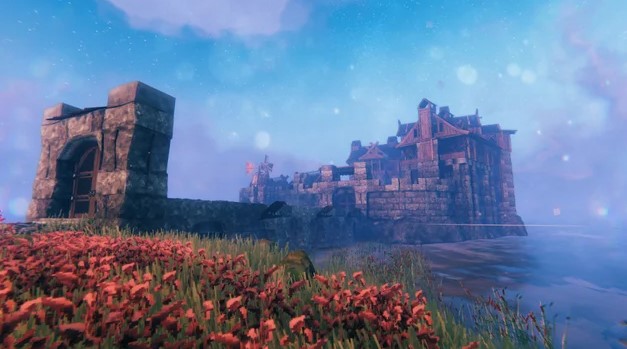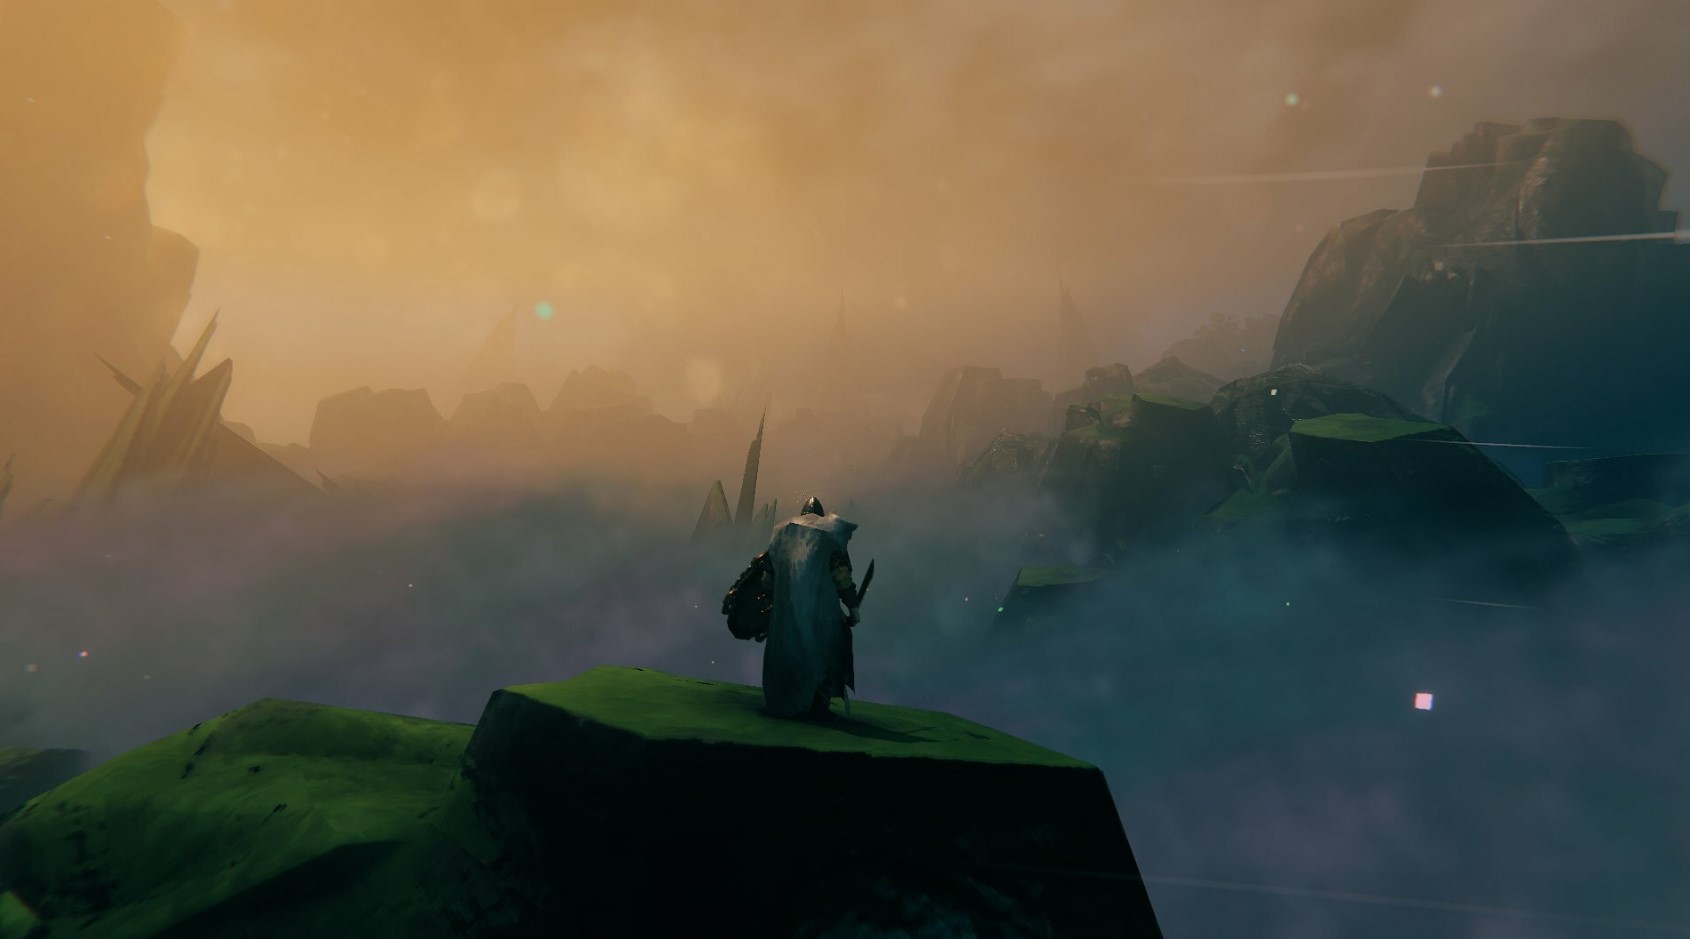
Valheim is one of those games that came out of nowhere and collectively impressed the community as the game gained popularity for its premise and gameplay. What is also surprising is that the game isn’t too graphically intensive and more like an early console game by looks. With that being said, there should be no issues running at the games’ maximum settings, right? Well, not really. Equally surprising is that this game, despite only using up 1GB (1024MB) of video memory, is pretty demanding once you crank the settings up. Adding the early access nature of the game can show bugs and unoptimized parts and you’ll end up needing to adjust your settings in no time.
This is where this guide comes in, detailing what graphical settings you’d want for certain use cases, from max performance to pure graphical quality, and what they can solve respectively.
As with all Valheim lists, this was written at the time of the games’ latest version (Hearth and Home Update, version 0.203.10). This guide only tackles the in-game settings tweaks, as external tweaks in Windows would be too troublesome for most looking to just run and play the game. Speaking of Hearth and Home, some sliders are omitted as data for what they do isn’t shown or available yet.
The Settings Tab
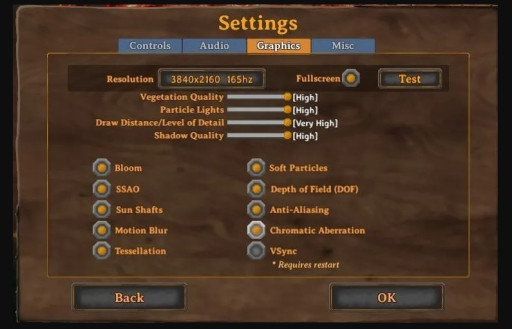
Before we talk about what settings are best for you, we first need to establish what each part of the graphics does, and how that setting can affect the game’s visuals. I’ll try to simplify some terms, as these can be pretty confusing to anyone who doesn’t know what they mean. What I will write below will be a very oversimplified version to follow better (or if you don’t want to bother with a long explanation).
Slider / Drop-Down Options:
- Vegetation Quality – Increases/decreases the presence of grass in the game
- Particle Lights – Increases/decreases the effects from objects like fire and some weapons
- Draw Distance/Level of Detail – Changes how far you can see the games’ objects render
- Shadow Quality – Changes how detailed the shadows are
Toggle Settings:
- Bloom – Better brightness and lighting effects to light hit objects
- SSAO – Darker shadows
- Sun Shafts – More visible light rays
- Motion Blur – Adds a blur effect when turning
- Tessellation – Creates depth, preventing areas from looking too flat
- Soft Particles – Better separates and smoothens effects from other nearby objects
- Depth of Field (DOF) – Focuses on a certain portion instead of everything on the screen
- Anti-Aliasing – Smoothens out edges
- Chromatic Aberration – Does a bit of blurring effect similar to a camera lens
- V-Sync – Syncs your monitor with the graphics (FPS) to avoid looking choppy
Now with everything established, we go to these setting configurations that you can try out.
4. Playable Settings
Smooth FPS is the name of the game when playing Valheim, and when you boot up the game, it can have the tendency of cranking everything to the max leaving you with a very choppy, unplayable mess of a game (if not evident by the lobby). Given that you’d already have chops and stutters early, anticipating blocking, attacking of enemies, or general movement will just leave you frustrated with the experience and may end up with you not playing it altogether. This is especially true for those with under-specced hardware, and if you have anything that is released below the past 5 years of hardware generations, chances are you’re the ones affected by the things mentioned above.
As a side note, I run hardware that is lower than the recommended settings, so this is more of my way of being able to play the game.
How Playable Settings Will Fix the Problem
This will apply to those who couldn’t run the game with the optimum settings the game’s system requirements have. These are the optimal settings you’d take just to play the game well, and not be a stuttering mess, assuming your PC / Laptop isn’t too old, to begin with. Below are the benefits this setting will give
- Very playable settings
- Greater compatibility across various types of PC’s
- More combat-focused settings
How to Apply Playable Settings
- Set all the sliders to Low
- Turn all the toggle settings off (circle not filled in)
- (Optional) Readjust the resolution to something lower if native still isn’t smooth
3. Low Settings
While any modern hardware should be powerful enough to play Valheim, not all parts are created equal, thus making it feel a little choppy at times. Having said that, this is for those who wish to have a bit more quality, and not look too bland and plain, while being equally playable. This will only be an option if you have a PC that has decent specs to start (older-quad core CPU and entry-level GPU combo, for example).
How Low Settings Will Fix the Problem
Again, this will apply to those who are gameplay focused that still wants a modest graphical quality of life improvement to the experience. This should be more or less the default setting for any entry-level machine running the game. Below are the benefits this setting will give.
- Very minimal FPS drop from Playable settings
- Much more immersive-looking graphics
- Still more or less combat-focused settings
How to Apply Low Settings
- Set Vegetation Quality to Medium
- Set Draw Distance to High
- Other slider settings are at the lowest
- Turn Tesselation and Soft Particles on, with all other toggle settings off
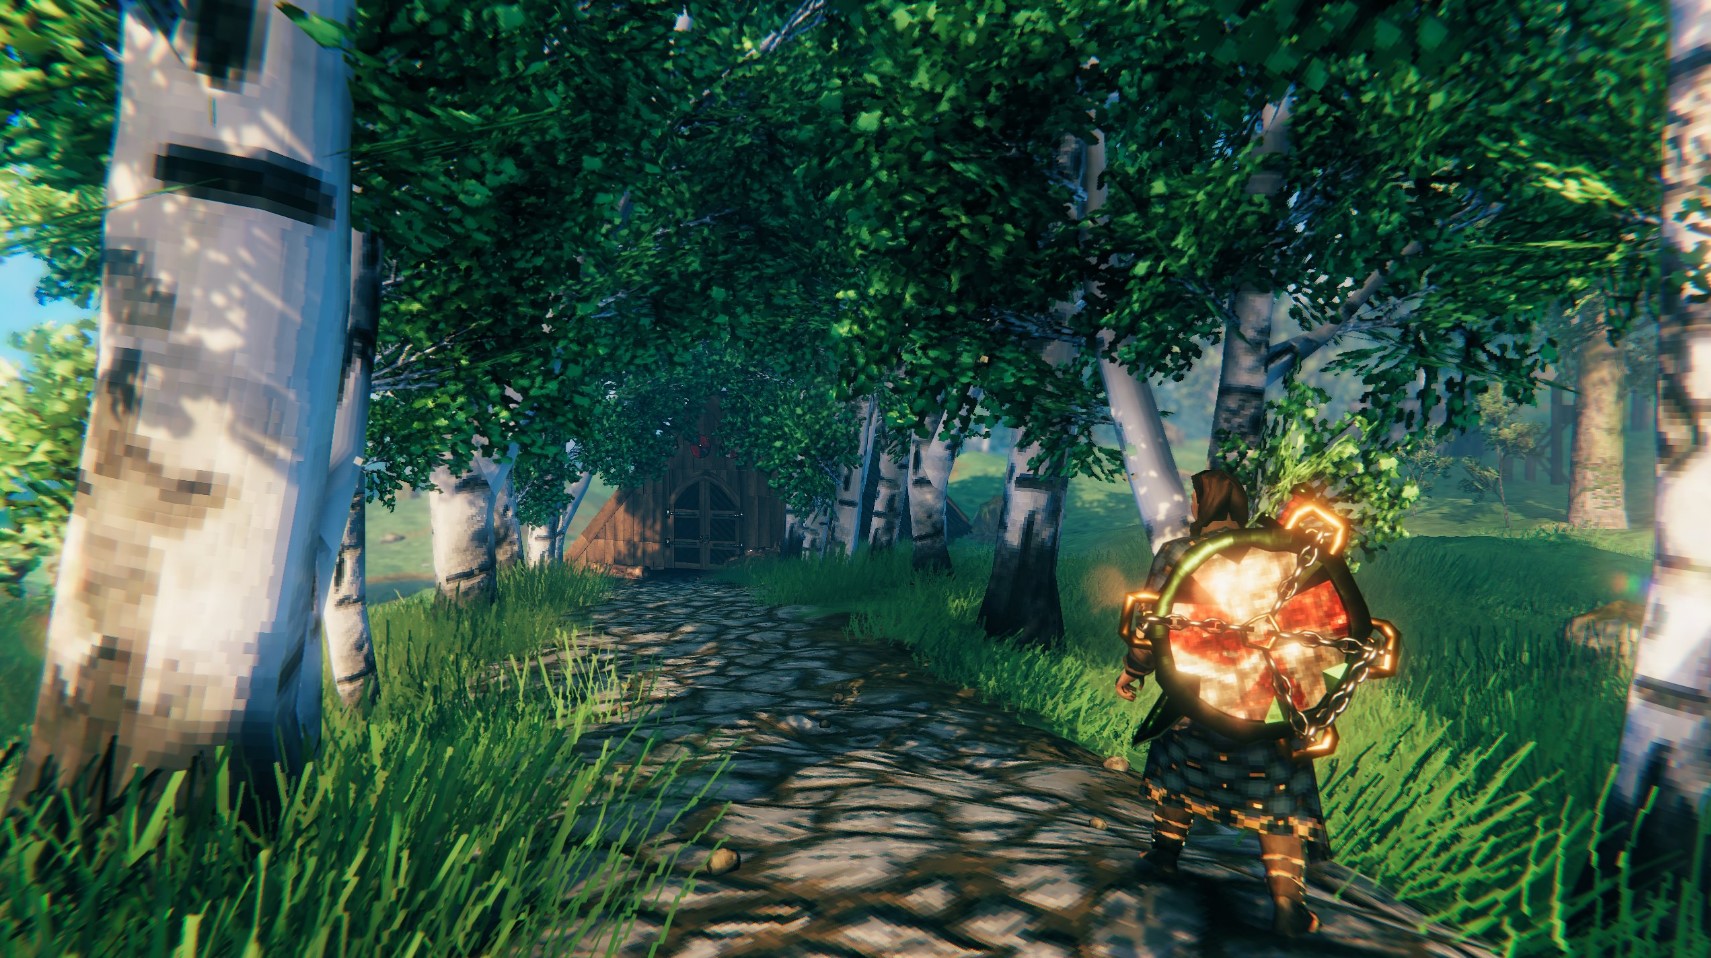
Look-wise, the changes should make grass pop up in fields, makes the ground look more pronounced when changed, and fire sources be more separate when a few of them are close together. On the gameplay side, the very high draw distance will help spot enemies on the horizon to better prepare against enemies.
2. Optimized Settings
This is for those who have the hardware to play this smoothly but don’t want everything that will distract you on gameplay enabled. Seeing as how Valheim can look amazing, you’d also want to have it still play and not be a glorified moving screenshot, and therefore the recommended, full experience of this wonderful game. The only question now is how much of these settings will you tune to sit on the middle ground of performance and quality
How Optimized Settings Will Fix the Problem
This will be best for those with mid to high gaming PC s where the quality is still high up that you can crank some settings, but still low for those turning everything up to the max, causing some frame dips to the gameplay. Below are the benefits this setting will give.
- Smooth FPS despite the bump in settings
- Has most of the things Valheim’s graphics boasts
- Good for screenshots
How to Apply Optimized Settings
- Set Vegetation Quality to High
- Set Particle Lighting to Medium
- Set Draw Distance to High
- Set Shadow Quality to Medium
- Turn all of the effects on, except Motion Blur, Depth of Field, Chromatic Aberration and VSync
Searching through multiple sources and videos, it seems to be the setting people with decent machines will use and probably the setting most would need, barring they want the extra frames that come with it. Again, Valheim has limited graphics options, so you’re looking at this as the middle ground for what is good about the games’ aesthetics.
1. High Settings
Honestly, there isn’t a problem running this game at these settings other than wanting to fully take advantage of your hardware and the absolute best Valheim’s visuals have to offer. One hiccup for this setting is that you’d want the upper end of the high-end PCs available, or have some ridiculous specs, to begin with. These settings are the pinnacle of what Valheim can do, so have at it, if you have the power.
How High Settings Will Fix the Problem
This will be best for those with higher-end gaming PCs where no visuals are left unturned and FPS is still decent despite having these settings. Despite the 1GB video utilization that Valheim only uses, the raw compute power of these cards, along with the CPUs that it’s paired with are what makes this experience the smoothest and the best. Below are the benefits this setting will give.
- Graphics are at their best
- Still won’t trouble high-end PC’s
- Best for screenshots
How to Apply High Settings
- Set all the sliders to their max
- Turn all the toggle settings on, or choose what to enable/disable
Admittedly, not much to say but if you have it, you are free to use it.
Conclusion
While the settings for Valheim isn’t plenty, future versions will address this even further, as already seen with Lighting Volume (which is omitted from this list as not much data is available to it), the game is still in Early Access, meaning a large chance to overhaul the visuals is still possible, but again, it’s not a game where the graphics will be the dealbreaker, but rather, it’s the gameplay, and whichever setting you set it on, for as long as you have the performance to not run into issues, you should still be able to enjoy Valheim no matter what the settings.

