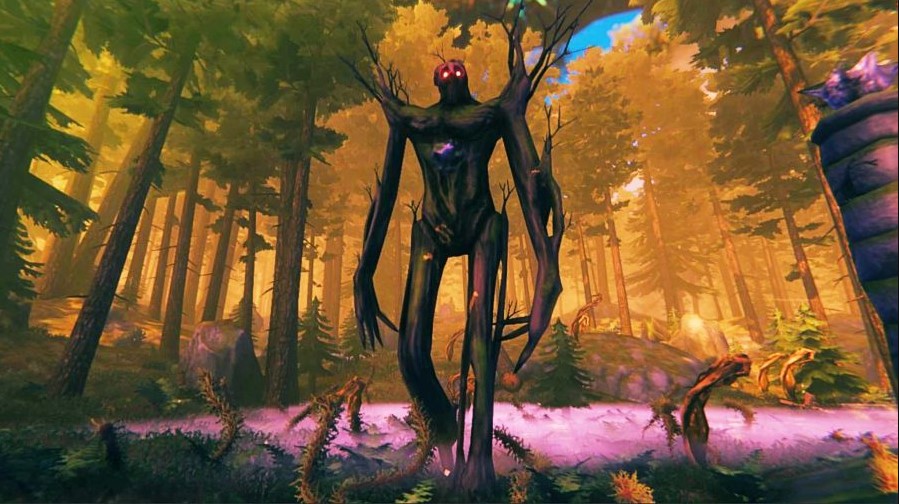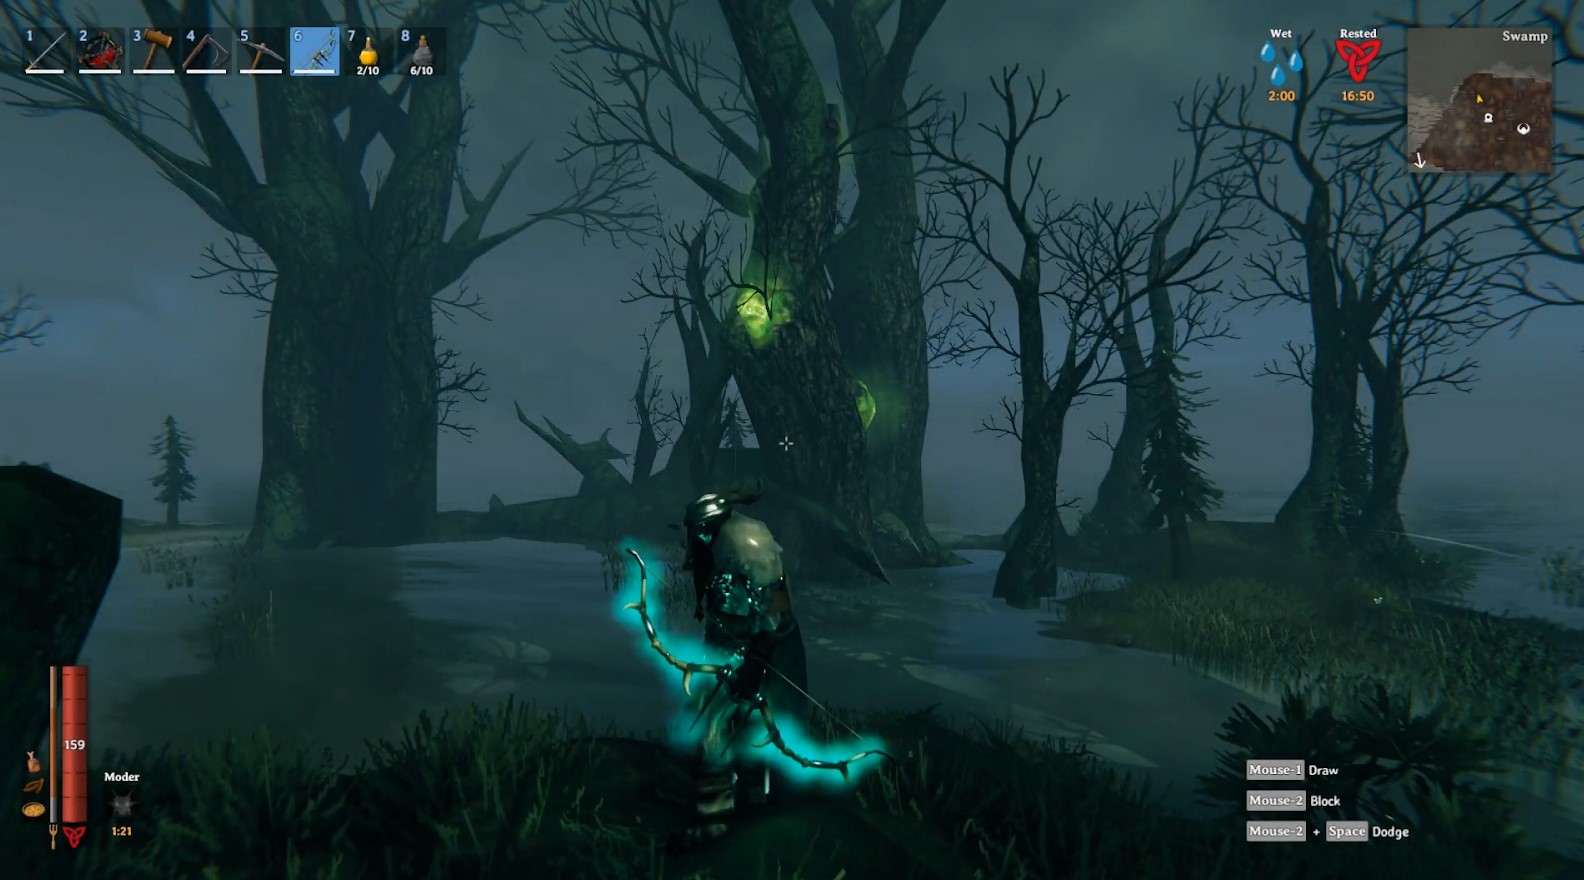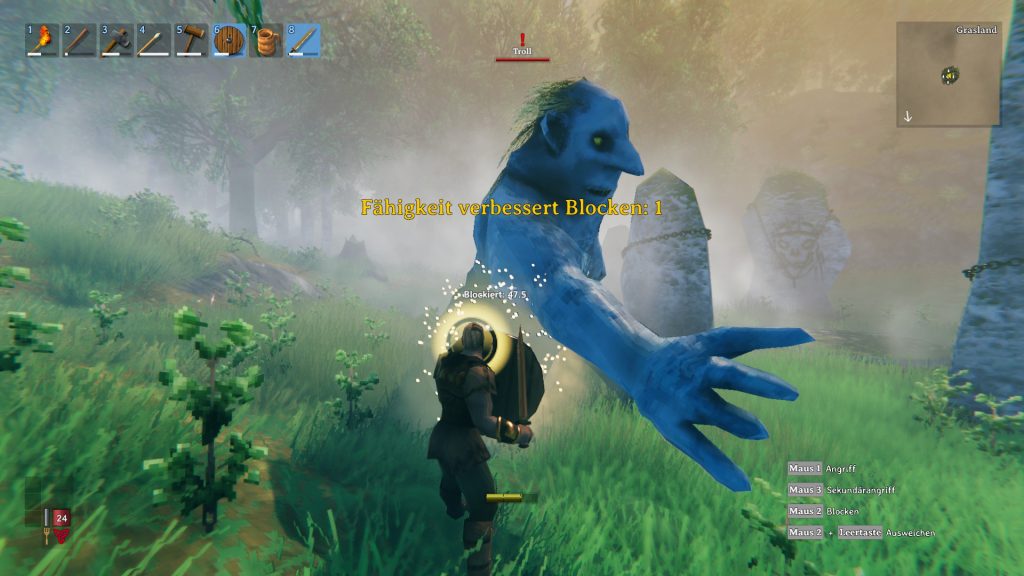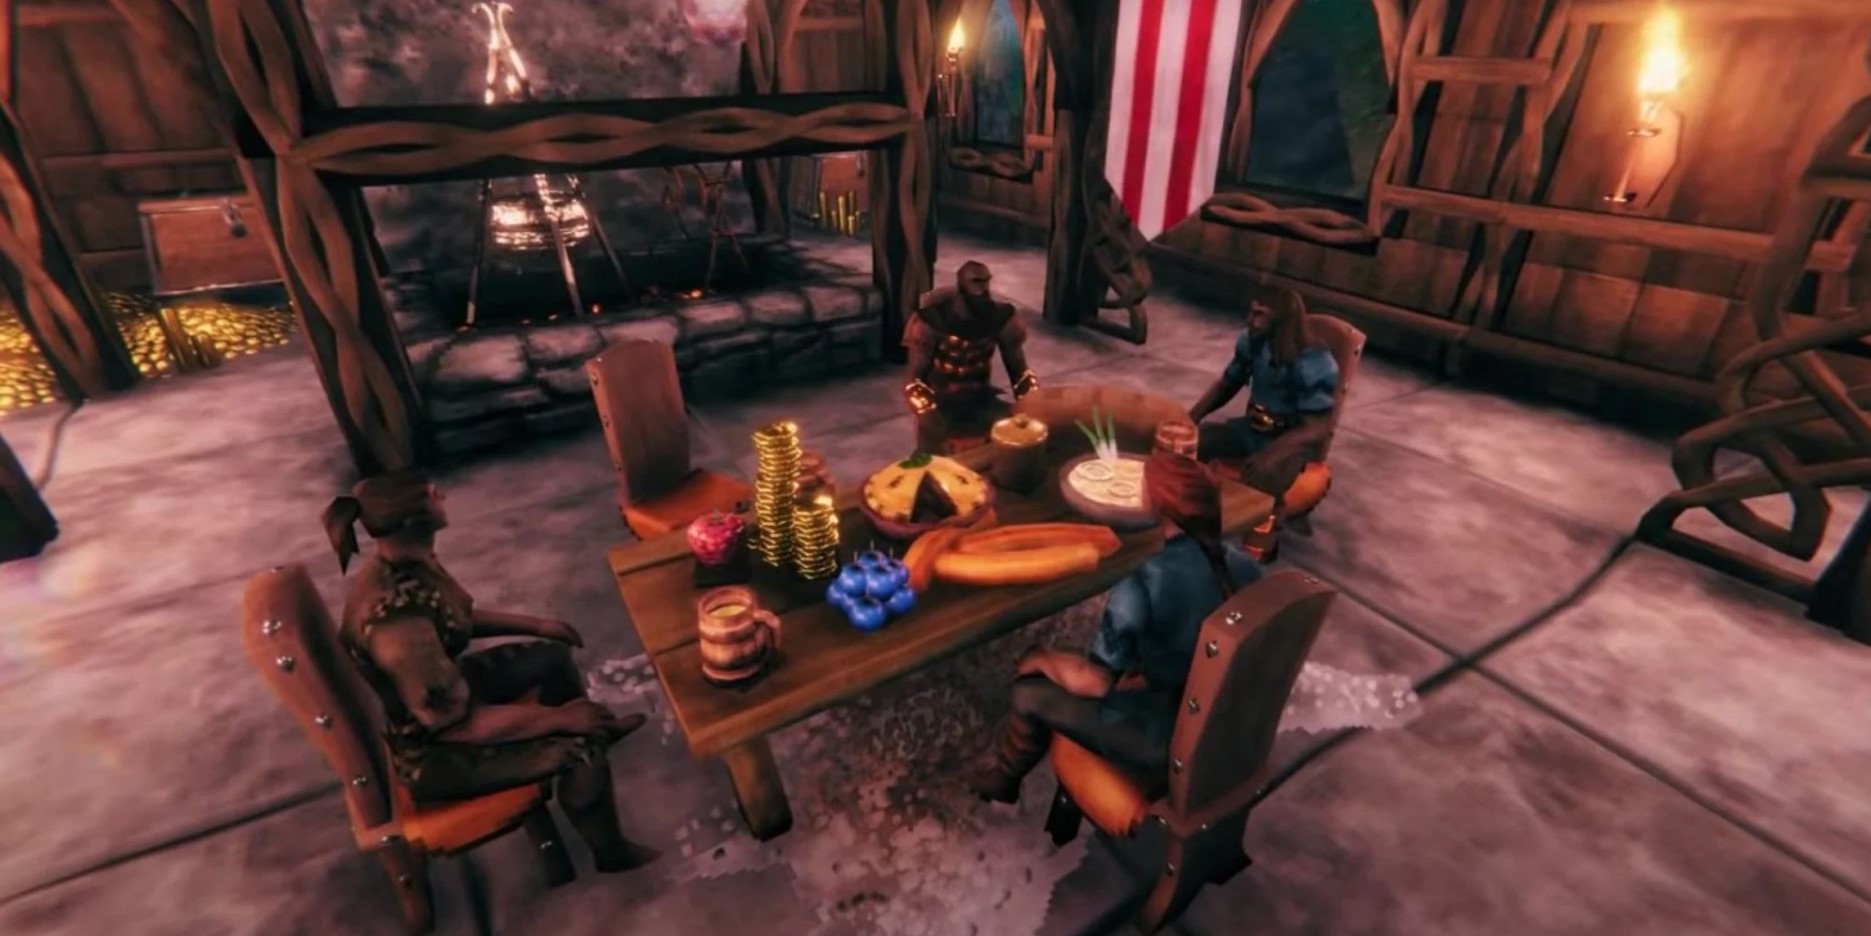
Once you kill the 2nd boss, Elder, and take the Swamp key, you’ll be entering the mid-game with a new tough danger ahead, the Swamps. With all the biomes in Valheim posing many challenges for you to overcome, the Swamps is the mid-game biome you’d need to watch out for as the constant rain makes you generate less stamina when traversing the terrain. Also home to the Swamps is the most useful item in the game, Iron, more specifically the raw material of Iron Scraps. Guarding that would be a whole host of dangerous enemies, ranging from the normal hard-hitting Draugrs, to the newly introduced Abomination, prepping yourself is key to survival (and avoiding slight humiliation by dying and needing help to retrieve your items again).
With that being said, prep is important before entering any new biome as you’ll be going in blindly, but with this list, you won’t have to as you’ll be informed on your first venture into the dark Swamps.
As with all Valheim lists, this was written at the time of the games’ latest version (version 0.206.5) and is based on the run being for first-time Swamp explorations, meaning Iron-based weapons and armor you’ll eventually craft will be omitted from the list. Food will be omitted as well as that is a separate topic altogether. Gear will also include other things that will be of use for you in the Swamps and not limited to just armors and weapons.
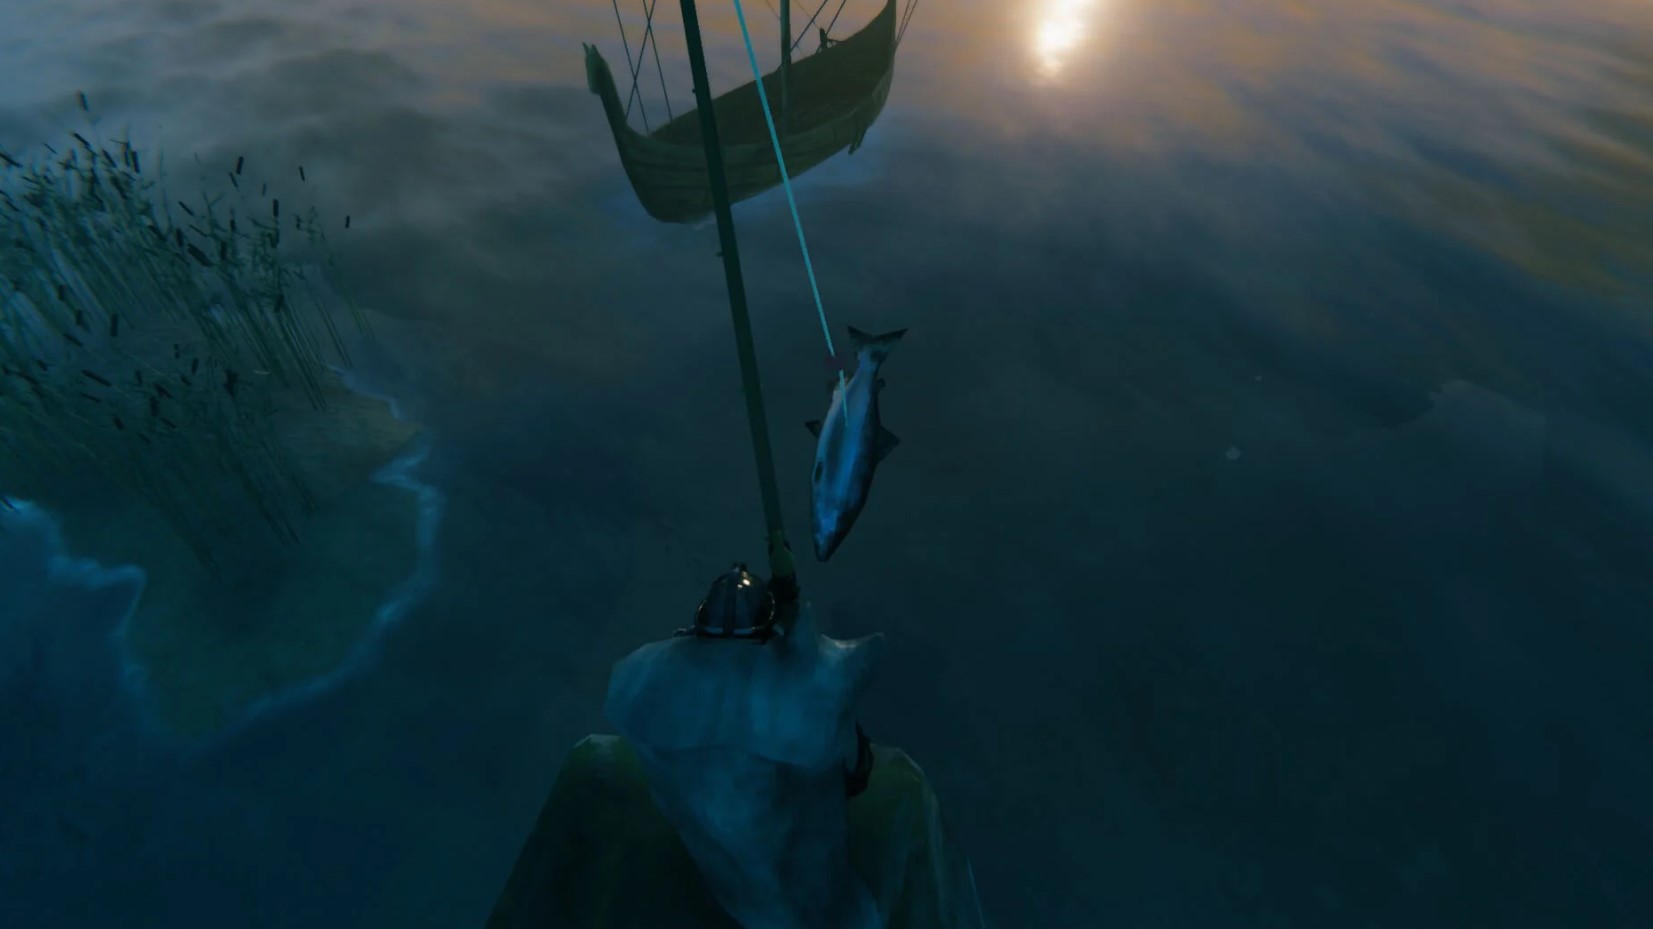
9. Karve
The importance of this will vary from your spawn, but if you need to haul a lot of Iron or need to do some island hopping to get to the Swamp, you’ll need one of these.
What is Good About the Karve?
A versatile boat that offers both transportation and a bit of hauling needs, the main things the Karve can accomplish are the following:
Karve:
- A great boat for medium and even large-scale explorations
- Has 4 inventory slots to fit a few items you may get
- Decent health to tank up a bit of damage while at sea
For Swamp runs it’s going to serve as your getaway vehicle should the Swamp you seek be by the waterside, far away from your base. Not only that but since you have 4 inventory slots, you can haul an additional 4 stacks of Iron, which should be enough for your first Iron weapons/armor pieces.
How to Get the Karve?

Karve:
- Get Fine Wood from Birch Trees
- Kill Deer to get Deer Hide
- Get Resin from Trees or killing Greydwarves
- Create Bronze and turn them into Bronze Nails in the Forge
- Create using the Hammer and a nearby Workbench
For a detailed look at the weapons stats, use the key points below.
Karve:
- Boat HP: 500
- Speed Achieved (Paddling to Full Sails) – 11.4 to 25 km/h
- Storage space – 4 slots
8. Poison Resistance Mead
Creating this is especially useful when surviving the DoT some Swamp enemies have, and can also help you with the boss, Bonemass.
What is Good About the Poison Resistance Mead?
While not necessary for those experienced enough in the Swamp, this serves as a safety net for those not familiar with the Swamps, and in turn help you survive should things go south. As with many meads, this has a specific purpose and use, with benefits for this one being the following.
Poison Resistance Mead:
- Creates plenty for a single sitting
- Better helps with fighting Bonemass
- Shortens the poison duration
Mead is an optional consumable, but any help is better than none at all, and so relying on this for an extended exploration of the area is not only good but advised. Once you do have it, expect enemies like the Ooze to hurt less, and in turn, gives you the confidence to kill it immediately when in melee range. Again, this helps you progress better and safer, because the last thing you’d want is having your item from your grave be trapped in the Swamps, and spoiler, it's not good.
How to Get the Porcupine?
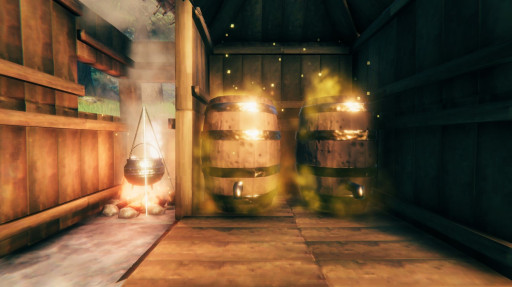
Poison Resistance Mead:
- Make a Fermenter in your base using the Hammer using its corresponding materials
- Gather Thistle from the Black Forest or Swamps
- Get Honey from crafted Beehives
- Kill a Neck to get Neck Tail
- Get Coal from a Charcoal Kiln or burn food from the Cooking Station
- Combine in a Cauldron to make the mead base
- Put the mead base and wait 2 in-game days to finish and turn to Poison Resistance Mead
For a detailed look at the mead's stats, use the key points below.
Porcupine:
- Damage Profile: Blunt / Piercing
- Base Damage: 50 / 45 (95)
- Full Upgraded Damage: 50 / 63 (113)
- Minimum Crafting Area: Workbench (Level 4)
7. Stagbreaker
A surprise in the list, this easily craftable early game weapon can also be used in the Swamps, and to a great deal of effect at that.
What’s Good About the Stagbreaker?
Its mob clearing characteristics make Swamp runs a bit better and also is good in general for the following reasons.
Stagbreaker:
- Cheapest two-handed weapon to wield
- Can make a decent amount of damage
- Knockback via an AoE smash
This is perfect for crypts in that you can cheese the enemies, by utilizing the AoE smash and give you safety, assuming you haven’t picked the muddy scrap pile protecting you from Draugr’s with bows. It does decent damage even at its base damage, and with that being said, having something that can give you safety is a nice bonus, when you consider the enemies at that point can kill you.
How to Get the Stagbreaker?
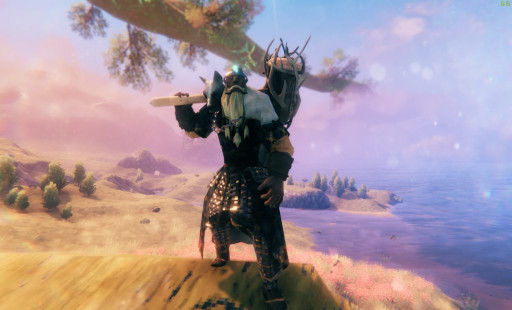
Stagbreaker:
- Get Core Wood from Fir Trees
- Kill Deer for Deer Trophy
- Kill Boar for Leather Scraps
- Create it by the Workbench
For a detailed look at the weapons stats, use the key points below.
Stagbreaker:
- Damage: 20-38
- Damage Type: Blunt
- Minimum Crafting Area: Workbench (Level 2)
6. Bronze Axe
Primarily used in cutting trees, but it has no issues cutting some enemies down to size.
What’s Good About the Bronze Axe?
If it has an edge, it can kill, and while this is more of a tool than a weapon, it will hack an unsuspecting enemy to shreds. While that’s the primary gist of it, it also includes the following uses below.
Bronze Axe:
- Has some damage towards smaller mobs
- Can be a weapon when you’re in a pinch
- Minimum for cutting Birch Trees for Fine Wood
Cutting wood to make items is necessary when needing to build a Workbench in a pinch. Gathering Ancient Bark and Guck are also much easier with this should you need to gather some for your items or weapons of choice. Again, this is a tool that can do damage to enemies in a pinch and for any biome, an axe is something you should have.
How to Get the Bronze Axe?
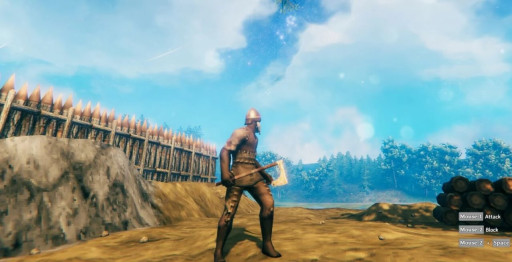
Bronze Axe:
- Get Bronze
- Get Wood from trees or fallen branches
- Kill Boars for Leather Scraps
- Combine in the Forge
For a detailed look at the weapons stats, use the key points below.
Bronze Axe:
- Damage Profile: Slash
- Base Damage: 40
- Full Upgraded Damage: 55
- Minimum Crafting Area: Forge (Level 1)
5. Finewood Bow:
The bow you’d carry around well into the game, this decent bow does decent utility through range advantage against your enemies.
What’s Good About the Finewood Bow?
The range is key to taking down enemies way before facing them outright, and that is especially true with bows. The Finewood Bow is the best option you have at the early phases of your Swamp runs, and in turn, gives the following benefits below.
Finewood Bow:
- A very useful sub-weapon
- Amazing longevity for what it is
- Take out enemies or food sources from far away without alerting them immediately
While the choices for bows are limited to just 4 right now, the Finewood Bow is a step up from the Crude Bow you’ll initially get to make at the start of the game. A good bow to help take down enemies far away (as long as you have the arrow capacity of Hawkeye), it saves your metal weapons from being unusable, allowing you to have options on offense, defense, and deer hunting whenever possible. When you run into the Swamps, you can hit enemies from afar, possibly saving you a few melee hits, and in turn, stamina. Having a bow is a must for these tough areas, and the Swamp runs are no exception.
How to Get the Finewood Bow?
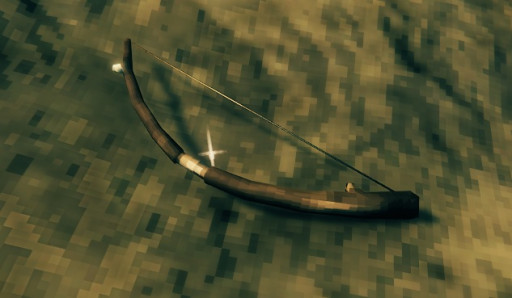
Finewood Bow:
- Get Core Wood from Fir Trees
- Get Fine Wood from Birch/Oak Trees
- Kill Deer for Deer Hide
- Create it by the Workbench
For a detailed look at the weapons stats, use the key points below.
Finewood Bow:
- Damage: 32-41
- Damage Type: Pierce
- Minimum Crafting Area: Workbench (Level 1)
4. Bronze Mace
An early-game staple, the Bronze Mace will be the best weapon you’ll make to clear your first Swamp biome crypts.
What’s Good About the Bronze Mace?
As said earlier, the best weapon you can have is the Bronze Mace. Its blunt damage profile makes it king for the Swamp specifically, and equally specific are the benefits listed below.
Bronze Mace:
- Good damage across the mobs you’ll face
- Stats are nearly triple the Club
- Upgraded Bronze Maces can work in the Swamp
While you can progress through with your other weapons, this will be the weapon that can create the best and easiest path to succeeding in the Swamps, and that’s the whole biome, not just the crypts. Most of the enemies here are weak to it, and a fully upgraded one is going to be almost on par with its higher-tier Iron counterpart. Should you need a primary weapon for the Iron gathering expedition, this is it.
How to Get the Bronze Mace?
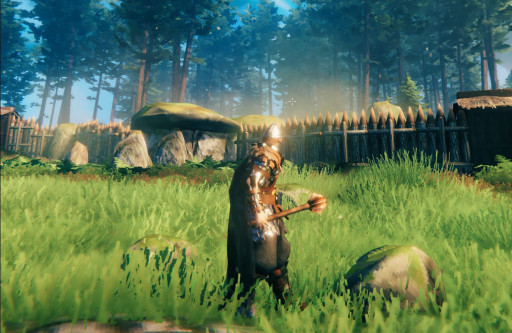
Bronze Mace:
- Get Bronze
- Get Wood from trees or fallen branches
- Kill Boars for Leather Scraps
- Combine in the Forge
For a detailed look at the weapons stats, use the key points below.
Bronze Mace:
- Damage Profile: Blunt
- Base Damage: 35
- Full Upgraded Damage: 53
- Minimum Crafting Area: Forge (Level 1)
3. Antler Pickaxe
It’s pointless to expect to get Iron without getting a pickaxe, and while the Bronze pickaxe exists, the Antler Pickaxe is the way to go.
What is Good About the Antler Pickaxe?
The first pickaxe in the game, it’s fundamentally weaker than the Bronze Pickaxe, but it offers far more things than the already good benefits listed below.
Antler Pickaxe:
- Easy to make, provided you carry its materials
- Only pickaxe to be fixed via a crafting table
- Can break most of the materials you initially need
The key benefit is the last one, where Muddy Scrap Piles, the thing that holds Iron Scraps, are also breakable using this pickaxe. While there is nothing wrong with using the faster Bronze variant, once it inevitably breaks you’ll need a Forge to repair it, and keep in mind that the Forge isn’t exactly something easy to make, let alone transport. With that being said, the more resource-friendly Antler Pickaxe is far better as you’ll still be getting the same use out of it, albeit slower, but also be able to fix it with just a Workbench, which is next to nothing to carry the materials around.
How to Get the Antler Pickaxe?
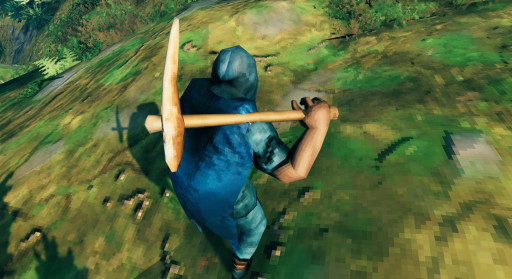
Antler Pickaxe:
- Kill Eikthyr to obtain Hard Antler
- Get Wood from fallen branches or chop down trees
- Combine in a Workbench
For a detailed look at the pickaxes’ stats, use the key points below.
Antler Pickaxe:
- Damage Type: Pierce
- Mining Damage: 18
- Pierce Damage: 18
- Repair Area: Crafting Table
2. Bronze Buckler
To protect yourself from attacks, the Bronze Buckler is the thing you’ll need to deflect those nasty shots to your character.
What’s Good About Bronze Buckler?
Being the best shield available to you at that point is already a benefit, but keeping you safe also gives you side access to these amazing stats listed below.
Bronze Buckler:
- Good armor for longer exploration runs
- Bronze in itself is great for many small to medium threat mobs.
- Has good weapon sets along with it
The simplest addition to your inventory (and survivability), the Bronze Buckler is the one to get in any part of the early game. Channel your inner Captain America and parry (or block) the damage coming your way. There’s nothing more to say other than get this one for the Swamps.
How to Get the Bronze Buckler?

- Get Wood from fallen branches or chop down trees
- Using an antler pickaxe, find a copper deposit in the Black Forest biome to get copper ore
- Also using the pickaxe, find tin deposits near the shore of the Black Forest to get tin ore
- At your base, create a Smelter and Charcoal Kiln via the Hammer within the area of the Workbench
- Add Wood to the Charcoal Kiln and wait for it to turn to Coal
- Gather the Coal and the ores and place in the Smelter
- Wait for the ingots to be made and combine them in your Forge to make Bronze
- Create the Bronze Buckler in the Forge
For a detailed look at the shield’s stats, use the key points below.
Bronze Buckler Details:
- Block Armor: 16-28
- Key Materials Needed: Bronze (Copper, Tin), Deer Hide
- Repair Area: Forge
1. Bronze Armor Set
Another no-brainer to protect yourself from attacks, the Bronze Armor is the thing you’ll need to stay alive when faced in combat.
What’s Good About Bronze Armor:
Armor has the benefits of being, well, armor. Keeps you safe, and hopefully, alive through the adventures you have in the Swamp biome. It is a must to have this as you’ll be missing out on the following.
Bronze Armor:
- Good armor for longer exploration runs
- Bronze in itself is great for many small to medium threat mobs.
- Has good weapon sets along with it
Personally, another-no brainer armor set to get as Bronze also extends its use to the weapons you craft and, in tandem with the armor, gives you plenty of survivability in the areas you face and beyond. To quickly touch on the mid-game, it’s the only armor that can help you when you come across the Swamp biome, and anything less will be a tough one as one swing from the enemies in the area could spell disaster to your Viking. Again, given metals uses here, this is absolutely a rush need as not only are you protected from foes but also the aforementioned weapons that will aid you in combat.
How to Get the Bronze Armor?
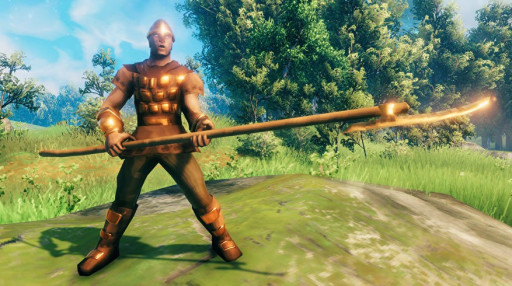
- Hunt deer and obtain Deer Hide
- Using an antler pickaxe, find copper deposit in the Black Forest biome to get copper ore
- Also using the pickaxe, find tin deposits near the shore of the Black Forest to get tin ore
- At your base, create a Smelter and Charcoal Kiln via the Hammer within the area of the Workbench
- Add Wood to the Charcoal Kiln and wait for it to turn to Coal
- Gather the Coal and the ores and place in the Smelter
- Wait for the ingots to be made and combine them in your Forge to make Bronze and in turn, the armor
If you want to learn what this particular armor set gives in stat form, check the bullet points below:
Bronze Armor Details:
- Armor Gained (Set): 24
- Weight (Set): 23
- Additional Effects Gained: N/A
- Speed Penalty: -10%
- Key Materials Needed: Bronze (Copper, Tin), Deer Hide

