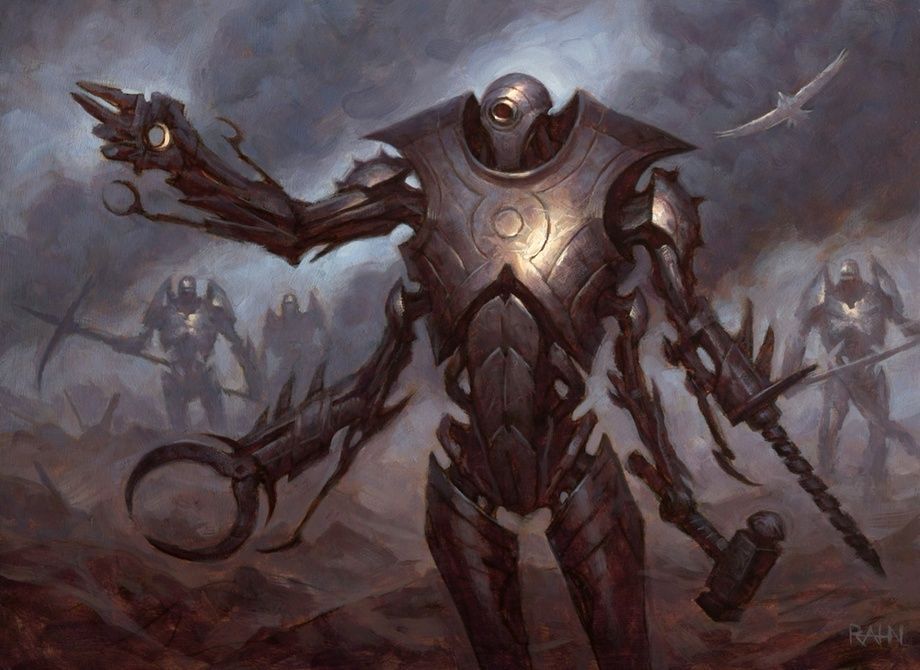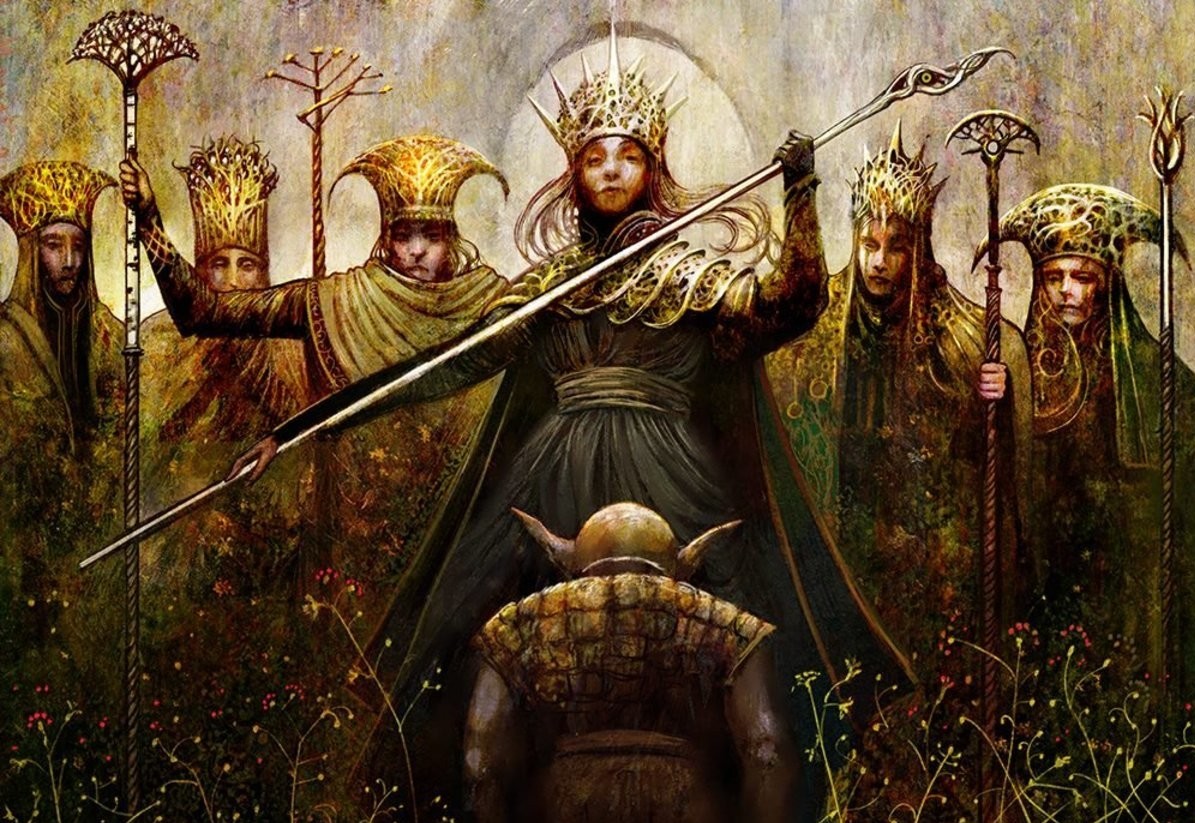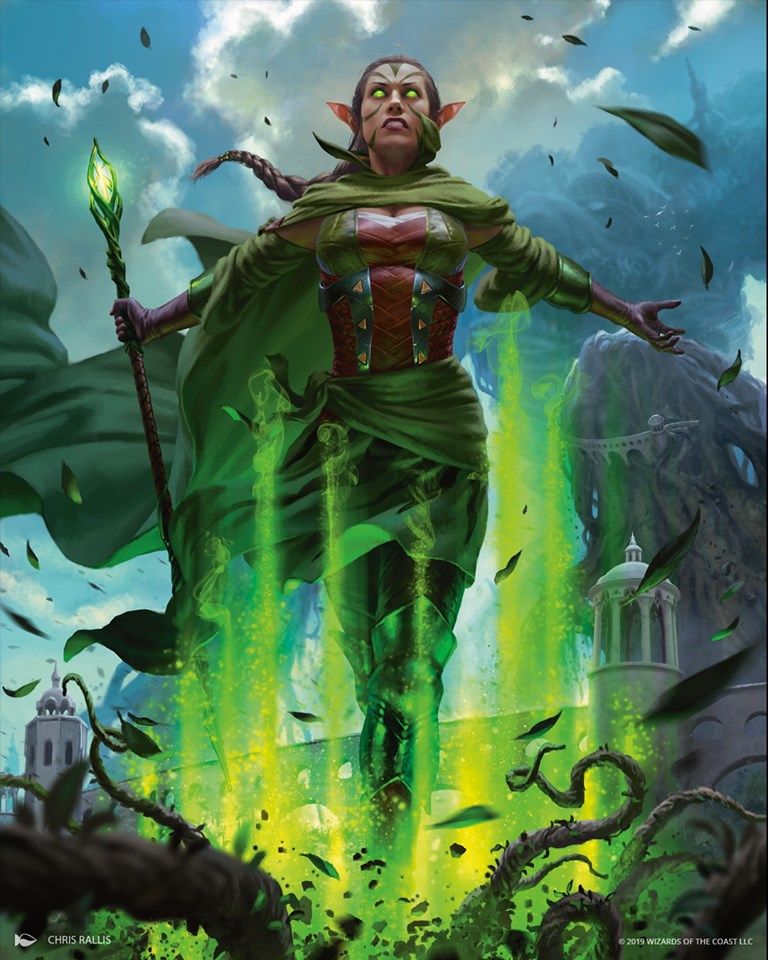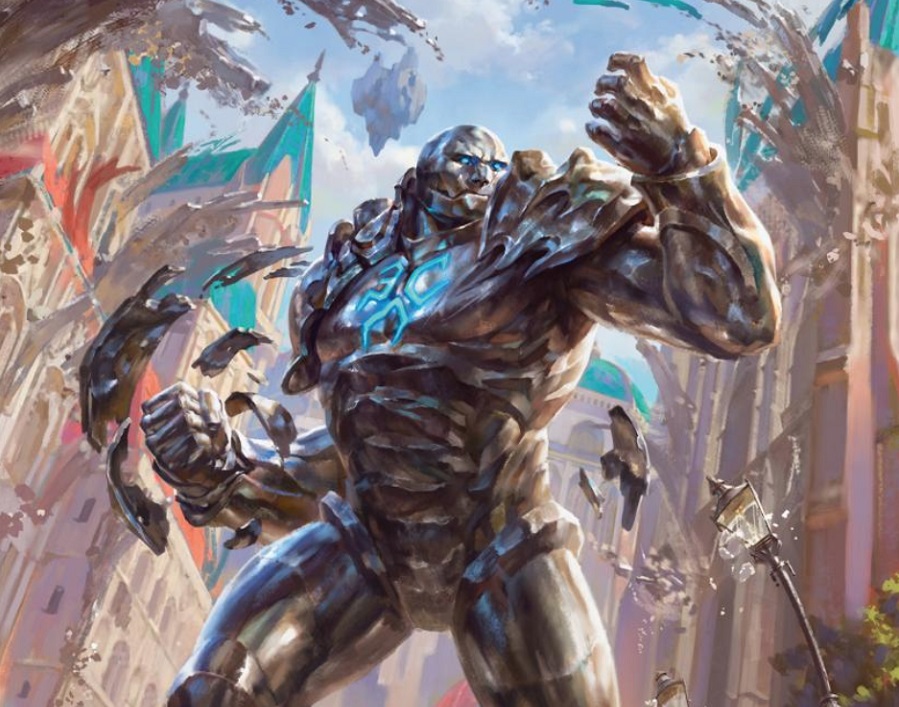
Before there was MTG Arena, Best-of-three (Bo3) was the main competitive format for Magic. The main difference is the existence of a sideboard which is a separate pool of up to 15 cards from which you can use to change your deck in-between games. Because of this, decks that are good in Bo1 may not be good in Bo3 if other decks have a good sideboard against them. For this list, we'll be focusing on the best decks for Standard Bo3 at the time of writing.
10. Mono-Green Food
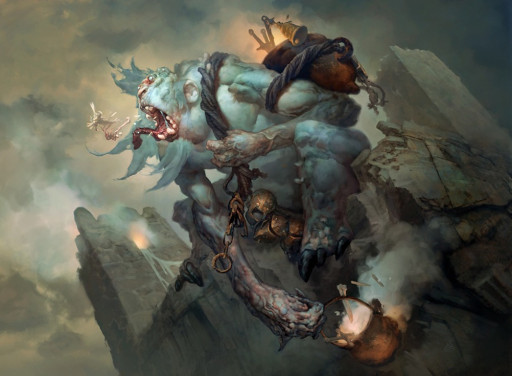
Just like its counterparts on the internet, this troll comes back if you feed it.
Mono-Green Food makes full use of the cards with the best synergy with the Throne of Eldraine mechanic. Using mana creatures, it aims to land its big bruisers ahead of schedule. Trail of Crumbs, The Great Henge, and Bonder’s Enclave ensures that you keep getting extra cards to overwhelm your opponent.
What's good about this deck:
- It’s a competitive deck that’s simple and straightforward. You’re less likely to make mistakes when playing consecutive games in a tournament or spending hours ranking up the ladder.
- You have an edge when facing other creature decks because your creatures are generally going to be bigger and more resilient.
- It’s much more affordable than multicolored decks because you don’t have to spend many wild cards just for dual lands.
How to play this deck effectively:
- Your best hand consists of a mana creature or two, one of your big threats and The Great Henge.
- Mulligan away hands that don't have early mana creatures. You need them to play your threats ahead of schedule.
- Make sure to play Kazandu Mammoth creatures early. This lets you maximize your damage from Landfall triggers while you still have lands to play in the early game.
- You don't need to commit many creatures to the board when playing against control. Your creatures have high power so even one is enough to force your opponent to cast mass removal.
- If you need to take down a creature with Wicked Wolf, you can sacrifice Food in response to its ability so it can grow before it fights.
Cards:
Deck4 Gilded Goose
4 Tangled Florahedron
4 Kazandu Mammoth
4 Lovestruck Beast
2 Old-Growth Troll
4 Wicked Wolf
4 Feasting Troll King
2 Kogla, the Titan Ape
3 Witch's Oven
3 The Great Henge
3 Trail of Crumbs
4 Castle Garenbrig
4 Faceless Haven
15 Snow-Covered Forest
Sideboard
2 Chainweb Aracnir
2 Primal Might
1 Run Afoul
4 Scavenging Ooze
2 Thrashing Brontodon
2 Questing Beast
2 Vorinclex, Monstrous Raider
9. Esper Doom
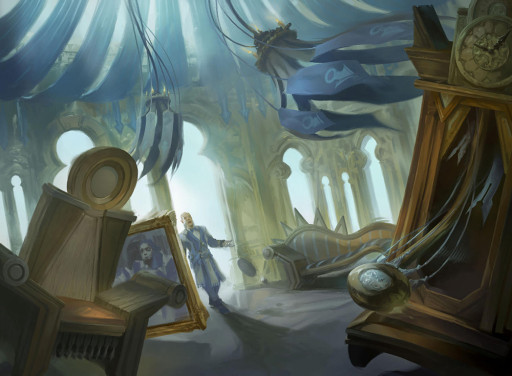
Crushing your opponent with furniture requires a little bit of setup.
Esper Doom uses cards with Enters the Battlefield abilities that get you extra value. You have cards that provide discard, removal, or card draw depending on what's needed. On later turns, you can use these permanents to fuel Doom Foretold or reuse them using Yorion, Sky Nomad.
What's good about this deck:
- You have a great matchup against creature decks. The majority of your cards kill creatures and leave behind some extra value.
- You can outvalue slower decks with ease. You’re able to make the most out of your permanents with ETB either by flickering them with Yorion or sacrificing them to Doom Foretold.
- Dance of the Manse is a haymaker that immediately wins the game if you’re able to cast it with several targets in the graveyard.
How to play this deck effectively:
- Your best hand consists of your cheap ETB permanents, Doom Foretold and Yorion.
- Make sure you have several permanents you can sacrifice before playing Doom Foretold. You'll gain a huge advantage if you can make your opponent sacrifice permanents for several turns.
- Play in such a way that when you cast Dance of the Manse, you can end the game the following turn with a lethal attack.
- Playing Treacherous Blessing when facing aggressive decks is a double-edged sword. Make sure you have a plan to get rid of it immediately after you’ve played it.
- The sideboard provided is set up to handle a wide variety of decks. Make sure to change it based on the decks you're having trouble with.
Cards:
Companion1 Yorion, Sky Nomad
Deck
3 Fae of Wishes
4 Skyclave Apparition
2 Tergrid, God of Fright
3 Yorion, Sky Nomad
4 Doomskar
3 Glass Casket
4 Omen of the Sea
4 The Birth of Meletis
4 Elspeth's Nightmare
3 Omen of the Sun
3 Treacherous Blessing
4 Doom Foretold
3 Elspeth Conquers Death
2 Shark Typhoon
4 Brightclimb Pathway
4 Clearwater Pathway
4 Fabled Passage
4 Hengegate Pathway
3 Temple of Silence
1 Temple of Deceit
6 Plains
4 Island
4 Swamp
Sideboard
1 Tormod's Crypt
1 Dance of the Manse
1 Eliminate
1 Heartless Act
1 Heliod's Intervention
1 Negate
2 Necromentia
1 Soul Shatter
1 Extinction Event
1 Ashiok, Nightmare Muse
1 Elspeth Conquers Death
1 Shark Typhoon
1 Ugin, the Spirit Dragon
8. Dimir Rogues
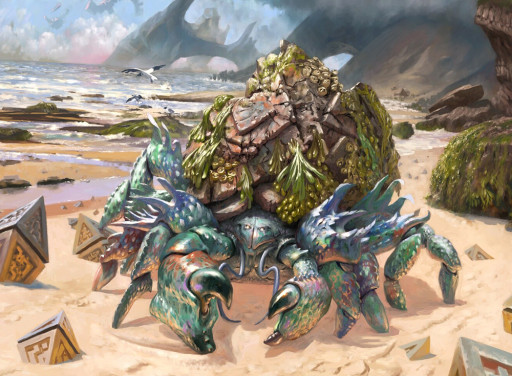
Mill crab is infamous for ruining the fun for some casual players.
Dimir Mill pairs creatures with the Mill ability with cards that get better when your opponent's graveyard has enough cards. Ruin Crab can block small creatures while the twelve rogues can also beat down if necessary. The rest of the deck contains counterspells, creature removal, and card draw spells.
What's good about this deck:
- You have different angles of attack. In general, your goal is to Mill out your opponent, but winning by damage with your rogues is also an option.
- Plenty of players find mill frustrating to play against, so you already have an advantage when it comes to the mental aspect of the game.
- Standard currently has no cards that grant protection against Mill. Gaea's Blessing is only in Historic and playing plus putting 12 counters on Midnight Clock takes a very long time.
How to play this deck effectively:
- Your best hand consists of a Ruin Crab, several rogues, counterspells or removal for interaction, and Into the Story.
- Play Thieve’s Guild Enforcer before your other rogues. This gives you the chance to Mill the most amount of cards when you cast your other rogues.
- Unless you’re ambushing an attacker, wait until the end of your opponent’s turn to cast your rogues with Flash. This lessens the chance for them to die before you're able to attack.
- Hold on to your Agadeem’s Awakening and play other lands first if possible. This way, you’ll have something to cast in case your creatures die and you keep drawing lands.
- When your opponent casts a spell, always respond as if you’re holding a counterspell by pausing for a moment before letting it resolve. Making your opponent play around cards you don’t have can make a difference in a close match.
Cards:
Companion1 Lurrus of the Dream-Den
Deck
4 Ruin Crab
4 Thieves' Guild Enforcer
3 Merfolk Windrobber
4 Soaring Thought-Thief
1 Valki, God of Lies
2 Bloodchief's Thirst
4 Drown in the Loch
3 Heartless Act
1 Essence Scatter
1 Negate
2 Agadeem's Awakening
2 Of One Mind
1 Didn't Say Please
1 Lullmage's Domination
4 Into the Story
1 Blightstep Pathway
4 Clearwater Pathway
4 Fabled Passage
4 Temple of Deceit
2 Zagoth Triome
1 Riverglide Pathway
4 Island
3 Swamp
Sideboard
2 Cling to Dust
1 Bloodchief's Thirst
1 Disdainful Stroke
4 Skyclave Shade
3 Mystical Dispute
1 Lullmage's Domination
2 Crippling Fear
7. Gruul Adventures

This innkeeper keeps the cards flowing when you cast Adventure creatures.
Gruul Adventures smashes through your opponent with all the best green and red bruisers up the mana curve. You have access to Embercleave which lets you give Double Strike and Trample to an attacker in an instant. The Adventure package gives you more gas when compared to other typical Gruul builds.
What's good about this deck:
- You get both power and card advantage from your Adventure creatures. Not only do they have excellent power to mana cost ratio, but they also draw cards thanks to Edgewall Innkeeper.
- Compared to other aggro decks, Gruul Adventures mulligans well. Your Adventure creatures have built-in two-for-ones to offset the card disadvantage.
- The ability to cast and equip an Embercleave out of nowhere forces your opponent to make awkward choices when blocking.
How to play this deck effectively:
- Your best hand consists of Edgewall Innkeeper, a couple of Adventure creatures, and Embercleave.
- Mulligan away hands that don't have early game creatures. You need to play threats going up the mana curve every turn.
- Don't attack with Edgewall Innkeeper if your opponent's deck has cards that can ambush it. For example, decks like Dimir Rogue have several creatures with Flash.
- When facing creature decks, save Bonecrusher Giant to get rid of creatures. The exception is when you have no other plays or are going for lethal.
- When facing other creature decks, save your Fabled Passage activation as a combat trick for your Landfall creatures.
Cards:
Deck4 Edgewall Innkeeper
4 Brushfire Elemental
2 Scavenging Ooze
1 Tangled Florahedron
4 Bonecrusher Giant
4 Kazandu Mammoth
4 Lovestruck Beast
1 Klothys, God of Destiny
2 Questing Beast
2 Goldspan Dragon
1 Scorching Dragonfire
4 Shatterskull Smashing
3 Embercleave
3 The Great Henge
1 The Akroan War
4 Cragcrown Pathway
4 Fabled Passage
8 Forest
4 Mountain
Sideboard
2 Scorching Dragonfire
2 Wilt
2 Klothys, God of Destiny
2 Soul Sear
2 Arasta of the Endless Web
1 The Akroan War
3 Ox of Agonas
1 Vivien, Monsters' Advocate
6. Sultai Ultimatum
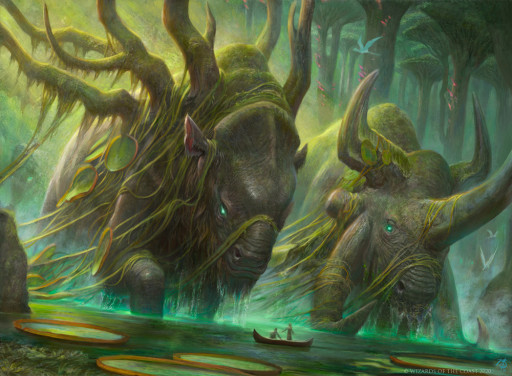
Whatever cards emerge out of this spell is sure to be game-ending.
Sultai Ultimatum is built around ramping to cast the powerful Emergent Ultimatum, which lets you cast two out of three haymakers from your deck for free. To survive up to that point, the deck is packed with kill spells, board wipes, and counterspells. Binding The Old Gods does double duty as both a way to get rid of your opponent’s best threat as well as a ramp your mana.
What's good about this deck:
- You are in the colors (blue/black/green) that has the best expensive haymakers. Also, blue and black combine well to stop both creatures and spells with removal and counters respectively.
- You have the tools to fight a war of attrition if necessary. Yorion lets you reset your Sagas for value and Sea Gate Restoration can draw a ton of cards.
- Emergent Ultimatum is an awesome payoff card because you’re able to search for the most effective cards in your deck for any situation.
How to play this deck effectively:
- Your best hand consists of a couple of ramp spells plus a mix of kill spells and counterspells.
- As a ramp deck, making all your land drops is critical. Lean toward keeping ramp spells and lands instead of expensive spells during mulligans.
- Emergent Ultimatum has a strict mana cost so make sure to play the correct lands early. Oftentimes, one turn is all that separates stabilizing or losing against aggro decks.
- Don’t forget that Vorinclex, Monstrous Raider’s ability can disable your opponent’s Saga and speed up yours.
- Hold on to your Jwari Disruption and play other lands first if possible. In the early turns, it often acts as a hard counter because players would normally tap out to cast spells on the curve.
Cards:
Companion1 Yorion, Sky Nomad
Deck
2 Valki, God of Lies
1 Vorinclex, Monstrous Raider
1 Disdainful Stroke
4 Heartless Act
4 Jwari Disruption
1 Eliminate
4 Cultivate
1 Silundi Vision
1 Soul Shatter
2 Behold the Multiverse
2 Extinction Event
4 Shadows' Verdict
2 Alrund's Epiphany
4 Emergent Ultimatum
2 Sea Gate Restoration
4 Omen of the Sea
4 Wolfwillow Haven
1 Elspeth's Nightmare
4 Binding the Old Gods
1 Kiora Bests the Sea God
4 Barkchannel Pathway
4 Clearwater Pathway
4 Darkbore Pathway
4 Fabled Passage
4 Zagoth Triome
1 Ketria Triome
1 Castle Locthwain
4 Swamp
3 Forest
2 Island
Sideboard
4 Duress
2 Bloodchief's Thirst
2 Negate
2 Mystical Dispute
2 Pestilent Haze
2 Toski, Bearer of Secrets
5. Mono-White Aggro

When people say Halvar himself is a weapon, it’s not a metaphor.
Mono-White Aggro aims to turn its small creatures into deadly threats through Halvar, God of Battle’s ability to give enchanted/equipped creatures Double Strike. Each creature comes with abilities that provide extra utility on a particular matchup. Alseid of Life’s Bounty/Selfless Savior protects your threats and Reidane, God of the Worthy punishes decks using snow lands or expensive non-creature spells.
What's good about this deck:
- It’s a good choice for players making their first competitive deck. It’s simple and straightforward to play, so you’re less likely to make mistakes.
- You have cheap creatures that slip under control decks before they have the mana for counterspells. Castle Ardenvale and Faceless Haven give you insurance in case of mana flood.
- It’s much more affordable than multicolored decks because you don’t have to spend many wild cards just for dual lands.
How to play this deck effectively:
- Your best hand consists of an Alseid/Savior, Seasoned Hallowblade, Maul of the Skyclaves, and Halvar.
- Mulligan away hands that don’t have early game creatures. Playing your creatures on the curve during the first few turns is essential.
- Play Luminarch Aspirant and Halvar before combat, so your creatures can take advantage of the +1/+1 counter and Doublestrike bonus they give respectively.
- If you draw Reidane or Halvar when you already have a copy on the board, don’t forget that you can cast their artifact side without running into the Legend rule.
- Take note that the copies of Legion Angel in the sideboard aren’t meant to be sided in. Their purpose is to be fetched by the single main deck copy like in the Best-of-One version of this deck.
Cards:
Deck4 Alseid of Life's Bounty
4 Selfless Savior
3 Usher of the Fallen
2 Giant Killer
4 Luminarch Aspirant
4 Seasoned Hallowblade
4 Skyclave Apparition
2 Reidane, God of the Worthy
3 Halvar, God of Battle
1 Legion Angel
4 Maul of the Skyclaves
2 Sentinel's Eyes
4 Faceless Haven
1 Castle Ardenvale
18 Snow-Covered Plains
Sideboard
2 Giant Killer
2 Soul-Guide Lantern
4 Glass Casket
3 Drannith Magistrate
1 Reidane, God of the Worthy
3 Legion Angel
4. Rakdos Sacrifice
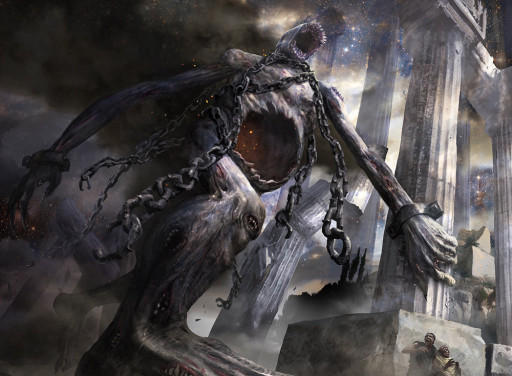
Your opponents must feed Kroxa with nonland cards or they will have to pay with their life.
This deck fills the graveyard by milling and trading off resources which lets you cast Kroxa, Titan of Death's Hunger through Escape. It's filled with steal effects and sacrifice outlets like Woe Strider and Village Rites. You also have cards to help outlast your opponent such as Skyclave Shade which you can recast from the graveyard and Castle Locthwain to draw extra cards.
What's good about this deck:
- Thanks to having Kroxa and plenty of removal spells, you have a great matchup against the popular mill rogues archetype.
- Your threats can keep coming back. You only need to play a land card to recast Skyclave Shade and you have several creatures that can be cast from the graveyard via Escape.
- You have ways to attack your opponent's life points outside of combat. Your opponent isn’t safe even if they manage to set up blockers.
How to play this deck effectively:
- Your best hand consists of Kroxa, steal effects, and a sacrifice outlet. There’s no need to mulligan for early creatures if you have cheap removal.
- It's okay not to mulligan if you don't have low-cost creatures as long as your hand has cheap removal like Stomp from Bonecrusher Giant.
- Think about the best use for your cards in a certain matchup. Against control, casting your Bonecrusher Giant on the curve is fine because you won’t have many targets for its Stomp.
- Consider your options when you connect with Rankle, Master of Pranks. There are cases where you don’t want to draw because it might let your opponent draw an answer.
- When your Kroxa is in the graveyard, always look for ways to reach the number of cards you need to pay for its Escape cost.
Cards:
Deck4 Kroxa, Titan of Death's Hunger
4 Mire Triton
1 Skyclave Shade
4 Woe Strider
3 Bonecrusher Giant
2 Rankle, Master of Pranks
1 Immersturm Predator
1 Ox of Agonas
2 Liliana, Waker of the Dead
4 Claim the Firstborn
4 Village Rites
2 Shatterskull Smashing
3 Tymaret Calls the Dead
3 The Akroan War
4 Temple of Malice
4 Fabled Passage
3 Castle Locthwain
6 Swamp
4 Mountain
Sideboard
3 Duress
1 Bloodchief's Thirst
2 Soul-Guide Lantern
2 Embereth Shieldbreaker
2 Heartless Act
2 Shredded Sails
1 Skyclave Shade
1 Elspeth's Nightmare
1 The Akroan War
3. Mono-Red Aggro
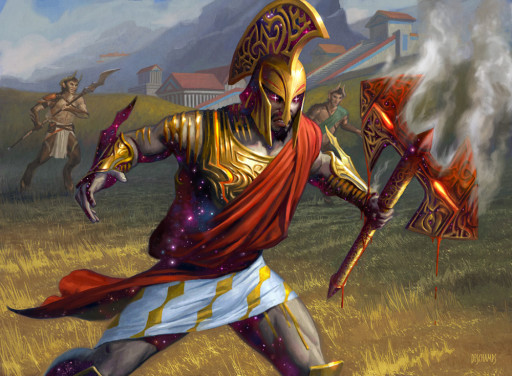
Cleave your opponents in half when you equip Anax with a sword.
Mono-Red Aggro is the ideal deck for anyone who wants to win as fast as possible. The "strategy" is to cast all your creatures and attack while getting rid of their blockers. You have board wipe insurance thanks to Anax, Hardened in the Forge, and a way to boost damage through Torbran, Thrane of Red Fell.
What's good about this deck:
- It’s a good choice for players making their first competitive deck. It’s simple and straightforward to play, so you’re less likely to make mistakes.
- You can finish most games in only a few turns. That's great if you want a quick way to finish daily quests or progress up the ranking ladder.
- It's almost always viable in any metagame. Decks in Best-of-One can't afford to dedicate too many cards against Mono-Red because it will make their deck worse in other matchups.
How to play this deck effectively:
- Your best hand consists of a one and two-mana creature, Anax, and Torbran/Embercleave.
- Don’t hesitate to cast Rimrock Knight on Turn two if you don’t have any alternative. As an aggro deck, playing it on the curve is more important than waiting to use its Adventure side.
- Before attacking with Robber of the Rich, make sure you have a smaller hand size to trigger its ability. This lets you steal potentially useful cards from your opponent’s top deck.
- If you already have an Anax on the battlefield, it's okay to cast your extra copy. Before one of them dies to the legend rule, both Anax will trigger so you will get four Satyrs.
- You don't always have to equip Embercleave on your biggest creature. Equipping Rimrock Knight lets you attack through small blockers instead of trading.
Cards:
Deck4 Fervent Champion
4 Fireblade Charger
4 Rimrock Knight
4 Robber of the Rich
4 Anax, Hardened in the Forge
4 Bonecrusher Giant
3 Torbran, Thane of Red Fell
2 Goldspan Dragon
4 Frost Bite
3 Embercleave
4 Faceless Haven
3 Castle Embereth
17 Snow-Covered Mountain
Sideboard
4 Roiling Vortex
3 Embereth Shieldbreaker
2 Phoenix of Ash
3 The Akroan War
3 Ox of Agonas
2. Jeskai Cycling
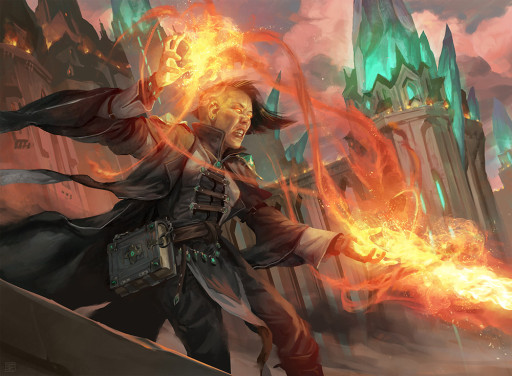
It’s death by a thousand stings if this guy manages to stick around.
Boros Cycling contains almost the same cards you'll find in a typical Ikoria draft deck other than Improbable Alliance. It’s made up of creatures or spells that care about Cycling and the rest of the deck is filled with Cycling cards. Lurrus of the Dream-Den is a free companion that lets you recast any of your creatures from the graveyard.
What's good about this deck:
- It’s very cheap to build. If you don’t use Lurrus and use basic or tap lands, the deck will have zero rares but is more or less the same.
- This deck is very consistent because Cycling lets you draw through your deck to find the cards that you need.
- Your payoff cards generate a lot of value as the game goes go longer. One point of damage or an extra token adds up to a big advantage as you find more copies.
How to play this deck effectively:
- Your best hand consists of Flourishing Fox and a couple of your two-mana payoff creatures.
- Mulligan away hands that have no creatures or have too many lands. Playing a creature early is vital and you only need two lands to operate during the early game.
- As much as possible, avoid trading your payoff creatures when you’re up against aggro decks. Your creatures’ abilities are worth more than a random creature from your opponent.
- Go for Blood should be last in the order of cards you can cycle. In certain matchups, you may want to cast it to kill your opponent’s most threatening creature.
- Save Zenith Flare for the very late game. The longer you wait, the more potential it has to inflict up to double-digit damage.
Cards:
Companion1 Lurrus of the Dream-Den
Deck
4 Flourishing Fox
4 Drannith Stinger
4 Valiant Rescuer
4 Go for Blood
4 Startling Development
4 Memory Leak
4 Zenith Flare
3 Frostveil Ambush
2 Boon of the Wish-Giver
4 Footfall Crater
4 Improbable Alliance
4 Hengegate Pathway
4 Needleverge Pathway
4 Riverglide Pathway
2 Blightstep Pathway
2 Brightclimb Pathway
2 Raugrin Triome
1 Savai Triome
Sideboard
2 Redcap Melee
2 Negate
2 Scorching Dragonfire
2 Shredded Sails
4 Mystical Dispute
2 Shatter the Sky
1. Temur Adventures
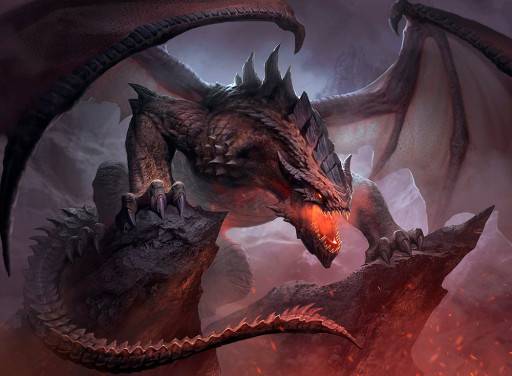
When this dragon comes down, your opponents will live in fear of every creature that comes after.
Temur Adventures is a deck built around ramping to cast the powerful Genesis Ultimatum ahead of schedule. The Adventure creatures serve as both interactive spells and threats that you can play for free off of the Ultimatum. Terror of the Peaks is an excellent payoff card that can generate a ton of damage, especially when combined with Beanstalk Giant.
What's good about this deck:
- One of the most versatile decks because your Adventure creatures can be cast as spells first or as straight-up creatures if you need them.
- Having a companion already gives you a card advantage compared to decks without one. With Obosh, the Preypiercer on the board, even your Brazen Borrower becomes a legitimate threat.
- Genesis Ultimatum can single-handedly end the game when you hit the right cards and can be cast as early as turn five.
How to play this deck effectively:
- Your best hand consists of an Edgewall Innkeeper, a couple of Adventure creatures, Cultivate, and a Genesis Ultimatum.
- Mulligan a hand that doesn’t have either a turn three ramp spell or at least a few spells that can interact with your opponent’s threats.
- When using your cards, take into account your role in a matchup. Against control, casting Brazen Borrower as a plain creature is fine because you need to pressure your opponent's life total.
- If you’re facing a deck with a lot of kill spells, you may want to cast Edgewall Innkeeper only when you can follow it up with an Adventure creature.
- You don't need to commit many creatures to the board when playing against control. Two creatures are usually powerful enough to force your opponent to cast a board wipe.
Cards:
Companion1 Obosh, the Preypiercer
Deck
4 Edgewall Innkeeper
4 Bonecrusher Giant
4 Brazen Borrower
4 Lovestruck Beast
2 Kazandu Mammoth
3 Goldspan Dragon
2 Terror of the Peaks
3 Beanstalk Giant
3 Cultivate
4 Genesis Ultimatum
2 The Great Henge
4 Cragcrown Pathway
4 Ketria Triome
4 Riverglide Pathway
2 Barkchannel Pathway
2 Fabled Passage
4 Snow-Covered Island
3 Snow-Covered Forest
2 Snow-Covered Mountain
Sideboard
3 Frost Bite
2 Shadowspear
4 Mystical Dispute
2 Klothys, God of Destiny
2 Thrashing Brontodon
1 Koma, Cosmos Serpent
You may also be interested in:
- The 10 Best MTG: Arena Decks
- MTG Arena Guide, Tips and Tricks
- Best Ways to Get Wildcards in MTG Arena
- [Top 7] MTG Arena Best Artifact Decks That Wreck Hard!
- [TOP 5] MTG Arena Best Control Decks
- [Top 10] MTG Arena Best Historic Decks That Wreck Hard!
- MTG Arena Best Packs To Buy – A Guide for Beginners and Intermediate Players
- MTG Arena: Best Ways to Get Cards
- Top 15 Best MTG Arena Mythic Rares
- MTG Arena Ranking System Explained
- The Best Singleton Decks in MTG Arena
- [Top 5] Best MTG Arena Aggro Decks
- [Top 5] MTG Arena Best Angel Decks
- [Top 10] MTG Arena Best White Decks
- [Top 10] MTG Arena Best Black Decks


