
It's not about how hard you get fatalitied, it's about how you keep coming back to life anyway.
What are the most deadly combos in MK11?
When it comes to fighting games, there are few things better than a crazy combo. You can find countless combo videos on youtube and there were even VHS cassettes(If you don’t know what this is, enjoy your youth!) passed around back in the day to spread the combo glory. Here, I’ll list some of the deadliest combos that can be found in Mortal Kombat 11. They aren’t all easy, but with practice you’ll be able to reap this destruction for yourself.
I’ll be listing the inputs for the combos in universal notation, which is just a common notation for players from different consoles to be able to trade combos. You can also see the inputs in the video if you prefer. The notation is as follows:
(Compared to Xbox Buttons)
1 - X
2 - Y
3 - A
4 - B
D - Down
B - Back
F - Forward
U - Up
(KB) - Krushing Blow
Amp - Amplify Button
~ - Special Cancel
FB - Fatal Blow
FBC - Fatal Blow Cancel (For Johnny Cage)
For example, Scorpion’s teleport is Down+Back+A on Xbox, this would DB3 in the notation. Now let’s get to some combos!
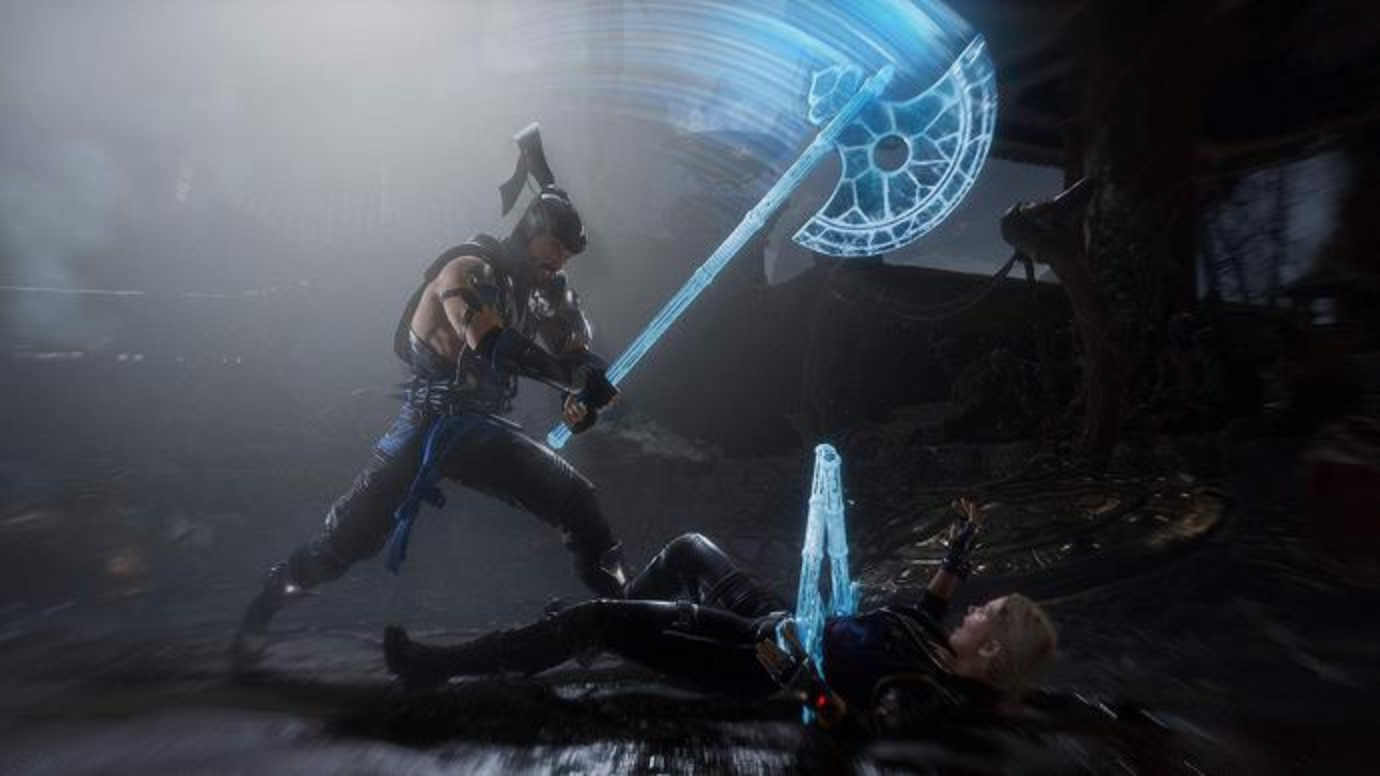
10. Sub Zero’s Winter Has Come
Sub-Zero Combo Guide
This cryomantic corner combo is one of the most damaging in Sub’s arsenal, only topped by using a Fatal Blow. Master the inputs and bring a chill to the opponent’s spine!
What makes Winter Has Come awesome?
- This reliable combo allows you to cash out for big damage.
- 124 has a great knockdown for pressuring the opponent.
- This combo path helps make up for the lack of amplified slide in the Dead of Winter variation.
How to execute Winter Has Come?
- Start off by punishing the opponent with a D2 KB, and go into Sub’s typical B1 conversion, ending with Amplified Ice Ball. And then we go into a jump kick into the 124 Krushing Blow. Just a matter of timing the jump kick and the 124.
- Inputs: D2 (KB), B143~DF1 Amp, J3, 124 (KB)
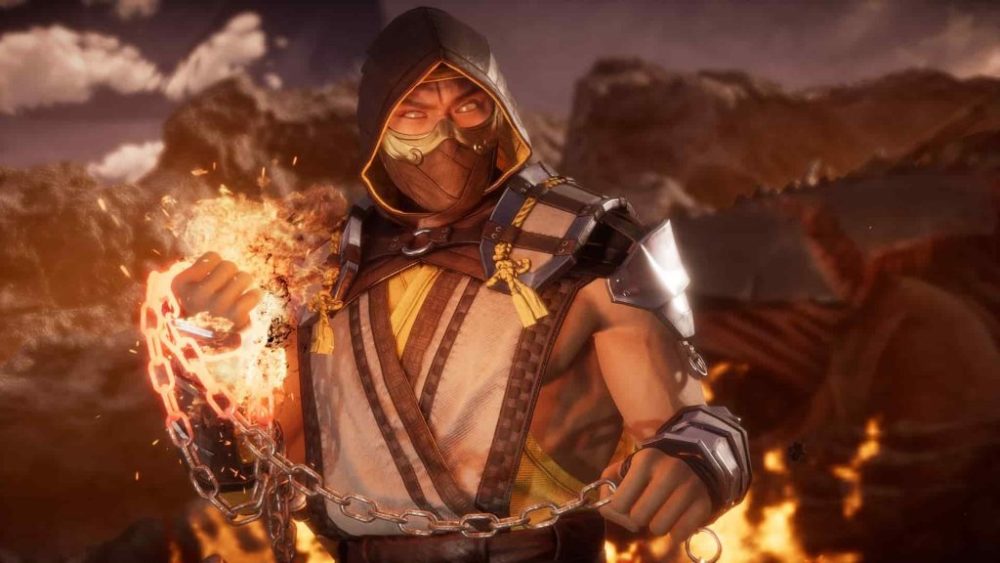
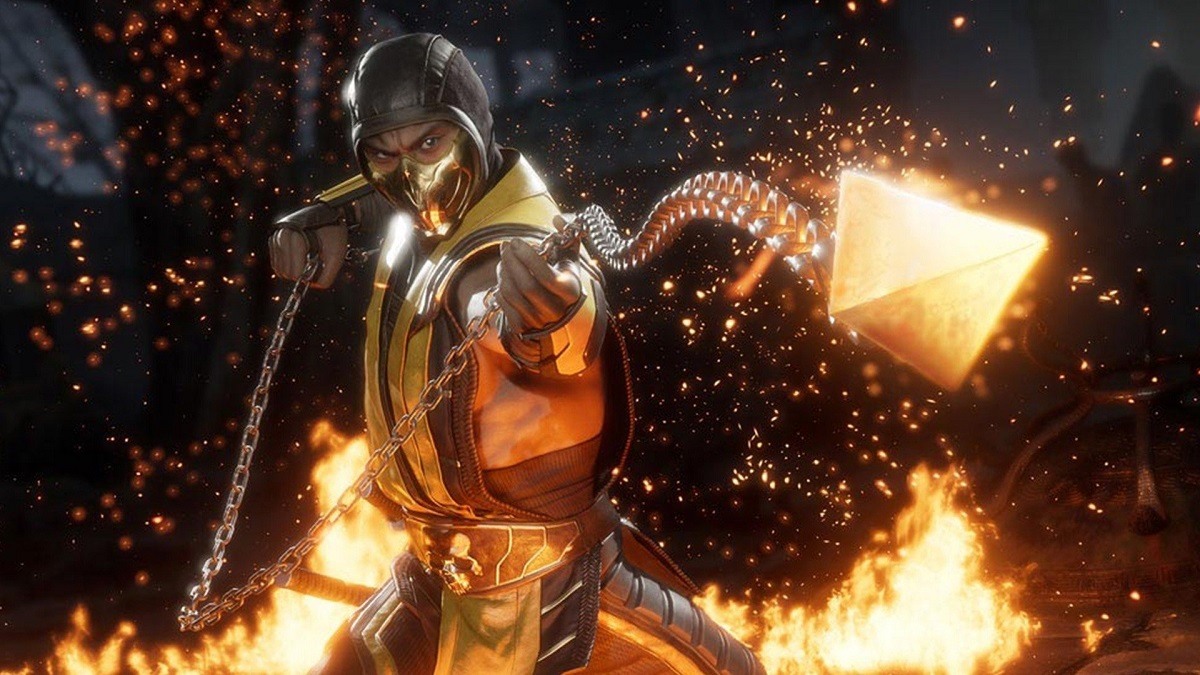
9. Scorpion’s The Scorpion Special
Scorpion Combo Guide
I chose this name for this combo as homage to the Scorpion’s players favorite move since time immemorial, the jump kick!
What makes The Scorpion Special awesome?
- This combo starts off with Scorpion’s jump kick which is a classic way Scorpion starts combos. Mixing jump kicks up with jumps into teleports keeps the opponent on their toes.
- This is a midscreen combo, so getting as much as 538 damage is fantastic.
- The damage buff from burning spear works well with this combo.
How to execute The Scorpion Special:
- Find a good time to sneak in a jump kick and if you see that it will hit, convert into this combo.
- This is a fairly standard path for Scorpion, just practice landing the F32 after the teleport and you’ll find this as easy as most Scorpion combos.
- Inputs: J4~DB3 Amp, F32~BF1 Amp, F32~FB
8. Shao Khan’s Boss Battle Beatdown
Shao Kahn Combo Guide
Shao Khan’s batters the opponent with his bombastic battle hammer in this high damaging combo.
What makes Boss Battle Beatdown awesome?
- It’s a nice and practical 473 damage, with smart play you could land this one quite a bit.
- You can amplify that last hit for a little more damage, a good idea if the opponent is close to death.
How to execute Boss Battle Beatdown:
- You need to reversal forward throw the opponent to get the throw KB, so counter them immediately with a forward throw to start this combo off.
- Past that, this is basically a typical Shao Khan combo, the guy just does huge damage.
- Inputs: F1+3 (KB), dash, 4~BF3 Amp, 4~DB3
7. Raiden’s Chop Chop
Raiden Combo Guide
What makes Chop Chop awesome?
- This is a truly explosive combo from a slippery character like Raiden, who’s normally tough to lock down.
- If you aren’t in a variation with the lightning wave extender, this combo can still lead to every high damage, just only do the 243~BF3.
- Once you can land this combo, you’ll make the opponent realize just how dangerous B2 i. That fear can lead to plenty of great mixups.
How to execute Chop Chop?
- To activate Raiden’s B2 Krushing Blow, you need to land two B2’s in a row.
- Practice converting 243~BF3 from different combo starters to get some consistency with it.
- Inputs: B2 (KB), 3~DB2 Amp, J3, 243~BF3
6. D’vorah’s Fly Trap
D'vorah Combo Guide
D’vorah’s anti air grab is so deadly that many players refuse to jump at D’vorah for risk of being caught in the Fly Trap. This is one of the most viable and common combos you’ll see on this list, but that doesn’t make the damage any less insane!
What makes Fly Trap awesome?
- 604 damage is more than twice what you’ll normally be seeing with this character.
- As mentioned, this coming from her anti air grab makes jumping at her extremely dangerous and plays into D’vorah’s gameplan.
- This gives D’vorah some much needed comeback potential.
How to execute Fly Trap?
- The requirement for the anti air grab(DF2) KB is that you counter an opponent’s jumping attack. Luckily, this move is excellent for doing so, practice doing the move from crouch for more success. If you roll your input and do BDF2 you can do it from crouch without standing.(Where you might get hit by a jump attack.)
- After that’s mastered, the big link here is the J1 after BF2. Simply hold up+forward while waiting to move and do your J1 at the top of your jump arc and you should be able to land this one consistently.
- Inputs: DF2 (KB), J1, F13~DB1 Amp, dash, 1, F13~FB
5. Kollector’s Rolling Not Advised
Kollector Combo Video
This roll counter combo will bring fear to the opponent’s heart, and Kollector will surely be collecting a win if you are able to land it.
What makes Rolling Not Advised awesome?
- 625 Damage!
- It makes use of the Chakra kustom move which gives it even more utility in kustom loadouts.
- This combo punishes roll attempts, and after a player gets hit by this a couple times, they’ll be forever scared to roll against Kollector in the corner.
How to execute Rolling Not Advised:
- You need to have the opponent in the corner and punish one of their roll attempts with Kollector’s command grab.
- This is actually a really easy combo for this list, the hardest part will be timing the grab just right to punish the opponent.
- Inputs: DBF3 (KB), F4~BF4 Amp, J1, F4~FB
4. Baraka’s Tarkatan Takedown
Baraka Combo Guide
Baraka may be used to being a jobber in the story mode but in the real game, he is no stranger to getting big boy damage on his combos!
What makes Tarkatan Takedown awesome?
- 529 damage +100 damage over time
- It’s very easy to input this combo and it comes his F44 KB, which is great because it’s a safe move to throw out on a blocking opponent.
- This combo ends with 100 damage over time, so the opponent could very quickly get into chip territory even if the combo doesn’t kill.
How to execute Tarkatan Takedown:
- F44 needs to be a kounter hit to activate the Krushing Blow, so lock the opponent down in the corner and wait until the right moment to strike.
- The only real challenge of executing this combo comes from the 4 into 112, but it’s nothing you can’t learn in a few minutes in practice mode.
- Inputs: F44 KB~BF4 Amp, 4, 112~BF4 KB
3. Geras’ Scorpion King
Geras Combo Video
Geras was a lock for this list with his high damage combos and here’s a cool one. Geras uses a combination of time magic and brute force to cut your health bar in half.
What makes Scorpion King awesome?
- 659 damage for one bar and a hard to land KB is excellent.
- I personally get giddy everytime I see Geras use his time stop move to combo with, it’s a super creative move.
- It utilizes his F11+34 KB (Mouthful!) which is much harder to land since the new patch changes up the KB requirement.
How to execute Scorpion King?
- Charge up Big Fist for the extra damage from any gauntlet attacks.
- You need a D2 KB from countering an opponent’s high attack, but for the practice mode purposes just put on the “Easy Krushing Blows” option.
- Inputs: D2 (KB), 4~BF4 Amp, 4~BF1 Amp, D2, D2, J2, F1+34 (KB)
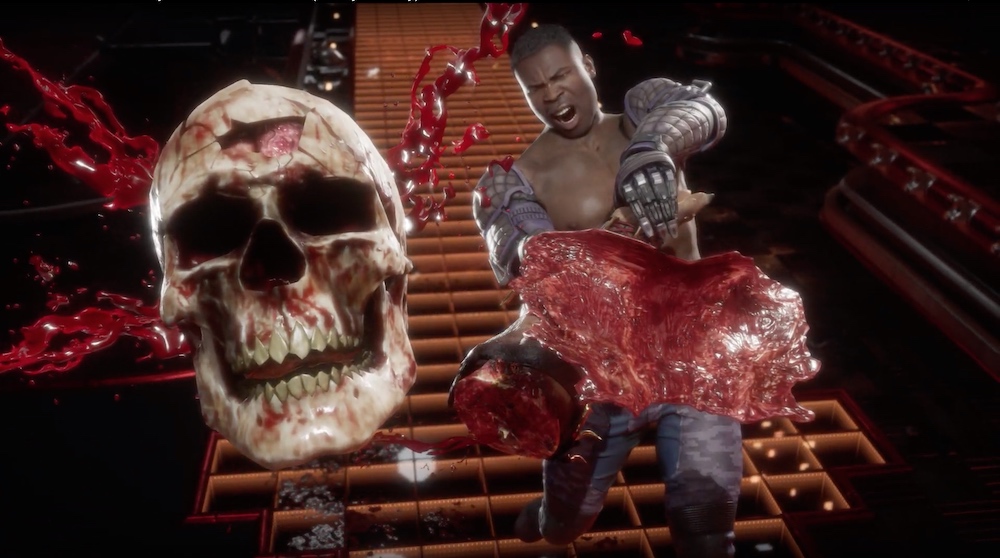
2. Johnny Cage’s Show Stopper
Johnny Combo Video
Johnny stops the show by chaining multiple stuns and Krushing Blows together for this swaggy corner combo.
What makes Show Stopper awesome?
- This 706 damage combo from Johnny’s second variation is one of the highest in the game and arguably the flashiest.
- It will take some practice and grit to land in a real match but this is an extremely satisfying combo.
- The first 530 damage or so is unbreakable!
How to execute Show Stopper:
- First off, you need to be at 30% or less health to have access to your Fatal Blow, which you will cancel to continue the combo and gain access to the Krushing Blow from Johnny’s sunglasses.
- You also need to have your Camera KB ready, which requires you to whiff three camera takes in a row.
- With those requirements met, it’s just a matter of execution. Practice getting good at cancelling Johnny’s Fatal Blow, and then start to practice the latter portion of the combo after the camera Krushing Blow.
- Inputs: 34~FBC, 34~DD2 (KB), 34~BD3 Amp (KB), J3, 34~BF2 Amp, 121~BF4
1. Jacqui Briggs’ Corporal Punishment
Jacqui Combo Guide
I like to call this Corporal Punishment. Jacqui Briggs’ Muay Thai training comes in handy for breaking bones and deleting health bars, and this combo is the near peak of her damage. With a bit of practice, you’ll be able to land this combo consistently.
What makes Corporal Punishment awesome?
- 710 damage corner combos don’t come around very often, but when they do, it’s probably Jacqui Briggs dishing out the pain.
- This combo costs no meter at all, so Jacqui can follow this up with a full combo.
- The opening kicks, 33, has a KB that reverses sides with the opponent, making it a more effective option then D2 for punishing grabs while you are in the corner, as the video shows.
How to execute Corporal Punishment:
- The first requirement is that you whiff punish the opponent with 3U3 for whiffing a high attack, typically this will be a throw attempt.
- Secondly, you need your clinch KB loaded, which means landing all three versions of the grapple ender at some point in the match beforehand.
- Jacqui also needs her Fatal Blow which means being at less than 30% health.
- Practice following up F21 with 4~DF3 in corner combos and you should land this one without much issue.
- Inputs: 33 (KB), dash, 4~DF2, F12, 4~DF3, 4, 4, 4, 3 (KB), 44~FB
You may also be interested in:
MK11 Augments Guide and The Ten Best Augments
MK11 Best Fatalities For Every Character (Ranked Worst to Best)

