Bosses in Darkest Dungeon mean serious business. This guide will help you get to that killing blow. Every boss is different which means different heroes must be brought to bear. Good Hunting.
The Necromancer
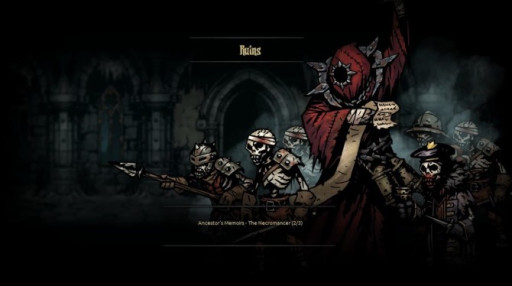
Look at them bones...
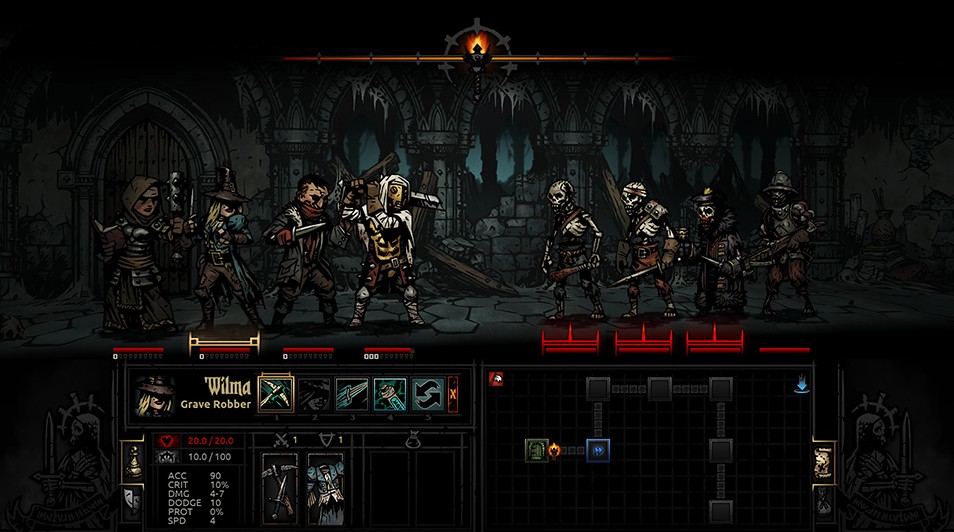
The necromancer is the easiest boss fight. He attacks the frontline or stresses the entire party. He does this as he summons the undead to push him back towards position 4. Focus on him and the undead will fall.
How to Defeat This Boss
- Recommended Party Lineup - Plague Doctor, GraveRobber, Crusader, Crusader
- Focus on the necromancer. The undead it summons are just a distraction.
- The Necromancer is blightable. Stack blight on him from the Plague Doctor and Grave Robber.
- The necromancer can be stunned. Use the crusader’s stun.
- If you want too, you can bring a bounty hunter instead of a second crusader.
- The bounty hunter can pull the necromancer past his undead guards.
- If he summons a bone bulwark, just stun it before it protects the necromancer.
- Trinkets that increase unholy damage and speed should be brought here.
The Sonorous Prophet
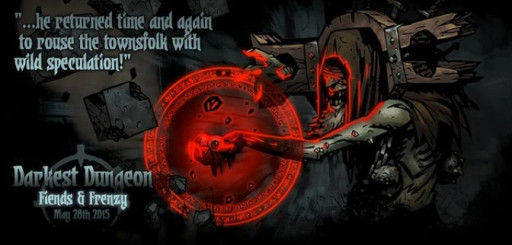
Callin shots!
The sonorous prophet starts in position 4 protected by an ascending toughness of pews. He will begin the turn with a unique mark on a hero to which will end up as a huge single target nuke. Bringing heroes that can hit position 4 is key here.
How to Defeat This Boss
- Recommended lineup- Arbalest, Houndmaster, Houndmaster, Man-At-Arms
- Ignore the pews. Focus on him.
- Whoever the prophet marks, use the Man-At-Arms guard immediately. His PROT buff will significantly reduce the damage.
- Mark the prophet and burst him down
- Utilize trinkets that increase damage and speed. Man-at-arms should have PROT trinkets.
The Flesh

The pig equivalent of playdoh...
This shapeshifting abomination of sinew can be a hard fight if you don’t deal with it the right way. You have to remember that despite it being in all four positions, they all share the health bar. If this fight goes too long, you are bound to lose. Good thing for you, I’m here to help you.
How to Defeat This Boss
- Recommended lineup- Plague Doctor, Jester, Jester, Hellion
- This fight is all about bleeds and blights.
- Even better, Jesters and Plague Doctors can bleed/blight multiple positions at the same time. It has a singular health bar between all positions, so the damage stacks twitch as fast.
- Use the hellion to strike the healing node when it transforms. The healing node is the weakest part with no PROT.
- Stun resist trinkets are useful here as well as blight/bleed trinkets.
The Swine King
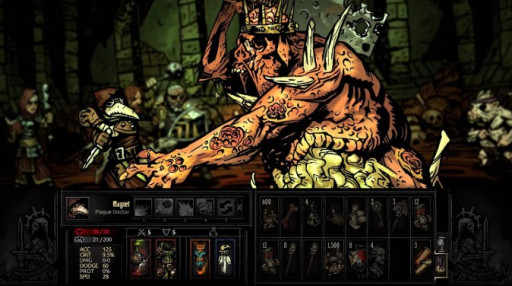
The king of rotten....pigs.
The swine king also comes with his sidekick Wilbur. This fight is pretty easy to handle especially with the arbalest. Don’t underestimate Wilbur. The two of them are a deadly combination.
How to Defeat This Boss
- Recommended Lineup: Arbalest, Houndmaster, Houndmaster, Man At Arms
- Don’t touch Wilbur until the Swine King is dead. If you do, the Swine King will deal heavy damage to your entire team You don’t want that.
- Bring the Arbalest with his rallying flare ability. You can clear the mark that Wilbur inflicts forcing the swine king to resort to a much weaker attack.
- Mark the swine king and use the houndmasters to burst him down with their dog treats.
- Don’t underestimate Wilbur when he’s by himself. He can stun multiple times.
- Bring damage trinkets with good stun resist.
The Brigand Pounder

BOOM!
This is one of the harder dungeon fights in the game. This is because of the high prot and resistance of the actual cannon. If you let this cannon fire, you are in for a world of hurt. Prevent that from happening, and you will have a slow but straightforward fight.
How to Defeat This Boss
- Recommended Lineup: Vestal, Houndmaster, Graverobber, Hellion
- This fight gets long. A vestal will help your heroes survive the long fight.
- The fuseman is a unique enemy that lights the cannon. Kill him at all costs.
- The graverobber can ignore the high PROT of the cannon and can hit all positions.
- Once you kill the fuseman, damage the cannon. It will always spawn enemies though it can sometimes miss. Don’t count on this.
- Don’t bother blighting, stunning, or debuffing. Its resistance is too high.
The Hag

The Hag is hungry for more than just stew...
The Hag is annoying because you essentially fight her with only three party members. You must make sure that your party members can hit the back two positions. Other than that, hit her really hard and you’ll do just fine.
How to Defeat This Boss
- Recommended Lineup: Houndmaster, Houndmaster, Hellion, Hellion
- This lineup ensures that no matter who gets taken into her pot, you can still hit her. The hellion is great here while the houndmasters offer good support and can mark the Hag to kill her faster.
- Ignore the hero she puts into a pot. It just takes up extra turns. Focus on her.
- The Hag has a nasty debuff. Use medicinal herbs to remove the debuff in combat.
- Don’t bother trying to pull her out of position. Just bring heroes that can hit the backliners.
- Bring damage trinkets and debuff resist if you have them.
The Sunken Crew
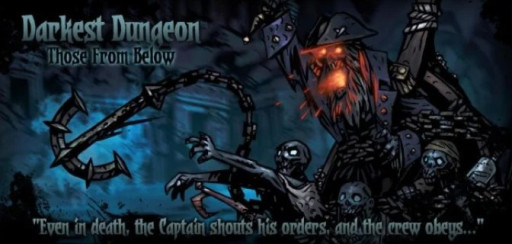
AHOY!
This is a really hard fight, but there is a workaround that will make this fight a hell of a lot easier. This boss can be really frustrating but this guide to the boss will help you a lot.
How to Defeat This Boss
- Recommended Lineup: Plague Doctor, Occultist, Abomination, Man-At-Arms
- If you have a hero who is virtuous, put them in the front. Then the anchorman can’t hook that person.
- Riposte is strong against this boss since he takes multiple turns.
- Bring an abomination with tons of virtue trinkets. Make him virtuous and put him in the front.
- The ability to pull the boss forward workaround has been fixed. Don't bother with it.
The Siren
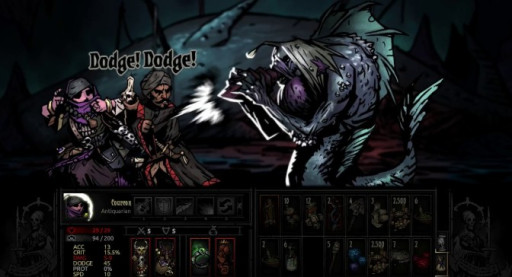
She has a great personality.
The Siren is a rough fight because you are almost fighting with three members. Other than that, this is a fight that resorts to just trying to kill one person really hard. Don’t focus on anything else.
How to Defeat This Boss
- Recommended Lineup: Plague Doctor, Houndmaster, Highwayman, Bounty Hunter
- This lineup is meant to just hurt the siren as much as possible. Mark her then kill her quickly before she summons more units than you can deal with.
- Don't bring debuff trinkets. Her hero steal is a flat 70% chance with no reduction.
- Stuns are important if she summons minion that can guard her.
The Baron
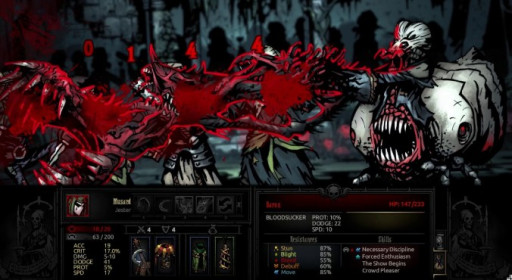
The life of the party.
The Baron is a deadly boss capable of hitting everybody in your party and preventing health regeneration. He takes multiple turns and even hides among cocoons he summons. This can be easy if you bring the right lineup.
How to Defeat This Boss
- Recommended Lineup: Houndmaster, Highwayman, Highwayman, Flagellant
- The highwayman and the houndmaster can multi-hit for the entire row. This clears all the cocoons quickly.
- Set up riposte on your highwaymen so when the Baron attacks, they both riposte at the same time.
- Equip your flagellant with his healing ability to sustain the highwaymen.
- Equip speed and dodge trinkets to ensure to keep your highwaymen alive.
The Viscount
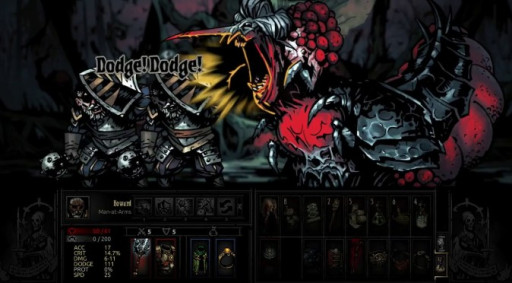
Bon Appetit.
You can deal with the viscount in two ways. You can deal with the body bags that are present to prevent him from healing and buffing himself. Alternatively, you can burst him down for more damage than he can heal. I recommend the latter.
How to Defeat This Boss
- Recommended Lineup: Vestal, Houndmaster, Leper, Bounty Hunter
- Mark the viscount and burst him down. Use the lepers self-buff to finish him even faster.
- The vestal provides the grounds for your team to go long with good HP.
- Equip damage and speed trinkets to burst him down before he heals.
- Bleed or blights on body bags will transfer to the viscount when he feasts on them. If you bring a bleed heavy team, keep this in mind.
The Countess
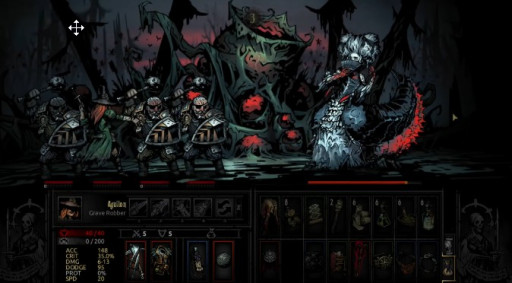
She's thirsty in a more traditional sense.
One of the hardest bosses in the game. The countess deals tons of damage, has three different phases and can cure herself of most damage over times. This fight goes long, so you need a maxed out team for this fight,
How to Defeat This Boss
- Recommended Lineup: Man-at-arms, Man-at-arms, Flagellant, Hellion
- This boss is capable of moving up to four times a turn. Set up ripost with your team as soon as possible.
- Bleeds work very well here as she moves multiple times a turn dealing full damage.
- Don’t let any of your heroes fall to 0 or they will most likely die.
- Stack as much dodge on your team as possible. Use the man-at-arms bolster ability to improve your dodge. Even bringing an antiquarian to spam dodge buff works. Dodge works very well here because of the bosses low accuracy.
- Don’t bring a mark team. It is not worth it, because marks and other debuffs will wear off very quickly against her.
The Fanatic
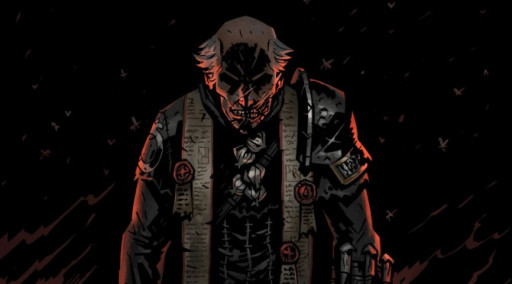
Thirsty?
The fanatic is a random encounter that will spawn if two or more heroes have the crimson curse. The strategy against him is much like the hags. Ignore whoever he is burning and focus on him entirely.
How to Defeat This Boss
- Recommended Lineup: Houndmaster, Houndmaster, Flagellant, Hellion
- You can never really be prepared to fight the fanatic since he is random.
- Ignore the pyre, hit him instead.
- Some of his attacks affect heroes infected with the crimson curse for more damage. If you guard infected heroes with healthy ones, the damage will be mitigated.
- He is weak to bleeds.
- A high dodge stat is able his dodge his skill that puts a hero on the pyre.
The Miller

Welcome to the farmer's market.
This is a deceptively hard fight. Most enemies in the dungeon are weak to bleeds, but the miller is resistant to bleeds and weak to blights. The right party is key in taking him down.
How to Defeat This Boss
- Recommended Lineup: Plague Doctor, Vestal, Highwayman, Leper
- Buff the leper with the plague doctor so he can kill any of the Miller’s summoned minions.
- The rest of the party should focus on killing the miller as fast as possible.
- Stress isn’t a huge problem in this fight.
- Bring speed and damage trinkets for this fight.
- Don’t bleed him. He is far too resistant for most heroes to bleed against him.
The Sleeper
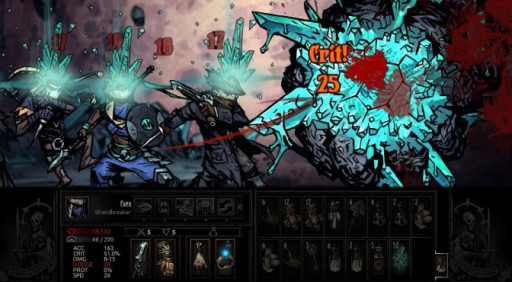
The Eye
This thing hurts like hell. Be thankful it only moves once a turn. The sleeper sports a high accuracy making dodge strategies much less effective.
How to Defeat This Boss
- Recommended Lineup: Arbalest, Vestal, Houndmaster, Bounty Hunter
- With only one move a turn, mark synergies work great here.
- Use the houndmaster mark to reduce the PROT of the sleeper to 0.
- This has very low blight resist. Don’t bother bleeding it.
- The Occultist with good stun trinkets can stun the sleeper to save yourself of some serious damage output.
- Speed and damage trinkets work well here. Avoid dodge as it will be useless against the sleeper.
The Shambler
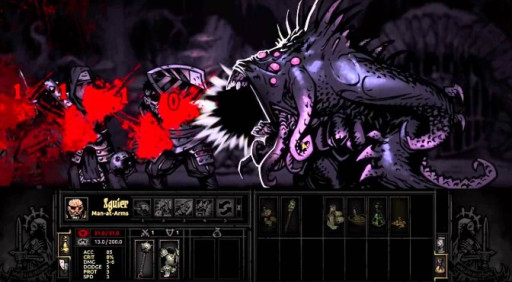
Lovecraft says hi.
Shamblers are optional bosses that are activated by activation eldritch altars with a torch. They can be hallway fights but that is very rare. These fights are really hard. The minions have a low health pool but deal lots of damage with plenty of stress.
How to Defeat This Boss
- Recommended Lineup: Houndmaster, Jester, Highwayman, Hellion
- Your team needs to bleed the minions he summons before they are impossible to kill.
- Something needs to hit the shambler. Don‘t just focus on the minions.
- Riposte is a powerful ability against the shambler.
- The minions have a very low health pool. Bleeds are the best way of killing them since they accrue a very high PROT.
- You still have to deal with the minions after you kill the shambler. They are very capable of killing you if you do not inflict any bleeds.
- Bring damage trinkets along with health trinkets.
The Collector
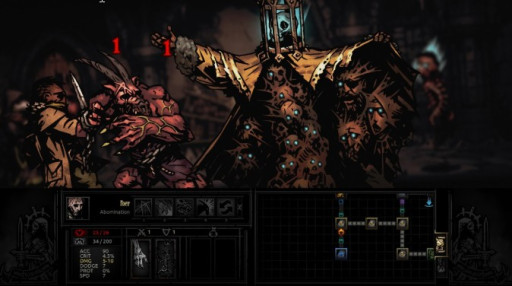
It's not a coin collection he has.
The collector is a hallway fight that drops useful head items or rare gems. Like the shambler, he summons an array of minions that either heal him, guard him, or inflict damage. Just focus the collector, and the fight should be a breeze.
How to Defeat This Boss
- Recommended Lineup: Plague Doctor, Houndmaster, Highwayman, Hellion
- Focus on the collector. Wasting attacks on the minions will only prolong the fight.
- All members of the recommended lineup can hit position four.
- The collector is pretty blightable and can be marked. Marking him will make your damage dealers kill him a lot faster.
- Bring speed and damage trinkets.
The Brigand Vvulf
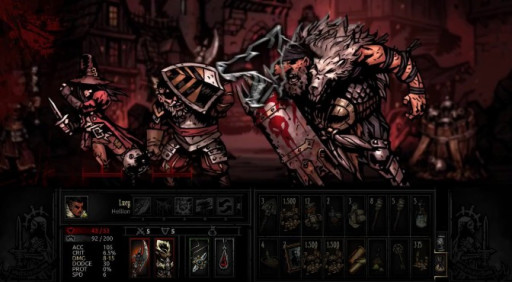
Hide your kids! Hide your wife!
Once you have your first Level 5 hero, this guy can show up to your hamlet and wreck some buildings unless you do his quest. He is a pretty easy fight if and only if you bring a man-at-arms. You get a really sweet trophy from this fight as a reward.
How to Defeat This Boss
- Recommended Lineup: Vestal, Houndmaster, Bounty Hunter, Man-at-Arms
- Make sure your frontline had good bleed resist trinkets.
- Use the man-at-arms to guard against whoever he chooses to bomb. This will control the damage output away from your more fragile characters.
- Equip your man-at-arms with PROT trinkets and bleed resist for the minions her summons.
- Mark him and burst him down before the fight goes too long.
- The bounty hunter is a monster damage dealer for this fight.
The Shrieker
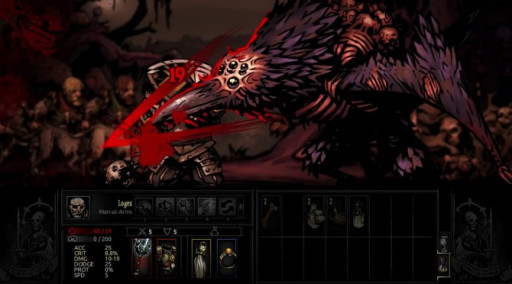
The bird is not just a word in this case.
This fight is tough. Multiple turns. Serious damage. Lots of stress. For most fights, you just want to ignore the nest. If you are gunning for the nest, it makes the fight a bit harder. Good thing for you, you are reading this guide.
How to Defeat This Boss
- Recommended Lineup: Vestal. Highwayman, Highwayman, Man-At-Arms
- Riposte is the key here in this fight. Set up riposte on all your heroes that can so that the shriekers extra turns work against it.
- Use the Man-At-Arm’s buffs to increase accuracy and dodge.
- As long as you have riposte up, attack the nest if you want any missing trinkets you've lost.
- The vestal is important to bring because the shrieker hella hurts.
- Bring dodge and accuracy trinkets to survive this encounter.
- Remember. You have to survive this fight to win rather than just kill it. Prioritize survival over damage dealing with the vestal.
- Blighting is useless because it’s resistance is so high.
Those are all the dungeon bosses! Hopefully, you have a good idea on how to take these nasty creatures out. Remember there can be no bravery...without madness.
You may also be interested in:


