Home
Home PC Game Trailers
 News
News Menu
MenuAll Atomic Heart Bosses Ranked Easiest To Hardest (And How To Defeat Them)
Updated: 27 Jun 2023 1:05 am
Test your skills against the toughest bosses of the game
 BY: Salman Titas
Atomic Heart is an action packed game with some of the most challenging enemies. And this difficulty increases when the game throws one of its many bosses on your way.
The point of a boss is to test your skill. And Atomic Heart excels in this regard. Because if you haven’t mastered the game, beating the bosses is nearly impossible. Except in the lowest difficulty.
But don’t let that discourage you. In this list, I not only rank the enemies according to their difficulty. I’ll also tell you where they’re weak. And I’ve put together strategies and tips that might help if you’re struggling.
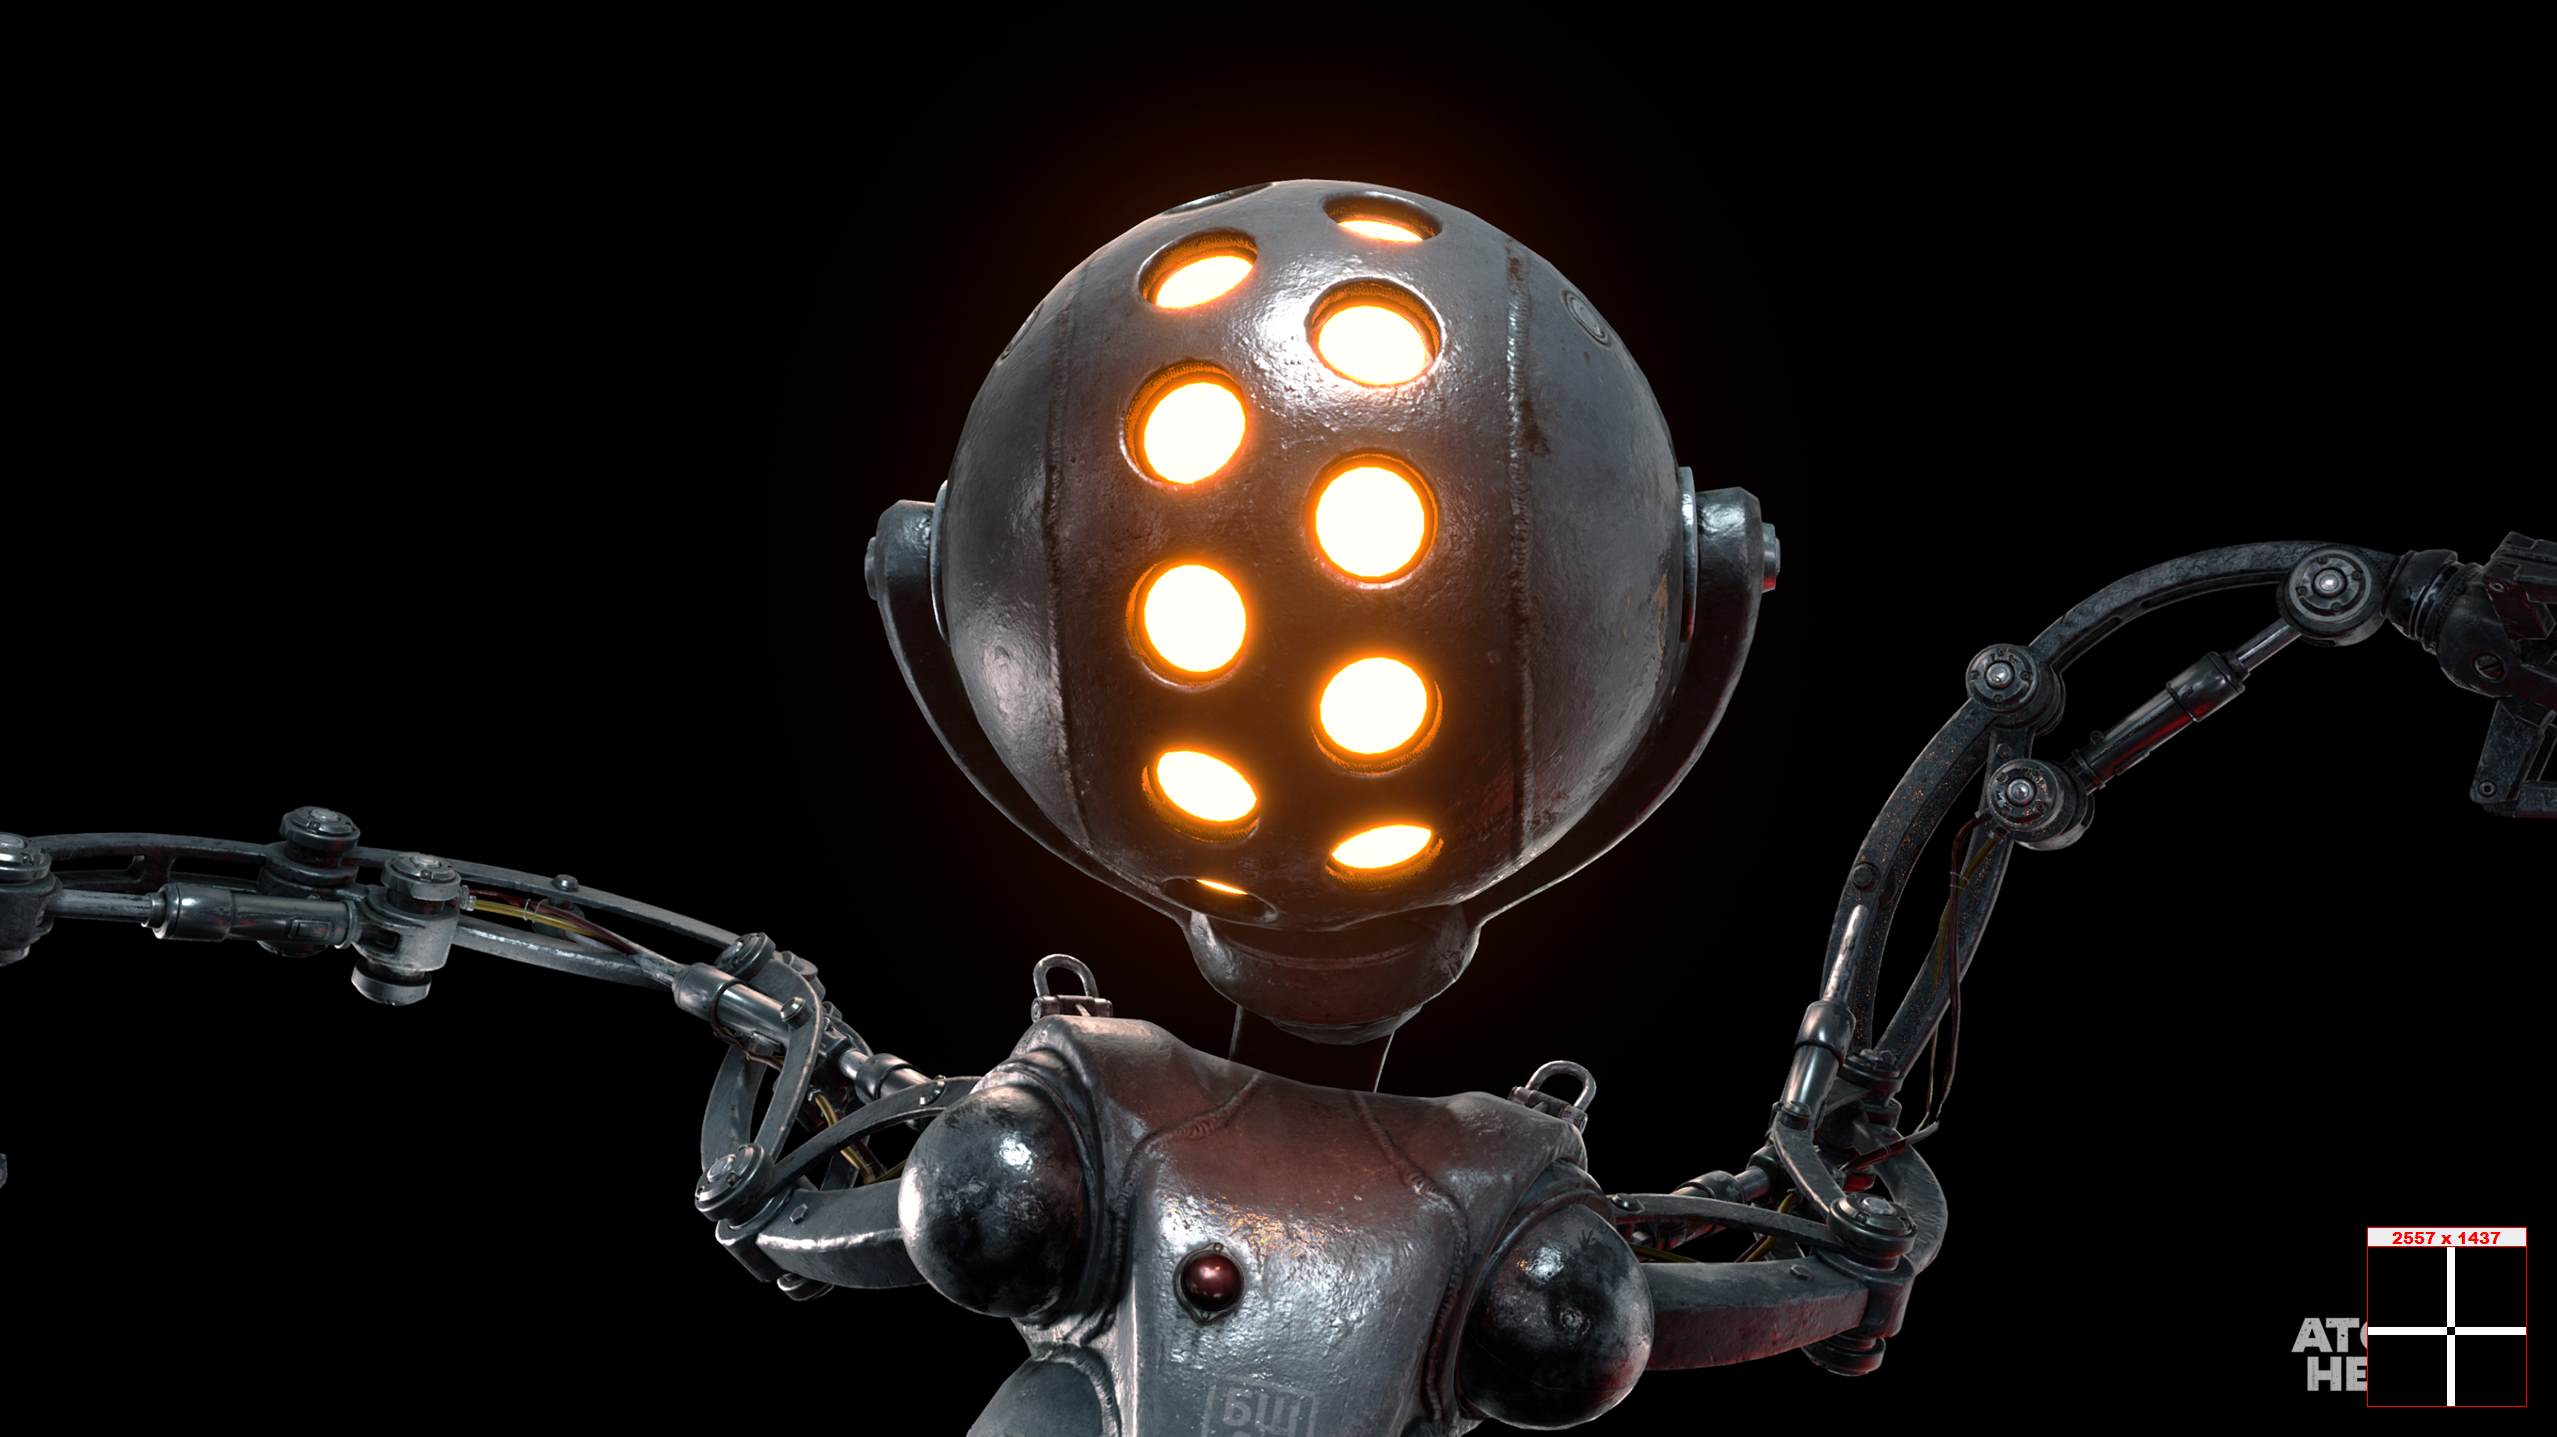
9. VOV-A6/CH Lab Tech
VOV-A6/CH Lab Tech Details:
- Resistance: Electric Damage
- Weakness: Fire, Explosives
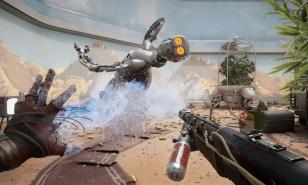
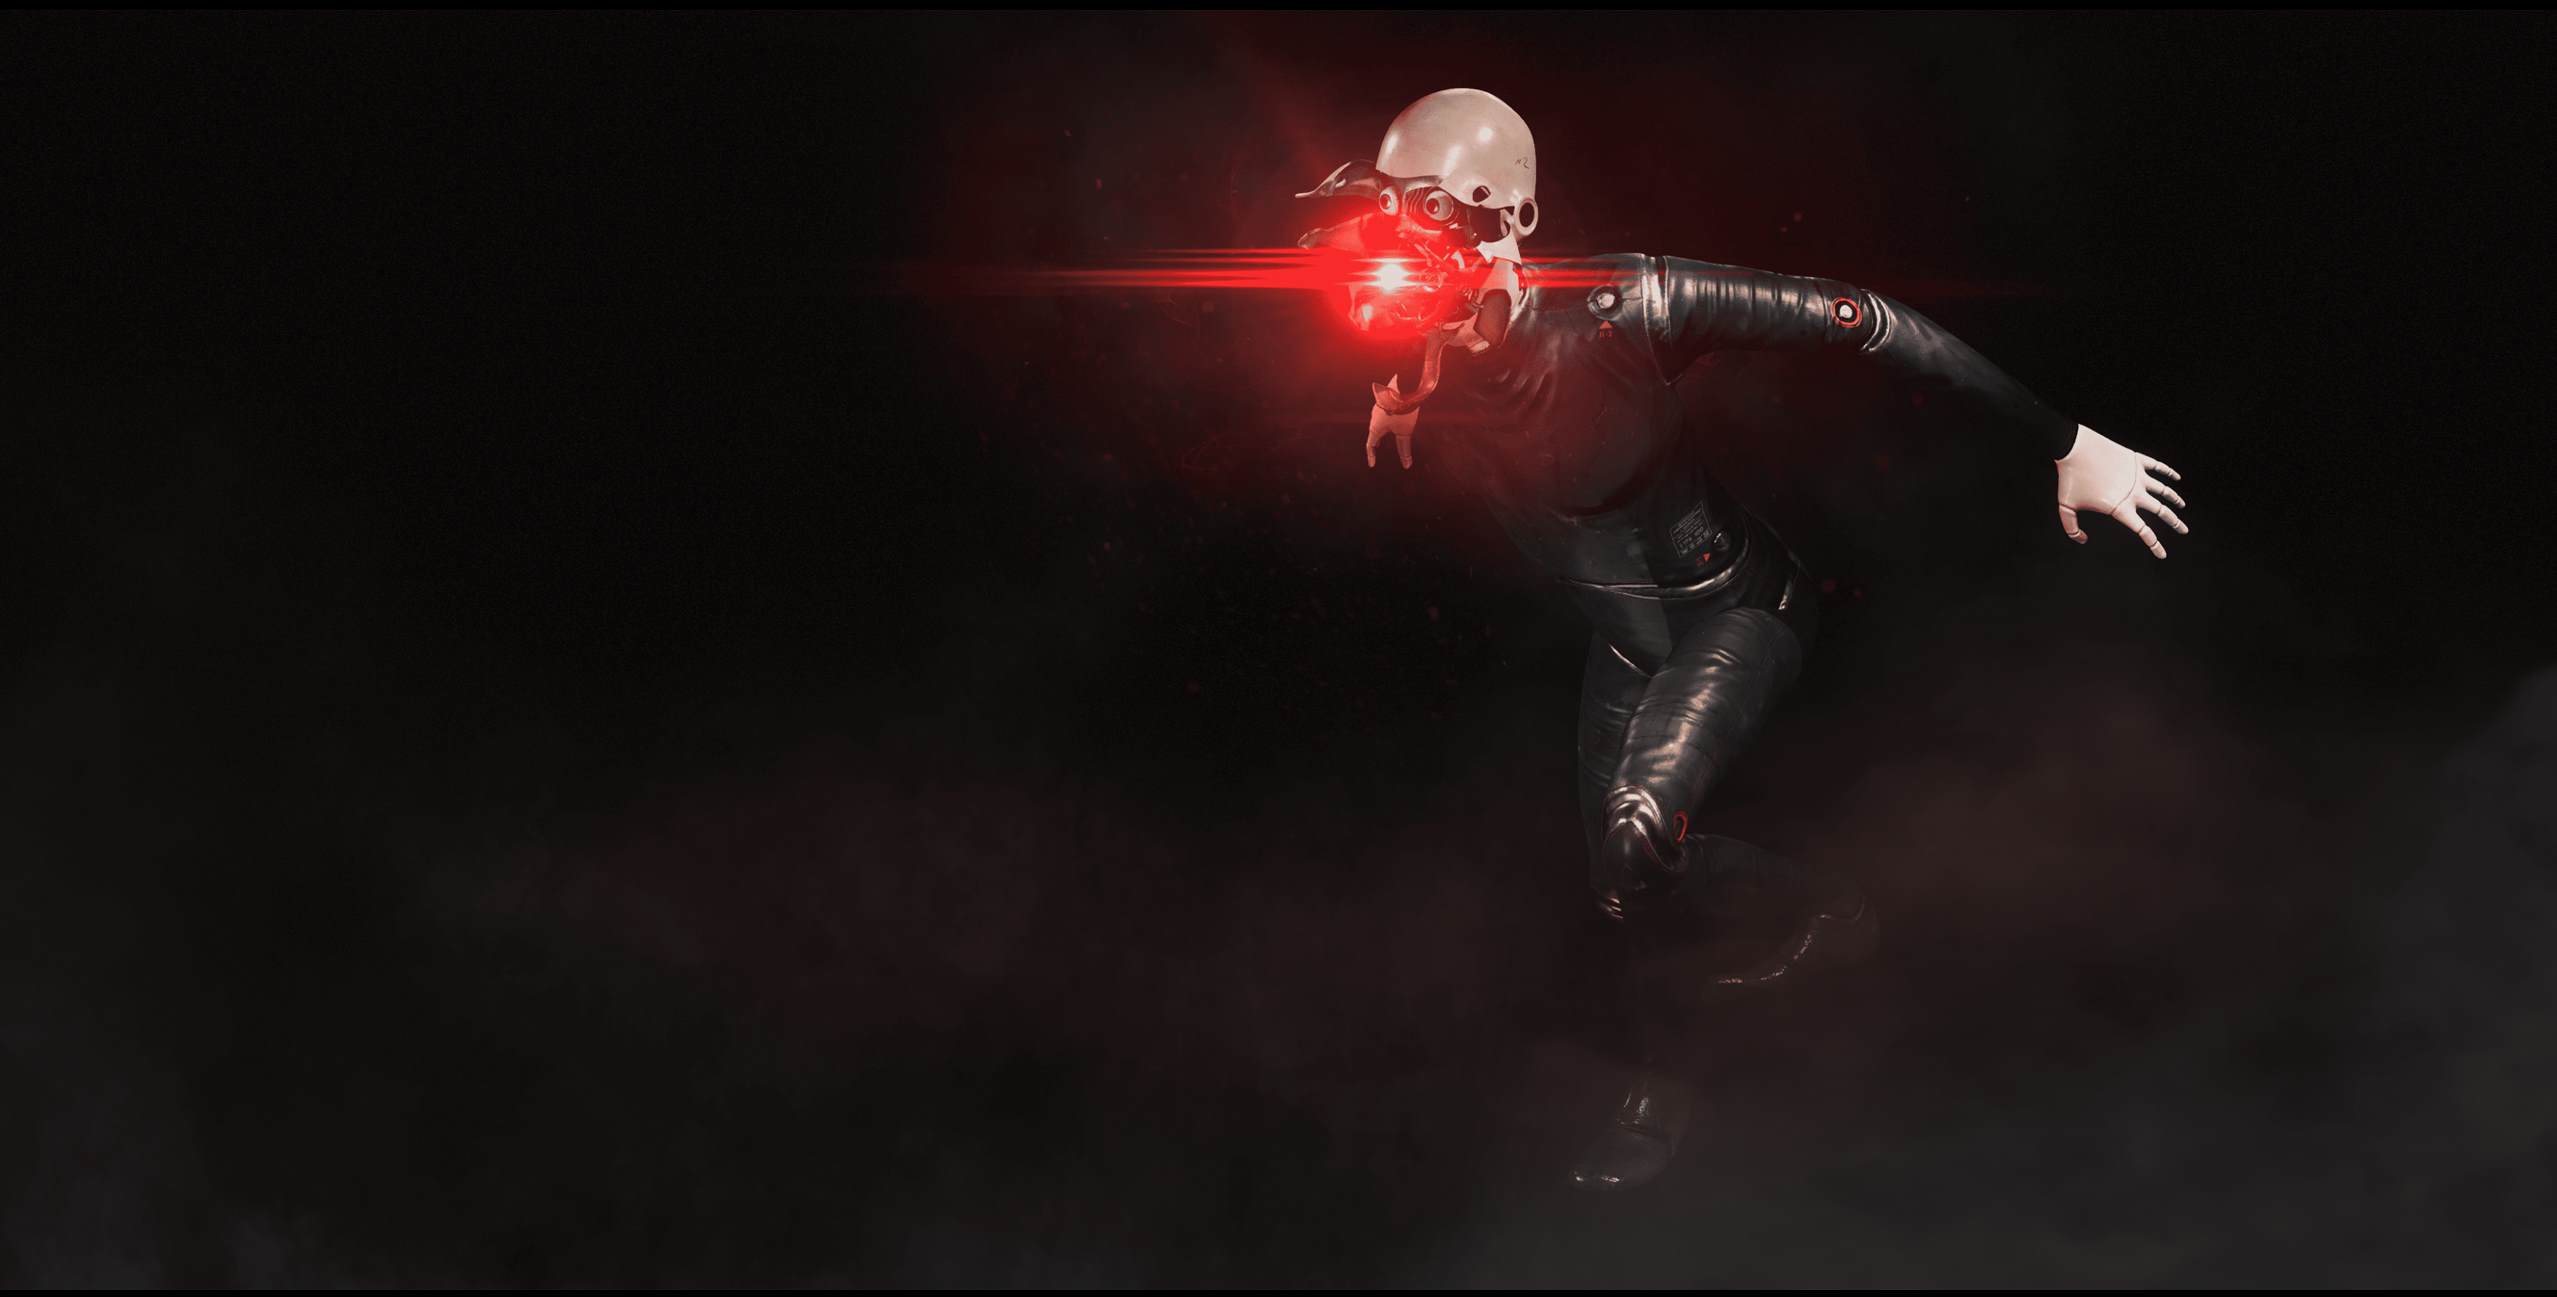
This boss is the first one you’ll encounter, so it makes sense for it to be easy. But that’s not the only reason why it’s down here. After the first fight, it just becomes another enemy variety.
Still, it counts as a boss because of the challenge it provides. This guy is tougher than the other variety of Lab Techs and can shoot lasers out of its face. And did I mention that you have to take it on before you get to upgrade your weapons?
Strategy:
- The fight starts after a cutscene and you will be in a cramped room. This means there will be very little space for you to run to. Always keep the space around you in mind.
- You can expect the usual attacks as the Lab Techs. So punches and power attacks will be there. There’s enough time to avoid its attacks using your dash ability.
- Remember the lasers I was talking about? Every now and then, the boss will stop running and shoot those fearsome beams at you. They are pretty powerful, but also easy to avoid.
- Your cue to dodge the lasers is when it stops moving. The face-plate will open right after that. You can easily dodge their beams if you watch out for that. And remember to dash sideways.
- Keep dodging and hitting it with your Swede. Charge up the power attacks and make sure you get the hits in. You will take their health bar out.
Best Way To Beat VOV-A6/CH Lab Tech:


8. Large Mutant
Large Mutant Details:
- Resistance: Electric Damage, Energy Weapons, Projectile Weapons, Melee Weapons
- Weakness: Fire, Explosives
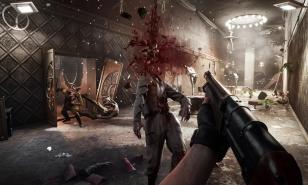
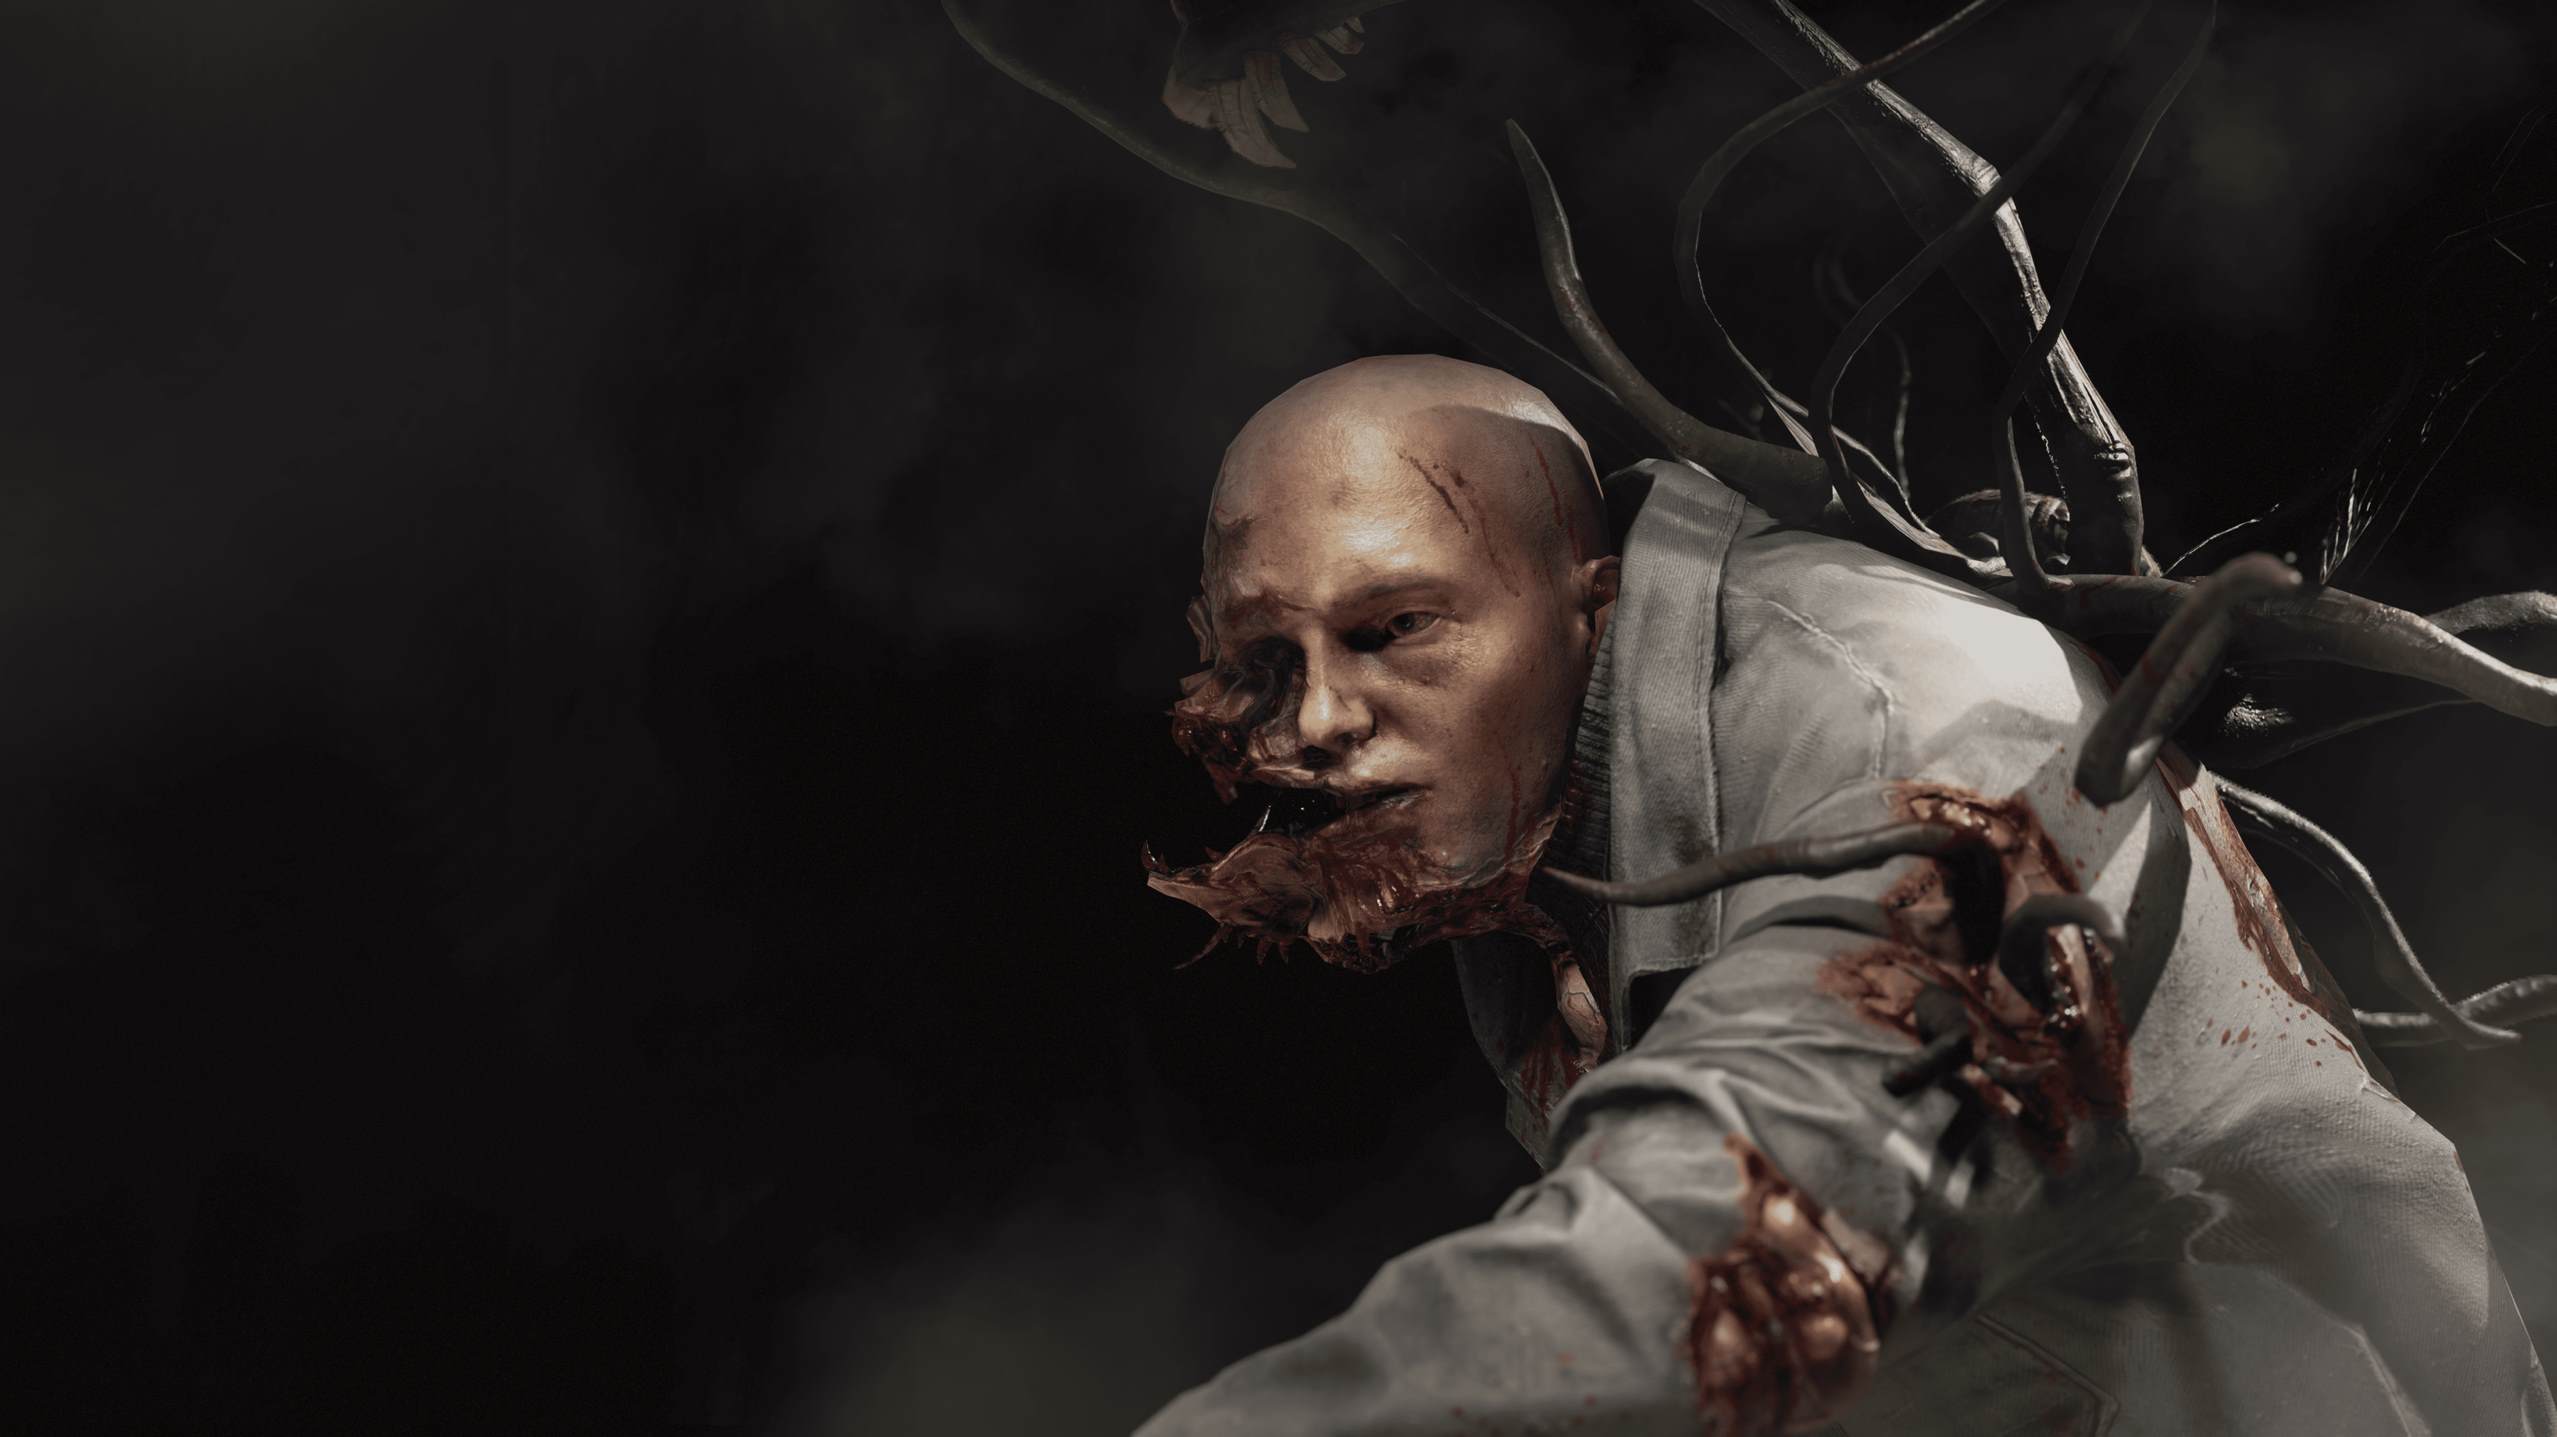
As far as boss designs go, this is one of the more messed up ones. It’s basically a huge zombie. By this point, you’ve already encountered enough Mutants to not be too creeped out by them. But it still poses a bit of a challenge.
Like the last entry, this one will also become a tough variant after the first encounter. That being said, it comes with all the theatrics of a boss fight. And the fight is pretty challenging, since you won’t just fight this boss. You’ll be surrounded by Mothers, Sprouts and other Mutants.
Strategy:
- The fight takes place during a lockdown. So it’s you, this guy and all its allies.
- Since you’re stuck in a cramped place, you need to keep moving. Otherwise you will be surrounded by the other Mutants and it’s game over.
- The Mothers will be continuously spawning Sprouts. So you should take them down whenever you have a chance. Some of them will be high up on the walls, so you’ll have to shoot them down. You also won’t have time to scan for them.
- The Large Mutant can spawn 4 sprouts at a time as well. So even with the Mothers down, they will still be around. But that should give you some breathing room.
- The boss is resistant to most other types of weapons, with the exception of fire. Make sure you have Fire Cartridges handy, because now’s the time to use them.
- The Shotgun with Fire Cartridges is the best way to go. That thing packs a punch and you can easily take out the large groups of enemies.
- And that leaves the actual boss. This thing can spit at you, throw Sprouts and will charge at you. Always make sure to keep your distance, as it can easily knock you down.
- Your best friend in this fight, and many others, is Mass Telekinesis. You can lift enemies up to interrupt their attack or give yourself some breathing room. You can also shoot them while they’re levitating.
Best Way To Beat Large Mutant:

7. NA-T256 Natasha
Natasha Details:
- Resistance: Electric Damage, Projectile Weapons
- Weakness: Explosives
Among the unique bosses, Natasha is the least threatening. Sure, its massive size is imposing. And if you do get hit, you’ll take a lot of damage. But there’s two reasons why it’s not that much of a challenge.
First, Natasha is quite slow. Other than one attack, almost everything else is easy to dodge. And even its tough attack can be dodged if you get your timing right.
The second reason is that you’ll probably be overpowered. This is a very late-game boss, so you’ll have access to a lot of powerful weapons and skill upgrades. Against those, it’s a lot easier compared to other challenges in the game.
Strategy:
- Natasha appears after the very dramatic scene of Petrov’s… death. You’ll be stuck in a small stage with nowhere to go, so you’ll have to dodge inside a limited radius.
- Its only weakness is explosives. That means that if you have the Fat Boy, this fight will be easy. I highly recommend getting it before jumping into this battle.
- You can also combine melee weapons and energy weapons to deal some damage. It will be more effective than using your guns.
- Natasha will mostly use its arms to attack you. It can stretch its arms to use it like a whip, so you’ll have to dodge in every direction.
- After this attack, it remains in position for a few seconds. You should use this opportunity to attack your enemy.
- Every now and then, the robot will shoot missiles at you. It’s pretty easy to spot as Natasha will stop moving when it does that. You can dodge this pretty easily when you spot it.
- The next attack is something you have to watch out for. Natasha has a whip attack where it starts spinning. This is its only fast attack and can be hard to dodge. Luckily, you can see it happen when the whips start glowing. You just have to dodge in the opposite direction.
- Right after the whip attack, Natasha will fall on the floor. This is the golden opportunity to attack the robot. You can deal a lot of damage while it stays down.
- Despite being slow, it can use the rockets in its legs to jump and close the distance. Don’t underestimate it!
Best Way To Beat Natasha:

6. Plyusch
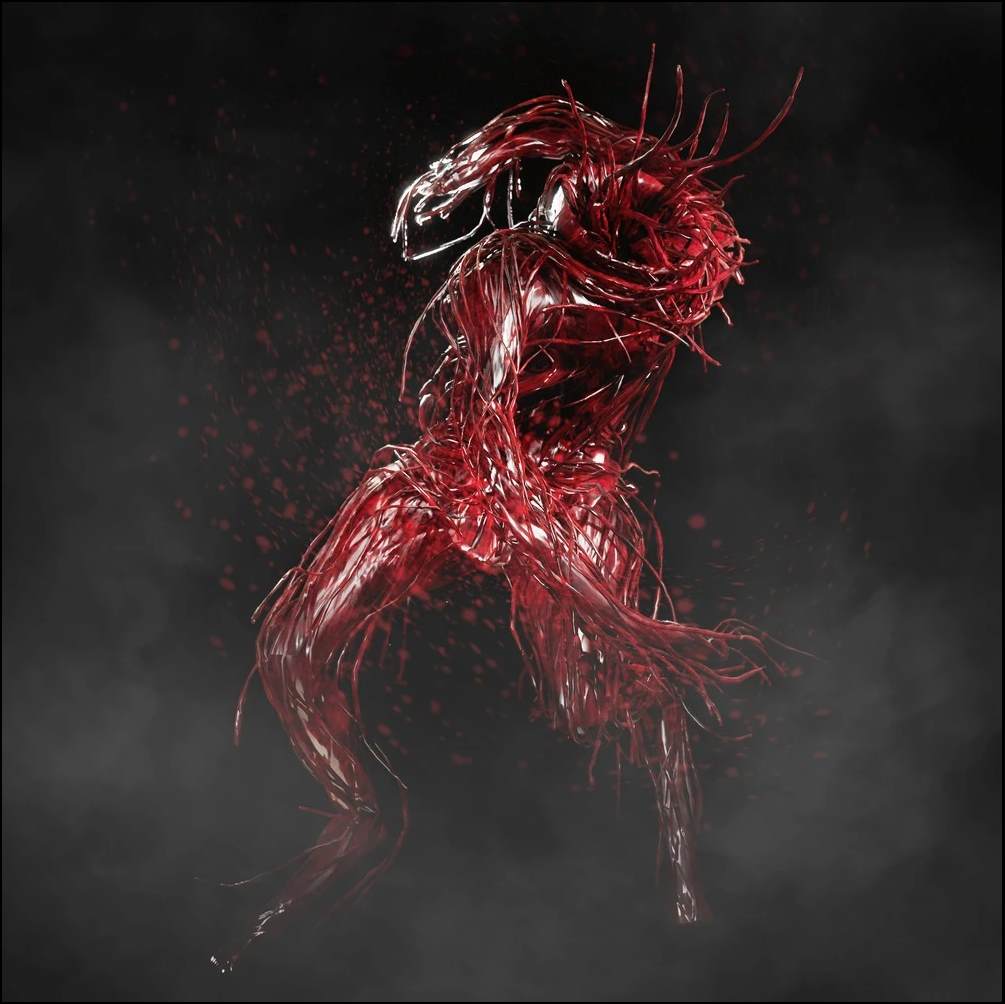
Plyusch Details:
- Resistance: Electric Damage, Energy Weapons, Projectile Weapons
- Weakness: Fire, Melee Weapons
The Plyusch is a monstrosity in its own class. It’s made out of a polymer goo that was supposed to be an exoskeleton. That’s why it has a human-ish shape.
On top of that, this thing has a dog’s brain. And it shows. When you fight it, it will attack you relentlessly like a feral dog.
A lot of gamers on the internet actually consider this the toughest boss. It’s not something I agree with, but it’s definitely not a walk in the park.
You just need to understand their weaknesses, attack patterns and how to counteract them. It still won’t be easy but you’ll come out of it fine.
Strategy:
- This mini-boss fight can take place in multiple places. The most notable one is on the lower floor of VDNH. The good thing is that you have a lot of space to move around. The bad thing is that this guy is very tough.
- Considering the weaknesses and resistances, your obvious choice of weapon should be a melee weapon. With Fire Cartridges. The problem is that the enemy boss is also a really powerful melee fighter.
- I recommend either the Zvezdochka or the Pashtet. The first hits hard but take longer to swing. Pashtet is slightly weaker but is also very powerful and attacks very fast.
- If you don’t have the right skill upgrades, now is the time to get them. Sleazeball will make you immune while dodging. Second Wind lets you dodge twice in a row. And Morning Exercise increases your overall movement speed.
- The enemy has several types of melee attacks that you should be careful of. You will lose a lot of health, so your inventory should be full of health packs.
- Plyusch has some deadly attacks, of which one is an insta-kill. If you see a giant circle appear, you must dodge immediately. Otherwise, it will try to pick you up and literally eat you. The only way out is through a lot of tough quick time events.
- If you see one circle on either arms, that means it’s about to lunge at you. Dodge immediately! But if you fail, at least you won’t be insta-killed.
- The good thing about Plyusch’s attacks is that it only attacks forward. So always dodge sideways.
- Another thing to remember is that Shok actually does have a use. While it won’t do much damage, it will interrupt its attacks. Since it’s always equipped, there’s no reason to not use it.
- You will have a chance to attack its weak back right after dodging. But don’t stay still too long. Always keep moving!
Best Way To Beat Plyusch:

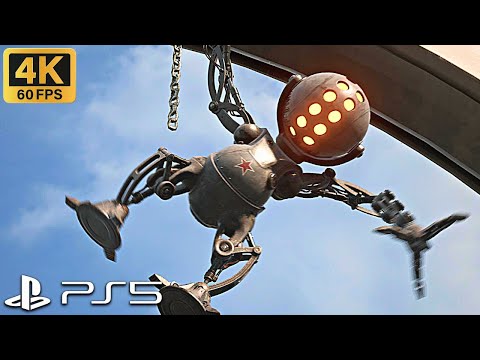
5. HOG-7 Hedgie
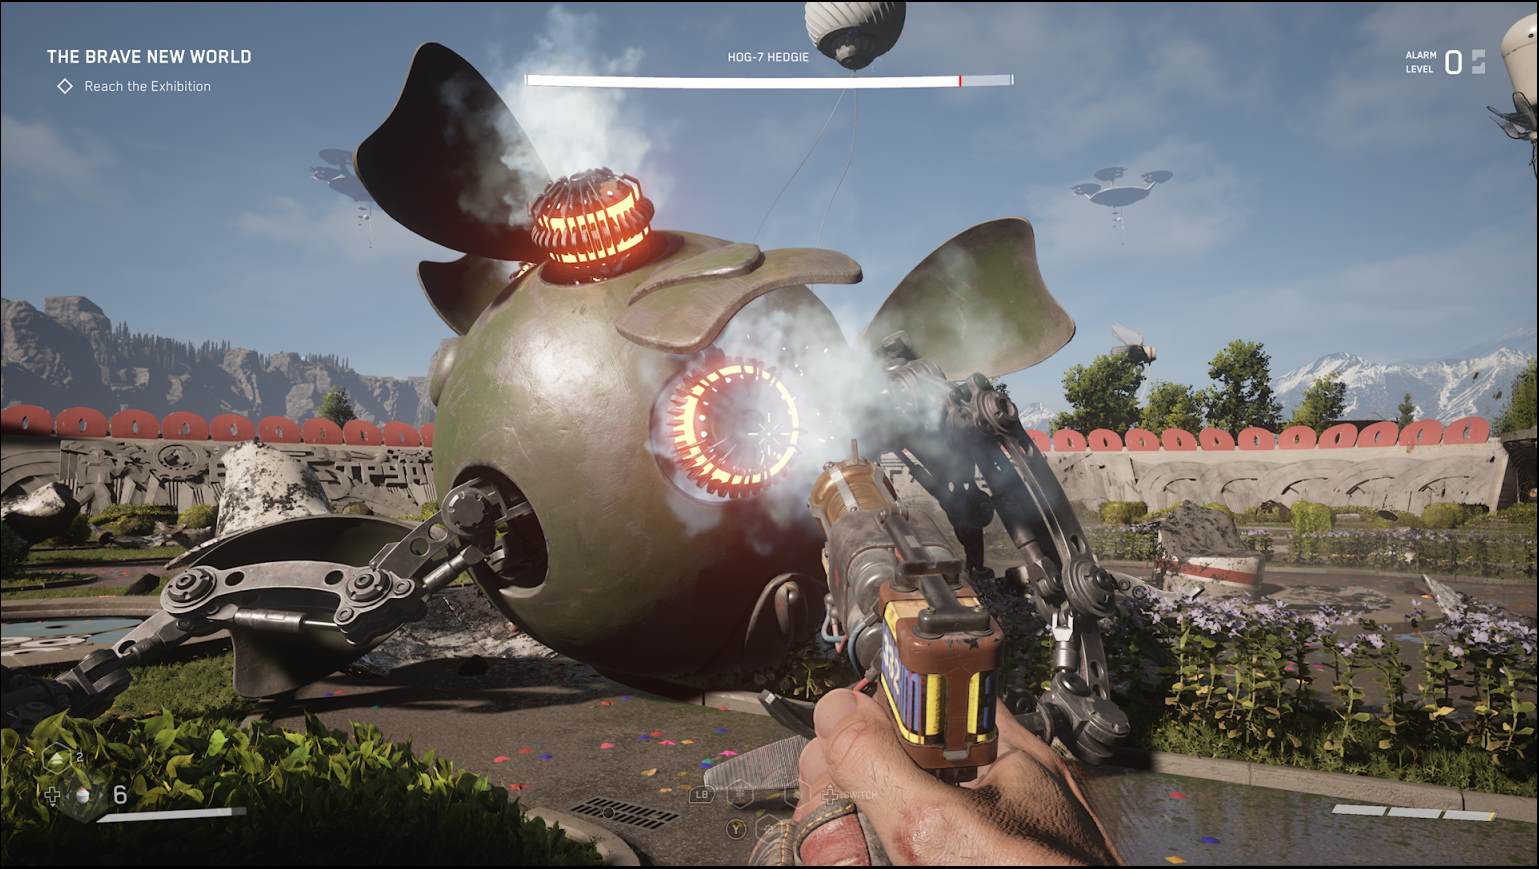
Hedgie Details:
- Resistance: Energy Weapons, Projectile Weapons, Melee Weapons, Fire, Frost Damage
- Weakness: Explosives
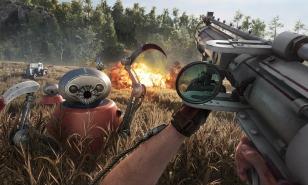
Hedgie is the third boss you’ll fight in the game, and the first one that’s completely unique. And this guy is deadly.
It’s a big ball of armor which is invulnerable to almost anything you have. It also moves fast and hits hard. It can use melee and ranged attacks. And dodging it feels like playing a rhythm game.
You can see why I have it here. This one can be tough to beat and just shooting at it won’t cut it. It has some weak points that it usually doesn’t show. So you have to know how to make it get there.
Strategy:
- The fight begins after you land and interact with a pedestal. Before you do that though, find the save station near the gate. You’ll also NORA there if you want to get upgrades.
- This battle happens in a large area, so you’re not going to be cramped for space. Make sure to use all the room for dodging, because you’ll need it.
- On the other hand, Hedgie is very fast. It moves fast and if you’re further away, it will roll towards you. Make sure to keep dodging backwards.
- Hedgie has a few deadly attacks. The worst of the bunch is the ground slam. It will jump up in the sky and slam the ground, releasing circles of energy. Keep jumping and dodging, because that’s the only thing you can do.
- It will also throw laser projectiles at you. They arc towards your direction, but they go wide and can easily miss.
- Now and then, it will also throw in some other types of attacks. It can use its claws to strike you. When it does that, keep dodging back.
- It can also use a Gravity Well to pull you towards it. It will do that while using ground slams, so your strategy is the same as before. Jump and dodge.
- Unless you have the Fat Boy, shooting it will do nothing. Your only bet is to shoot the coils that it shows now and then. You can wait for that, or you can force it to bring it out.
- The fight stage is full of art sculptures that you can bring out. Their pedestals will rise from the ground and you have to use Shok on these.
- When Hedgie begins to roll at you, you need to activate the pedestals. Hedgie will roll in a circle or telegraph it in other ways. Keep the statue between you and Hedgie and it will crash into it.
- After the crash, it will show the coils while it lies on the ground. This is what you have to shoot, and you can do a lot of damage. Keep doing this and you will have destroyed it.
Best Way To Beat Hedgie:

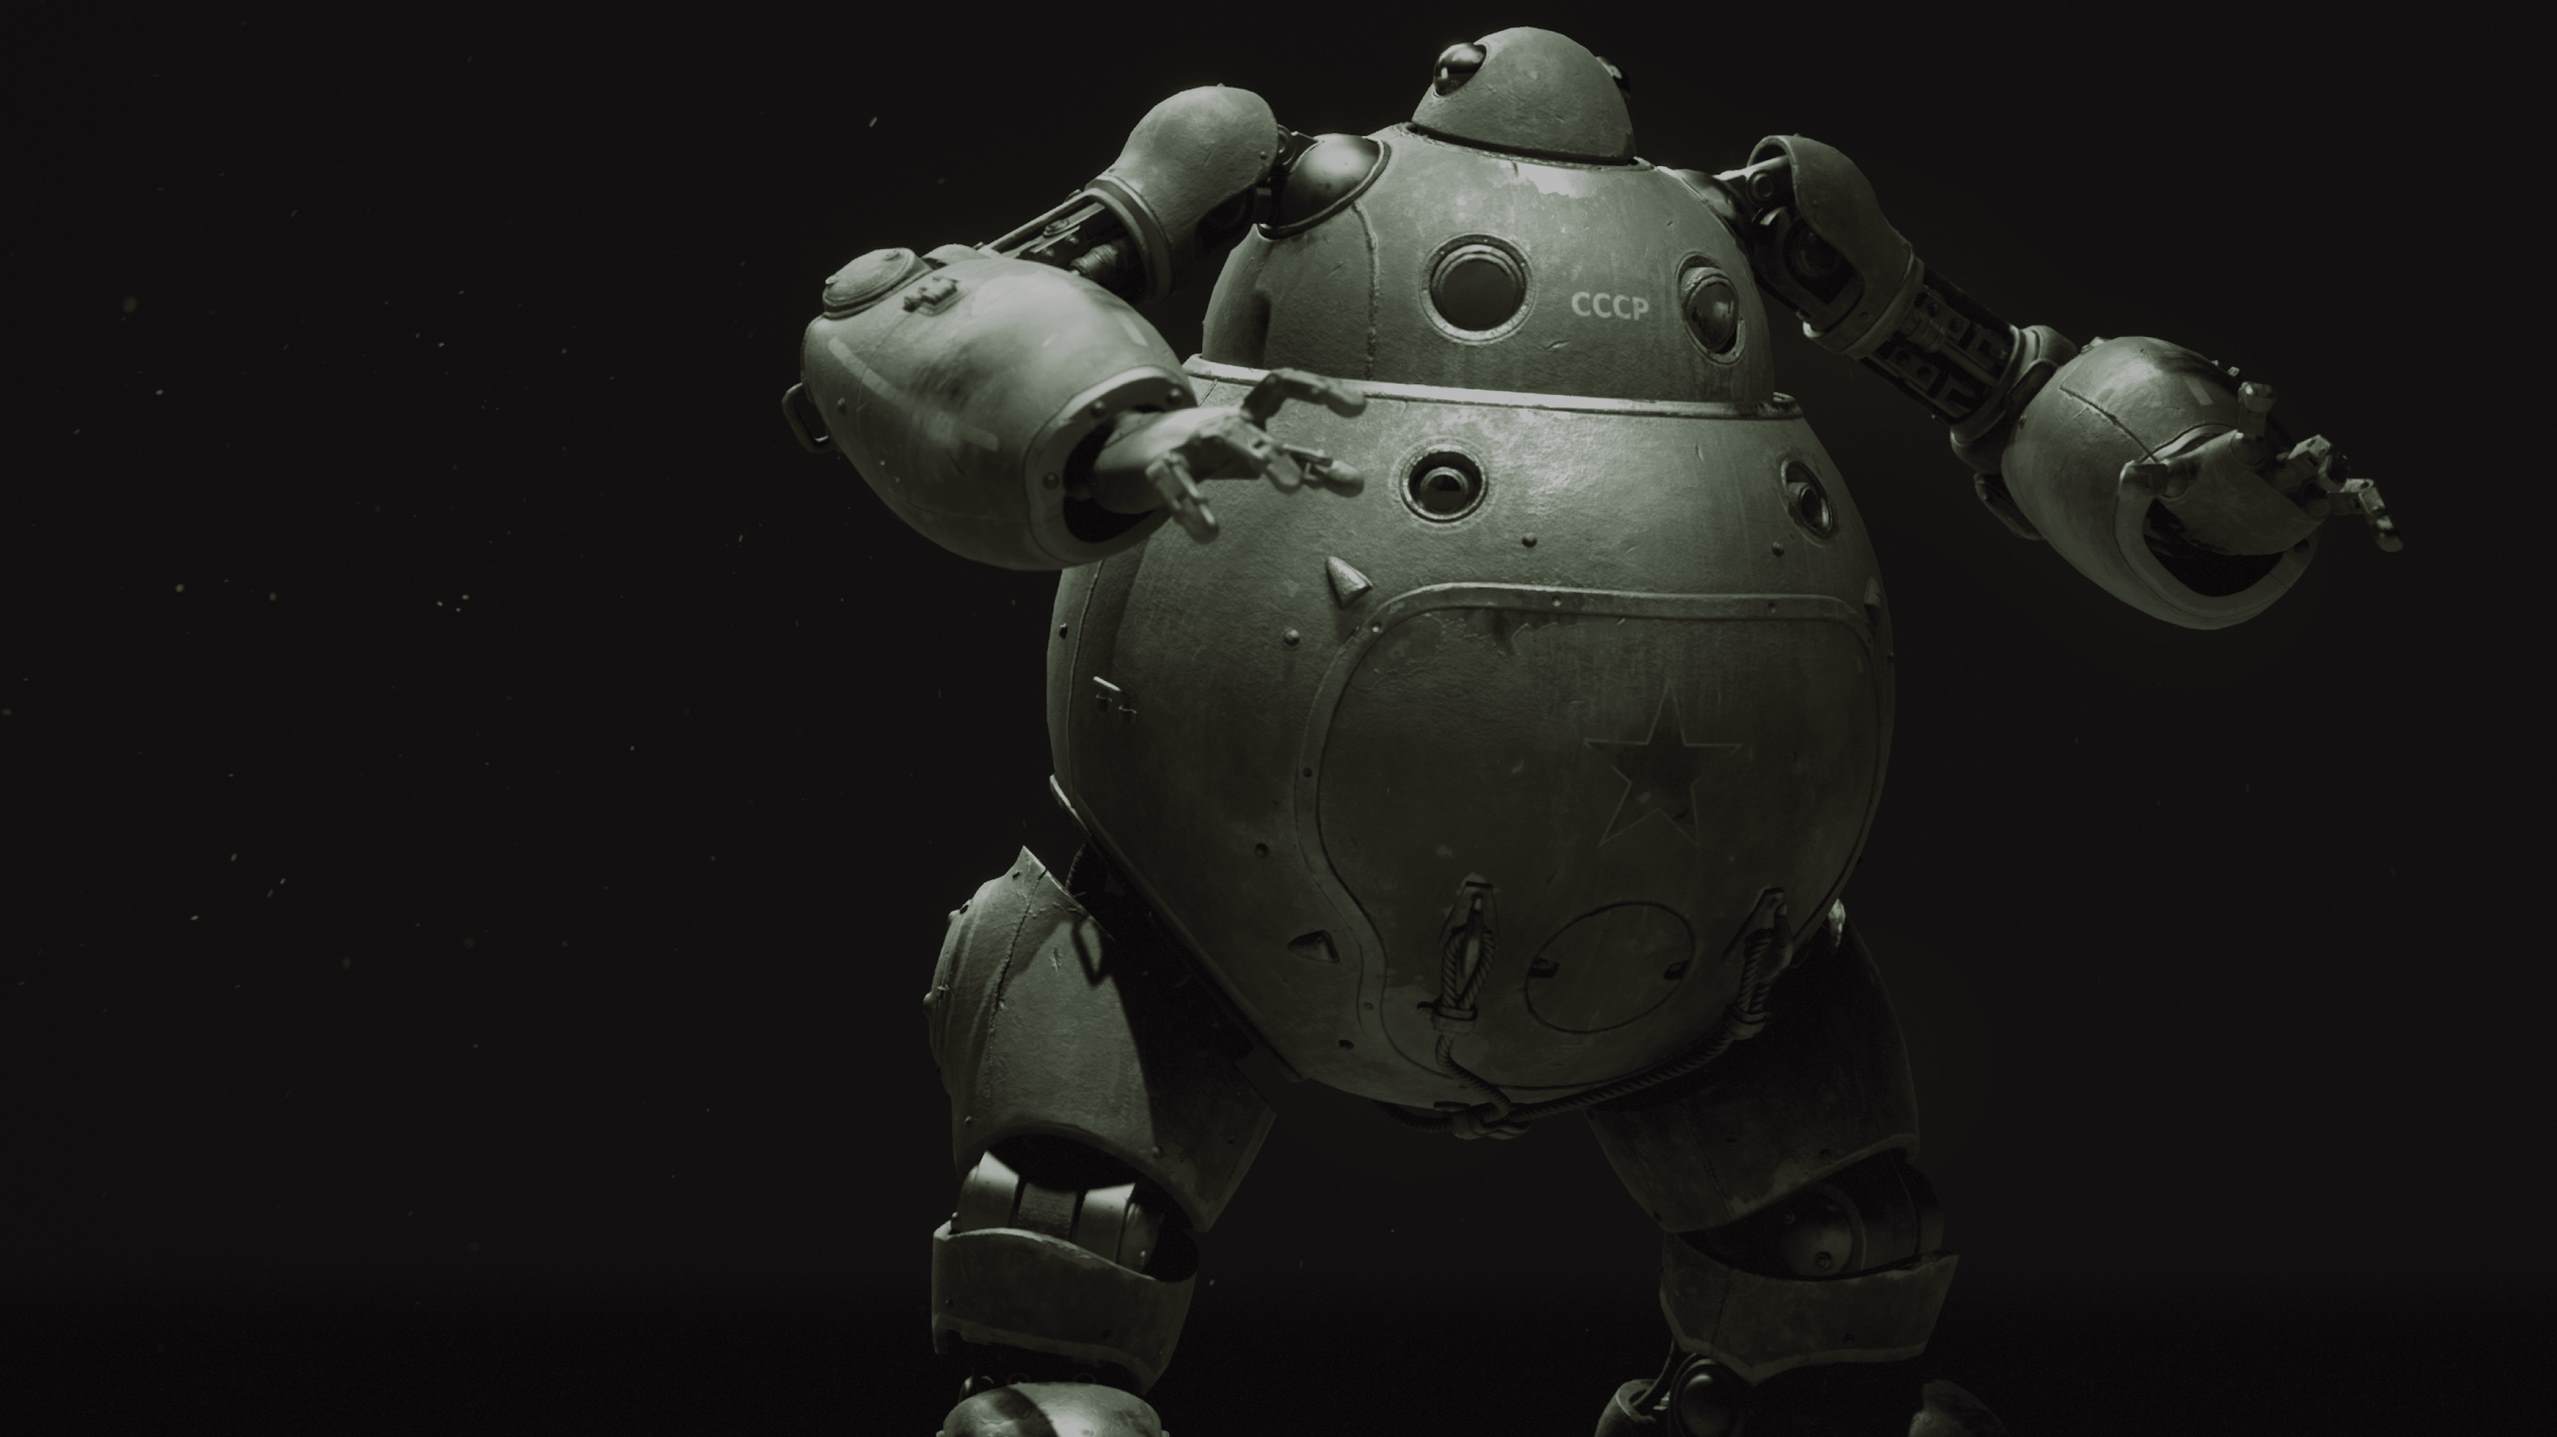
4. MA-9 Belyash
Belyash Details:
- Resistance: Electric, Fire Damage, Projectile Weapons
- Weakness: Ice Damage
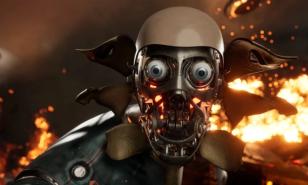
As far as designs go, Belyash is interesting. It looks like a cross between the Big Daddies from Bioshock and a chimpanzee. Which is somewhere between deadly and goofy.
Everything about this thing looks disturbing. You might remember that these things almost kill you in two of the early game cutscenes. The boss battle definitely lives up to that promise.
One thing to note is that after the boss battle, Belyash becomes a regular enemy. That being said, the encounters will be very rare. And the enemies you’ll fight will be weaker versions of the boss.
Strategy:
- This mini-boss shows itself right outside the Theater, guarding the entrance. The area is large enough for you to move without feeling cramped. That being said, the Belyash is also very agile and moves a lot.
- Belyash is a deadly enemy whether you’re close or far. Close-up, it will hit you with powerful melee attacks. From a distance, it will pull out bits of the ground and throw them at you. And the projectile will explode into energy rings that you will have to dodge.
- Your best bet is actually using a melee weapon. I recommend the Pashtet because of how quickly you can attack with it, since you’ll be hitting and dodging a lot.
- Speaking of attacks, Belyash has an energy attack similar to Hedgie. It’ll slam the ground and release a circle of energy. Dodging is your only course.
- The head should draw your attention, because that’s a weak spot. Hit it with a melee weapon to do extra damage. But this will cause the Belyash to strike back with a power attack. Remember to dodge that.
- Frostbite won’t do any damage, but it’s useful. It slows down the Belyash.
- Once you’ve taken out half of its health, the thing will catch fire. This is very bad for you, because now you’ll take fire damage if it hits you.
- Watch out for when it lowers its head. It’s about to breathe fire. Stay out of its path to avoid damage.
- Dodging is going to be difficult when the whole stage is burning. Luckily, you can use Polymer Jet to take care of those.
- Polymer Shield is another great asset. Especially after halfway through the battle, when you can take a lot more damage from melee combat.
- You just need to get a hang for the rhythm of its attacks. After that, keep dodging and hitting it until it crashes.
Best Way To Beat Belyash:
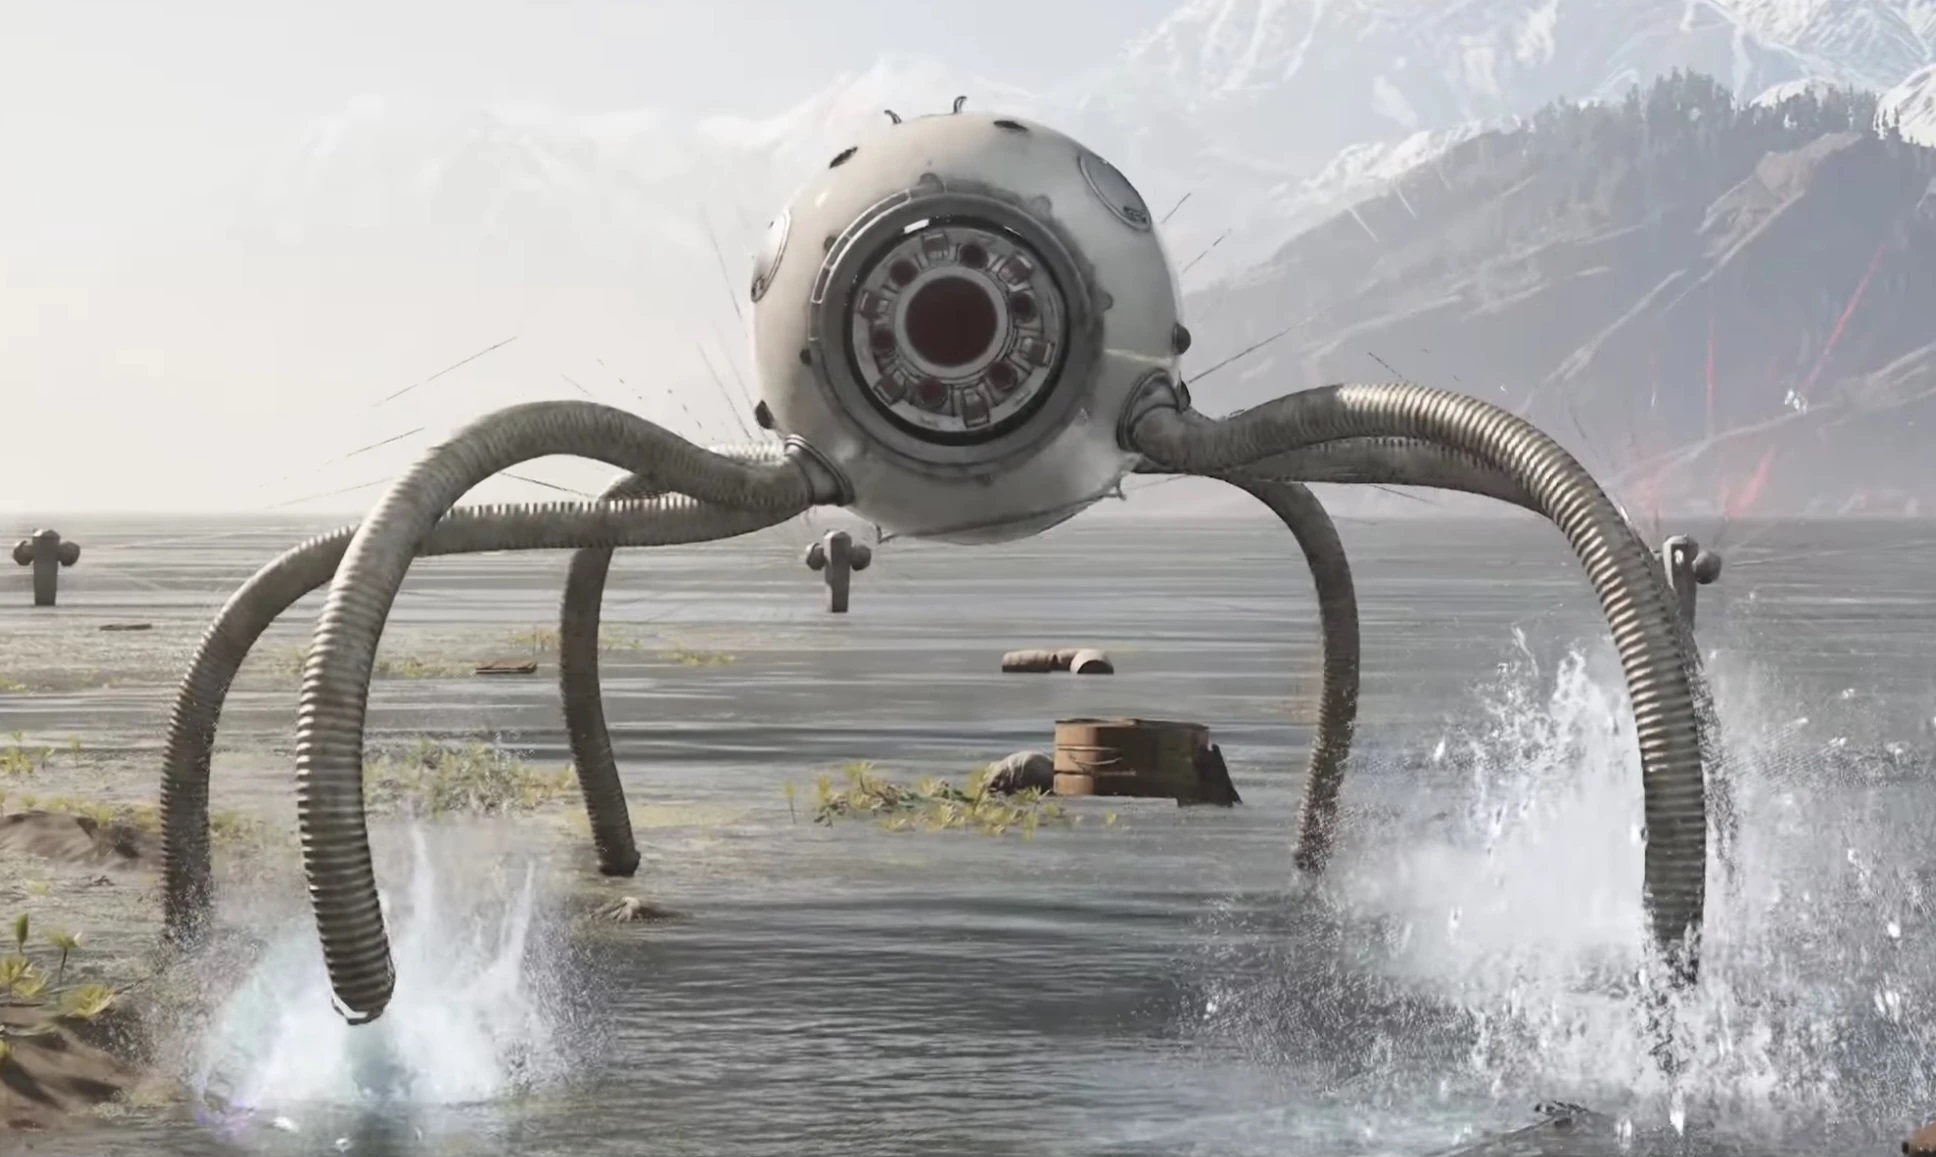
3. Dewdrop
Dewdrop Details:
- Resistance: Energy Weapons, Explosives, Frost, Fire and Electric Damage
- Weakness: None
This octopus-like thing makes quite the entrance. It’s a mining robot that tears its way out of a dead whale. After shaking off the blood, it is ready to fight you.
Dewdrop is more than it meets the eye. The outside might be a metal shell, but the inside is full of Polymer. This is especially bad because it will use it to attack you.
Dewdrop comes with a lot of traits that make it a difficult boss. It has a lot of health, making it a tough nut to crack. On top of that, it has a variety of melee and ranged attacks, some which can be hard to dodge.
On top of all of that, it has no weaknesses. That means your strategy isn’t to look for what’s best. Rather, what can hurt it at all.
Strategy:
- The area isn’t cramped but it’s not spacious either. And because of the way Dewdrop moves, your space for dodging might be limited. You’ll have to make do with that.
- The first half of the fight is fairly easy. It can get close to you and use one of the tentacles to hit you. Or it can shoot you with its laser eye.
- The laser eye is fairly easy to dodge, despite having a wide range. More importantly, that is a weak point you should exploit. Classic video games, am I right? Dodge and then attack it with Kalash.
- Once you’ve got the health down to half, things get complicated. The Polymer begins to ooze out of its shell and becomes more tentacles. It also expands its moveset.
- The tentacles are swift and can hit you from a distance. Having the right skill upgrades is absolutely essential.
- When the enemy uses its laser eye, it will try to trap you with the tentacles. Even though your room is tighter, you can still dodge its attacks if you time it right.
- It can also spit out polymer bile at you.
- The whale in the center is actually a great piece to this stage. You can use it to give yourself some breathing room. So keep it between you when you need to rest and recover.
- Doesn’t matter what weapons you have on you, this is the time to unload everything.
- Mass Telekinesis works very well on this boss. Make sure to have it upgraded and spam it as much as you can.
Best Way To Beat Dewdrop:

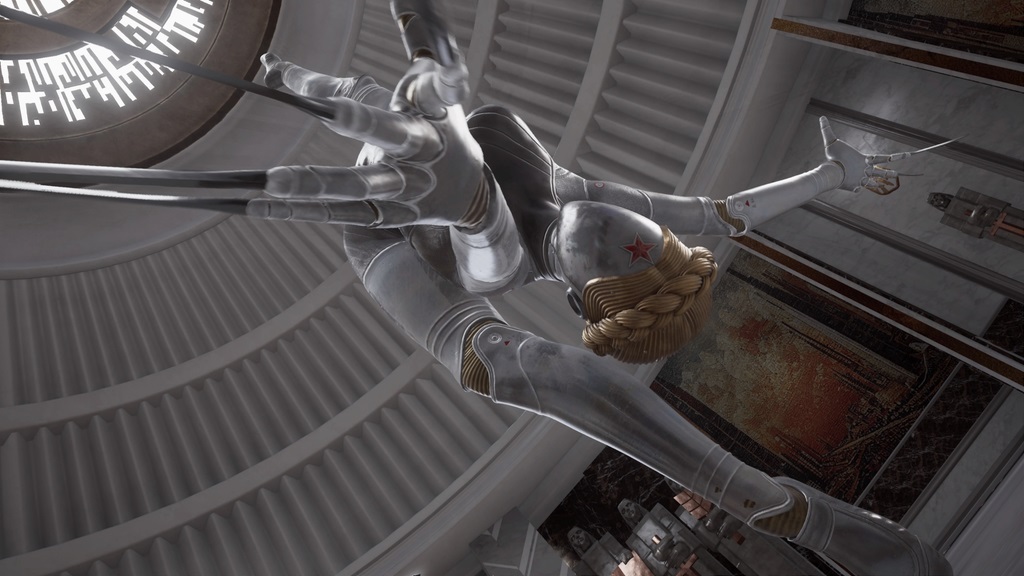
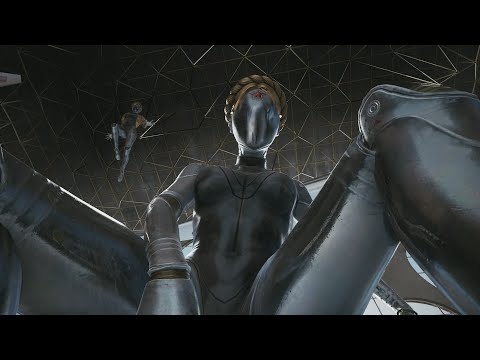
2. Left
Left Details:
- Resistance: Projectile Weapons
- Weakness: None
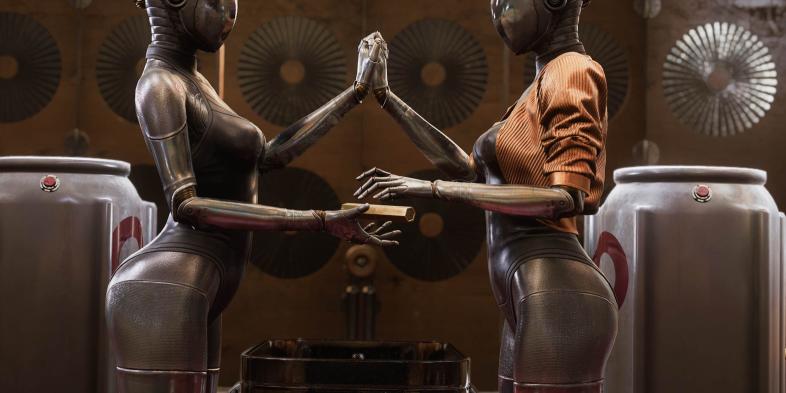
The twins from Atomic Heart are pretty much iconic for the game. Their designs have been used in every promotional material. So it’s only fitting that they pose the biggest challenge.
Before I get into it, I should clarify something. Focus Entertainment’s official website calls the other one Left. However, since the game calls this one Left and the other one Right, I’m sticking to that.
The fights take place in two stages, with you fighting Left first. And this section is dedicated to her. It begins when you enter the HQ, and a creepy animation plays as the ballerina prepares for battle.
Left is one of the deadliest and fastest enemies you will fight. She will easily close the distance and attack you with her deadly claws.
And when she’s far away, she’s even deadlier. Because like you, she has an energy source. Once that’s charged up, she will attack you with energy attacks. And those are very difficult to dodge.
Strategy:
- The biggest threat she poses is her energy attack. But there’s a way to fight that. She can’t generate energy when you’re hitting her.
- You need to keep closing the distance and hitting her with your melee weapon. Be prepared to dodge her attacks while you keep up the offensive.
- She’s faster than you, so eventually she will get away from you. Since most of your ranged weapons are useless, you should go for the Fat Boy. She might not be weak to it, but it’ll do massive amounts of damage to her. And if you’ve maxed out the Homing Projectile upgrade, you are good to go.
- You can’t stop her from filling up her meter, though. It’ll happen. She uses sweeping electric shock waves on the ground, and they’re very difficult to dodge. You can try jumping over them, but having Sleazeball is your best bet.
- Keep attacking her with Fatboy and your melee weapon of choice, and you’ll tear down her health bar. Eventually.
Best Way To Beat Left:

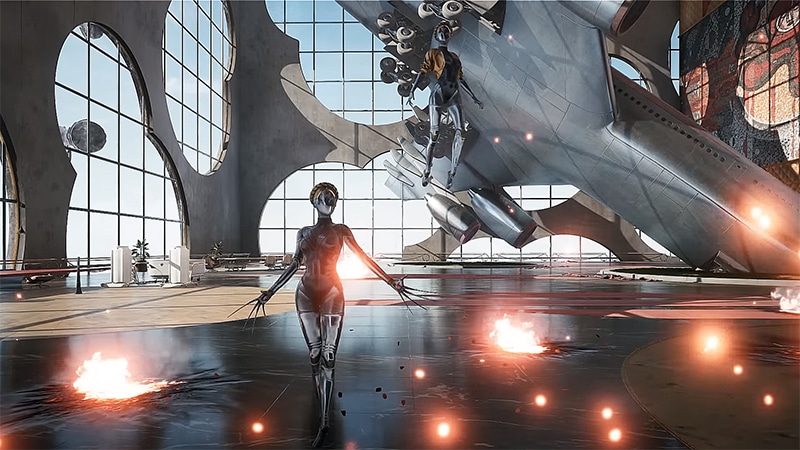
1. The Twins
Right Details:
- Resistance: Electric Damage
- Weakness: None
And finally, we have the last battle of the game. I’ve heard some people say that they found other bosses harder, but I can only speak from my experience. And there are several reasons why I think this one deserves the top spot.
One of the twins by themselves is deadly, the last fight should have proved that. Both together doing their things is insane. It’s very difficult to track both of them at the same time.
And on top of that, Right is going to be flying around, making it difficult to hit her. They also have moves used in synergy that makes things tougher.
Strategy:
- The first part of this fight is incredibly frustrating. You’ll have to play a quick time event to survive as Left tries to kick you to death. Once you get past that, the real fight begins.
- You’re going to fight both Left and Right. Fortunately, you should be familiar with the former’s moveset. Unfortunately, the latter complicates the equation.
- Right will be flying around. Her most common attack is throwing Polymer at you, similar to your ability. Make sure to avoid that.
- When one of the Twins is low on health, the other will give them theirs. This will equalize the health bars but draw the fight out for longer.
- Right can also shoot you with a laser beam. It’s easy to dodge, but also easy to forget about. So always keep an eye out.
- Since they essentially share the health bar, your focus should be on attacking Left. You already know how to defeat her, so it’s a repeat of the last battle. Mostly.
- Both of your enemies have energy bars, which means they will use power attacks against you. So you should hit both enemies to deplete their energy bars.
- Right’s energy attack is similar to Left. She will slam into the ground and release a circle of electric energy.
- Right will also pass a ball of Polymer to Left, which she will then slam to the ground. This has the same effect as a circular shockwave and should be dodged.
- Halfway through, the twins will float into the air and perform a combined laser-polymer attack. The polymer reflects the laser into multiple parts of the ground. Make sure to dodge it all.
- At the end of the fight, they will repeat the same laser attack. Dodge it, and you will have successfully beaten the Twins!
Best Way To Beat The Twins:
You may also be interested in:
Share this Article:

- Log in or register to post comments