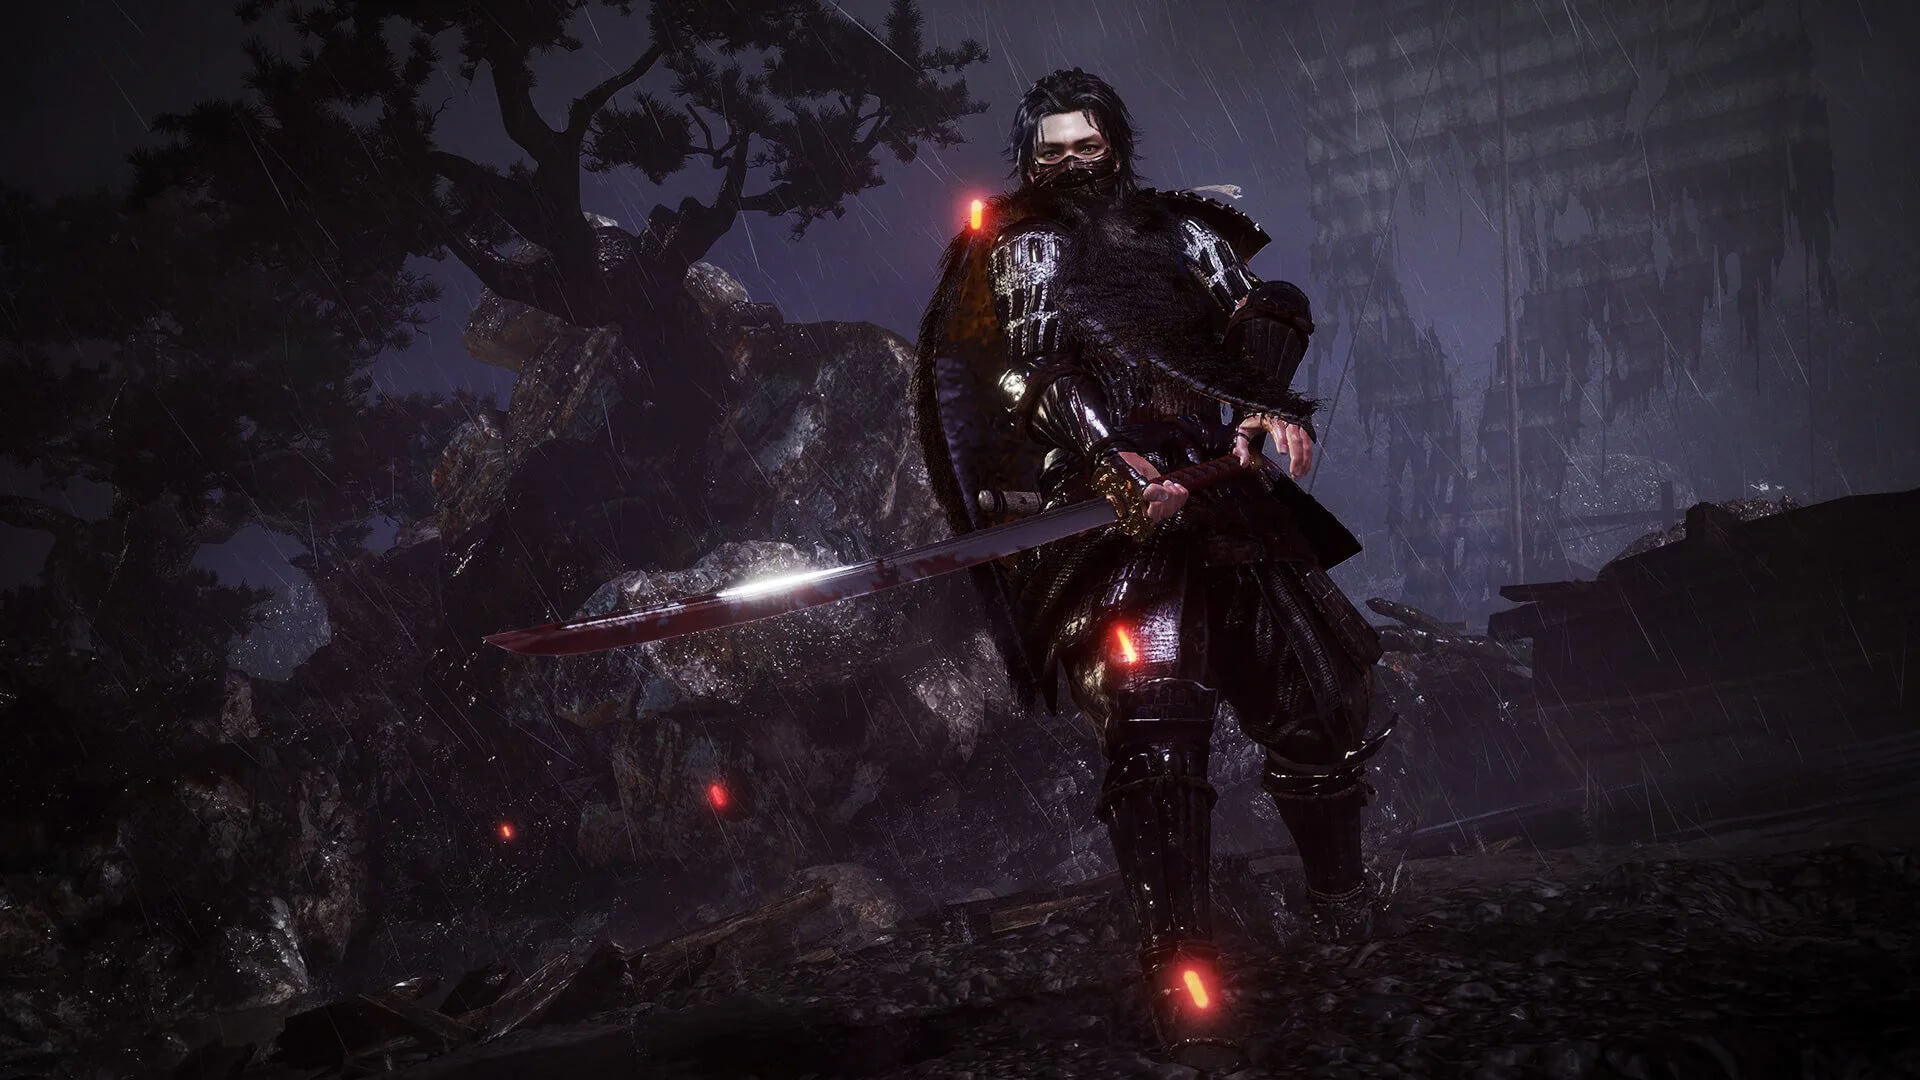
There is a lot of accessories in Nioh 2, so what exactly should players be using?
Nioh 2 is a fantastically exciting game that will push even the most hardened players to their limits; however, it is far from being cruel or unfair and provides players with a wide variety of accessories to help them overcome the challenges they'll face on their journey through the blood soaked, demon infested land of feudal era Japan.
Without further ado, I present to you this list of the top 10 best accessories in Nioh 2, complete with instructions on how to get them.
10. Sudama Netsuke

At #10 on the list, we have the Sudama Netsuke; it is likely not going to be a staple for most character builds, but it comes fixed with the "Item Drop Rate" effect and thus is excellent for farming rare item drops such as Smithing Texts. In addition to that, it also comes fixed with the "Treasure Sensor" effect which will allow you to see treasure chests on the minimap.
It is, unfortunately, not possible for players to craft accessories like they can with Weapons and Armors; instead, the main method of getting your hands on these trinkets is by killing enemies and hoping they drop them. However, the Sudame Netsuke isn't added into the loot pool until the first DLC which is inaccessible until you beat the main story.
What makes the Sudama Netsuke great:
- It increases the drop rate of items
- It puts treasure chests on to the minimap
9. Prayer Beads
If you are a player that values stealth and enjoys running Ninjutsu or Onmyo Magic builds, then the Prayer Beads should be right up your alley. Because they come fixed with the "Stealth (Yokai Enemies)" effect, the Prayer Beads are particularly useful on twilight missions or any mission where Yokai make up the majority of enemies.
Additionally, the Prayer Beads are one of the few accessories that can roll the "Untouched Ninjutsu", and "Untouched Onmyo Magic" effects which give players a chance to use Ninjutsu or Onmyo Magic without consuming the items.
It is impossible to craft accessories at the blacksmith, so players looking to obtain the Prayer Beads will need to kill enemies until they drop them. There is good news however; the Prayer Beads are already in the loot pool when players start the game, so they can get the accessory as early as the first mission.
What makes the Prayer Beads great:
- It offers stealth against Yokai
- It can roll the "Untouched Ninjutsu" and "Untouched Omnyo Magic" effects
8. Medicine Case (Orange)
Now then, we come to the Medicine Case (Orange); its appearance may be unassuming but, make no mistake, it can be a powerful accessory in the right hands. Since it comes fixed with the "Untouched Elixir" effect which gives players a chance to heal using an Elixer without consuming the item; furthermore, it is one of the few accessories that can roll the "Life Recovery (Amrita Absorption) effect which is easily one of the best in the game.
It is, sadly, not possible to craft accessories at the blacksmith like we can Weapons and Armor; therefore, if players want to get their hands on the Medicine Case (Orange), they will need to kill enemies until they drop it. The accessory is already in the loot pool when starting the game, so players can obtain the Medicine Case (Orange) as early as the first mission.
What makes the Medicine Case (Orange) great:
- It gives a chance for Elixirs to not be consumed
- It can roll the "Life Recovery (Amrita Absorption)" effects
7. Kodama Netsuke
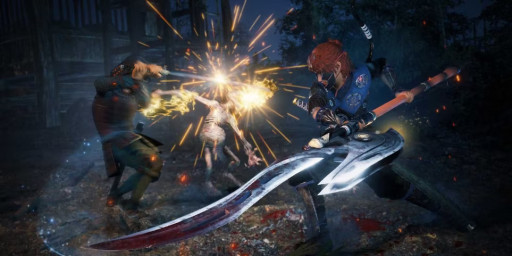
The Kodama Netsuke, like the Sudama Netsuke, is probably not going to be a staple on anyone's build; however, since it comes fixed with the "Kodama Sensor" effect that shows hidden Kodama on the map, it is incredibly useful for those players that are looking to 100% the game.
It is, unfortunately, not possible to craft accessories at the blacksmith, so players looking to obtain the Kodama Netsuke will need to kill enemies until it is dropped; this accessory, however, is not added into the loot pool until the first DLC which is inaccessible until you beat the main story.
What makes the Kodama Netsuke great:
- It puts the hidden Kodama on to the minimap
6. Comb
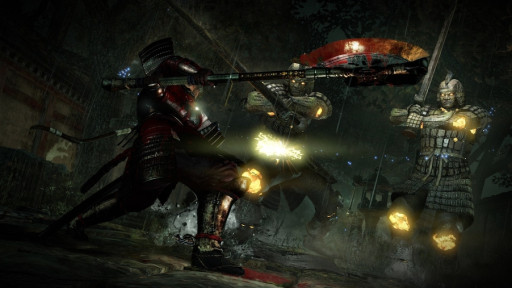
It may be a bit surprising to see a comb being placed this high on a top 10s list; however, I assure you that this comb deserves the placement. Because it comes fixed with the "Amrita Gauge Charge" effect which increases the speed at which the Amrita Gauge is filled, the Comb lets players use the Yokai Shift mechanic more often; this translates to a significant increase in a player's damage output.
Sadly, it is impossible to craft accessories at the blacksmith like we can Weapons and Armor; this means that players looking to get the Comb will need to kill enemies until it is dropped. Thankfully, the Comb is another accessory that can be obtained as early as the first mission.
What makes the Comb great:
- It speeds up the filling of the Amrita gauge
5. Magatama (Green)

Because it comes fixed with the "Anima Charge" effect which increases the speed at which players gain Anima, the Magatama (Green) is a powerful accessory that can fit into any build. There are hardly any players that don't use any Yokai Abilities at all and, since Anima must be consumed to launch those attacks in the first place, the Magatama (Green) will increase the rate at which players use their Yokai Abilities.
It is worth noting that the Magatama (White) and Magatama (Red) have a more powerful boost; however, they have conditional activations with the Magatama (White) requiring players to be at full health and the Magatama (Red) requiring players to have their health critically low.
The Magatama (Green) cannot be crafted at the blacksmith; instead, players who want to get their hands on this accessory must kill enemies until they drop it. It is already in the loot pool when starting the game, so players can get their hands on the Magatama (Green) as early as the first mission.
What makes the Magatama (Green) great:
- Its increases the rate at which the Anima Gauge is filled
- It shares the largest effect pool with the other Magatama
4. Soul Core Box
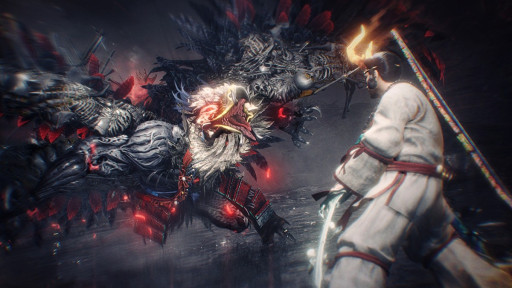
The Soul Core Box is a rather powerful accessory; its fixed effect, "Ominous Pact", allows players to use a Yokai Ability without the required Anima, though this is at the cost of building a debt that is paid off by performing actions that would normally net you Anima. If you have a build that focuses on generating Anima really quickly, then you can essentially use Yokai Abilities whenever you want; this can be a really big lifesaver in many situations.
This accessory is special in that it is part of a set bonus whose pieces are dropped by a boss; in particular, the "Imperial Ward" equipment set is dropped by Minamoto no Yorimitsu in the second DLC which is inaccessible until you beat the main story. Thankfully, the Soul Core Box is added into the loot pool after it is dropped by Minamoto no Yorimitsu.
What makes the Soul Core Box great:
- It lets players use Yokai Abilities without Anima
- It is part of the "Imperial Ward" set bonus
3. Shuten Doji's Gourd
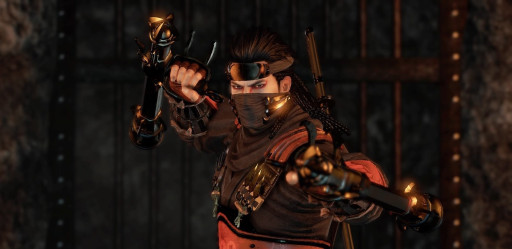
Shuten Doji's Gourd is an accessory that is arguably the best in the base game. It is fixed with the "Pleiades (Amrita Absorption)" effect which increases the speed at which the Amrita Gauge fills up; because Amrita is obtained by using Yokai Abilities, killing enemies, hitting staggered Yokai and so on, the Pleiades (Amrita Absorption)" effect is always activated whenever it matters the most.
Shuten Doji's Gourd is similar to the Soul Core Box in that it has to be dropped by a boss before it is added into the loot pool; in particular, it must be dropped by Shuten Doji in the main mission "The Mausoleum of Evil".
What makes Shuten Doji's Gourd great:
- It increases the speed at which the Amrita Gauge is filled
2. Yata Mirror
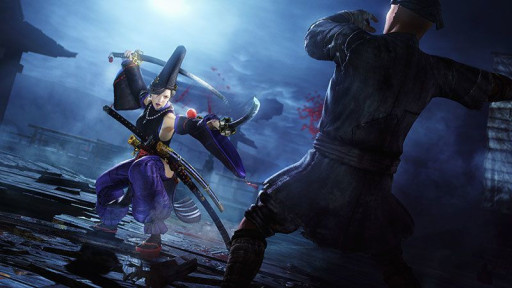
The Yata Mirror is a spectacularly powerful accessory that comes fixed with the "Deflect Bullets and Arrows (Timely Guard" and "Luck" effects, the former of which lets players deflect projectiles by blocking a few frames before they hit and the latter of which increases the luck stat.
If you aren't a fan of the Switchglaive, then the Yata Mirror is the only real method you have of dealing with the increased fire rate of enemies in the NG+ cycles; it is arguably better than the Switchglaive's "Whirling Blade" ability because, while it does require a bit more finesse, a timely guard can be pulled off in any stance with any weapon.
The Yata Mirror is, sadly, not put into the loot pool until players unlock NG+++ or "The Dream of the Wise" difficulty, but it makes sense given how powerful the item can be. That being said, it can be found as a rare drop from enemies located in scrolls on NG++ or "The Dream of the Demon" difficulty.
What makes the Yata Mirror great:
- It lets players deflect projectiles with a timely guard
- It increases luck which can help with farming
1. Yasakani Magatama
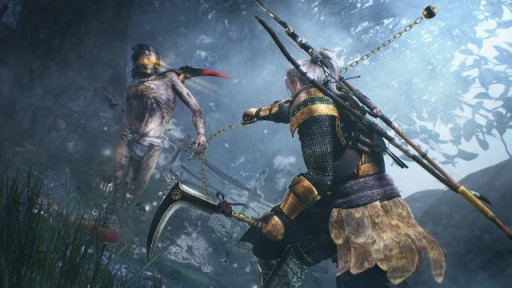
The Yasakani Magatama is no doubt the best accessory in the game; because it comes fitted with the "Set Bonus Requirements Reduced" effect which lowers by one the number of equipment pieces need to activate a set bonus, a player using the accessory has a lot of build variety. Furthermore, it can roll nearly every effect that can be rolled by accessories.
It, unfortunately, is not possible to craft accessories at the blacksmith, so players looking to get their hands on the Yasakani Magatama will need to kill enemies until they drop it. That being said, the accessory isn't added into the loot pool until players unlock NG++ or "The Dream of the Demon" difficulty; it can be found as an incredibly rare drop on NG+ or "The Dream of the Strong" difficulty.
What makes the Yasakani Magatama great:
- It reduces by 1 the number of equipment pieces needed to activate a set bonus
- It shares the largest effect pool with the other Magatama
You may also be interested in:
- Nioh 2 Best Builds That Are Fun To Play
- Nioh 2 Best Weapons (And How to Get Them)
- Nioh 2 Best Guardian Spirits
- Nioh 2 Best Soul Cores (And What's Great About Them)
- Nioh 2 Best Weapon Types - Which Should You Choose?
- Nioh 2 Best Starting Weapons That Are Excellent
- Nioh 2 Best Accessories That Are Powerful
- Nioh 2 Best Armor Sets For Each Weapon Type
- [Top 5] Nioh 2 Best Helmets

