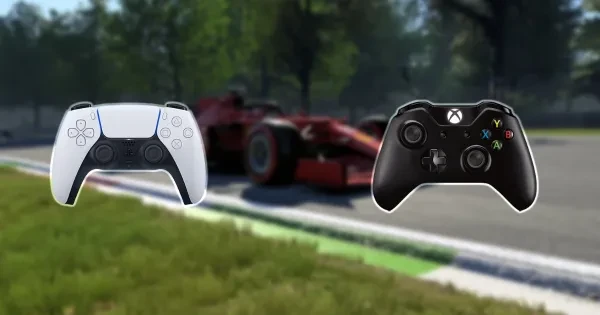
I’ll be honest, the wheel by default is better than the controller, especially with all the changes made in the new f1 game, but it doesn’t mean that the controller can’t be fine-tuned to be as competitive as the wheel. So, you don’t have a wheel to play the F1 2021 game? No problem, because we are about to investigate the top 3 controller settings that could give you an advantage over the wheel players. This is F1 2021 controller settings tutorial!
Generic settings
The problem: ERS overtake mode functionality
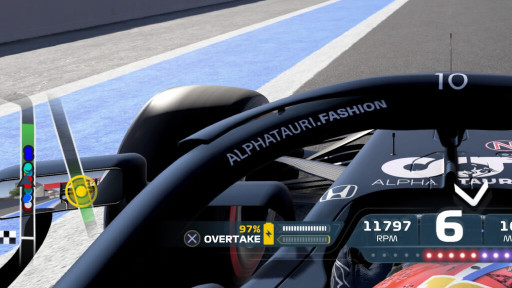
One of the first things you need to do is adjust the ERS (Energy recovery system) mode in the generic settings. Go to settings >controls, vibration and force feedback> generic settings. For the overtake ERS mode, you can choose “toggle” so you would have to switch the overtake button on and off while driving. You can choose “hold”, which only applies to the ERS while you press the assigned button. Most players, I included, prefer to keep our hand on the button so that we don’t have to switch our fingers while driving, which could lead to making big mistakes. Tip: The ERS mode is very important as it helps you launch an attack on the cars ahead of you for a potential overtake or even defend from the cars behind you. The secret here is leaving the ERS mode on the “hold” option. This will make you faster compared to switching it on and off. While the ERS gives you an enormous boost, it’s important to use it during your races. You don’t want to use it all so early and struggle later when cars are trying to get by you. When you are confident you can overtake a car, apply the ERS, also do so when you are close to being passed. To enable it, hold on to the assigned ERS button, and when you are done, release it. Always watch the ERS bar. The lower it is, the less power it can give your car when deployed.
Calibration settings
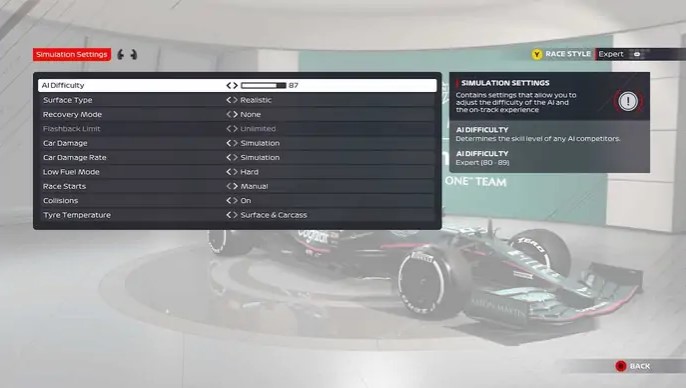
The problem: Poor controller change. In calibration settings, you get to fine-tune your controller behaviours. For example, the analogue stick you use for steering and the button you use for accelerating (throttle) could produce poor results because your controller is old or faulty. To fix this, you would need to tweak some certain functionality in the calibration settings. Navigate to calibration.
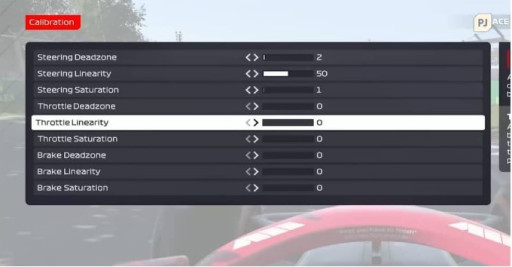
By changing the throttle and brake linearity, you reduce the sensitivity in the early stages by making the response curve sharpen, allowing your controller to respond better. Likewise, by tweaking the saturation, you can balance the “pressure” you’ll be inputting and how far the throttle button needs to go to hit 100%. For the steering deadzone, open the testing button and then flick the left analogue stick. Check if the steering returns to zero, if it doesn’t add one to it and try again. Continue this until the steering returns to zero. Next is the steering saturation. For this setting, open the test menu. Flick your stick again and check if it hits 100. If it doesn’t, you’ll need to add some points to steering saturation.
Steering Linearity: This is the first steering setting and I recommend you set it at 50, as it would give you a better feel of the car.
The throttle deadzone works in the same way as the steering. You need to open the test button, click on the throttle key bind, and check if it returns to zero. If it doesn’t just keep more points to it till it does. Do the same thing to break deadzone as well.
Throttle and Brake Linearity: Set both at 50. The benefit of this is it would give you a better feel and control of the car by allowing a moderate amount of throttle or brake. Tip: When implementing all these settings, just keep adjusting the values up and down to get where you’re happy with it. After that, you’d see increased performance and feel of your car. Although this might take some time getting used to, especially if you have been running older calibration settings for a while, but when you get a hang of it, you’d become a lot faster and even enjoy the game more.
Vibration and Force Feedback Settings
The problem: Lack of car and track feel

To solve this, navigate to the Vibration and force feedback menu. Go to maximum wheel rotation, although this is for wheel users, but adjusting it can take the edge off a lot, for your steering with a controller. Also, at the vibration and force feedback setting, adjust it to 120 or, better still, 150. These settings can help you understand what the car is doing, whether it’s losing grip and whether we are about to lose the car like when you turn into a corner too, the force feedback would try to alert you so you can make changes. Tip: One thing you can do is to add a tone when it’s time to shift up the gears. This allows you to be alert and not get stuck on a gear when you could go higher. To add this, go to preferences >audio settings >up shift tone. Turn it On. Now, whenever it’s time to go up a gear, you’d hear a high-pitched tone sound!
In the past, it was crucial to have the wheel to play F1 games, but that has changed as with adding the settings found in this tutorial, you can set yourself up to dominate just like your fellow wheel gamers!


