What are some of the most effective and fun builds in Deep Rock Galactic for the Scout?
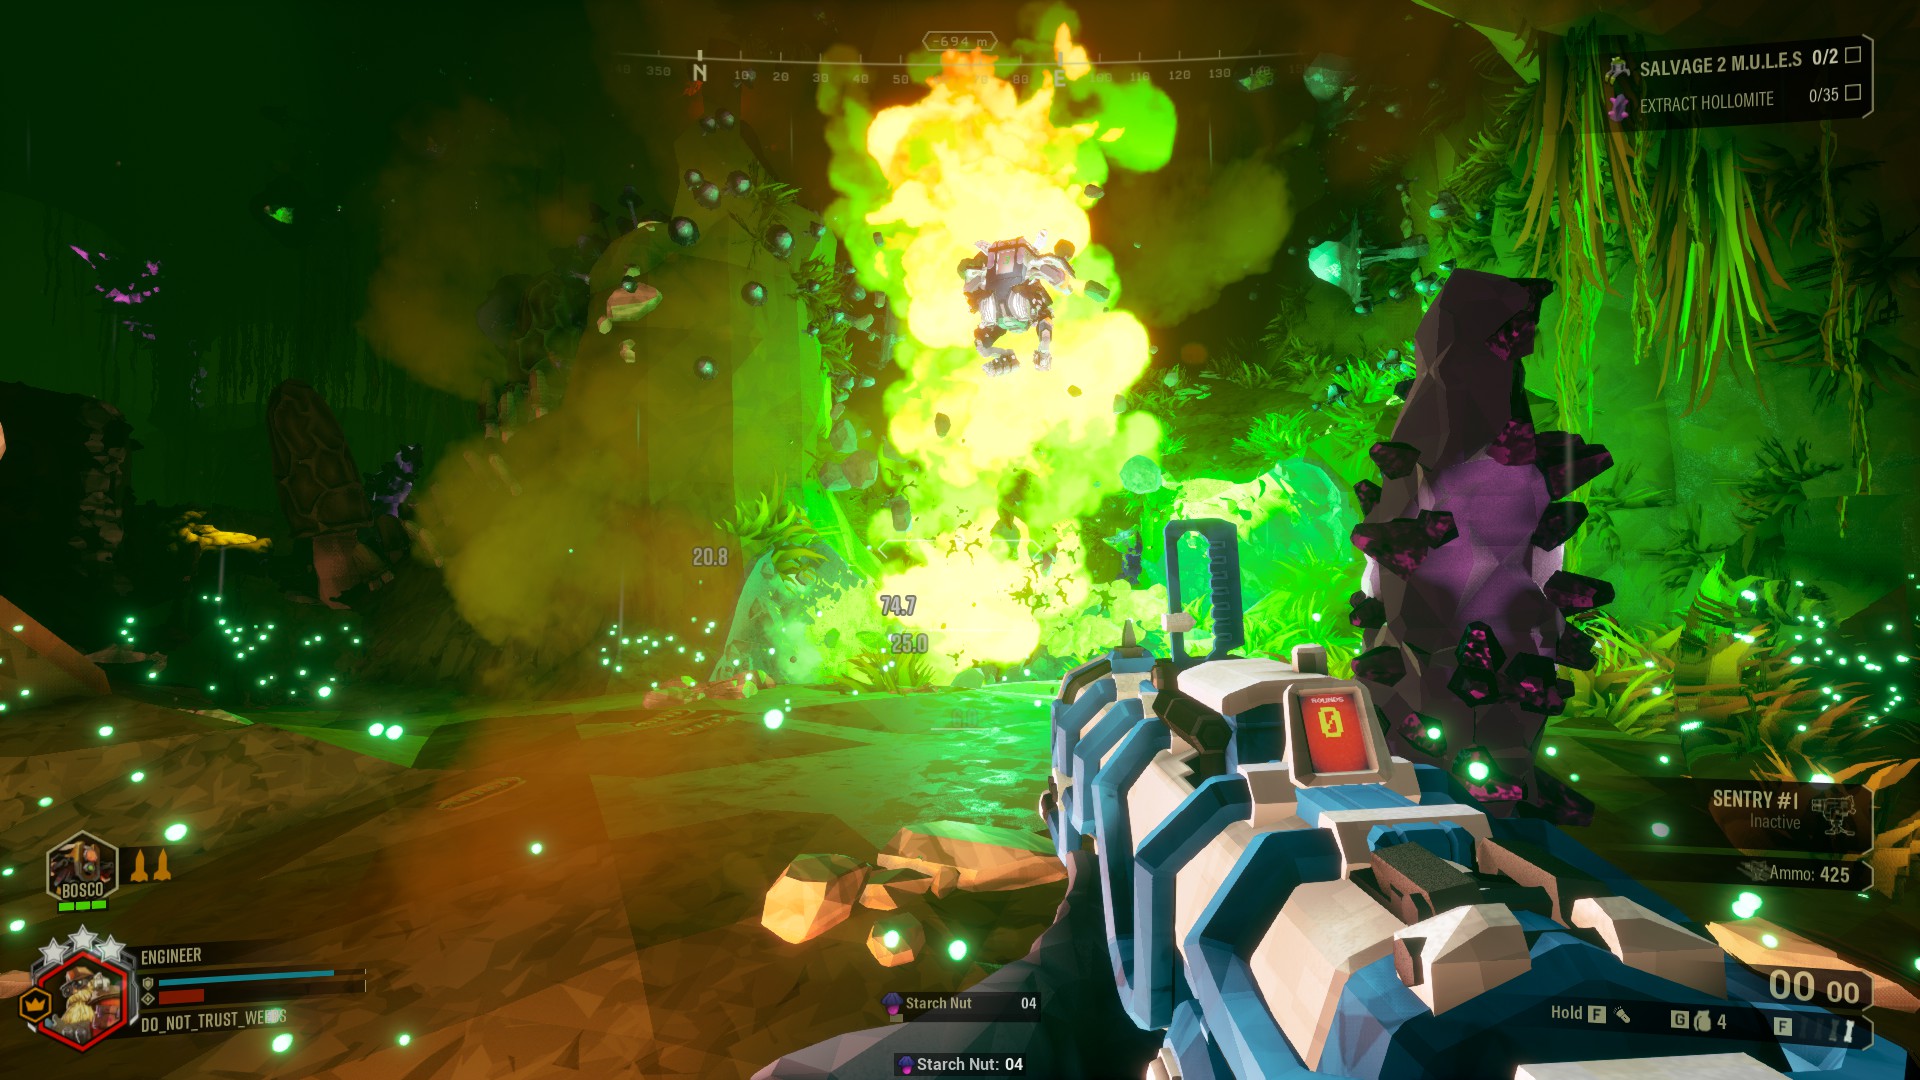
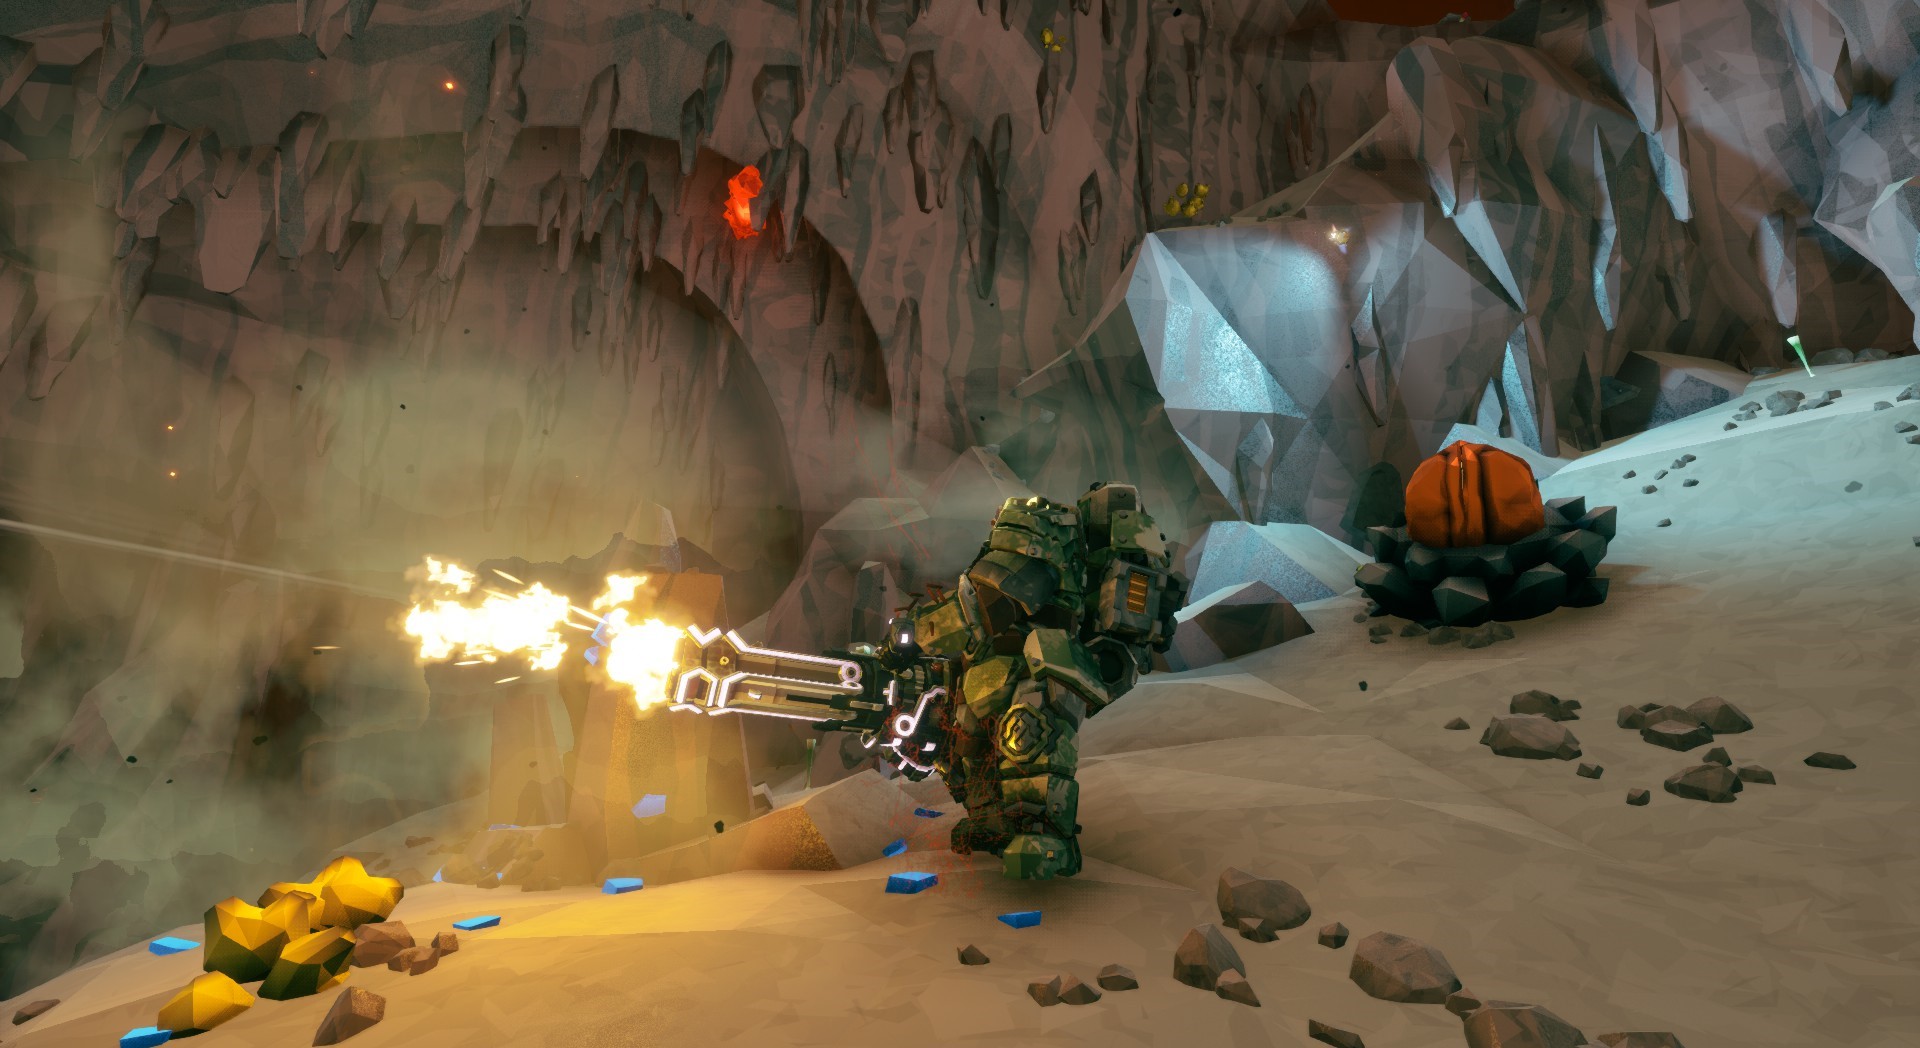
The Scout’s playstyle revolves around mobility and skirting around the map, providing utility through his flares, a good amount of damage, and some crowd control. Scout isn’t the class you want to pick if you want to be the top frag of your squad; he’s about reaching hard to reach places, moving swiftly around the battles, and relieving pressure from his teammates.
There is no meta in Deep Rock Galactic. You will unlock the overclocks eventually, but even if you don’t have these, you can play around with the ones you have and see if you mesh with them. Every build works, and you can always adjust them to your playstyle and to your liking. Having said this, we have talked with the community and tested 3 builds that we highly recommend you try, so you can Grapple Hook your way to a successful mission!
3. Shield Battery Booster + Trifork Volley
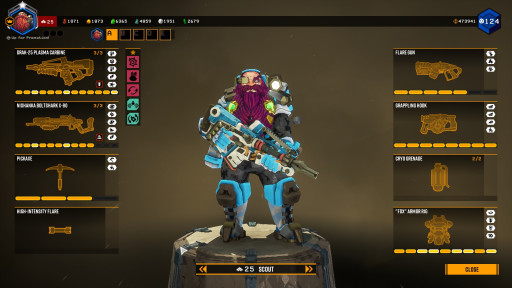
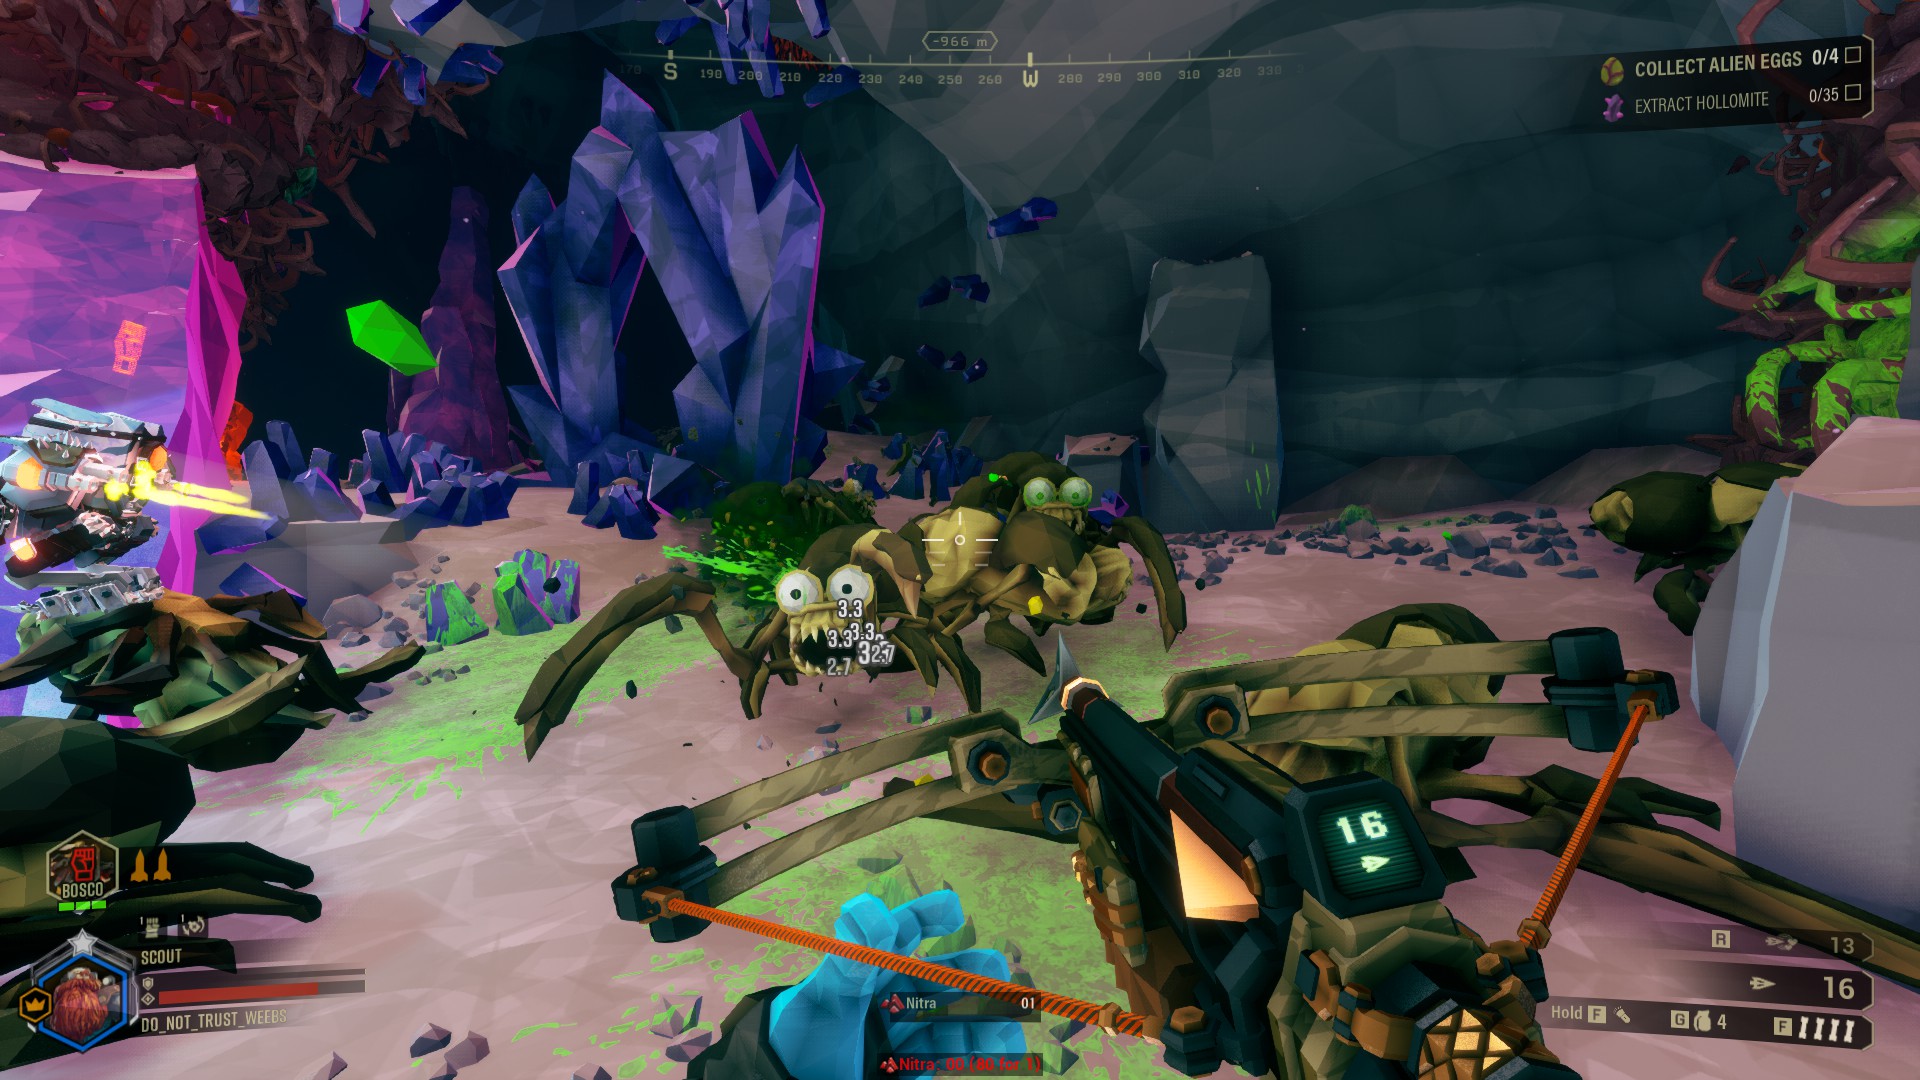
This build relies on you never getting hit, which is easy to say on paper, but harder to make it happen in the field. Shield Battery Booster will give your DRAK-25 a huge DPS increase when your shields are full, letting you mow down through the waves as you keep your distance. Trifork Volley becomes your way of dealing with bigger bugs! First, you proc Electricity with the DRAK-25, and then shoot the three bolts towards a weak spot. You’ll also bring the Magnetic Bolts perk, letting you hit all 3 bolts in the same spot, dealing massive amounts of damage. We also recommend bringing Pheromones, which will let you create space for yourself and your teammates.
What Shield Battery Booster + Trifork Volley Excels in?
- Even though Shield Battery Booster isn’t the easiest overclock to get used to, it will teach you how to skirt around the battle without getting hit.
- You will deal good damage with this build while keeping yourself alive.
- This build brings good utility and single target damage with Trifork Volley, helping you deal with the bigger threats.
DRAK-25 Plasma Carabine - B-B-B-A-B
- Improved Thermals: With this perk you’ll generate less heat per shot, countering the overclock used for this build.
- Increased Particle Density: More damage = things dead quicker.
- Gen 2 Cooling System: Akin to the tier 1 perk, generating less heat per shot will help you deal with the overclock’s drawbacks.
- Overcharged PCF: We take electricity here for two reasons: electricity is the best status in the game, slowing down and dealing damage over time, and it also synergises with a perk we’ll use for the Nishanka Boltshark.
- Thermal Feedback Loop: Taking Manual Heat Dump is a bad move for this build, so we take the faster rate of fire when the weapon reaches 50% heat.
- Overclock - Shield Battery Booster: This overclock will increase your damage output significantly at full shields, but you will heat the weapon quicker and overheating it will collapse your shield.
Nishanka Boltshark X-80 - A-B-A-A-B
- Special Bolt Pheromone: We take Pheromones because they make enemies turn against the target, creating space for your team to deal with the threats.
- Increased Quiver Capacity: You’ll be firing 3 bolts with the normal shot, so having more ammo will let you use this weapon more times.
- Stabilizing Arm Brace: Reload speed is a good quality of life for this weapon, especially because the overclock reduces it.
- Battle Frenzy: We can’t take the other perk while using this overclock, so Battle Frenzy becomes our only option. Having a bit of mobility never hurt anyone anyway.
- Magnetic Shafts: This is the perk that synergises with the DRAK-25. If a target is affected by electricity or is inside an electric field, the bolts will be pulled towards that target, dealing even more damage. This is great for bigger threats, as long as you aim towards the weak spots!
- Overclock - Trifork Volley: This overclock will let you fire 3 bolts at once (for your normal shot), and it will give you more ammo, but it makes your bolts not retrievable, and it also makes them deal less damage while increasing your reload speed.
Pickaxe: A-C
- Power Attack: Always try to use this on cooldown! Your power attack deals massive amounts of damage.
- Better Weight Balance: Having a lower cooldown on your power attack is a nice quality of life for it.
Flare Gun: B-B-B
- For the Flare Gun we like to take a mix of ammo and duration. You can always adjust it to your playstyle.
Grappling Hook: B-A-A-C
- Longer Cable: This will let you grapple onto things further away, which to us is a huge quality of life while traversing the caves.
- Greater Cable Strength: See perk above.
- High Velocity Ejection System: This will let you fire the hook faster, which could in turn take you away from an awful situation quickly.
- Bypassed Integrity Check: This perk lowers the cooldown of your grappling hook, letting you fire it quicker. It’s very useful to skirt around the battle without getting overwhelmed.
Grenade: IFG/Cryo Grenade
- You can take either of these grenades with you. The IFG will synergise further with your Boltshark, since it creates an electrical field that slows down enemies. The Cryo Cannon will on the other hand freeze anything around it (including your fellow dwarves), which is fantastic crowd control.
“Fox” Armor Rig - A-B-A-C
- Improved Generator: Since we’re taking Shield Battery Booster, we want our shields to start regenerating sooner, so we can be at full shields for as long as possible.
- Healthy: Having more health never hurts anyone, and it’s your most precious resource.
- Shock Absorbers: Scout likes less fall damage. Trust us.
- Breathing Room: The goal of this build is to never die, but if you do, this perk will grant you invulnerability for a short period after you get revived, allowing you to get away from danger quickly and safely.
Perks
- For perks we like to take Thorns, Deep Pockets, Ressuplier, Heightened Senses and Field Medic. Other recommended perks are Vampire, Iron Will and Beast Master. You can tweak them according to your playstyle and preferences.
2. Hoverclock + Special Powder
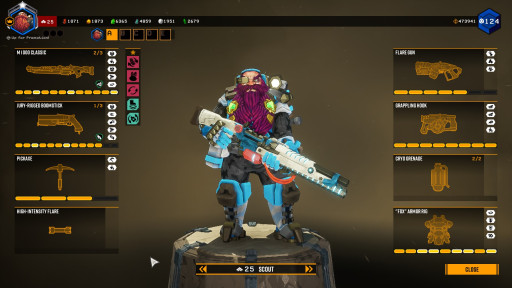
This build has a special place in everyone’s hearts. It isn’t set in stone, but what makes it tick are the two overclocks used on it: Hoverclock and Special Powder. With enough practice, you will barely touch the ground! Hoverclock makes your movement slow down when you use the M1000 focus mode while airborne, and Special Powder will let you propel yourself using the blast from your Boomstick. Now pair this with your grappling hook, and you’ve become Spiderman! This build takes a lot of practice to pull off, but with enough hours on it you’ll be able to soar through the skies while dealing good amounts of damage and helping your teammates by… Not being there with them. Seriously.
What Hoverclock + Special Powder Excels In?
- The M1000 rifle is a fantastic weapon by itself, it will do you no wrong in any situation.
- With these two overclocks you’ll be able to increase your mobility tenfold, letting you use the Scout’s kit to its full extent.
- What isn’t fun about pretending to be a Mactera and soaring through the skies (and sometimes falling flat. It happens. Seriously.)
M1000 Classic - B-A-A-A-A
- Increased Caliber Rounds: More damage is never a terrible option, and we take it here.
- Fast-Charging Coils: Being able to charge your focus shot faster will let you trigger Hoverclock quicker.
- Killer Focus: You’ll be using your focus shot a lot, so making it deal more damage is a great idea.
- Super Blowthrough Rounds: With this perk you’ll be able to fire through several enemies at once, giving the M1000 a little bit of waveclear.
- Hitting Where it Hurts: Having this will enable your focus shots to stun the target you’ve hit, which can help you and your teammates escape from a bad situation.
- Overclock - Hoverclock: One of two parts that make this build work. This overclock will slow down your movement while using your focus shot in the air.
Jury-Rigged Boomstick - B-A-C-A-B
- Double-Sized Buckshot: Dealing more damage never hurt anyone. Other than your targets.
- Double Trigger: In here you can also take the reload speed perk, it depends on what you need. The double trigger will propel you further with Special Powder.
- High Capacity Shells: With this perk you’ll increase your pellet count, which in turn, means more damage!
- Super Blowthrough Rounds: This will give your Boomstick a bit of waveclear, letting your pellets go through enemies, hitting the ones behind.
- Fear the Boomstick: Fear is good crowd control, and with this perk you’ll have a chance to fear enemies when you shoot this weapon, relieving pressure from you and your squad members that are nearby.
- Overclock - Special Powder: The second part of this build. Special Powder will let you propel yourself in the air using the blast from the Boomstick.
Pickaxe: A-C
- Power Attack: The Power Attack is a great way of dealing with threats that are close-by. Use it whenever possible!
- Better Weight Balance: Great quality of life perk to let you use the Power Attack more often.
Flare Gun - B-B-B
- For the Flare Gun we take a mix of ammo and duration. You can adjust it how you see fit.
Grappling Hook - B-A-A-C
- Longer Cable: For this build you’ll want longer reach for your grappling hook, letting you soar through the skies further.
- Greater Cable Strength: Check the perk above.
- High Velocity Ejection System: This perk will make your hook shoot out at a faster speed. It’s really good for this build, since you want to have as much air time as you can.
- Bypassed Integrity Check: Lower cooldown = more time airborne.
Grenade - Cryo Grenade
- For this build we prefer to take the Cryo Grenade over the IFG, because it gives you great crowd control in a pinch and well.. Raining down bursts of frost from the air onto your teammates is really stylish.
“Fox” Armor Rig - A-B-A-C
- Improved Generator: You can either take this or Deep Pockets, depending on what you prefer.
- Healthy: Being healthier is always fantastic, don’t you think?
- Shock Absorbers: You’ll be falling a lot with this build, especially while getting used to it, so this perk will give you some leeway.
- Breathing Room: Scout doesn’t tend to die often (from other sources than himself), but when you do, having this perk will let you be invulnerable after being revived, allowing you to try again at pretending to be a bird.
Perks
- For this build we love to bring Born Ready, Deep Pockets and Ressuplier as the passive perks, and Hover Boots and Field Medic for the active perks. When you’re more experienced with this build, you can switch Hover Boots for Heightened Senses if you’re struggling with Cave Leeches, and/or Beast Master for Field Medic when you’re playing solo.
1. Hipster + Special Powder
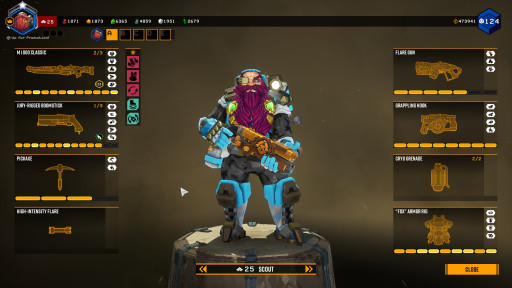
This build features the same weapons as the previous build, but it has some differences. Yes, we know Special Powder is still here. It’s too fun to pass up, and having more mobility on Scout is just fantastic. We take the M1000 again, but this time with the Hipster overclock. This overclock will double your ammo and it will let you be more accurate with your normal shots, especially if you fire a few in a row. This build can be taken almost everywhere, and you’ll still be able to cosplay as a plane.
What Hipster + Special Powder Excels in?
- This build is overall great in most situations, bringing you the stopping power of the M1000, and the versatility of the Boomstick.
- The Hipster overclock grants you lots of ammo, letting you use one of the best weapons for Scout for longer, before needing to restock.
- With Special Powder you will be able to be extremely mobile. With practice nothing will be able to touch you, and you’ll be able to reach the highest places.
M1000 Classic - B-C-B-A-C
- Increased Caliber Rounds: We’ll be shooting normal shots a lot, so more damage lets us achieve the damage thresholds to make this gun work.
- Hardened Rounds: Being able to break armor will let you and your teammates deal more damage, but if your squad already has a lot of armor breaking capabilities, you can also take Better Weight Balance for better accuracy with your hip-shots.
- Extended Clip: With this perk you’ll have a bigger clip, letting you shoot for longer before reloading.
- Super Blowthrough Rounds: This perk will give you piercing shots, which will increase the wave clearing capabilities of the M1000 further.
- Killing Machine: After you kill an enemy, you will be able to reload much faster. It's a great quality of life, letting you keep your magazine topped off.
- Overclock - Hipster: Hipster is a fantastic overclock, granting you double the ammo, more spread recovery (which in turn will let you be more accurate), but it will lower your damage output.
Jury-Rigged Boomstick - B-A-C-A-B
- Double-Sized Buckshot: Your boomstick will act as waveclear too, so more damage will always help you deal with the threats.
- Double Trigger:You can take either this perk or the reload speed, depending on what you like the most. With this one, you’ll be able to propel yourself even further.
- High Capacity Shells: More pellets = more dead bugs.
- Super Blowthrough Rounds: This will give your Boomstick a bit of waveclear. You can also take Improved Blast Wave if you prefer to have even more waveclear.
- Fear the Boomstick: Being able to fear bugs while you propel yourself in the air will help you and your teammates survive.
- Overclock - Special Powder: Special Powder will let you propel yourself in the air using the blast from the Boomstick. It's really fun to use, and we highly recommend trying it when you get a hold of it.
Pickaxe: A-C
- Power Attack: Don’t forget about your Power Attack! It deals massive damage to anything that is threatening you, so use it often.
- Better Weight Balance: This perk lowers the cooldown of your Power Attack, letting you use it more often.
Flare Gun - B-B-B
- For the Flare Gun we take a mix of ammo and duration. You can adjust it how you prefer.
Grappling Hook - B-A-A-C
- Longer Cable: It is really annoying when you’re trying to reach somewhere, or reposition, and your grappling hook can’t quite reach where you want to go. This perk makes that a bit less of a hindrance.
- Greater Cable Strength: Check the perk above.
- High Velocity Ejection System: With this perk you will be able to pull yourself quicker, which can be a lifesaver, and it’s overall a good quality of life perk to take.
- Bypassed Integrity Check: Being able to hook away more often will further enhance your mobility.
Grenade - Cryo Grenade
- On this build we like to take the Cryo Grenade, which provides great utility by inflicting freeze on the enemies. There’s also a case for the IFG, which deals damage over time by electrocuting the bugs. Try both, and take the one you prefer.
“Fox” Armor Rig - A-B-A-C
- Improved Generator: You can either take this or Deep Pockets, depending on what you prefer.
- Healthy: health is the most important resource in a mission, so more of it never hurts.
- Shock Absorbers: This is the only perk you can take here, and you definitely want it, because as Scout you’ll be falling a lot.
- Breathing Room: Scout doesn’t die to enemies that much, but fall damage tends to be his nemesis. Taking this perk will let you become invulnerable after being revived, letting you reposition yourself if you’re dealing with a swarm of bugs.
Perks
- While playing with this build we like to take Born Ready, Vampire and Ressuplier as our passive perks. You can also take Deep Pockets and Thorns, if you prefer these perks. As our active perks, we usually bring Iron Will and Field Medic to missions. You can always switch to Hover Boots, Heightened Senses or Beast Master, depending on your preferences.
You may also be interested in:
[Top 10] Deep Rock Galactic Best Weapons That Are Powerful
Deep Rock Galactic Best Perks That Are Excellent
Deep Rock Galactic Best Class - What Should You Play?

