Home
Home PC Game Trailers
 News
News Menu
MenuFF14 Paladin Rotation Guide
Updated: 28 Aug 2021 10:51 pm

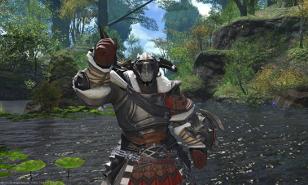
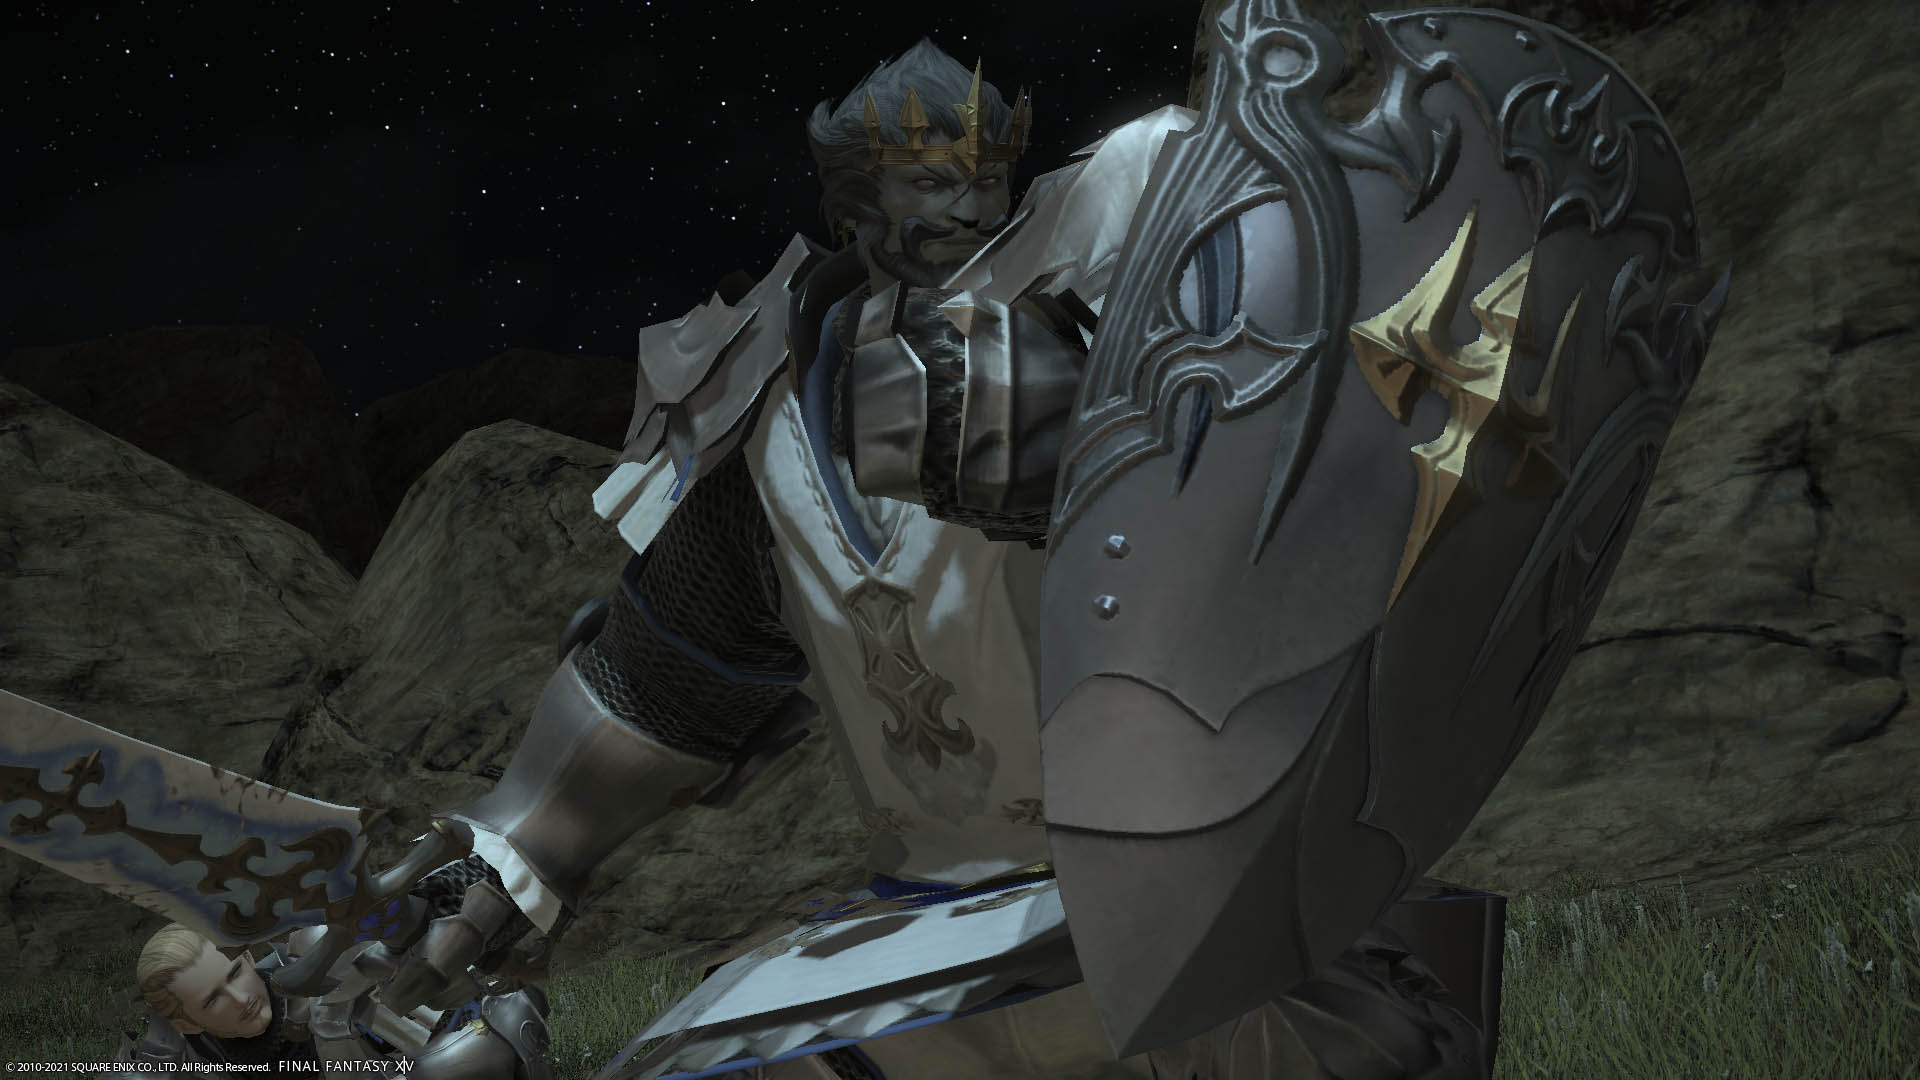
The shield you can throw!
 BY: Lynn Aerith
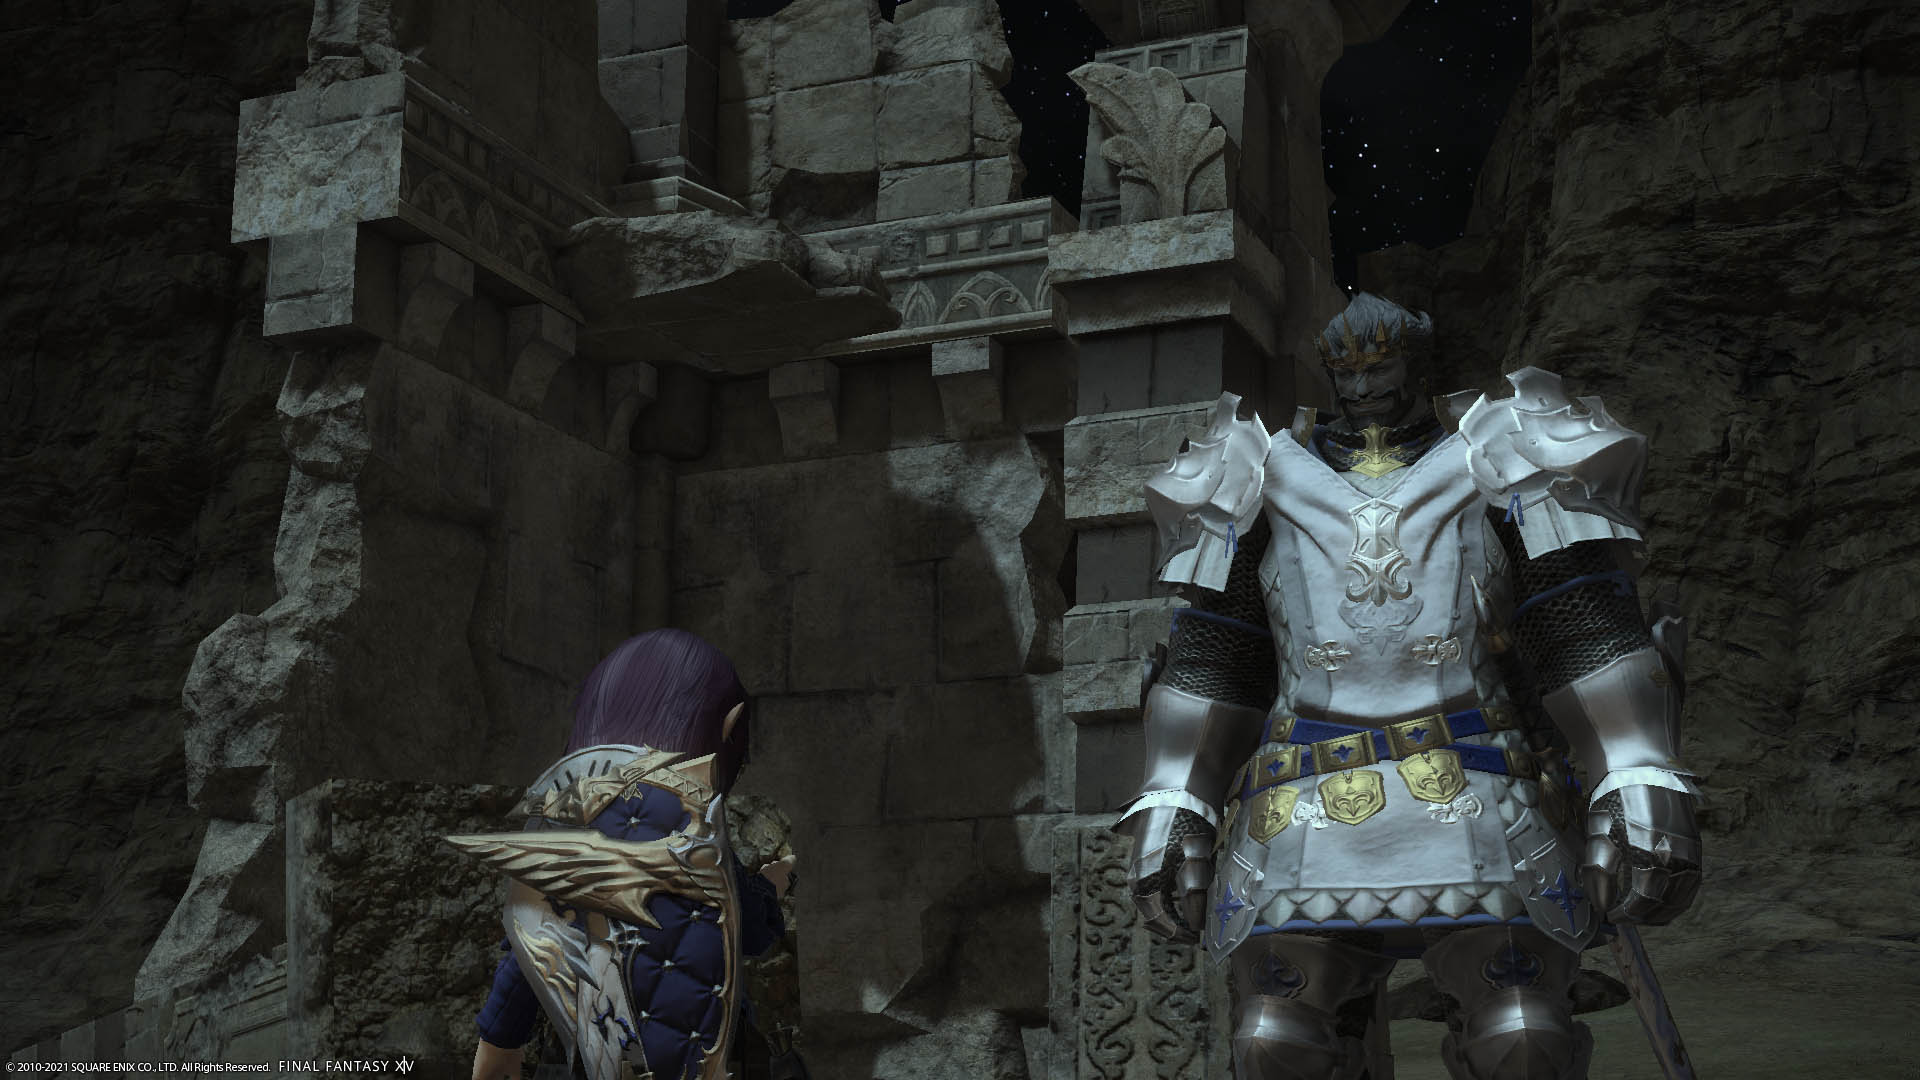
Do you know that the Warrior of Light became a Paladin in the Endwalker expansion?
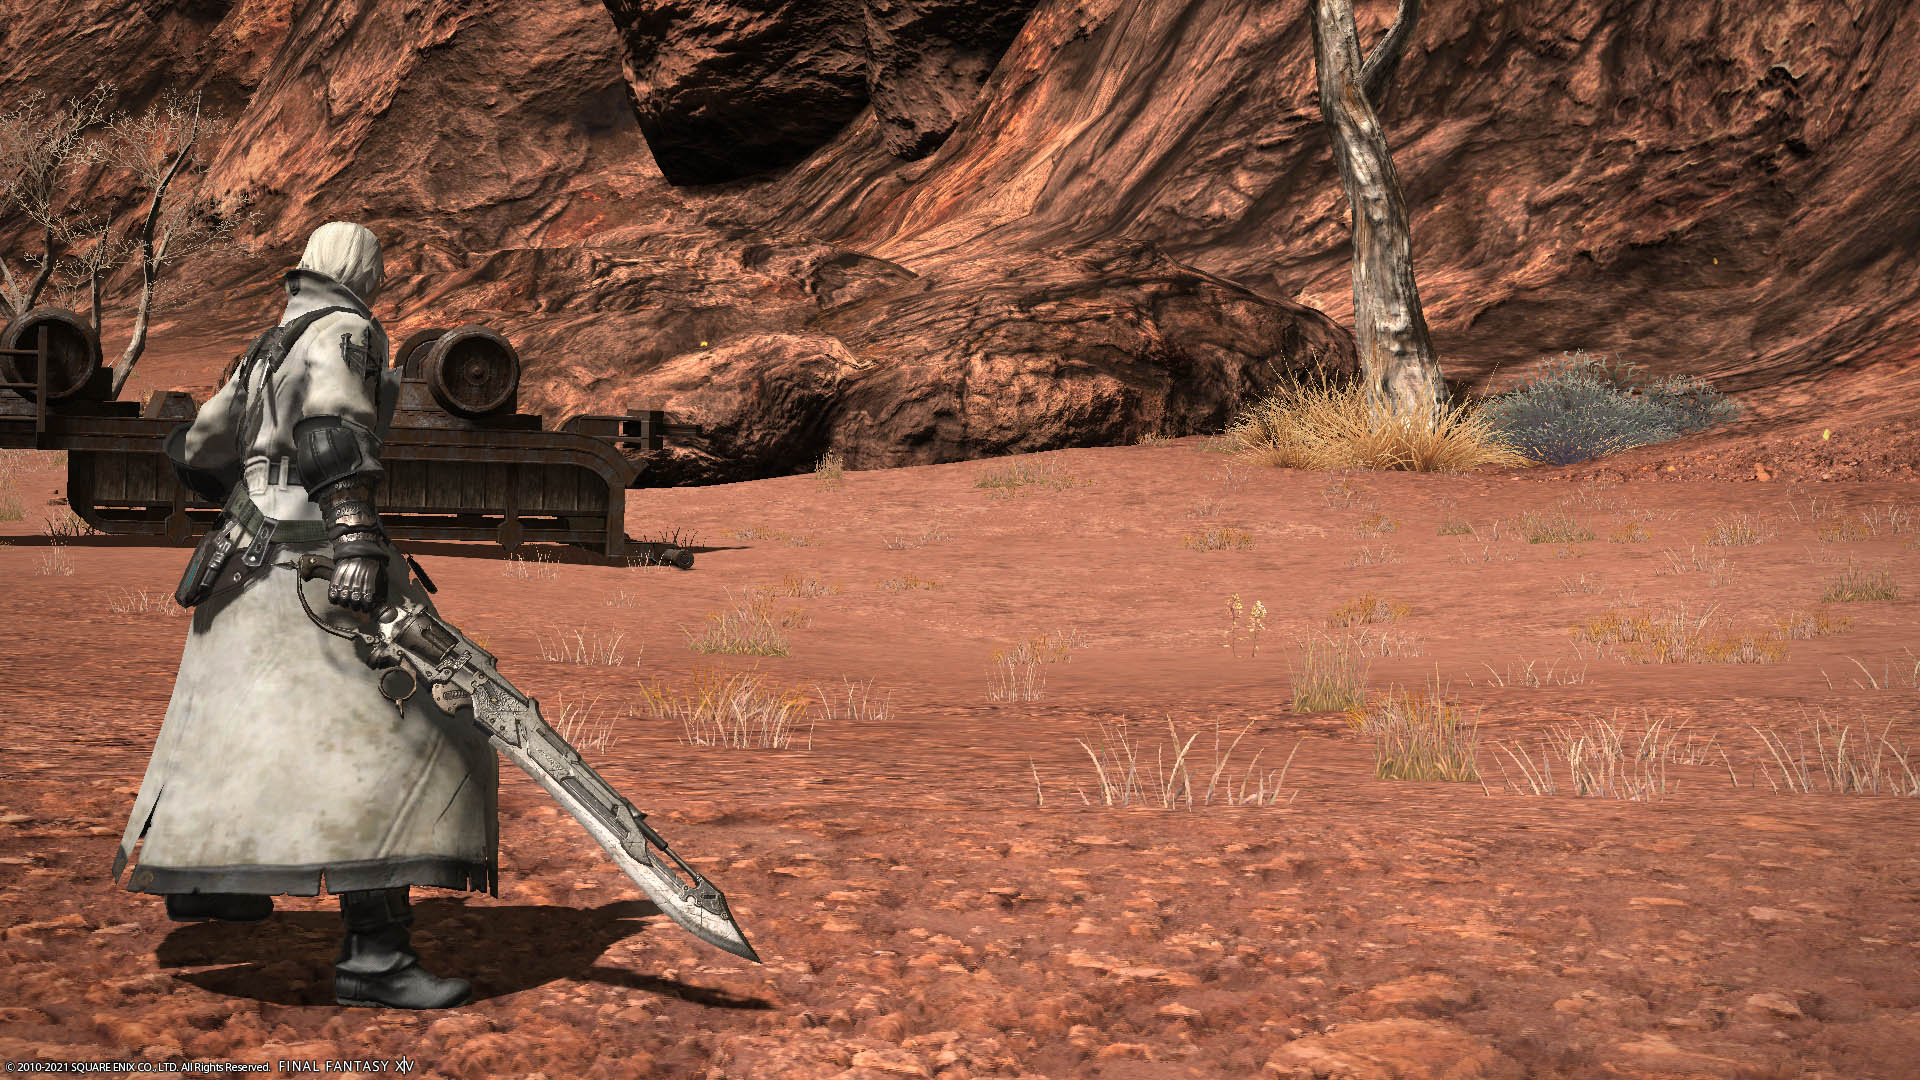
For centuries, the elite of the Sultansworn has served as personal bodyguards to the royal family of Ul’dah. Starting this class as Gladiator, make your way to level 30 and become a Paladin. To be a Paladin is to protect, and those who choose to walk this path will become the iron foundation upon which the party’s defense is built. The men and women who chose this class marry exquisite swordplay with stalwart shield work to create a style of combat uncompromising in its defense. However, just like healers are green DPS, tanks are blue DPS that should lead the team. Yes, you are but the first to rush to dangers with tank stance on, of course.
Single Target Rotation
Paladin has a straightforward rotation that shares GCD (Global Cooldown); they also have some skills outside the rotation. Here are the single-target skills:
- Fast Blade: Deliver an attack with a potency of 200.
- Riot Blade: Deliver an attack with a potency of 100, or 300 when done after Fast Blade. Combo Bonus: Restores MP.
- Royal Authority/Rage of Halone: Delivers an attack with a potency of 100. When done after Riot Blade, attack potency increased to 550 and grants 3 stacks of Sword Oath for 15s. Rage of Halone has less combo potency (350) and no Sword Oath additional effect.
- Goring Blade: Deliver an attack with a potency of 100. Or 390, when done after Riot Blade. Combo Bonus: Damage over time with a potency of 85 for 21s.
- Spirits Within: Delivers an attack with a potency of 100. Potency increases up to 370 as own HP nears maximum. Restores MP. Recast in 30s.
- Intervene: Rushes to target and delivers an attack with a potency of 200, maximum charge 2 times.
- Shield Lob: Delivers an attack with a potency of 120, and increases enmity.
- Shield Bash: Delivers an attack with a potency of 110, and gives stuns to the target for 6s.
- Requiescat: Deals unaspected damage with a potency of 150. Potency increases up to 550 as MP nears maximum. Also increases attack magic and healing magic potency by 50% if the current MP is at 80% or higher, and allows spells to be cast immediately for 12s.
- Holy Spirit: Deals unaspected damage with a potency of 150.
- Atonement: Delivers an attack with a potency of 550. Restores MP and can only be executed while under the effect of Sword Oath.
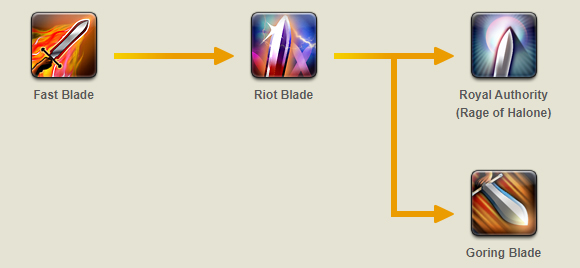
The rotation is simple Fast Blade, followed by Riot Blade, and followed by either Royal Authority or Rage of Halone or Goring Blade for DoT (Damage over Time). It is advised to finish with DoT first, then the second rotation finished with Royal Authority or Rage of Halone. Your Rage of Halone will be replaced by Authority once you have done the Job Quest, which has extra damage and additional effect. When you end your combo with Royal Authority, continue with Atonement 3 times, then go back to the normal rotation. You can weave 2 non-GCD skills for each skill. Intervene is to rush directly to the enemy or can be used for extra damage when you are required not to rush the enemy’s side. Use Requiescat to shift from the physical phase to the magical phase when you are out of the physical attack to weave. Requiescat may have a confusing tooltip, and I will elaborate for you. When your MP is above 80% upon usage the additional effect will be activated, thus no worries to use your magical abilities after the effect is activated. After using Requiescat, use Holy Spirit 4 times and end it with Confiteor. Then, return to the normal physical rotation. Shield Lob is used to the mobs, this is the first skill to use followed by AoE for aggro during dungeon pulls.
AoE Rotation
The AoE rotation is also simple, just between 2 skills, but there are also extra skills outside GCD. Here are the skills:
- Total Eclipse: Delivers an attack with a potency of 120 to all nearby enemies.
- Prominence: Delivers an attack with a potency of 100 to all nearby enemies. When done after total eclipse, potency increased to 220 and restores MP.
- Circle of Scorn: Delivers an attack with a potency of 120 to all nearby enemies. Give damage over time with a potency of 35 for 15s.
- Holy Circle: Deals unaspected damage with a potency of 250 to all nearby enemies.
- Confiteor: Deals unaspected damage with a potency of 800 to target and all enemies nearby it. Can only be executed while under the effect of Requiescat. Effect fades upon execution.
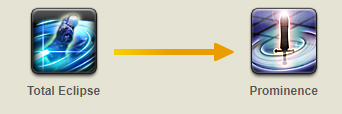
Right after Shield Lob, rush to the enemy and use Total Eclipse followed by Prominence. During GCD you can add Circle of Scorn and a mitigation buff. Holy Circle is used if you are on your magical phase (after using Requiescat) use it 4 times (assuming your MP is full) and end it with Confiteor.
Mitigation Skills
These are your mitigation skills at your disposal, use them well so you never run out of it when you truly need it:
- Sentinel: Reduces damage taken by 30% for 15s. Recast in 120s.
- Sheltron: Block incoming attacks for 6s. Oath Gauge Cost 50. Recast in 5s.
- Hallowed Ground: Renders you impervious to most attacks. Recast in 420s.
- Divine Veil: Upon HP recovery via healing magic cast by self or a party member between 30s, a protective barrier is cast on all party members within a radius of 15 yalms. Barrier Effect: Prevents damage up to 10% of your maximum HP for 30s. Effect ends upon additional HP recovery via healing magic. Recast in 90s.
- Intervention: Reduces target party member's damage taken by 10% for 6s. Increases damage reduction by another 50% of the effect of Rampart or Sentinel if either are active during activation. Oath Gauge Cost: 50. Recast in 10s.
- Cover: Take all damage intended for another party member for 12s. Oath Gauge Cost: 50. Can only be executed when the member is closer than 10 yalms. Recast in 120s.
- Passage of Arms: Increases block rate to 100% and creates a designated area in a cone behind you in which party members will only suffer 85% of all damage inflicted for 18s. Effect ends upon using another action or moving (including facing a different direction). Cancels auto-attack upon execution.
Use the longer cooldown first for maximum mitigation, except for Hallowed Ground. Do note that the mitigation does not directly add up percentage plain and flat, there are some calculations. Another important note is: Cover does not work with Hallowed Ground, the damage will bypass your Hallowed Ground when you are covering for your teammate. When you use Cover on a teammate, not only you are taking their damage but also debuff that is intended for them. As for Divine Veil, you can activate it yourself if your healer does not heal you between the time with Clemency. You can use Passage of Arms between the interval of boss AoE attack to reduce the damage taken for you and your party members
Gauge
The gauge is called Oath Gauge. Your Oath Gauge will increase every time auto-attack lands. You can use it for Sheltron, Cover, and Intervention skills for mitigation or covering for your friends.
Other Skills
 Iron Will must be ON in dungeons and pulls!
As a tank, you have the skill to increase enmity, for Paladin, it's called Iron Will. Paladin has a healing skill that is useful and important, however, do not use this unless your healer(s) died. You don’t want to reduce your damage output unless it is necessary. The skill is called Clemency which allows you to restore the target’s HP with a cure potency of 1200, also restore to self 50% of the HP restored to the target if the target is a party member. Use it as the last resource. This is also extremely useful on an unsync solo content. Other than Clemency you have Fight or Flight, which will increase your physical damage dealt by 25% for 25s, recast in 60s.
Role Actions
The tank has some role actions that are unique to them:
- Rampart: Reduce damage taken by 20% for 20s. Recast in 90s.
- Provoke: Gesture threateningly, placing yourself at the top of a target's enmity list while gaining additional enmity. Recast in 30s.
- Shirk: Diverts 25% of enmity to target party member. Recast in 120s.
- Reprisal: Reduces damage dealt by nearby enemies by 10% for 10s. Recast in 60s.
- Low Blow: Stuns target for 5s. Recast in 5s.
- Interject: Interrupts the use of a target’s action. Recast in 30s.
- Arm’s Length: Creates a barrier nullifying most knockback and draw-in effects for 6s. Additional effect: Slow+20% when barrier is struck for 15s. Recast in 120s.
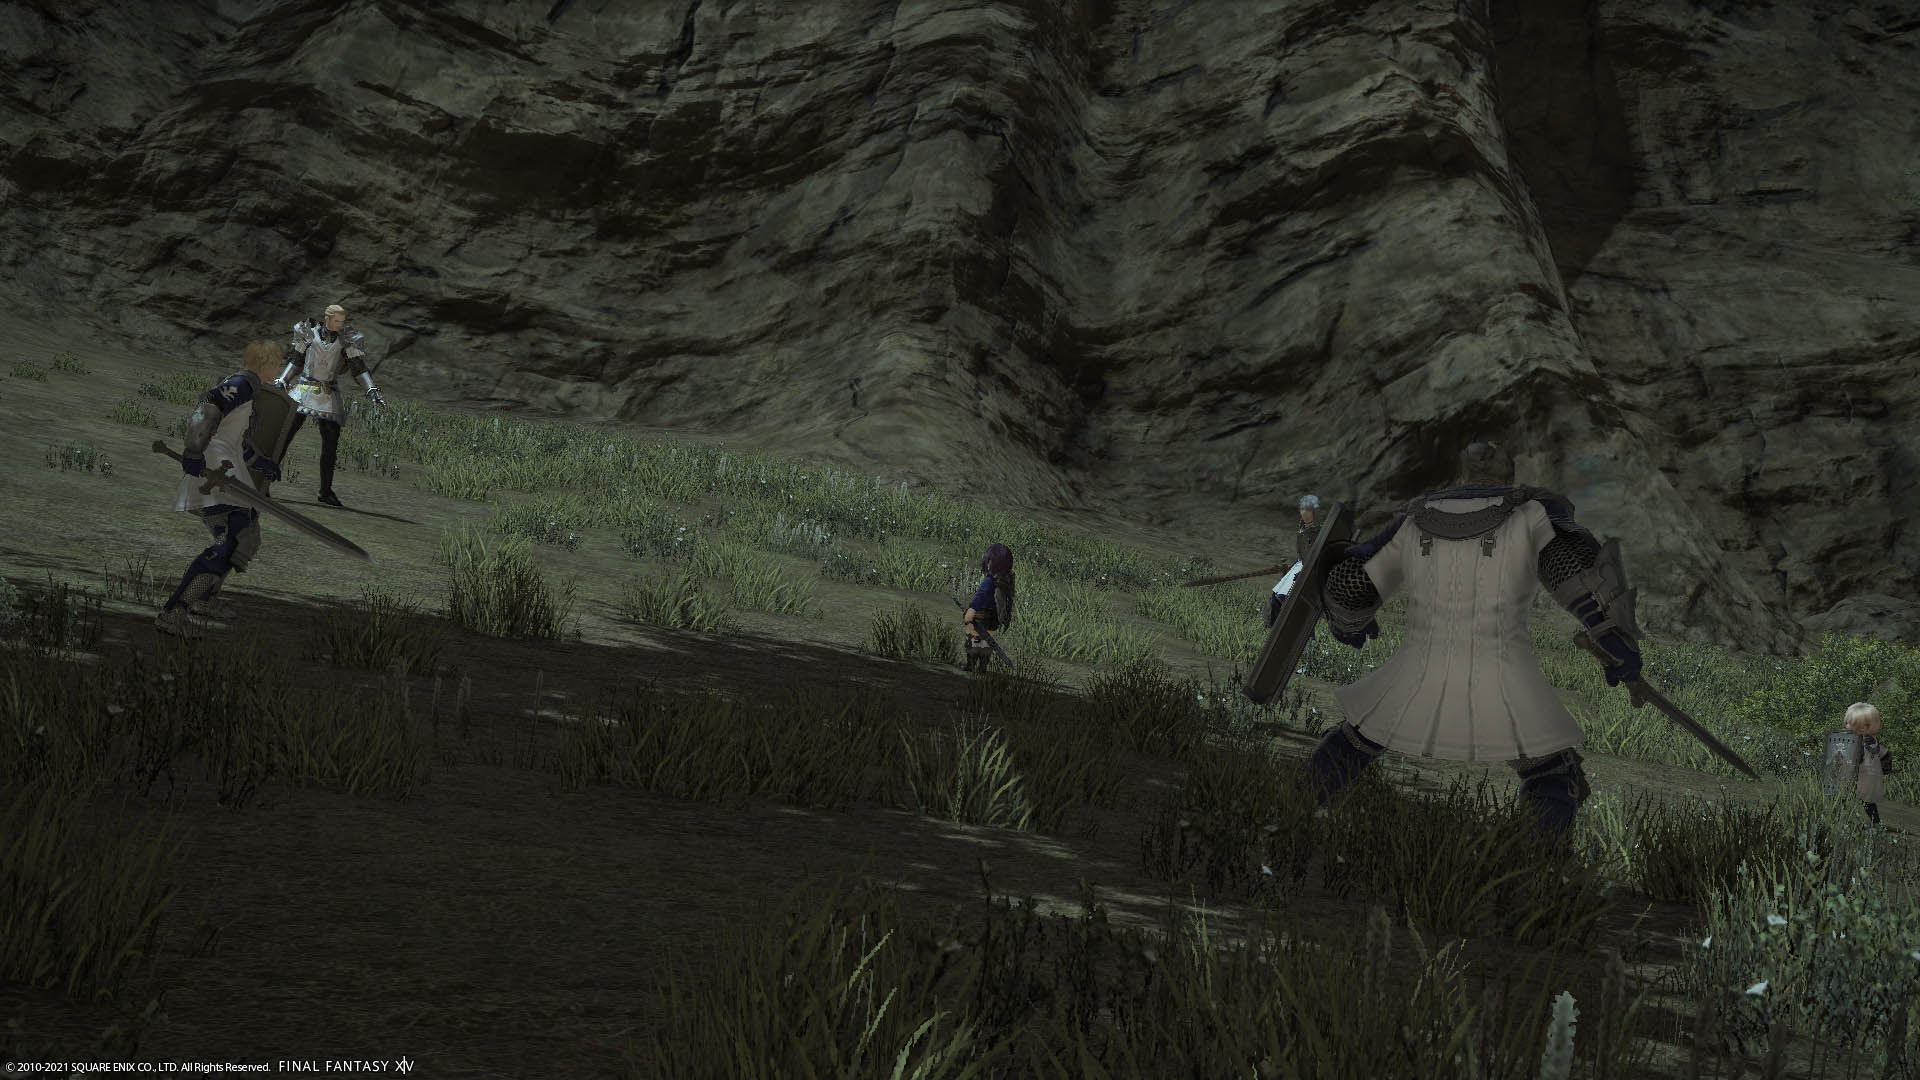
These are your role actions, know them well. The reason you have more mitigation, even in your role action, is to be able to balance out the cooldowns between mitigations, so you never run out of it when you need it. Shirk and Provoke work on high-end dungeons when you need to swap between tanks, use Shirk to the other tank, while the other tank uses Provoke, to switch. As for Interject, not everything can be interrupted, if the enemy cast bar is blinking, that means you can interrupt it. Use this when you can to prevent unnecessary attacks and damage.
To Protect is to Attack
Now to put all we have learned to practice:
- On a single target: Fast Blade, then weave Fight or Flight and Spirits Within, then Riot Blade weave Circle of Scorn, and Goring Blade. The second rotation is as follows: Fast Blade > Riot Blade > Rage of Halone/Royal Authority. When Royal Authority is active, use Atonement 3 times. Move to Magical Phase with the use of Requiescat, followed by Holy Spirit 4 times, and end it with Confiteor. Then repeat from the beginning.
- On multiple enemies: Total Eclipse, then weave Fight or Flight and Circle of Scorn. Repeat until the Fight or Flight effect is off, then move to the Magical Phase. Use Requiescat followed by Holy Circle 4 times, and end it with Confiteor. Repeat.
- On dungeons, use Shield Lob for enmity followed by multiple enemies (AoE) rotation for pulls. But if in some cases the enemy comes to you first, execute the AoE rotation.
- Your panic button is Hallowed Ground, use it when you pull too many enemies that your healer can’t keep up with healing or when the healers seem too busy reviving the dying party members and you are concerned with the HP you left with. Notify your healer when using the skill so they can focus more on either dealing damage or dealing with the fallen teammates.
- You should focus on your mitigation as well as the cooldown of your skills, as you will need to use it when the cooldown is off for optimize damage outputs.
- Overflow Oath Gauge is a no-no, use Sheltron when you can for less damage input.
Remember your mitigation is for situational use. Use it as often as you can, but be sure you always have it ready when you need it. And that is how to tank!
Tips & Tricks:
Be considerate. If your healer is new, ask them if they are comfortable with wall to wall pulls or not, with being inconsiderate you can cause a party to wipe. Measure your capability and make sure of the other capabilities.
Tank stance on. Remind you several times already but this is important. On a sync dungeon, your tank stance will be turned off automatically, so remember to turn it back on again! In the Paladin case, remember to see the Iron Will icon up when you first enter the dungeon.
Face the mobs and boss away from the party. Since some of the red DPS like to spank the butt of the enemies. This will also do you, the DPS and Healer a favour. Yes, it will help in a matter that the cone AoE won’t face your DPS directly. Less shared damage to the team means more damage to the enemies.
Avoid AoE. Just because you are a tank doesn’t mean you should not avoid mechanics and shout healers to adjust.
To protect is to attack. Tanks also have the responsibility to deal damage. Although you can't compare to DPS, it will still help. To deal damage means to mitigate future damage and tanks should be good at mitigating damage!
Mitigate better first. It seems a lot to be a tank at first glance, you have to balance damage in and damage out. To relieve that dilemma, you should first be better at mitigating, then when you are comfortable, practice your damage rotation.
Know thy mechanics. It is advised as a tank that you don’t go blind in the dungeon unless intended. You need to know the mechanics of the dungeons as the tank/as the main tank. This small difference can result in either a wipe or victory.
That is it to the guide! Now, do you want to be a Paladin? If you think you want to be a Paladin because they use shields, therefore assuming they have the best mitigation, welp, you are kinda wrong. Despite owning a shield Paladin excels in dealing damage more in comparison to the other tank. Believe it or not, while having names that sound less like a tank, the most tank-ing class in FF14 falls to Dark Knight and Warrior. Paladin on the other hand is the second-best damage dealer compared to the other tank classes, which falls short to the Gunbreaker. Paladin has easy rotation, therefore is beginner-friendly.
You May Also Be Interested In:
- Top Five Best FF14 Solo Classes
- FF14 Best Class - What's the Best Job to Play?
- FF14 Top Three Tanks
- FF14 Best Healer - What's the Best Job For Healing?
- [Top 15] FF14 Best Addons Everyone Should Use
- FF14 Best Ways To Make Gil (Top 10 Methods)
- FF14 Best PvP Class That Are OP
- FF14 Best Potions And How To Get Them
- FF14 Best Ways To Level Up Fast
- [Top 3] FF14 Best DPS Class
- [Top 3] FF14 Best Starting Classes for Beginners
- FF14 Most Fun Classes (Top 3)
- [Top 3] FF14 Best Crafting Class And Why They're Great
- FF14 Best Dungeons [Top 10]
- FF14 Best Tanks (All Tanks Ranked Good To Best)
- [Top 10] FF14 Best Armor Sets
- [Top 10] FF14 Best Food And How To Get Them
- Top 10 Best FF14 Mounts And How To Get Them
- [Top 5] Final Fantasy 14 Best Solo Classes
Share this Article:

Image Gallery

Thancred's Gear Maintenance
Mind gears durability! Don't be like Thancred!
- Log in or register to post comments


![[Top 5] FF14 Best DPS for Raids - What's the Best DPS to Play?](https://www.gamersdecide.com/sites/default/files/styles/308x185-scale-crop--more-top-stories/public/raid_dps_1.jpg "[Top 5] FF14 Best DPS for Raids - What's the Best DPS to Play?")


![[Top 5] FF14 Best Triple Triad Decks That Are Excellent](https://www.gamersdecide.com/sites/default/files/styles/308x185-scale-crop--more-top-stories/public/main_image_136.jpg "[Top 5] FF14 Best Triple Triad Decks That Are Excellent")


![[Top 10] FF14 Best Beast Tribe Story!](https://www.gamersdecide.com/sites/default/files/styles/308x185-scale-crop--more-top-stories/public/main_image_.jpg "[Top 10] FF14 Best Beast Tribe Story!")


![[Top 15] FF14 Best Hairstyles That Look Freakin' Awesome!](https://www.gamersdecide.com/sites/default/files/styles/308x185-scale-crop--more-top-stories/public/main_image_139.jpg "[Top 15] FF14 Best Hairstyles That Look Freakin' Awesome!")


![[Top 5] FF14 Best Red Mage Food (And How To Get Them)!](https://www.gamersdecide.com/sites/default/files/styles/308x185-scale-crop--more-top-stories/public/main_image_150.jpg "[Top 5] FF14 Best Red Mage Food (And How To Get Them)!")
")